
Replacing brake pads and rotors restores stopping power, reduces brake fade, and can save you $200‑$400 compared to a shop job. This guide walks you through every action you need, from gathering tools to bedding in the new components, so you can finish the job in a single afternoon. Follow each step and you’ll keep your vehicle safe without paying a mechanic’s labor rate.
Brake pads and rotors can be swapped on most passenger cars with a jack, a 12 mm socket, and a few minutes of focused work. A typical replacement takes 1 hour for front wheels and 45 minutes for rear wheels when you have the right tools and follow the correct sequence.
Key Takeaways
- Safety first. Wear gloves and eye protection; lock the wheels before lifting the car.
- Correct tools matter. A torque wrench, C‑clamp, and brake fluid catch basin prevent damage and re‑work.
- Inspect rotors. Replace any rotor that is over 0.001 in (0.025 mm) thick or shows deep scoring.
- Compress pistons properly. Use a C‑clamp to avoid overstretching caliper seals.
- Bed in brakes. Perform three moderate stops from 30 mph, then three hard stops, to cure the pads.
How to Replace Brake Pads and Rotors Step by
The whole process divides into six clear phases: preparation, wheel removal, old part extraction, new part installation, piston compression, and final bedding. Begin with a flat surface, engage the parking brake, and place wheel chocks behind the opposite wheels. Loosen the lug nuts just enough to turn them by hand after the car is lifted; this prevents the wheels from spinning on the ground.
Raise the vehicle with a floor jack at the manufacturer‑specified lift points, then support it on jack stands. Remove each wheel by unscrewing the lug nuts fully and pulling the rim away from the hub. Set the wheel aside in a clean spot to avoid contaminating the brake components with dirt or oil.
With the wheel off, locate the brake caliper mounting bolts – usually two 12 mm bolts on the back side of the caliper. Use a socket wrench to remove them, then carefully slide the caliper off the rotor. Hang the caliper from the suspension using a piece of wire; do not let it dangle from the brake hose to avoid stress on the seal.
Next, extract the old pads by pulling the retaining clips or pins that hold them in place. Note the orientation of any shims or anti‑rattle clips; you will need to reinstall them later. If the rotor is rusted to the hub, tap it gently with a rubber mallet or apply a penetrating oil, then pry it off with a rotor puller.
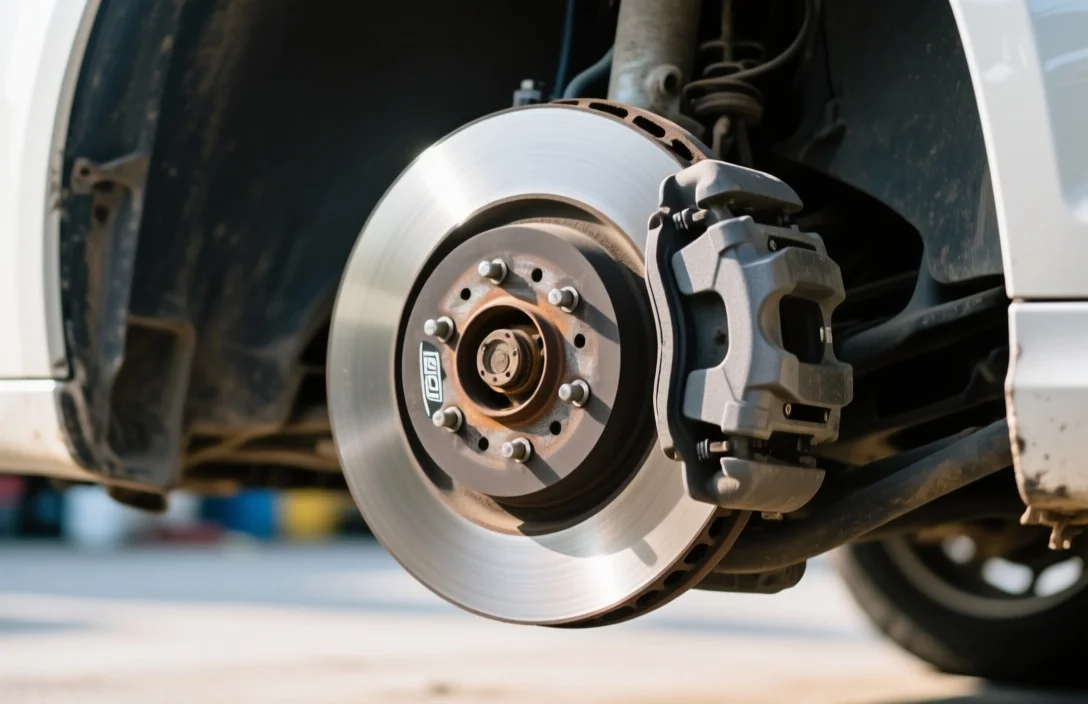
Clean the hub surface with a wire brush to remove any rust or debris. Inspect the hub for cracks or excessive wear – replace the hub if you find any damage. Install the new rotor by aligning the bolt holes and sliding it onto the hub; torque the rotor set‑screws to the manufacturer’s specification, typically 30-45 Nm.
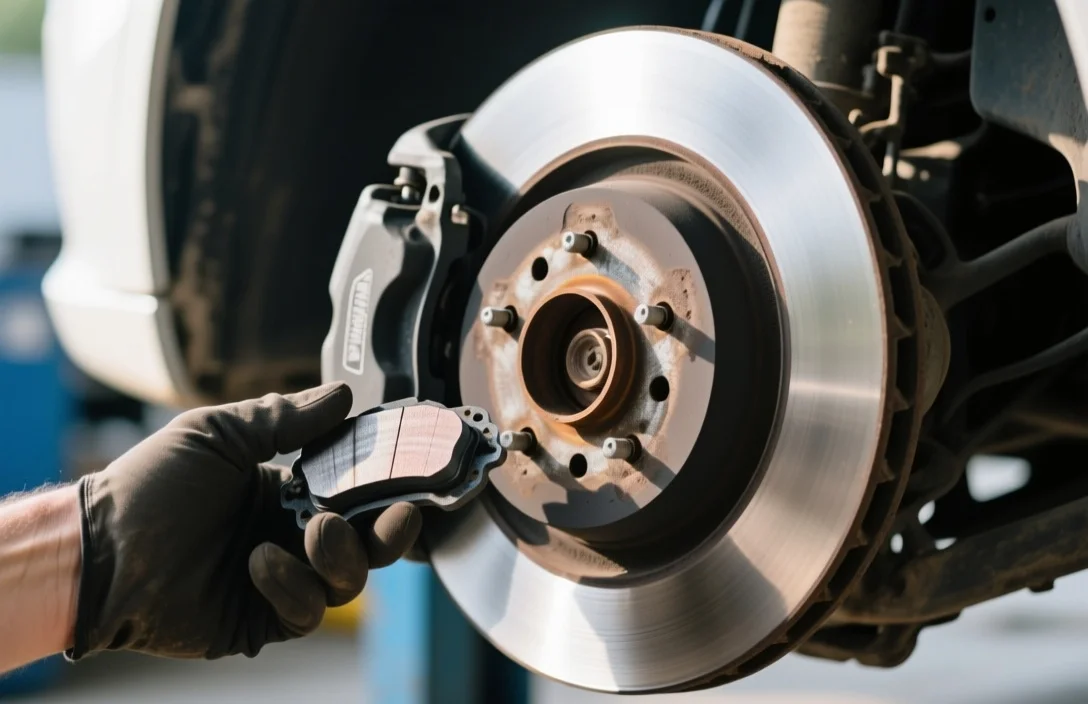
Place the new brake pads into the caliper bracket, ensuring any shims sit exactly where the old ones were. Re‑attach the caliper over the rotor, then reinstall the caliper bolts and torque them to the recommended value, usually 70-100 Nm. Before the final step, compress the brake pistons using a C‑clamp positioned between the caliper piston and the brake pad backing plate.
Apply steady pressure on the clamp until the pistons are fully retracted, then remove the clamp and push the brake fluid reservoir cap back on. Double‑check that the brake fluid level is within the “MAX” mark; add DOT 4 fluid if it’s low. Re‑mount the wheel, hand‑tighten the lug nuts, lower the vehicle, and torque the nuts to the spec – often 100-130 Nm for passenger cars.
Finally, pump the brake pedal three to four times to seat the pads against the rotors. Perform the bedding procedure: drive at 30 mph, then brake gently to 15 mph; repeat three times, followed by three harder stops from 30 mph to a near stop. This sequence transfers a thin layer of pad material onto the rotor surface, eliminating squeal and maximizing friction.
Tools and Safety Gear for Brake Replacement
A well‑stocked toolbox reduces the chance of improvising with incorrect tools, which can damage components or cause injury. The essential items are a floor jack, jack stands, a 12 mm socket set, a torque wrench, a C‑clamp, brake fluid catch basin, and a set of brake cleaner spray. Optional tools that speed up the job include a rotor puller, a brake pad spreader, and a magnetic pickup for small metal fragments.
| Tool | Recommended Specification | Best For |
|---|---|---|
| Floor jack | 2‑ton capacity, hydraulic | Lifting the vehicle safely |
| Jack stands | Rated for at least 3 tons | Supporting the car while working |
| Torque wrench | 0‑150 Nm, click type | Achieving precise bolt torque |
| C‑clamp | 8‑inch opening, steel | Compressing brake pistons |
| Brake fluid catch basin | 1‑liter capacity, chemical‑resistant | Preventing spills and contamination |
| Rotor puller | 1‑ton capacity, adjustable | Removing stubborn rotors |
| Brake cleaner | Aerosol, fast‑dry formula | Cleaning rotors and hub surfaces |
Safety gear is non‑negotiable. Wear nitrile gloves to keep oil off your hands and avoid contaminating the new pads; any grease on the pad surface will cause premature squeal. Use safety glasses to protect your eyes from metal shavings and brake dust. If you’re working on a vehicle with ABS, keep a diagnostic scanner handy to clear any fault codes after the job.
Before starting, disconnect the battery to prevent accidental short circuits, especially on cars with electronic parking brakes. Place wheel chocks on the opposite side of the vehicle to stop it from rolling if the jack fails. Verify that the jack stands are positioned on solid ground and that the vehicle is stable before sliding underneath it.
Removing the Wheels and Brake Calipers
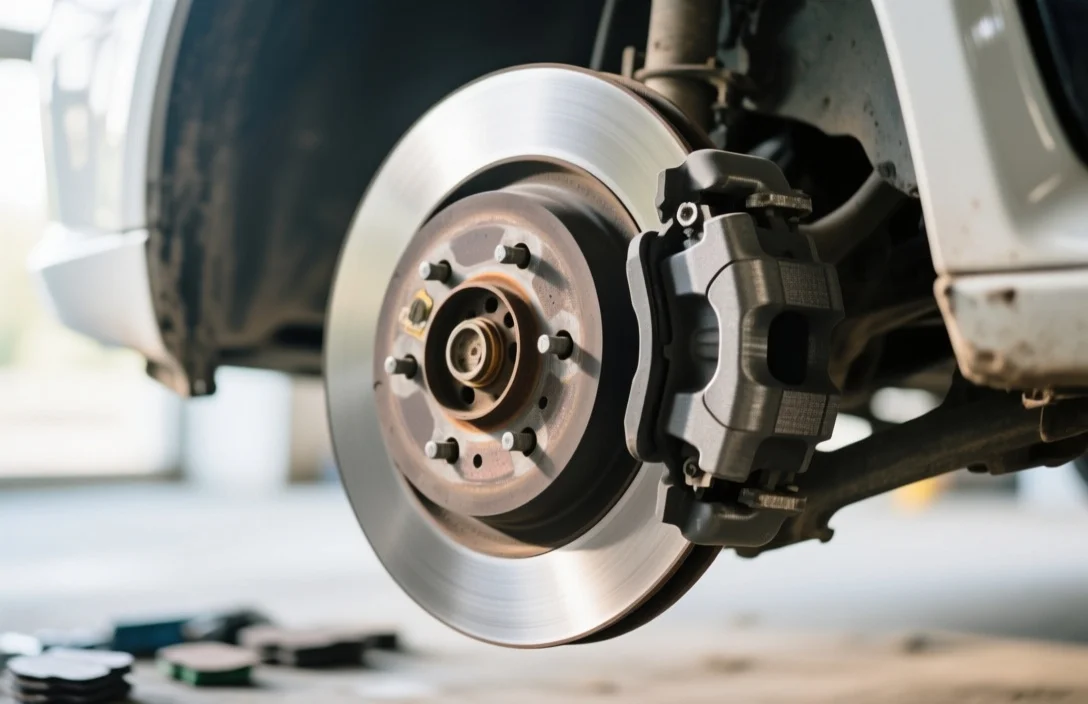
The first mechanical step is to free the wheel from the hub. After loosening the lug nuts, lift the car and support it on jack stands. Remove the wheel and set it aside; you’ll notice the brake caliper hanging from two bolts on the back side. Keep a small bucket nearby to catch any brake fluid that may leak when the caliper is removed.
Use a socket wrench to undo the caliper mounting bolts – most are 12 mm, but some models use 14 mm. If the bolts are corroded, apply penetrating oil and let it sit for five minutes before turning. Once the bolts are off, slide the caliper away from the rotor. To avoid stretching the brake hose, support the caliper with a piece of wire or a zip tie attached to the suspension strut.
With the caliper out of the way, you can see the brake pads seated against the rotor. Some vehicles use retaining clips that snap into place; pry these gently with a flat‑head screwdriver. Take a photo of the clip arrangement if you’re unsure how it fits back later; this saves time during reassembly.
If the brake hose feels tight, do not force the caliper back onto the rotor. Instead, check the hose for kinks or damage. A damaged hose should be replaced before proceeding, as it can lead to fluid leaks and reduced braking performance. After confirming the hose is intact, place the caliper aside in a clean area, away from dust and grime.
Removing Old Brake Pads and Rusted Rotors
Old pads often cling to the caliper bracket with metal clips that can be stubborn. Push the clips outward with a pair of needle‑nose pliers, then lift the pads away. Inspect the pads for uneven wear; any pad that is less than 3 mm thick must be replaced. Also check for glazing – a shiny, hardened surface that indicates overheating; glazed pads should always be swapped out.
Rusted rotors are a common issue, especially in regions with salted roads. To free a rusted rotor, spray the hub‑to‑rotor interface with a penetrating oil and let it soak for ten minutes. If the rotor still won’t budge, tap the hub lightly with a rubber mallet while pulling the rotor outward with a rotor puller. Never use a hammer directly on the rotor surface, as this can warp it.
Once the rotor is removed, clean the hub with a wire brush to eliminate rust particles. Examine the hub for cracks or excessive wear; a damaged hub must be replaced before installing a new rotor. If the hub is in good condition, wipe it with brake cleaner to remove oil and debris, then allow it to dry completely.
Before discarding the old rotor, compare its thickness with the manufacturer’s minimum spec – usually around 0.75 in (19 mm) for most passenger cars. If the rotor is within tolerance but shows surface scoring, you may consider resurfacing it at a machine shop; however, resurfacing is only economical if the rotor is at least 0.002 in (0.05 mm) above the minimum thickness.
Installing New Rotors and Brake Pads
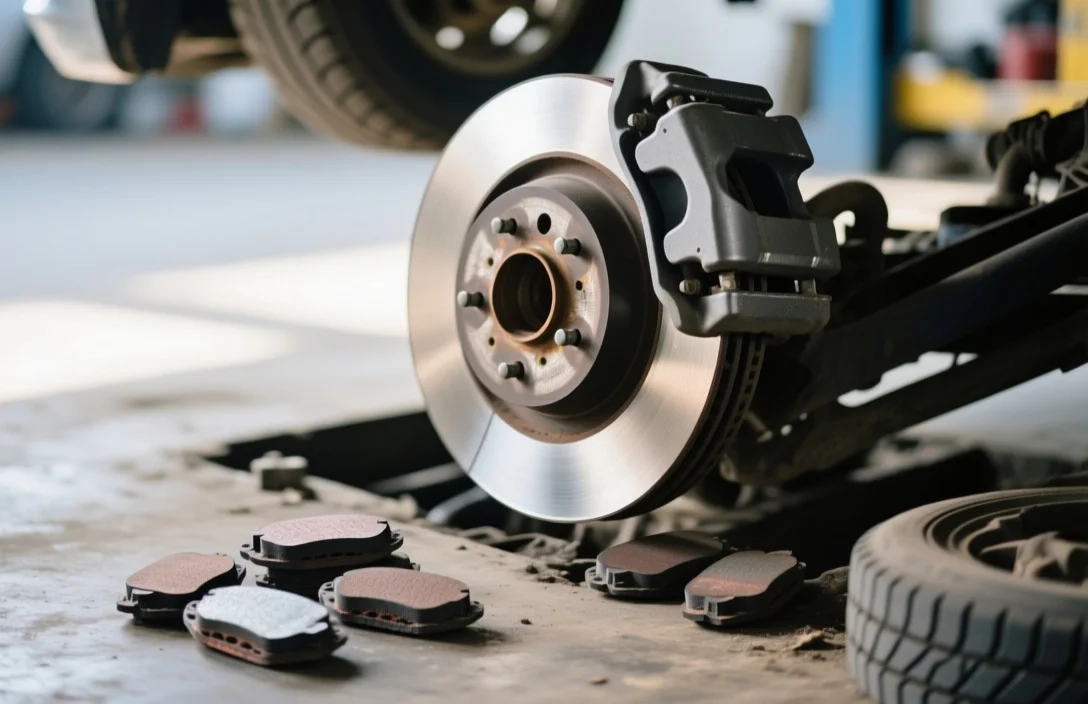
Slide the new rotor onto the clean hub, aligning the bolt holes precisely. Some rotors have a set‑screw that holds them to the hub; torque this screw to the factory spec – often 30 Nm. If the rotor is heavy, enlist a helper to hold it while you tighten the screws to avoid misalignment.
Now position the new brake pads into the caliper bracket. Most pads come with pre‑installed anti‑rattle shims; if yours do not, place the supplied shims on the inner side of the pads, ensuring they sit flush. Apply a thin coat of high‑temperature brake grease to the back of the pads where they contact the caliper piston; this prevents the pads from pulling the piston inward and creating a spongy pedal feel.
Re‑attach the caliper over the new rotor, making sure the pistons line up with the pad backing plates. Insert the caliper mounting bolts and torque them to the recommended value – typically 70 Nm for the front and 60 Nm for the rear. Double‑check that the brake hose is not twisted or pinched during this step.
Before tightening the wheel lug nuts, perform a quick visual check: the pads should sit evenly, the rotor should spin freely without wobble, and all bolts should be snug. Any misalignment can cause uneven brake wear or vibration during driving.
Compressing the Brake Pistons and Reassembling
Compressing the pistons creates space for the new pads to sit against the rotor. Place a C‑clamp between the piston and the pad backing plate, then turn the screw slowly to push the piston back into the caliper. For vehicles with multiple pistons, compress them one at a time to avoid uneven pressure.
If the pistons resist, apply a few drops of brake fluid to the piston’s sealing area; this lubricates the seal and eases the compression. Do not over‑compress beyond the piston’s full‑retracted position, as this can damage the seal and cause fluid leaks later. Once the pistons are fully withdrawn, remove the C‑clamp and ensure the pistons move freely.
Refill the brake fluid reservoir if the level dropped during the operation. Use DOT 4 fluid unless the vehicle’s service manual specifies a different type. After topping up, gently pump the brake pedal several times to push fluid into the new pads and eliminate any air bubbles. The pedal should feel firm, not spongy.
Re‑install the wheel, hand‑tighten the lug nuts, lower the car onto the ground, and torque the nuts to the manufacturer’s specification – usually 100 Nm for most passenger vehicles. Rotate the wheel a few times to confirm that the rotor spins without contacting the pads.
Bedding In New Brakes for Maximum Performance
Proper bedding transfers a thin, even layer of pad material onto the rotor, which eliminates squeal and maximizes friction. Start with three moderate stops: accelerate to 30 mph, then brake gently to 15 mph, allowing the brakes to cool for 30 seconds between each stop. This step heats the pads without reaching the temperature that causes glazing.
Next, perform three hard stops from 30 mph to a near stop, again waiting 30 seconds between each. The hard stops bring the pads and rotor up to their operating temperature, forging a solid friction surface. After the sequence, drive at moderate speeds for about five minutes to let the brakes cool gradually.
If you hear squealing during the bedding process, it often indicates uneven pad material transfer; repeat the moderate‑stop sequence once more. Once the brakes have cooled completely, inspect the pads for any remaining glazing; a light sandpaper can be used to remove a thin layer if necessary.
Finally, perform a short test drive in a safe area, checking for pedal feel, noise, and pedal travel. The brake pedal should feel responsive, and the vehicle should stop in a straight line without pulling to one side. If any issues persist, re‑check the caliper bolt torque and piston compression.
FAQ
How long does it take to replace brake pads and rotors?
A typical DIY job takes 1 hour for front wheels and 45 minutes for rear wheels when you have all tools and follow the steps precisely.
What torque specifications should I use for caliper bolts?
Most passenger cars require 70-100 Nm for caliper mounting bolts; consult your vehicle’s service manual for the exact value.
Can I reuse the old rotors if they are only slightly scored?
If the rotor thickness is still above the minimum spec (usually 0.75 in) and the scoring is shallow, resurfacing is acceptable; otherwise replace the rotor.
What type of brake fluid is recommended for most cars?
DOT 4 brake fluid is the standard for most modern vehicles; verify the required grade in the owner’s manual before topping up.
How do I know when the new brake pads are properly bedded?
After the bedding routine, the pads should feel firm, produce no squeal, and the vehicle should stop straight without pulling to either side.