
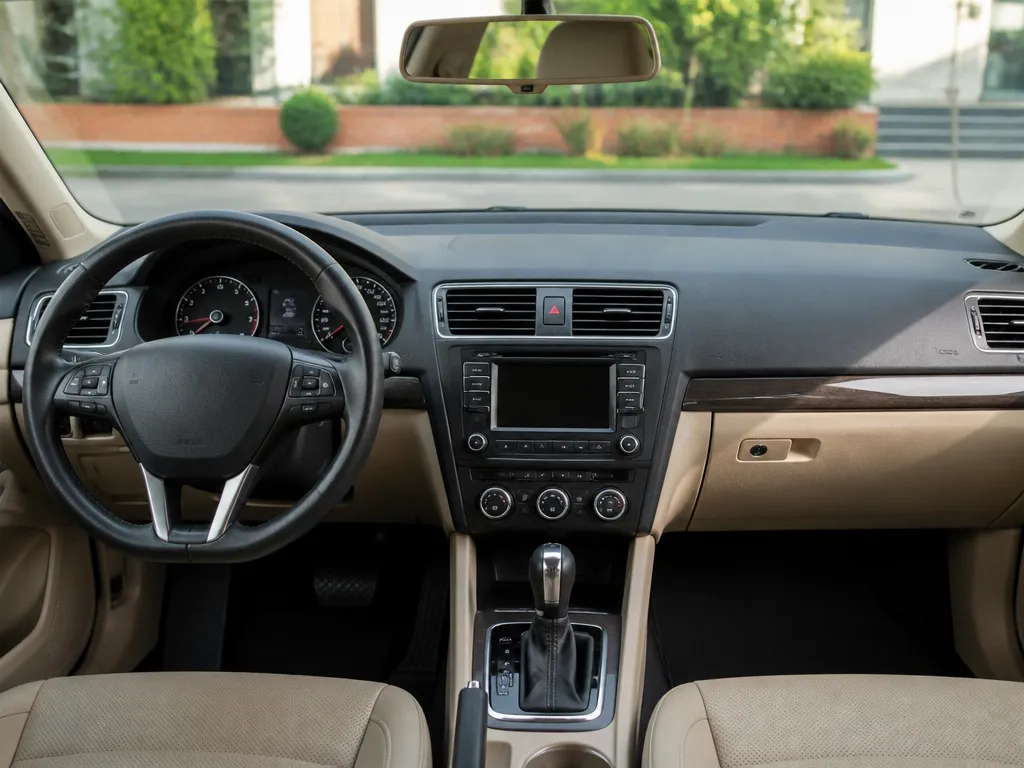
My dash looks gray and chalky, and every time the sun hits it, the texture looks worse. If you searched “how to restore faded dashboard,” you probably have the same problem: the clear coat or surface coating is gone, and the color is cooked by UV. This guide will help you identify the material and choose the right fix.
Start with the method match-up: vinyl usually responds to clean, dye (or restorer), then a UV protectant, while hard plastic may need a resurfacing step or a different coating. You will get a numbered DIY process, product options by budget, and a “when to replace vs wrap vs pro refinish” call.
Restore a faded dashboard by identifying the surface (vinyl, hard plastic, or textured finish), then cleaning thoroughly, correcting color with a vinyl-safe dye or dashboard restorer, and sealing with a UV protectant. Expect 3.5 to 7.75 hours for DIY on a typical dash, 1 day cure time, and 1 to 2 years of visible protection if you maintain it.
How To Restore Faded Dashboard Guide
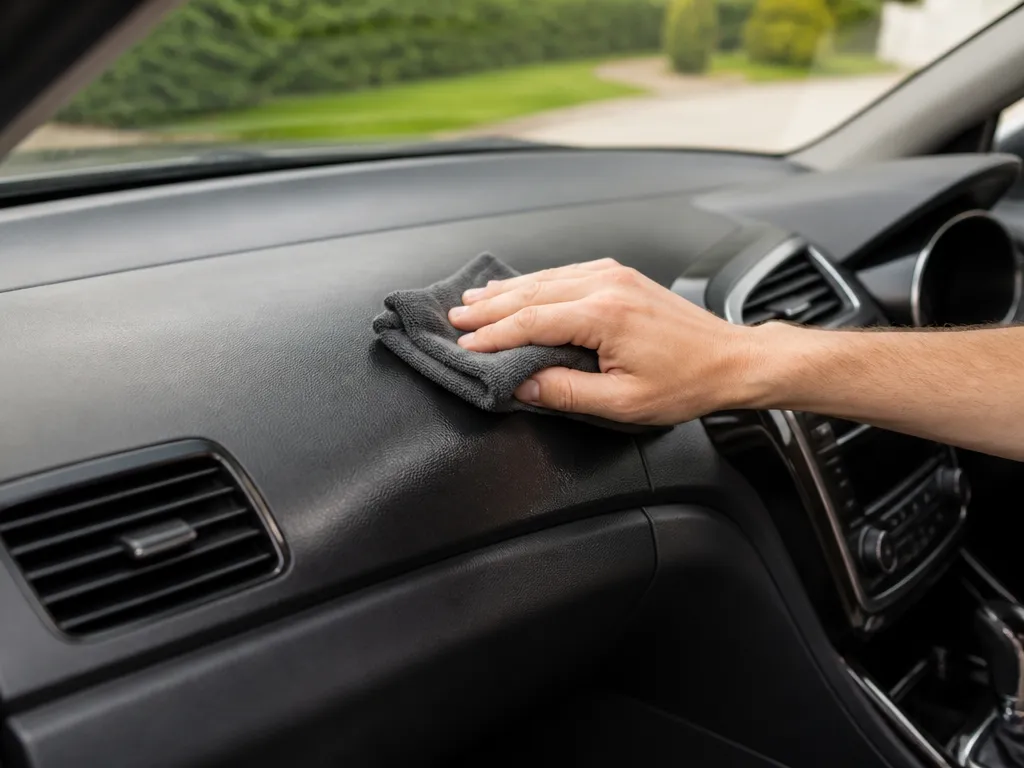
Restoring a faded dashboard is usually a cosmetic job: you clean off oxidized film, re-dress the surface, and (if needed) restore color and sheen. The results depend on finish type, but most DIY cases look noticeably better after proper prep and the right product choice.
What This Guide Will Get You, And What It Will Not
This guide is built for sun-faded interiors where the dash looks chalky, lightened, or patchy from UV heat exposure. The guide targets common finishes such as vinyl coatings and hard-textured plastics, and it aims for an even, OEM-like matte or satin appearance. If your dash has deep cracking, peeling layers, or failed clearcoat, restoration can improve appearance, but replacement or professional refinishing is often the only way to get perfect results.
DIY restoration is also limited by electronic and airbag safety. This guide keeps you on cosmetic surfaces and covers safe work practices around wiring and trim clips, so you do not end up with rattles, warnings, or damage to sensor housings.
Estimated Time And Labor Split
Plan on 3.5 to 7.75 hours for a typical front dash panel, assuming you already have basic tools and you are not removing the entire dash. Most of that time is prep and masking, not the product application.
| Task | Rough time |
|---|---|
| Interior cleaning and contamination removal | 45 to 90 min |
| Surface prep (de-oxidize, scuff if appropriate, dry time) | 60 to 120 min |
| Masking and protection of vents, screens, and controls | 30 to 75 min |
| Conditioner, color restorer, or coating application | 45 to 90 min |
| Final cure and reassembly checks | 30 to 90 min |
Workspace Setup And Safety Gear
Work in a shaded garage or low-light area so products flash-dry less and you can see streaks early. Use clean microfiber towels, nitrile gloves, and eye protection, especially when scrubbing oxidized surfaces or using cleaners that can irritate skin.
Set up a simple “no-surprises” zone: drop cloth over the center console, painter’s tape for edges and seams, and a small bin for trim screws and clips. Keep vents and any exposed openings protected, because overspray or drips on gauges and screens are a pain to correct.
Pro tip: If your dash has a removable cover or separate trim pieces, restore them one at a time. You get cleaner edges and less risk of staining nearby plastic, switches, or gauge lenses.
Materials Id And Finish Types
Dashboard restoration choices hinge on what the top skin is made of, because vinyl, hard plastic, and textured finishes respond to chemicals and sanding very differently. A sun-faded surface can still be structurally sound, but the wrong product will smear, stay tacky, or wear off in weeks.
Quick Surface Cues (Vinyl, Hard Plastic, Textured)
Start with your eyes and fingertips. Vinyl usually feels slightly “grippy” or rubbery and can show a soft, matte sheen when clean. Hard plastic feels slick and cool, and it often looks glossy even when faded; textured dashboards look like fine orange peel or have raised patterns that catch light.
For example, many late-model GM and Ford interiors use soft-touch coatings over plastic. Those coatings can fade and chalk, yet the base is still rigid plastic underneath, which is why compatibility testing matters.
Compatibility Testing Before You Commit
Testing prevents the two big DIY disasters: coatings that do not bond and dye or protectant that turns greasy. Use a small, hidden spot near a vent or behind the gauge hood, then evaluate after cure time and after wiping.
Pro tip: If a product smears like lotion or transfers dark color onto a clean glove, it is usually the wrong chemistry for that surface or the surface still has old plasticizers trapped in it.
| Observed finish | Common wear pattern | What it implies |
|---|---|---|
| VINYL (matte, flexible) | Chalky fade, darker edges at seams | Surface plasticizers are escaping, dye may work if it is designed for vinyl |
| HARD PLASTIC (firm, slick) | Uniform dulling, “greying” | Coating may be aging; step may require a plastic-safe prep and an adhesion-focused finish |
| TEXTURED (orange peel) | Flattened high points | Recoloring alone can look patchy, because peaks need the right texture-to-finish match |
Wear Patterns, Plasticizers, And Uv Damage Notes
Fading is often UV-driven, and UV breaks down the top coating and plasticizers. Once plasticizers leave, vinyl and soft-touch coatings turn dry and can “chalk” when wiped, which is why some products feel like they stick for a day and then crack.
Plasticizers also explain why two dashboards that look identical can react differently. A dashboard that feels slightly tacky before restoration usually still has active oils, while a dashboard that feels dry and powdery needs deeper prep, and aggressive solvents or sanding can permanently damage thin skins.
Diy Restoration Actions
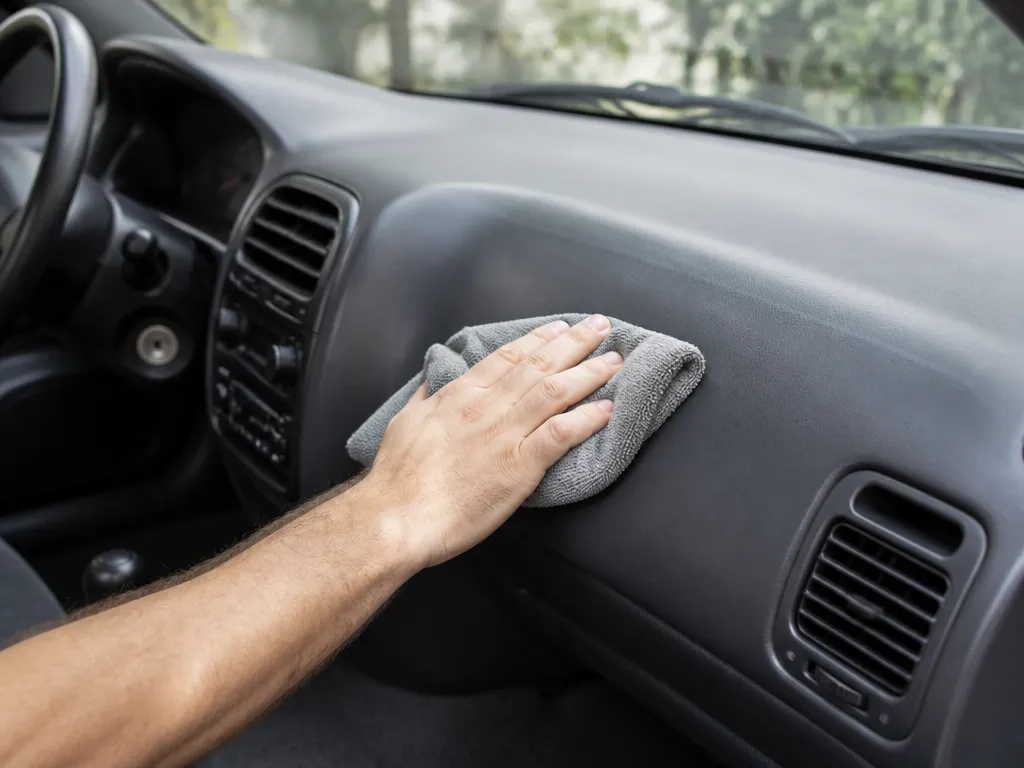
DIY dashboard restoration works best when you treat it like a paint system: use controlled scuffing only when appropriate, then match the color product and allow adequate drying time. Plan on 1 hour 40 minutes to 4 hours of labor plus dry time, with most of the variability coming from product choice and surface porosity.
| Step | Typical DIY Time | Biggest Risk |
|---|---|---|
| 1-2 (materials, masking) | 15 – 35 min | Not enough product for full coverage |
| 3 (clean and degrease) | 10 – 30 min | Silicone contamination causes peeling or blotching |
| 4 (scuff/fill) | 15 – 30 min | Over-sanding damages texture |
| 5-6 (color and UV seal) | 30 – 85 min + dry | Streaking and uneven shade |
| 7-8 (cure/inspect/reassemble) | 30 – 60 min | Scraping fresh coating during reinstall |
Skill level: moderate DIY. Expect difficulty if the dash has severe cracking, heavy texture wear, or if the surface is coated with an unknown finish (common on older cars and trucks). If you see peeling or flaking during cleaning, stop and switch to a system that strips and refinishes, or let a professional handle it.
Budget-friendly Dashboard Products
Faded dashboards usually need a cleaner to remove oils, a restoration product or dye to refill color, and a UV protectant to slow new fading. Start with products made for vinyl and interior plastic, not generic degreasers or paint compounds.
Basic Cleaners And Degreasers
Use an interior-safe degreaser first when the dash looks hazy or “oily” under light. For lightly oxidized surfaces, a gentle interior cleaner can be enough, which helps prevent over-drying textured vinyl.
For hard plastic (common on some upper bezels and center caps), avoid heavy dwell times. For textured pads, keep scrubbing gentle, because you can polish the grain and change the look.
Vinyl Cleaners And Restorers
Vinyl restorers bring back a more uniform “new-ish” look, especially on soft-touch coatings that have gone chalky. Look for products labeled for vinyl dashboards, dashboards, and interior trim that include UV inhibitors.
Shop tip: If you still see dry, chalky areas after cleaning, a true restorer or dye is doing the heavy lifting. A pure protectant over chalk often looks blotchy.
Dyes And Colorants For Plastics
Dyes are the budget-friendly path when the dash is faded unevenly or the color is noticeably off. Expect the biggest results on vinyl and coated plastics; bare hard plastic may need sanding prep before dye will bite.
| Material you’re likely restoring | Best budget product type | What to watch |
|---|---|---|
| Soft vinyl (most common dashboards) | Vinyl cleaner + restorer or dye | Over-spraying creates shine and tack |
| Hard plastic trim (bezels, center caps) | Cleaner + color coat or dye | Poor adhesion if surface is glossy or oily |
| Textured coatings | Light cleaner + matte protectant | Aggressive products polish texture away |
Sealants And Uv Protectants
UV protectant is what stops the next round of fading. Choose products that are labeled for interior UV protection, then plan on reapplication on a schedule based on sun exposure (daily-driver cars in strong sun need more frequent touchups than garage queens).
Safety Notes And Ventilation Tips
Most interior dyes and color coat products use solvents, so ventilate the cabin and protect your hands. Wear nitrile gloves and eye protection, and keep fans aimed out the vents to reduce fumes.
For makes with heavily textured dashes, like many Toyota and Honda trims from the mid-2000s to early 2010s, budget time for test spots. Color products vary by OEM shade, so buying two small bottles is cheaper than redoing the whole dash.
Professional Refinishing Options
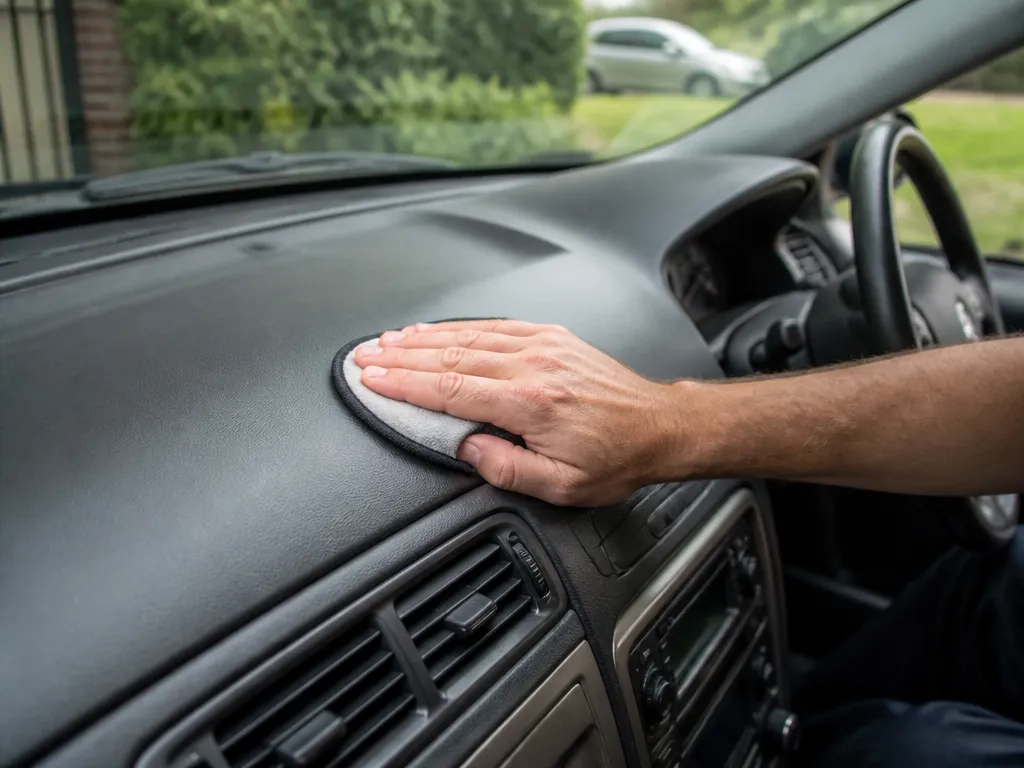
Professional refinishing is worth it when the dashboard surface is cracking, the texture is damaged, or the fading is deep enough that DIY dye or UV protectants keep looking patchy. A shop can strip and refinish to the correct sheen, then apply a sealing coat that holds up to heat cycling and sun.
When A Pro Is The Smart Call
Dashboards that are only dull and sun-faded usually respond to careful prep and a good vinyl or plastic coating. Cracks, worn-through grain, peeling, or bubbling paint mean the base layer is failing, and spot repairs often keep telegraphing.
Dealer-grade reality check: If your dash feels sticky, has lifting edges, or shows multiple layers from past repairs, plan on a full surface refinish rather than a “color-only” correction.
Common Services Included
Most reputable dash refinishing jobs start with thorough cleaning and mechanical prep, then move to material-specific coating systems. A good shop also matches color under the same lighting conditions you drive in, because interior shade perception changes fast between direct sun and garage light.
| Service level | What you get | Typical timeline | Typical cost range |
|---|---|---|---|
| Color refresh | Prep, dye or coating, light texture attention | 2-4 days | $300-$800 |
| Full refinishing | Strip to stable layer (as needed), refinish, texture restoration, sealing | 5-10 days | $800-$2,000 |
| Complex/large dash | Includes heavy disassembly, multi-panel match, tough adhesion jobs | 1-2+ weeks | $1,500-$3,500+ |
Ranges vary by region, dashboard material type, and how much disassembly or texture repair is required.
Warranty And Post-service Care
A solid shop backs the work, either with a written warranty on peeling or color loss, or at least a clear redo policy if the finish fails early. Ask what the warranty covers, how long it lasts, and whether it applies only when the dash is cleaned with approved products.
In practice, most refinishing failures come from rushing the cure or cleaning with APC/solvents too soon. A shop that gives you a short care checklist and an honest warranty term is usually the one you want to pay.
Maintenance Plan For Prevention
UV exposure is what keeps driving dashboards back to chalky gray and faded color, even after a great restoration. A consistent protection routine and gentle cleaning are what keep the finish looking even, especially on high-sun dashboards found in most sedans, crossovers, and trucks.
Uv Protection Schedule And Products
Plan protection like you would car paint: regular top-ups beat one big recoat. Start with a protectant right after your restoration cures fully, then repeat on a predictable cycle based on sun load.
Choose a dashboard protectant made for interior UV protection and designed for the surface you restored (vinyl, soft-touch coating, or harder textured plastics). Many aerosol protectants look good short term, but some can leave glare or film if the dashboard is already smooth from restoration.
| Product type | Best for | Trade-off |
|---|---|---|
| Interior UV protectant (spray or wipe-on) | Most vinyl and coated dashboards after restoration | Needs periodic reapplication for full UV coverage |
| Matte finish protectant | Textured or soft-touch finishes to prevent shine | May appear darker in the first few days |
| Restoration sealer/top coat (if used in your process) | Dash kits with a listed compatibility | Longer cure time, must follow the kit’s prep steps |
Regular Cleaning Cadence And Safe Products
Clean dirt before it grinds into the restored surface. Use a microfiber towel and a cleaner that is safe for interior plastics and vinyl, then follow with protectant so you replace what the cleaner removes.
Skip harsh solvents and aggressive degreasers. Alcohol-heavy cleaners, silicone spray overdoses, and anything “waxed” or petroleum-based can cause streaking, blooming, or adhesion problems for future protectants.
Annual Inspection And Touch-up Guidelines
Once a year, inspect the “sun map” areas where the fade returns first, usually the center of the dash, the edge by the windshield, and the top of the instrument hood. Look for early chalkiness, color shift, or a rough feel where your restoration wears through.
Pro tip: If you can rub a dry microfiber and see gray dust, you are past “maintenance” and into a spot re-protection or spot re-coat.
For minor wear, clean lightly, scuff very gently only if your restoration product calls for it, then apply a thin protectant layer. For deeper color loss or peeling, you need a spot refinishing or full process again because protectant alone cannot fix cracked or delaminating coatings.
Product Recommendations And What To Avoid
Match your protectant to your finish type. Vinyl and soft-touch dashboards generally tolerate wipe-on protectants well, while glossy hard plastics can show uneven sheen, so matte or low-gloss options tend to look more natural.
For most vehicles, including Toyota Camry and RAV4, Honda CR-V and Accord, Ford F-150, and many GM sedans, the biggest win is staying on schedule. A clean, protected dash can stay consistent for years, while an inconsistent routine forces you back to restoration sooner.
Common Mistakes To Avoid
Over-restoration is what kills most DIY dashboard jobs. Heavy solvent use, wrong chemicals for the finish, and heat-set mistakes can cause softening, peeling, or a shiny blotch that looks worse than the original fade.
In practice, dashboards on makes with softer, grainy plastics (common on many GM and Ford interiors) show blotching quickly when the surface prep is inconsistent.
For example, a single spot that still has Armor All-style residue will repel dye or coating, leaving a lighter square that becomes obvious in sunlight.
| Mistake | What you see | Why it happens | Fix direction |
|---|---|---|---|
| Heavy solvent or cleaner | Sticky spots, dull haze, soft grain | Material swelling or surface skin removal | Strip back to solid, test cleaner on a hidden area first |
| Too much product at once | Wrinkles, solvent pop, uneven gloss | Trapped solvent under film | Reduce coat thickness, respect flash times |
| Wrong prep level | Peeling or fast re-fade | Contaminants or weak adhesion | Re-clean correctly, scuff lightly if the product calls for it |
Pro tip: Do a “hidden corner test” before committing to the whole dash. If the finish changes texture, turns shiny, or looks blotchy after cure, stop and correct prep and chemistry before wasting hours.
Ignoring surface prep and masking is the biggest avoidable failure. Surface contaminants and overspray are what cause most uneven color, and those defects usually turn a sun-faded dash into a dash with visible patches in every light angle.
Quick Summary
The practical takeaway is to use the surface cues and test spot before choosing a product. Chalky, gray fading reflects damage to the surface coating from UV exposure, while deep cracking, peeling, or failed texture may require professional refinishing or replacement.
Allow 3.5 to 7.75 hours for typical DIY prep and application plus drying, with about 1 day cure time and 1 to 2 years of visible protection when maintained. Mask vents and gauge screens, work in shade so products flash-dry more slowly, test in a hidden spot, and skip harsh solvents.
| Dash surface | Key approach | Typical timing |
|---|---|---|
| Vinyl | Clean, then dye or restorer, then apply UV protectant | 3.5 to 7.75 hours DIY, about 1 day cure |
| Hard plastic | May need resurfacing or a different coating before UV sealing | 3.5 to 7.75 hours DIY, about 1 day cure |
| Textured finish | Use gentle cleaners, avoid strong alcohols or thinners, test products carefully | 3.5 to 7.75 hours DIY, about 1 day cure |
Frequently Asked Questions
What’s The Safest Way To Restore A Faded Dashboard Without Damaging The Finish?
Start with the gentlest cleaners and avoid strong solvents or abrasive pads, since many dashboards have a thin protective topcoat. If you use a restoration product, test it in a hidden spot first, then apply in light layers and let it fully cure before driving in direct sun.
How Much Does It Cost To Restore A Faded Dashboard, And Is Diy Cheaper?
DIY typically costs less because you’re paying for cleaner, trim restorer, and maybe a UV protectant layer, while professional work can run significantly more due to labor and product prep. As a rule of thumb, if the dashboard is only lightly faded, DIY is usually worth it, but if it needs re-skinning or deep resurfacing, shop pricing can become the smarter route.
Can I Restore A Faded Dashboard Using Sunscreen Or Uv Protectant Only?
Sometimes, yes, especially if the surface is sun-dulled but not chalky or flaking. You’ll get better results by using a dashboard-safe UV protectant after cleaning, but if the finish is already oxidized through, protectant alone usually won’t fully bring back the original color.
What’s The Biggest Mistake People Make When Restoring A Faded Dashboard?
The most common mistake is using the wrong cleaner, especially alcohol, harsh degreasers, or “engine bay” products, which can strip the dash coating and leave it worse. Another frequent error is applying restoration products too thick, which can make the surface sticky or uneven.
How Long Will A Restored Dashboard Finish Last After Treatment?
Longevity depends on UV exposure and whether the original topcoat is still intact. With proper cleaning and a quality UV protectant, many restorations hold up for 1 to 2 years, but intense sun and cracked leather or vinyl often shorten that timeline.
Should I Use A Vinyl Dye, A Color Restorer, Or A Dashboard Re-skin For Faded Dashboards?
If your dashboard looks dull but the texture is intact, a color restorer plus UV protectant is usually the best first step. If the surface is chalky, peeling, or the fading is patchy, dye or resurfacing products may work better, but a re-skin is often the option when the original material is too far gone.