
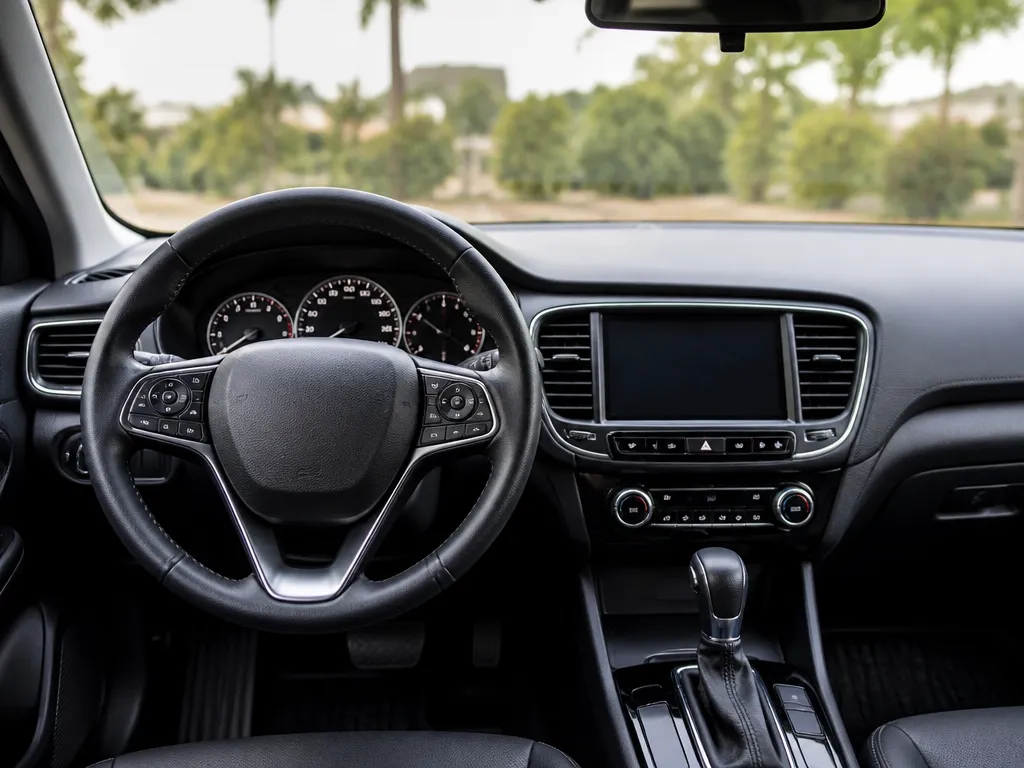
Your dash gets hit with sunscreen, hand oils, and dust every day, so “quick wipe” turns into streaks and sticky residue fast. If your interior looks dull or your screen has haze, you need the right method for vinyl, plastic, vents, and touchscreen surfaces without risking electronics or airbags.
Clean in the safest order: dry dust first, then use pH-neutral cleaner on vinyl/plastic, screen-safe products on displays, and a soft brush for vents. Use two microfiber towels, keep cleaners off seams, and spot-test before you go full dash.
Clean a car dashboard by wiping dry dust first, then mist a pH-neutral vinyl/plastic cleaner onto a microfiber towel and wipe gently. For the instrument screen, use a screen-safe cleaner and a dedicated microfiber. Spend 20-40 minutes for a light clean, 60-90 minutes for sticky buildup, vents included.
How To Clean Car Dashboard: Step-by-step
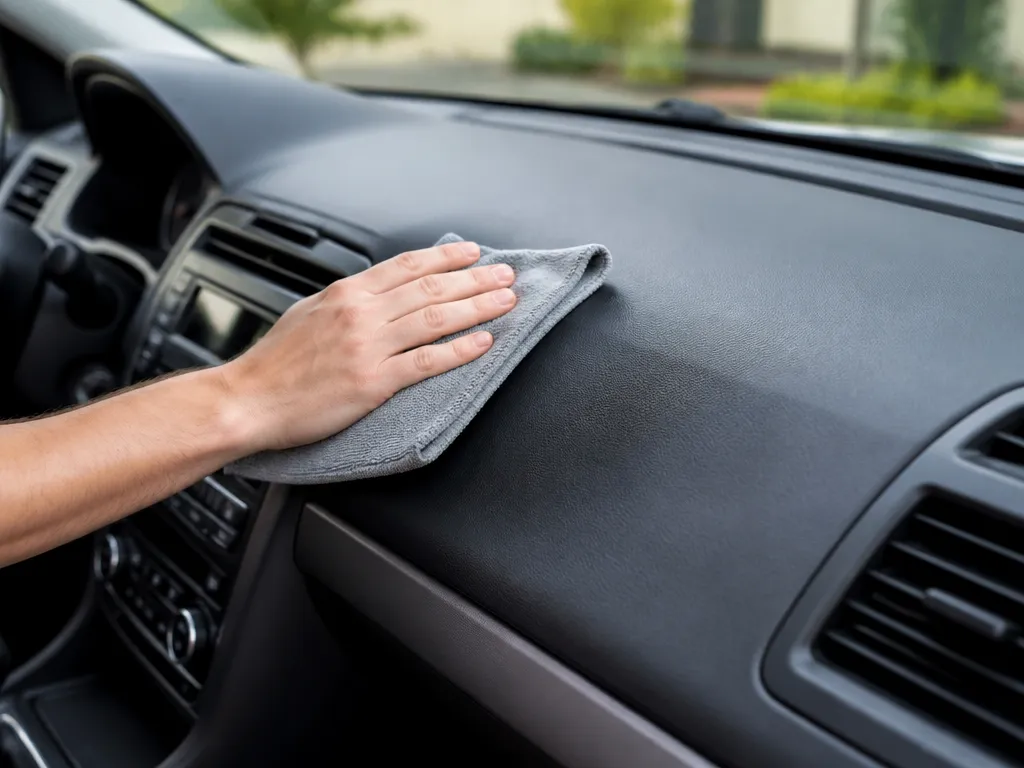
Plan for a 20 to 40 minute session based on dirt level. Start with a powered-off vehicle and keys removed, giving electronics a rest before wiping.
Tip: Always test cleaners on a hidden spot first to ensure no discoloration or haze on your dash finishes.
Tools And Product List
Clean dashboard cleaning relies on surface-specific cleaners, soft microfiber towels, and gentle brushes. Have dedicated vinyl plastic cleaner, a screen-safe cleaner for touchscreens, and a mild all-purpose interior cleaner ready, plus a UV protectant to seal cleaned surfaces. Patch test supplies should be on hand to verify finish compatibility before you apply anything.
| Item | Amount/Specification | Notes |
|---|---|---|
| Vinyl Plastic Cleaner | 16 oz spray bottle, non-ammonia, pH-neutral | Use on dash and trim; spray onto cloth, not directly on surfaces; test on a small area first. |
| Screen-Safe Cleaner | 8-12 oz spray bottle | Ammonia-free; spray onto microfiber, wipe screen in smooth motions; avoid excess moisture near electronics. |
| All-Purpose Interior Cleaner | 1 bottle 24 oz | For textured trim and armrests; choose a formula that is safe for plastic and vinyl; do not use solvent-heavy products near airbags. |
| UV Protectant | 12 oz spray or wipes | Apply after cleaning to slow fading; wipe in thin, even coats; avoid glossy overspray on screens. |
| Microfiber Towels | 2-4 large (16×16 in) plus 2 small | 300-400 GSM, lint-free; designate towels for interior use only; keep separate from exterior towels. |
| Soft-Bristled Brush | 1-2 brushes | Fine bristles for vent louvers and seams; use light pressure to avoid scratching. |
| Applicators | Foam brushes or microfiber pads | For even product spread; replace after use on dirty surfaces to prevent residue transfer. |
| Patch Test Materials | Cotton swabs, microfiber patch cloth | Test on inconspicuous area; log results and time to check for discoloration or streaking. |
| Optional Tools | Vent cleaning brush, detailing brush set | Useful for stubborn grime in crevices; pick soft options to avoid scratching surfaces. |
Prep And Safety Checks
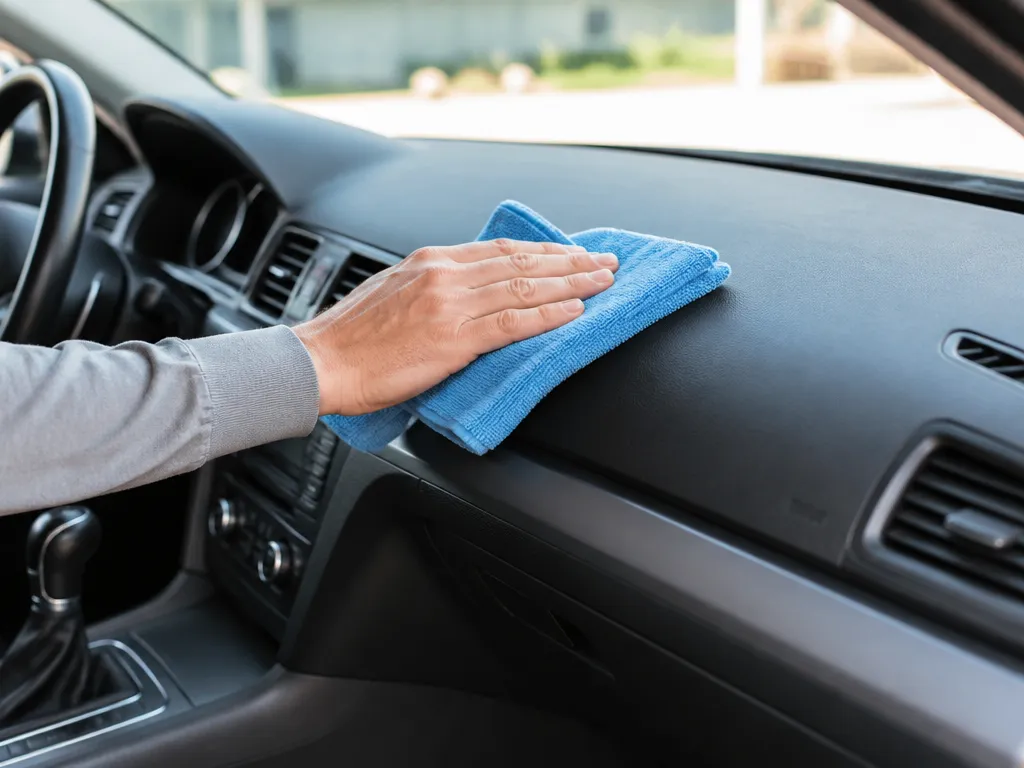
Power down the cabin before any cleaning so you do not short a switch, fan motor, or screen. Let the dash cool down to room temperature, then wipe away any loose grit so it does not turn into a scratching paste.
Power-down And Moisture Control
Disconnecting the battery is overkill for most interior cleaning, but you should still disable anything that can react to liquid. Turn the ignition off, remove the key, and if your vehicle has auto-stop, press the brake and keep doors closed for a minute before you start wiping.
Moisture is the enemy around seams and electronics, especially near the instrument cluster, infotainment screen, and air vent motors. Keep cleaners off wiring access areas and use microfiber only, meaning no soaking rags that can drip into the dash.
Pro tip: If your microfiber starts to feel slick or leaves a “wet spot,” you are holding too much liquid. Swap to a dry towel and continue wiping dry.
Patch-test A Hidden Area First
Vinyl, molded ABS, and painted plastics respond differently to alcohol-based cleaners, degreasers, and UV restorers. Patch-test in a hidden spot like the inner edge of the driver-side bezel or under the steering column trim.
Apply the product to the cloth, rub for 10 to 15 seconds, and then wait 5 to 10 minutes. Check for tackiness, color change, whitening (stress hazing), or a dull sheen that does not buff out. If you see any of that, switch to a milder cleaner and avoid that product on the main face.
| Spot to test | Why it helps | Red flag |
|---|---|---|
| Under-trim edge near pedals | Likely same plastic/vinyl finish | Streaking that won’t buff dry |
| Back side of a removable bezel | Same material, less visibility | Gloss change or tackiness |
| Inboard vent surround | Common overspray target | Film buildup in grooves |
Remove Small Items That Can Contaminate Surfaces
Clear the cabin so you do not push debris into the dash texture. Pull loose papers, coins, key fobs with bulk cases, phone mounts, and any hanging ornaments away from vents and screen bezels.
For cars with built-in air fresheners or vent tabs, remove them before cleaning. For example, replace or remove fragrance clips so residue does not smear when you wipe around the center stack.
Vinyl And Plastic Dash Cleaning
Vinyl and plastic dash surfaces clean best with a microfiber dry dusting first, then a lightly diluted cleaner applied in small sections, followed by immediate dry buffing. This sequence prevents grit from turning into streaks and keeps residue from drying on the grain.
For vent openings and creases, fold the microfiber to a point and lightly wipe the edge, then follow with a second dry towel to pull out what the cloth can reach. For consoles and gauge hoods made of glossy plastic, keep the cloth flatter and buff more frequently since gloss shows streaks faster.
Insider tip: If streaks show up only when headlights hit the dash at night, you usually have a thin residue film. A quick dry-buff with a new microfiber often fixes it before you re-clean the whole panel.
| Problem you see | Most likely cause | Fast remedy |
|---|---|---|
| White haze or milky streaks | Cleaner dried on the surface or watered-down residue | Wipe with a lightly damp microfiber, then dry-buff with a fresh towel |
| Greasy shine | Too much dressing or product left behind | Reduce product on the cloth, dry-buff more aggressively |
| Rough, grabby feel | Cleaner mixed with dust grit | Dust dry first on the next attempt, then repeat the diluted wipe in sections |
Maintenance keeps this from turning into a monthly ordeal: wipe with a dry microfiber during routine cabin cleaning, then do one light, diluted clean only when fingerprints, sunscreen, or foggy film show up. Most daily drivers benefit from this approach, including common dash materials found on many GM, Ford, Toyota, and Honda models.
Screen And Display Care
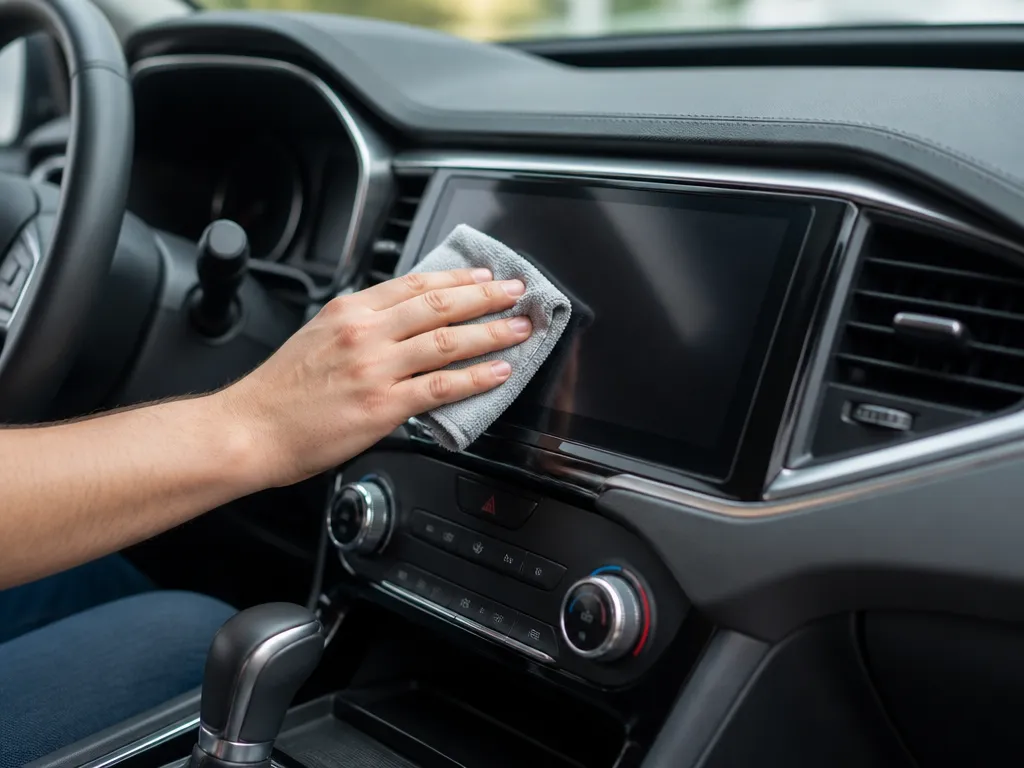
Dashboard screens and instrument clusters are coated, so cleaner choice and wiping method matter more than people expect.
Start by powering the vehicle off and letting the screens cool. Hot displays make smearing worse and can bake residue onto the coating. Keep vents and buttons nearby dry so overspray does not find its way under the bezel.
Use The Right Cleaner And Microfiber
For most modern infotainment panels and digital clusters, a screen-safe cleaner designed for LCD and touch screens is the safest bet. Avoid household glass cleaner unless the label explicitly says it is safe for screen coatings. Use two cloths, one for initial wipe and one for final buff, so you do not grind dust into the coating.
| Cleaner/chemical | Typical risk | What you might see |
|---|---|---|
| Ammonia-based glass cleaners | Can haze or degrade anti-glare layers | Cloudy film, reduced contrast |
| Alcohol-heavy cleaners | Can damage some display polarizers and coatings | Streaking, rainbow sheen |
| Abrasive wipes | Micro-scratches on hard coats | Permanent swirl pattern |
If the display is foggy after cleaning, that is often coating haze from the wrong chemistry, not dirt. In that case, stop and switch to a screen-safe cleaner with gentle microfiber only.
Technique That Prevents Streaks And Water Marks
Wipe with light pressure and use straight-line passes, top to bottom or side to side. After the first pass, use a dry microfiber for a final buff to remove any remaining moisture. Avoid circular scrubbing, it increases streaks and can trap grit.
Water marks happen when too much liquid sits along the bezel edges. Work quickly, and keep cleaner concentration mild. For sun-baked glare smudges, do two gentle passes instead of one aggressive wipe.
Know What Coatings To Avoid Around The Display
Many infotainment screens and digital clusters use anti-glare or anti-smudge coatings that can react badly to strong solvents. Ammonia and alcohol are the biggest culprits, especially on touchscreens where oils and coatings meet. Stick to screen-safe products and avoid spraying anything “universal” near the bezel.
For best results on Audi Virtual Cockpit clusters, Tesla center displays, BMW iDrive panels, and similar modern layouts, use the screen-safe product and treat the bezel like a seal. If cleaner runs into seams, it can carry residue onto internal layers or nearby sensors.
For streak troubleshooting, switch to this order: dust removal dry wipe, then damp wipe with minimal cleaner, then dry buff. If residue still appears, the cloth may be contaminated with silicone dressing overspray or old grime. Replace the microfiber and try again before you escalate to stronger chemicals.
Vent And Button Detailing
Air vents and dashboard buttons collect grime in layers, so the right tools matter more than soaking the area. Work dry first, then switch to barely-damp cleaning only where the surface needs it.
Dust Removal Methods For Vents
Start by pulling loose dust out of the slats so it does not smear across plastic. Use a soft detailing brush, a clean microfiber, or a vacuum with a brush attachment at low suction to lift grit from crevices.
For vents with tight fins (common on many late-model sedans and crossovers), keep the brush tip at a shallow angle and “sweep the channel” rather than scrubbing across it.
Gentle Brushing Angles To Avoid Scratches
Scratches happen when bristles cross-lap over glossy trim. Hold the brush so it travels with the grain of the vent fins, using short strokes that lift grime, not grind it.
When you hit stubborn buildup, apply cleaner to the microfiber first, then touch the brush to the damp fabric. This keeps liquid from running into the vent housing and onto connectors.
| Area | Safe approach | What to avoid |
|---|---|---|
| Vent slats (plastic fins) | Dry brush, then wipe with barely-damp microfiber | Spraying cleaner directly into the vent |
| Vent surround bezel | Light pressure microfiber, corner-to-corner passes | Scrubbing hard enough to leave “tracks” |
| Gloss black trim | Microfiber only, minimal liquid | Abrasive pads or stiff bristle brushes |
Cleaning Around Buttons And Bezels
Buttons and their bezels hate excess moisture because liquid can creep under the face and into the seam. Use a cleaner that you can control on cloth, and keep spray off the switch panel.
For tactile or recessed buttons, wrap a microfiber around a plastic trim tool or your fingertip, then wipe the button faces with a light, flat pass. For the gaps around the edges, use a soft brush with the bristles shortened by trimming them slightly, then wipe immediately.
“If residue smears, it usually means too much product or a dry dust layer was disturbed. Re-wipe with a clean, dry microfiber, then follow with a barely-damp pass.”
Finish by checking every button edge for dampness. Let the dash air dry with the vents set to off for 10 to 15 minutes before turning the system back on.
Protectants And Finish Options
Vinyl and plastic dashboards need a protectant that restores lubricity and adds UV resistance. Wipe-on water-based dressings usually leave a more matte finish, while silicone-based protectants tend to look richer and can feel slick. Choosing the right one depends on how shiny you want it to look and how much glare you get in bright sun.
| Protectant type | Best for | Finish look | Common pros | Common trade-offs | Reapply cadence |
|---|---|---|---|---|---|
| UV vinyl/plastic (water-based) | Vinyl, coated plastics, cured OEM finishes | OEM-matte to soft satin | Lower slip, easier clean-up, less “shine bloom” | May need more frequent touch-ups than silicone | Every 4 to 8 weeks |
| UV protectant (silicone-based) | Heavily dried vinyl, textured plastics | Satin to deep matte, can trend glossy | Good coverage, strong water repellency | Can attract dust and smear if over-applied | Every 2 to 6 weeks |
| Chemical protectants with “UV + conditioning” | Mixed interiors with both hard plastic and vinyl | Adjustable by wipe technique | Uniform appearance across surfaces | Finish can look uneven if the surface is not fully clean | Every 4 to 10 weeks |
Cadence depends on sun exposure, cabin dust, and how often you wipe the dash. Exact intervals vary by product and climate, so treat these as starting points.
Choosing The Right Protectant For Vinyl
Look for labels that specifically mention “vinyl and plastic” and avoid heavy “engine bay dressing” formulations. A dashboard is typically coated or painted vinyl, so harsh solvents and strong solvents can soften the surface or leave blotchy spots. For textured dashes, pick a dressing that wipes thin, then immediately buff to prevent pooling in seams and grain lines.
For vehicles with large glass areas (many crossovers and sedans), glare control matters. A satin or matte finish usually reads best in daytime, while high-gloss products can reflect off the windshield and make the dash look worse over time as dust clings to the slick film.
Application, Curing Time, And Buffing
For example, if streaking appears, it usually comes from either uneven coverage or residue left behind after the initial wipe. For tinted or high-texture vinyl, do a second pass only after the first area has flashed off, then buff again with a fresh towel to level the finish.
Safety note: Keep protectant off the steering wheel airbag seam and any sensor openings. Overspray and residue can contaminate surfaces you do not want to slick, and it can be difficult to remove later without reworking the area.
Maintenance And Reapplication Cadence
Dust control is the best “protectant” in day-to-day life. Use a clean microfiber for quick wipe-downs and skip the spray-on protectant for routine dust removal, because that builds a film and makes streaks more likely. Every time you wash the dash, re-evaluate the feel, the sheen, and how quickly dust returns.
In practice, reapplication goes fastest in hot, sun-baked climates, and slower in garage-kept cars. Start with a conservative interval, check the finish after 2 weeks, then adjust: if the dash looks dry or chalky, shorten the interval; if it looks tacky or dusty quickly, switch to a more matte water-based option or apply less and buff harder.
Quick Summary
| Area | Cleaner choice | How to apply | Extra notes |
|---|---|---|---|
| Vinyl/plastic dash | pH-neutral vinyl/plastic cleaner | Mist onto microfiber, then wipe | Use minimal pressure to avoid dulling, spot-test first |
| Instrument screen | Screen-safe cleaner (ammonia-free) | Apply to a dedicated microfiber | Avoid moisture near edges/connectors, buff after |
| Air vents | Dry microfiber plus brush if needed | Lift dust first, do not spray liquids in | Compressed air can be used at low pressure, can upright |
Frequently Asked Questions
How Do I Clean A Car Dashboard Without Damaging The Dash Coating?
Start with a microfiber cloth lightly dampened with water or a dedicated interior cleaner, and avoid soaking vents, seams, and any exposed electronics. If your dash is textured or matte, test the cleaner in a hidden spot first to make sure it does not leave shiny patches.
What Is The Safest Way To Clean A Dashboard With Sunscreen Marks Or Greasy Film?
Use a pH-neutral interior cleaner and work in small sections, then wipe dry with a clean microfiber. If it is heavy buildup, repeat the process, do not scrub aggressively, and keep cleaner out of the gauge cluster area.
Can I Use Alcohol, Clorox Wipes, Or Glass Cleaner To Clean My Dashboard?
Try to avoid alcohol-heavy products and bleach-based wipes, since they can dry out vinyl and leave uneven appearance. For most dashboards, stick to interior-safe cleaners made for automotive plastics and vinyl.
How Do I Clean Around The Air Vents And Infotainment Screen On My Dashboard?
Use a soft detailing brush or cotton swab for cracks and vent edges, then remove residue with a lightly damp microfiber. Keep sprays off the screen and vents by applying cleaner to the cloth first, then wipe gently.
Will Cleaning My Car Dashboard With Too Much Product Cause Streaks Or Sticky Residue?
Yes, it is common if you over-apply or do not rinse or buff off residue. Use less cleaner than you think, wipe again with a dry microfiber, and let the surface fully dry before turning on the heater.
How Often Should I Clean The Car Dashboard To Keep It Looking Good?
For normal conditions, plan on a quick microfiber wipe every 1 to 2 weeks, and a deeper clean a few times per year. If the cabin gets dusty or you drive in heavy sun, more frequent light cleaning helps prevent grime from bonding to the finish.