
You rub in sunscreen once, then park in the sun all summer, and suddenly your leather looks dull and smells like warm dye. If you have cracking, dark rings, or uneven color, protection is your first fix before you start chasing repairs. This guide walks through identifying your leather type and protecting it from wear, stains, and UV damage.
Protecting leather seats is a prep and product sequence: clean with pH-balanced cleaner, condition with a neutral conditioner, then seal with a non-silicone protective coating (and use UV blockers). You will also get cure-time targets, patch-test rules, and a schedule for reapplying protection.
Leather seat protection starts with a 10-minute test patch. Clean with a pH-balanced leather cleaner, then wipe dry. Apply conditioner in thin coats, letting it soak 15 to 30 minutes, and buff off. Finish with a leather sealant/protectant, covering seams and edges, and let it cure about 12 to 24 hours before heavy use.
How To Protect Leather Seats
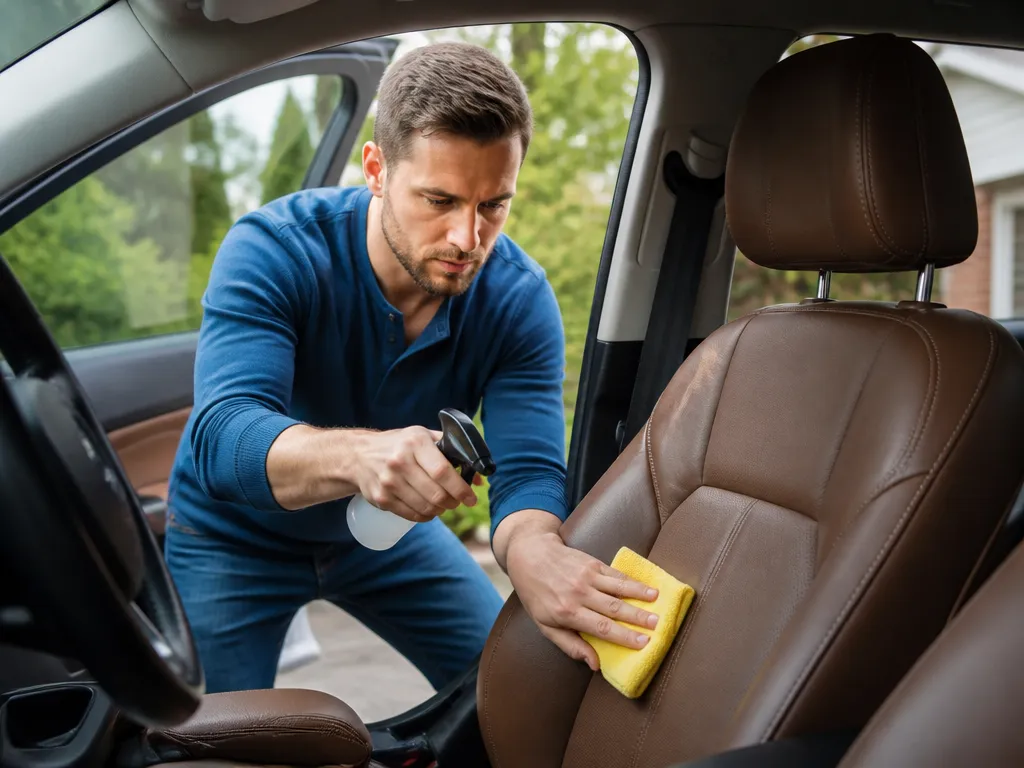
Leather protection is about keeping the surface balanced, reducing stain pickup, and blocking UV fade so the finish does not dry out. The repeatable workflow is prep → spot test → clean → condition → seal/protect → UV assist and cure time.
What “Protection” Means On Real Leather
Leather changes because it loses its oil balance and takes dyes and oils from hands, denim, and food. A good protectant either restores some moisture/oils with conditioner or adds a protective film (sealant) that resists transfer and eases future cleaning.
UV exposure is the second big enemy because it fades color and makes the surface feel rough, which then grabs dirt and dye faster. A true protection plan targets both transfer resistance and UV durability, not just a shiny coat.
The Diy Workflow That Actually Sticks (And When People Mess It Up)
Mechanic tip: Over-cleaning is the most common failure. Strong cleaners or repeated degreasers strip oils, then conditioners and sealants do not bond well, so you get uneven sheen and faster re-soiling.
Most DIY attempts fail in one of these places: skipping a patch test, using the wrong chemistry for the leather finish, or applying product and moving the seats before it cures. Cure time matters because many protectants need hours to fully set, especially in shaded garages.
| Step | What to watch | Typical time |
|---|---|---|
| Patch test | Color shift, slick feel, tackiness | 10 minutes to check, then reassess after cure window |
| Clean + dry | No visible residue on a white microfiber | 15-45 min depending on ventilation |
| Condition + buff | Even sheen, no pooled product | 20-40 min per seating area |
| Seal/protect + cure | Dry-to-touch is not full cure | Several hours to overnight (follow label for exact window) |
Quick Decision Tree: Refresh, Deep Clean, Or Full Re-protect
Use this call based on what the leather is doing today. Refresh is for normal wear and light dullness. Deep clean is for grime buildup or sticky feel. Full re-protect is for transferred dye, uneven color from previous products, or heavy dryness.
Denim dye transfer is the classic “deep clean or full re-protect” trigger because transferred pigments keep migrating if you only spot-condition. Color unevenness is another red flag, since it usually means prior layers or wrong chemistry left a patchy film that needs removal and reapplication.
Safety note: Work in ventilation, wear gloves for residue-heavy cleaners, and keep protectants away from seat controls. Seat heaters and airbags are safety-critical systems, so do not remove trim unless you are trained, and avoid any product getting into wiring or switches.
Leather Types And Protection Differences
Leather on car seats is usually either aniline, semi-aniline, or pigmented (fully coated). Those finishes behave differently when they get wet, get rubbed, and they accept conditioners or protectants. The wrong product can leave streaks, dark spots, or a greasy feel that attracts dirt.
How To Tell The Finish, And Why It Changes Stain Behavior
Finish type shows up as texture and look. Aniline leather is more “open,” so liquids soak in faster and dye transfer from jeans can bleed deeper. Semi-aniline has a light surface protection, so it resists absorption better, but scuffs still show. Pigmented leather has a stronger color layer at the surface, so spills often stay on top longer.
Leather finish also changes how products work. Aniline and semi-aniline accept conditioning oils more readily, but they also make dye transfer easier to lock in if you skip pre-clean steps. Pigmented leather accepts conditioners, but heavy oil-based products can sit on the surface and create residue or an uneven shine.
| Leather finish | Stain and scuff behavior | Protection goal | Product bias |
|---|---|---|---|
| Aniline | Soaks faster, dye transfer can darken permanently | Maintain flexible hydration, slow absorption | Light conditioning, followed by breathable protection |
| Semi-aniline | Moderate absorption, scuffs show where surface is worn | Reinforce surface repellency | Conditioning that is not overly oily, then protective spray/wipe |
| Pigmented | More surface resistance, spills wipe sooner | Keep color layer consistent and reduce grime adhesion | Color-stable cleaner/conditioner, then surface sealant (sparingly) |
Correct Protection Strategy By Finish (Absorber-prone Vs. Color-layered)
Absorber-prone leather (mostly aniline) needs a strategy that prevents deep dye capture. Use a pH-balanced cleaner first when you have body oils or grime, then apply a conditioner that soaks evenly, and seal with a protection that does not glue a glossy film onto the grain. Over-conditioning aniline can make the surface feel soft but dirt-prone, because oils migrate and attract oils from skin and hands.
Color-layered leather (pigmented) needs less “oil replenishing” and more surface management. Clean first, then protect with a product designed for coated leather so you reduce future staining and scuff visibility. When pigmented leather gets too much conditioner, it can look patchy where the surface finish is uneven, especially on high-wear bolsters and armrests.
“Treat aniline like a sponge and pigmented leather like a painted surface. The product you choose should match how fast it absorbs and how the top color layer is built.”
Common Car-seat Variations That Change Where Wear Shows Up
Modern cars mix leather paneling, and that means different finishes can appear on the same seat. Perforated centers on many BMW 3 Series, Audi A4, Mercedes C-Class, and Tesla Model 3 style interiors often wear differently than the non-perforated bolsters. Perforations expose more edges to sweat and dye, so protection has to be applied evenly and allowed to cure fully.
Panel mixing drives uneven results if you treat everything the same. Saddle stitching and contrast piping on many Ford F-150 and Chevrolet Tahoe seats create higher scuff points, and armrests collect skin oils constantly. For these zones, focus on consistent, thin applications and test in an inconspicuous spot before going broad.
Tools And Materials Checklist
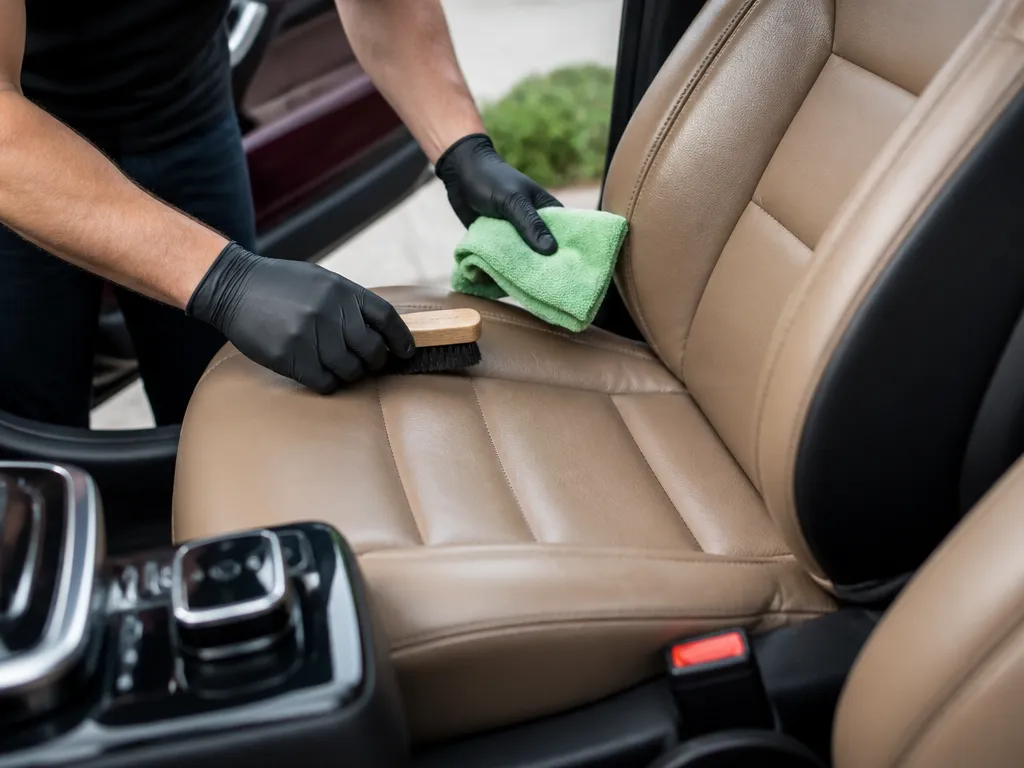
Start with a pH-balanced leather cleaner and soft microfiber so you lift grime without stripping the leather’s natural oils. Add a neutral conditioner and a non-silicone leather protectant with UV agents to reduce fading, cracking, and dye transfer. Use clean applicator pads and glove up to prevent residue and transfer during application.
| Item | Amount/Specification | Notes |
|---|---|---|
| pH-balanced leather cleaner | 1 bottle, typically 16 to 24 oz (473 to 710 mL) | Choose a leather-specific cleaner, not an all-purpose interior spray. |
| Soft microfiber towels | 4 to 6 towels, lint-free | Reserve one for wipe-off, one for final buffing, keep others clean. |
| Small detailing brush | 1 soft-bristle brush | Use for seams, stitching, and textured grain (a nylon brush is common). |
| Vacuum setup | 1 shop vac or strong handheld vacuum + brush attachment | Prevents grit from grinding into the leather during cleaning. |
| Neutral leather conditioner | 1 bottle | Pick a “neutral” or balanced formula to avoid darkening or uneven sheen. |
| Non-silicone leather sealant/protectant | 1 bottle or spray, as directed by the label | Non-silicone products reduce the chance of gummy buildup and hazing. |
| Applicator pads | 4 to 8 foam pads or microfiber applicators | Use separate pads for conditioner and protectant to avoid cross-contamination. |
| UV blocker product (or UV in conditioner/sealant) | 1 product with UV agents, quantity per seat | Use an explicit UV-protection formula or one that lists UV blockers in the ingredients. |
| Painter’s tape | 1 to 2 rolls | Mask plastic trim and perforation edges if overspray or runoff is common. |
| Nitrile gloves | 1 box | Gloves prevent oils from your hands transferring and also keep you off the finish. |
| Clean towels for drying and inspection wipe | 2 to 4 towels | Use for final wipe so you can verify no residue is left behind. |
| Interior-safe drying fan | 1 fan | A gentle fan speeds drying without overheating materials. |
| Inspection light | 1 LED inspection light | Angles reveal missed spots, streaks, and uneven gloss. |
If a product smells strongly solvent-like or leaves a slick film in the first buff, stop and reassess. Many “leather” products that are too aggressive can create tacky residue that attracts dirt and makes future conditioning uneven.
Step-by-step Protection Workflow
Start with a clean, dry baseline so you are protecting what is actually on the leather, not trapping grime. The workflow below keeps products controlled, checks for color transfer, and gives each layer the time it needs to cure before you sit again.
After each stage, keep windows closed and give the interior time to breathe. Air-dry the leather until it is dry to the touch, then leave people and pets off the seats during the window after application.
| Stage | What to check | Typical re-use guidance |
|---|---|---|
| Patch test | No tack, no color bleed on towel | Wait at least several hours before full-seat application |
| Light cleaning | Leather feels dry, towel shows minimal residue | Re-use only after fully air-dry (often 1 to 3 hours depending on airflow) |
| Conditioning | Matte finish, no slick feel where you wipe | Don’t sit for a vehicle-interior cure window, commonly 4 to 8 hours |
| Sealant/barrier and UV step | No tack, no oily haze, uniform color | Don’t sit for the label cure time, often 8 to 24 hours |
Shop tip: If you see rainbowing, dark blotches, or a sticky feel after conditioning, stop and let it dry fully. Lingering tack usually means excess product trapped moisture or residue, and that is harder to correct once you apply the next barrier.
For common use cases like clean-once-per-season care for BMW 3 Series (leatherette or leather depending on trim), Mercedes-Benz E-Class, and Ford Mustang GT, a practical cadence is: clean lightly as needed, condition every few months, then renew UV protection seasonally. If your seats see heavy sun, keep your re-use timing strict after each application, because early contact is when color unevenness and transfer happen.
Do’s And Don’ts That Matter
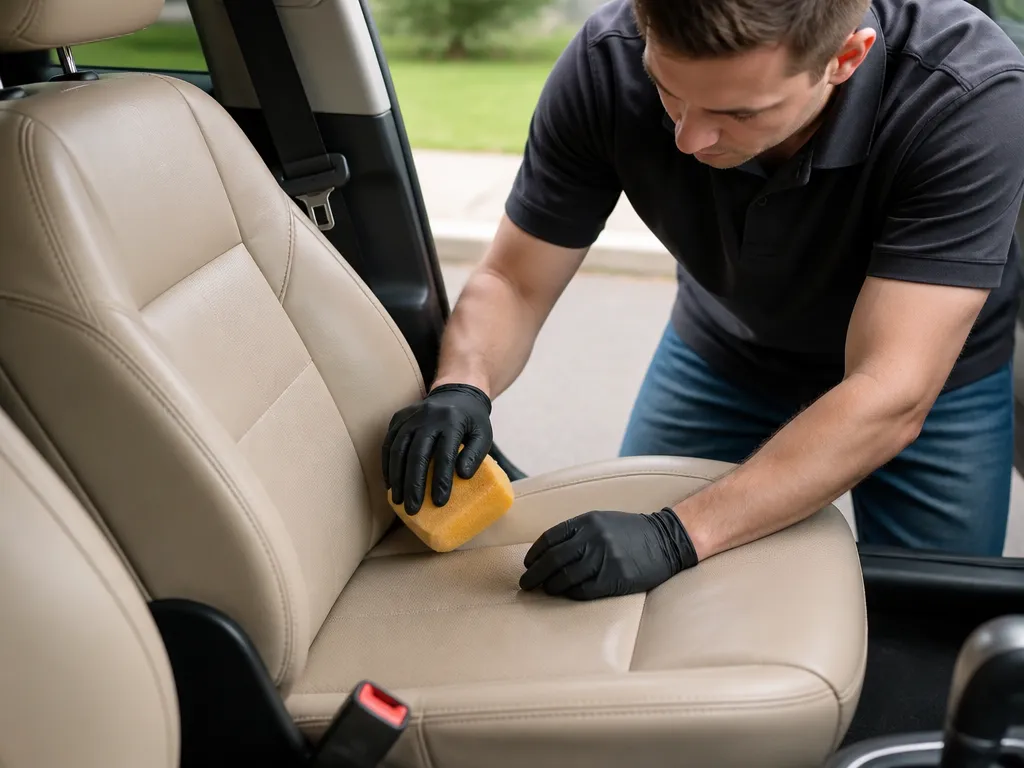
Gentle cleaning with leather-specific products preserves natural oils and reduces risk of color transfer or residue. Use microfiber cloths and repeat the test in a hidden area, then re-check after the first dry to catch streaks or uneven absorption.
Denim Dye Transfer
Symptom: Denim dye shows on the leather surface after regular use. Cause: Jeans rub color off during friction and heat, transferring dye to the leather.
Fix: Clean promptly with a leather-safe cleaner using a fresh microfiber, blot rather than rub, and wash jeans separately to reduce future transfer.
Color Unevenness
Symptom: Color appears uneven or patchy on the seat surface. Cause: Inconsistent application pressure or uneven absorption of cleaners and conditioners leads to visible streaks.
Fix: Apply evenly in small sections using a clean, dry microfiber, keep consistent pressure, and let products dry fully between coats. Avoid spot re-wet; test on hidden area first, and finish with a light UV-protectant if recommended for your leather type.
Residue And Tack
Symptom: A sticky or greasy feeling remains on the surface after cleaning or conditioning. Cause: Over-application or incompatible products leave a residue that traps oils and dust.
Fix: Wipe down with a clean microfiber dampened with water or leather cleaner, then dry thoroughly. Use only thin coats in the future and select products compatible with your leather type to prevent future tackiness.
Product Categories And Example Picks
Leather protection products have separate jobs: cleaning, conditioning, and sealing. Buying from the same brand line helps, because cleaner residue and conditioner chemistry can clash with some sealants.
How To Choose Like A Real Owner (Not A Brochure)
For budget, many owners do well with a basic pH-balanced cleaner plus a neutral conditioner, then add a UV-capable sealant once you see the leather getting dry or the color looking flat. For longevity, buy products that are meant for automotive leather and plan on reapplying the sealant more than the conditioner.
For perforated leather, choose low-foaming cleaners and avoid anything that turns into a thick film. For existing shine or residue, inspect by wiping with a clean white microfiber; if it picks up oily color or wipes gray, skip conditioners that are very rich and start with a dedicated leather cleaner first.
Maintenance Schedule And Reapplication
Leather protection is a schedule, not a one-time project. Build a routine around gentle cleaning, targeted conditioning, and reapplying a barrier layer before daily wear and UV exposure push the finish through. Reapplication timing depends on climate, seat age, and how much the vehicle sits in sun.
Daily And Weekly Habits
Daily maintenance is about preventing grit and spills from grinding into the surface. Wipe down frequently touched areas with a clean, dry microfiber to pick up dust before it acts like sand.
Monthly Routine
Monthly care keeps leather supple while maintaining even coverage. Inspect first, then clean lightly where needed, then condition only if the surface feels dry or looks dull.
Quarterly And Seasonal Steps
UV and heat are the main long-term enemies, even if the seats look clean. Every quarter, do a quick targeted refresh that includes checking whether the top barrier is wearing off.
Annual “Full Protection” Workflow
Plan one full protection session per year, then scale up or down based on wear. A full workflow is typically a deep clean if needed, conditioning, and a final seal or topcoat style protection to restore uniform barrier coverage.
Time and cost reality: For most vehicles, expect about 1.5 to 3 hours for annual full protection, depending on whether you do spot deep cleaning or treat all seating. Do-it-yourself cost usually lands in the range of roughly the cost of a few leather-cleaner and conditioner bottles plus a separate protective product, while a professional interior detail can cost more and varies by region.
Uv, Dye Transfer, And Extra Shields
Ultraviolet light is one of the fastest ways to dry out and fade leather, because it breaks down surface oils and pigments over time. Denim dye transfer happens when indigo and other dyes rub onto leather fibers, especially on light colors and high-contact zones. Strong protection is usually a mix of smarter parking, fast cleaning habits, and a true barrier layer on top.
Uv Protection: Shade Wins, Coatings Help
Parking strategy reduces UV dose before you ever touch a cleaner. Aim for shade, rotate parking sides when possible, and crack windows so cabin heat can escape faster after a sunny stop.
Denim And Dye Transfer: Stop The Rub, Clean The Contact Fast
Denim dye transfer is a friction and contact problem. The highest-risk spots are the driver-side bolster, seat edge, and any area where tight jeans crease against the leather.
Seat Covers And Liners: When They Help, And What To Avoid
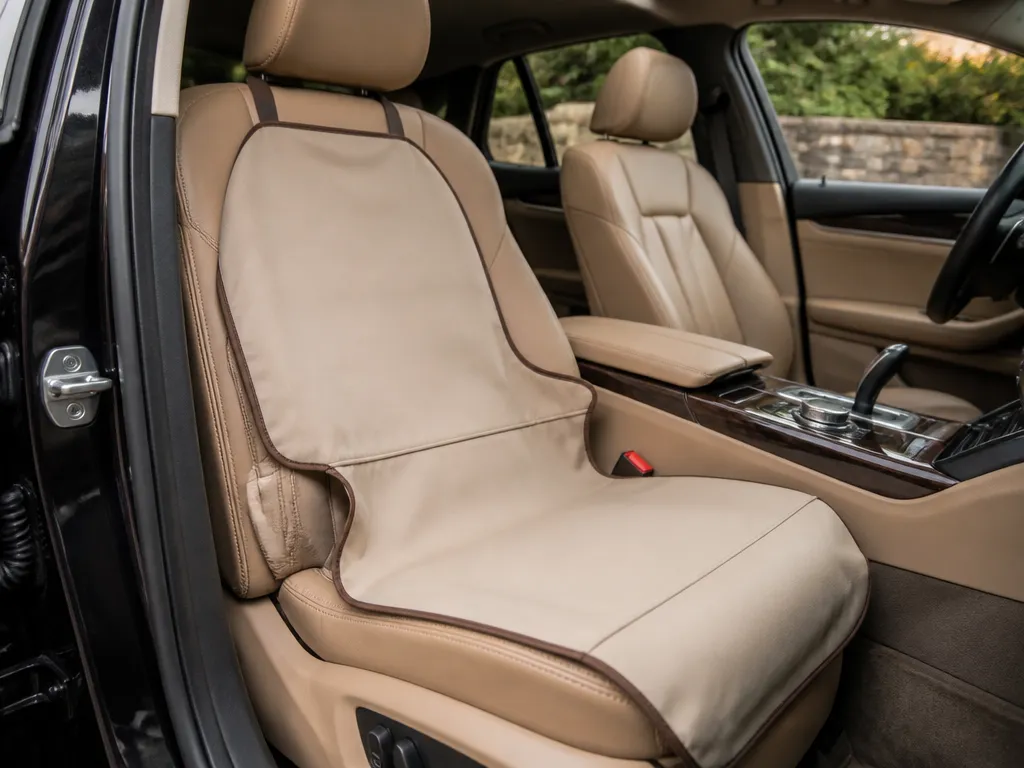
Seat covers are effective for high-use vehicles, kids, pets, or anyone wearing dark clothing often. Covers also help protect against incidental spills and reduce daily friction on the center panel.
Seat covers can create problems if they trap heat and moisture between the cover and the leather. Choose breathable materials and avoid tight vinyl covers that “steam” the cabin surface, especially in hot climates.
Micro-actions That Extend Leather Life
Small habits outperform “big” products. Clean armrests and high-touch areas first, since body oils and lotions build up there and can reduce the way a protectant adheres.
Leather that looks “dry” often needs less conditioner than you think, and more protection from UV and transfer. If you chase shine with heavy products every time, you can build residue that attracts dirt and accelerates uneven wear.
Quick Summary
Use a 10-minute test patch in an unseen spot, then inspect the leather after the cure window. Reapply protection based on wear, climate, and UV exposure, and remember that over-cleaning can strip oils.
Frequently Asked Questions
What’s The Best Way To Protect Leather Seats From Cracking?
Keep seats out of direct sun as much as possible, clean spills promptly, and condition when the surface feels dry. Blot liquids rather than letting them soak in, because absorbed moisture and oils can contribute to drying and cracking.
Can I Use Regular Car Interior Cleaner To Protect Leather Seats?
Not usually. Many general cleaners are too harsh or strip oils, so you should use a pH-balanced leather cleaner and then follow with a compatible conditioner. If your leather looks dry or feels squeaky after cleaning, you likely used a product meant for vinyl or plastic.
How Often Should I Condition Leather Seats To Keep Them Protected?
Adjust conditioning to the climate and the seat’s condition. Hot, sunny, or very dry environments may require more frequent care, while mild climates can go longer between applications.
What’s The Right Way To Apply Leather Protectant Without Ruining The Finish?
Apply it to a clean, dry surface using a soft microfiber towel, then work small sections at a time. After application, wipe off any excess and let it cure for at least a few hours with windows cracked, so the finish does not feel tacky or attract more dust.
Will Leather Protectant Help If My Seats Are Already Stained Or Discolored?
Sometimes it helps prevent the stain from spreading, but it usually won’t erase deep dye transfer or permanent spotting. Clean the area first with the correct leather cleaner, then apply protection only if the leather still looks uneven or dry.
What Common Mistakes Should I Avoid When Protecting Leather Seats?
Avoid steam cleaning, soaking leather with water, and using household products like window cleaner or oils such as olive oil, since they can cause sticky buildup or uneven darkening. Also, never apply conditioner or protectant to dirty leather, because grit can grind into the surface and dull the finish.