Use mild abrasives, sand progressively, then polish and seal with a UV protectant.
I have repaired and restored dozens of headlights over my career as an auto-detail technician and DIY enthusiast. This guide explains how to clean car headlights at home with clear, tested methods. You will learn why lenses cloud, which tools work best, step-by-step methods for light to heavy oxidation, and how to protect results so they last. Read on for practical tips, common mistakes to avoid, and short answers to frequent questions.
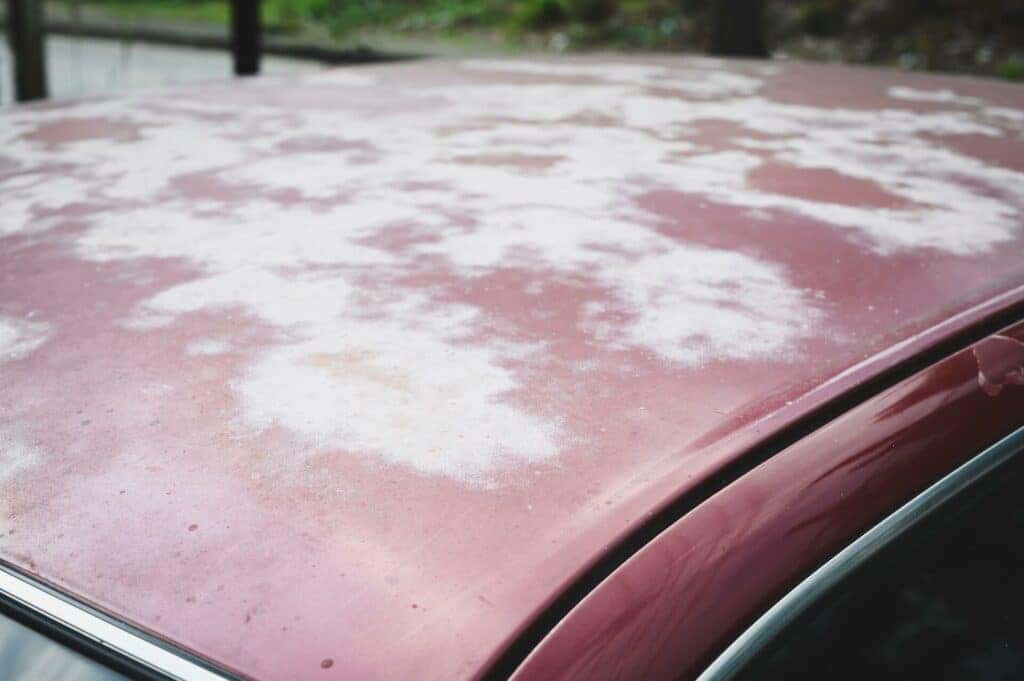
Why headlights get cloudy and why cleaning matters
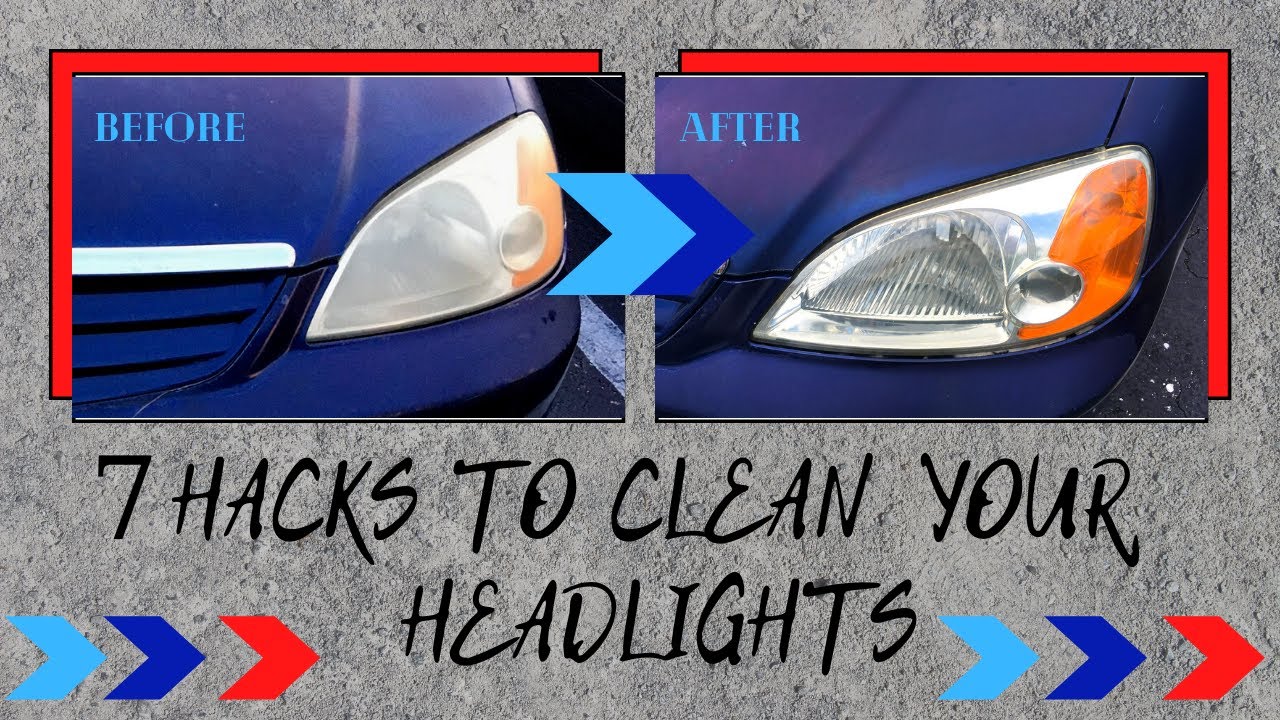
Plastic headlight lenses crack and cloud mainly from UV light, heat, and road chemicals. Over time, the clear outer layer degrades and forms oxidation. Cloudy lenses cut visible light output and can reduce night driving safety by a large margin.
Cleaning restores light output and improves safety and appearance. For many vehicles, cleaning is faster and cheaper than replacing the entire headlight assembly. Knowing how to clean car headlights at home lets you fix common haze and fog without a shop visit.

Tools and materials you will need
Choose the right tools before you begin. Here are the items I use most often.
- Microfiber cloths: For wiping and buffing without scratching the lens.
- Masking tape: To protect paint and trim around the headlight.
- Sandpaper or sanding pads in grits 800, 1200, 2000, 3000: For progressive abrasion on heavily oxidized lenses.
- Spray bottle with water: Keeps the surface wet while sanding.
- Plastic polish or rubbing compound: For removing fine haze and restoring clarity.
- UV protectant or clear coat spray: To seal the lens and prevent rapid re-oxidation.
- Drill-mounted polishing pad or hand applicator: Speeds polishing for larger jobs.
- Safety gloves and eye protection: To protect skin and eyes from chemicals and dust.
Having these items on hand makes it easy to follow any of the shown methods for how to clean car headlights at home.
Three DIY methods to clean car headlights at home
Choose a method based on lens condition. I recommend starting with the simplest method and moving to sanding if haze remains.
Light haze: Soap and a microfiber
- Wash the headlight with car soap and water.
- Dry with a clean microfiber cloth and inspect.
- Apply plastic polish with a cloth and buff in small circles.
This method can remove surface dirt and mild cloudiness.
Moderate haze: Toothpaste or baking soda
- Mask off paint and wet the lens.
- Apply a non-gel toothpaste or baking soda paste.
- Rub firmly in circles for several minutes, then rinse and dry.
This is a low-cost home fix that can improve clarity for months but is often temporary.
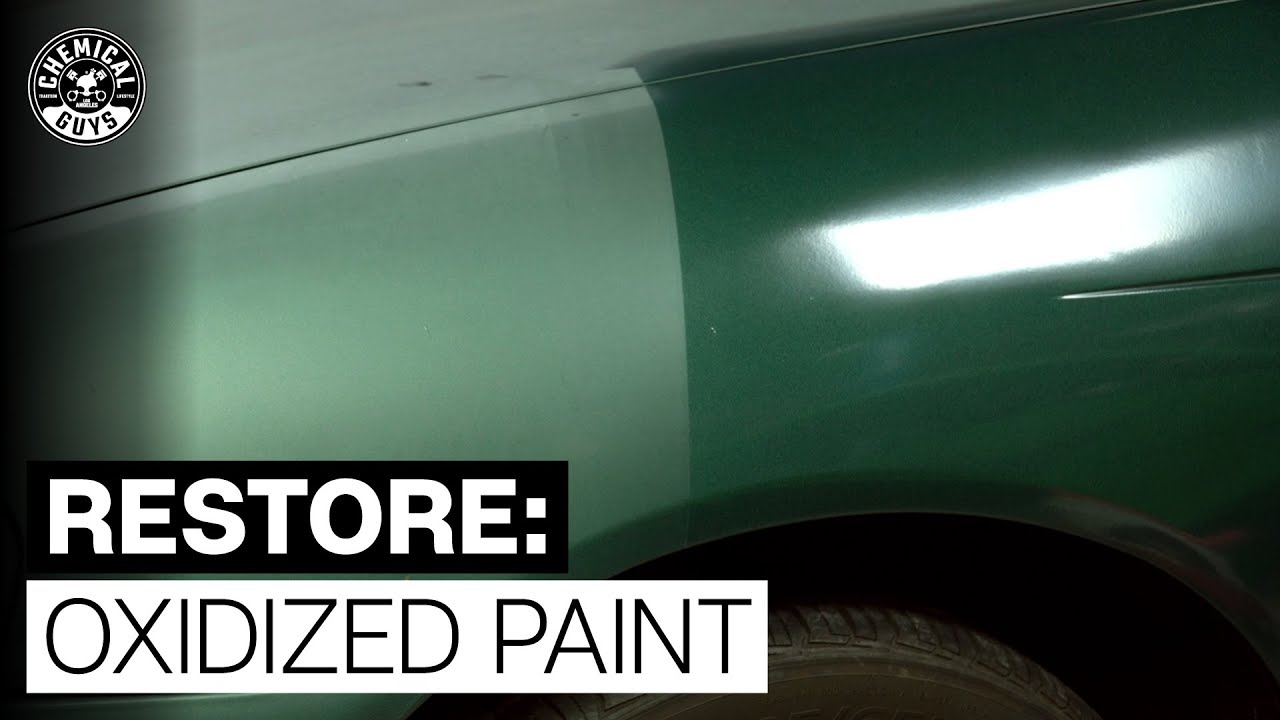
Heavy oxidation: Sand, polish, and seal
- Mask the area and wet-sand using 800 to 3000 grit progressively.
- Polish with a rubbing compound until clear.
- Apply a UV protectant or clear coat to seal results.
This method gives the longest lasting result for heavily oxidized lenses.
Each method addresses different severity levels and shows how to clean car headlights at home from quick fixes to full restoration.
Step-by-step: Sanding and polishing (best for heavy cloudiness)
Sanding and polishing takes time but yields professional results. Follow these concise steps.
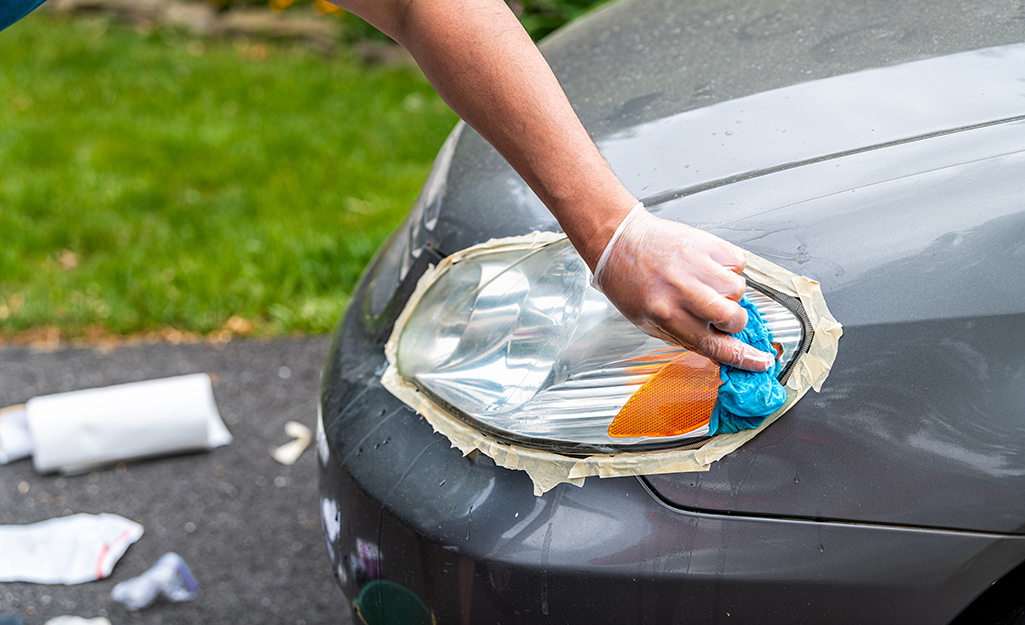
- Clean the lens with car soap and dry it.
- Mask paint and trim well using tape.
- Wet-sand with 800 grit across the whole lens. Keep the surface wet and use light, even pressure.
- Move to 1200 grit, then 2000 grit, then 3000 grit. Sand in a different direction each grit for even removal.
- Rinse and dry the lens between grit changes to check progress.
- Apply a plastic polish or rubbing compound with a pad or cloth. Use low-speed polishing for even heat and finish.
- Wipe off residue and inspect in sunlight.
- Apply a UV protectant spray or clear coat according to product instructions. Let cure fully.
I once restored an older sedan headlight this way. The first attempt skipped 2000 grit and left micro-scratches that required re-sanding. The lesson: follow grit progression and keep the lens wet to avoid deep scratches.
Quick fixes and temporary solutions
Sometimes you need a fast, cheap improvement. These options can help but are not permanent.
- Toothpaste: Works as a light abrasive for mild haze. Expect results to last a few months.
- Baking soda paste: Similar effect to toothpaste for light clouding.
- WD-40 or spray cleaners: Can remove grime and improve clarity briefly.
- Hand polishing with plastic polish: Gives quick shine but must be sealed for durability.
Quick fixes are ideal for improving visibility before a trip. If haze returns quickly, plan a full restoration using sanding and sealing.

Common mistakes to avoid
Avoid these faults to get the best result when you learn how to clean car headlights at home.
- Failing to mask paint and trim: Sanding or polish splash can harm paint.
- Skipping UV protection: Cleaned lenses re-oxidize fast without a seal.
- Using too coarse sandpaper only: Jumping grit leaves deep scratches.
- Applying too much heat or pressure with a drill: This can warp plastic.
- Rushing the process: Proper results take time and patience.
These mistakes are common but avoidable with careful steps and the right tools.
When to replace headlights instead of cleaning
Some issues cannot be fixed by cleaning. Consider replacement if you see:
- Deep cracks or physical damage to the lens.
- Moisture or water trapped inside the housing.
- Severe yellowing on the inner surface that sanding cannot reach.
- Damaged reflectors or burnt bulbs affecting beam pattern.
If cleaning does not restore adequate light or if water is present, replacement of the assembly is safer and more effective.

Maintenance tips to keep headlights clear
After you clean headlights, use these simple habits to make results last longer.
- Wash headlights when you wash the car to remove grime early.
- Apply a coat of car wax or UV protectant twice a year.
- Park in shade whenever possible to reduce UV exposure.
- Re-seal the lens annually or after heavy cleaning.
- Inspect lights regularly for chips or cracks and act early.
Good maintenance reduces how often you need to restore lenses and keeps your headlights clear for safety and style.

Frequently Asked Questions of how to clean car headlights at home
How long does DIY headlight cleaning last?
Results vary by method and exposure to sun. Simple cleaning can last a few months; sanding and sealing can keep lenses clear for one to three years.
Is toothpaste really effective for cleaning headlights?
Toothpaste can remove light haze because it acts as a mild abrasive. It is a temporary fix and should be followed by proper sealing for longer life.
Can I use a power drill to polish my headlights?
Yes. Use a low-speed pad and light pressure to avoid heat damage. Practice on an old lens or small area first.
Will sanding remove deep yellowing?
Sanding removes outer oxidation layers and helps with surface yellowing. It cannot fix damage inside the lens or broken reflectors.
How important is a UV protectant after cleaning?
Very important. UV protectant or clear coat slows re-oxidation and extends the clarity of any restoration you perform.
Conclusion
Cleaning headlights at home is both practical and cost-effective. Start with a simple wash or household polish. For heavy haze, follow a careful sanding and polishing sequence and always finish with a UV sealant. From my experience, patience, the right grit order, and proper sealing make the difference between a short-term fix and a long-lasting restoration. Try a small test on one headlight first, then apply the same method to the other. Share your results, ask questions below, or subscribe for more hands-on auto care guides.