
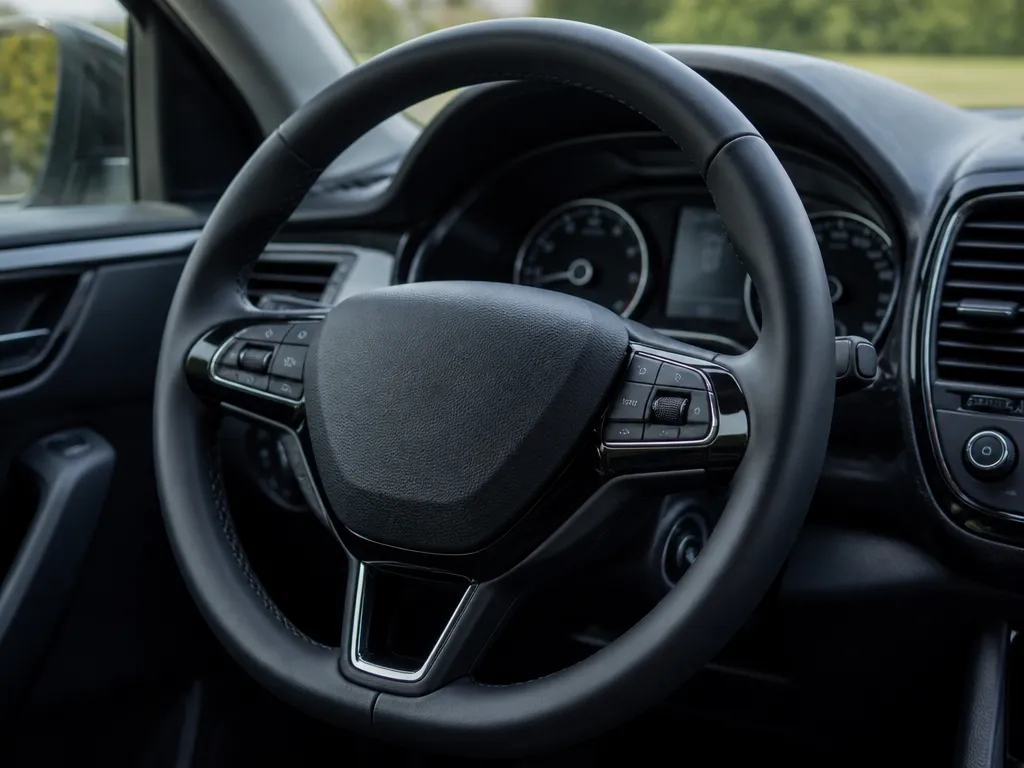
Your steering wheel gets touched every drive, so when it turns tacky, shiny, or grippy in the wrong spots, it usually comes down to sweat oils plus whatever cleaner you used last time. Cleaning the wheel sounds easy until you remember airbags sit behind the center and buttons are finicky. This step-by-step guide walks you through the right method for leather, vinyl, plastic, and suede, so it looks better and feels safe.
Safety first: avoid soaking areas near the airbag, and keep cleaner away from switch seams. Use material-matched cleaners, test a hidden spot, and dry fully before conditioning. For routine care, use a quick wipe every 1 to 2 weeks and a deeper clean every 3 to 6 months.
Steering wheel cleaning starts with a test spot. Mist a pH-neutral cleaner onto microfiber, then wipe gently with light pressure. For leather, wipe, then dry 10 to 20 minutes and apply a leather conditioner. For vinyl and plastic, use a dedicated cleaner, dry fully, and keep liquids out of seams and the airbag area.
How To Clean Steering Wheel Safely
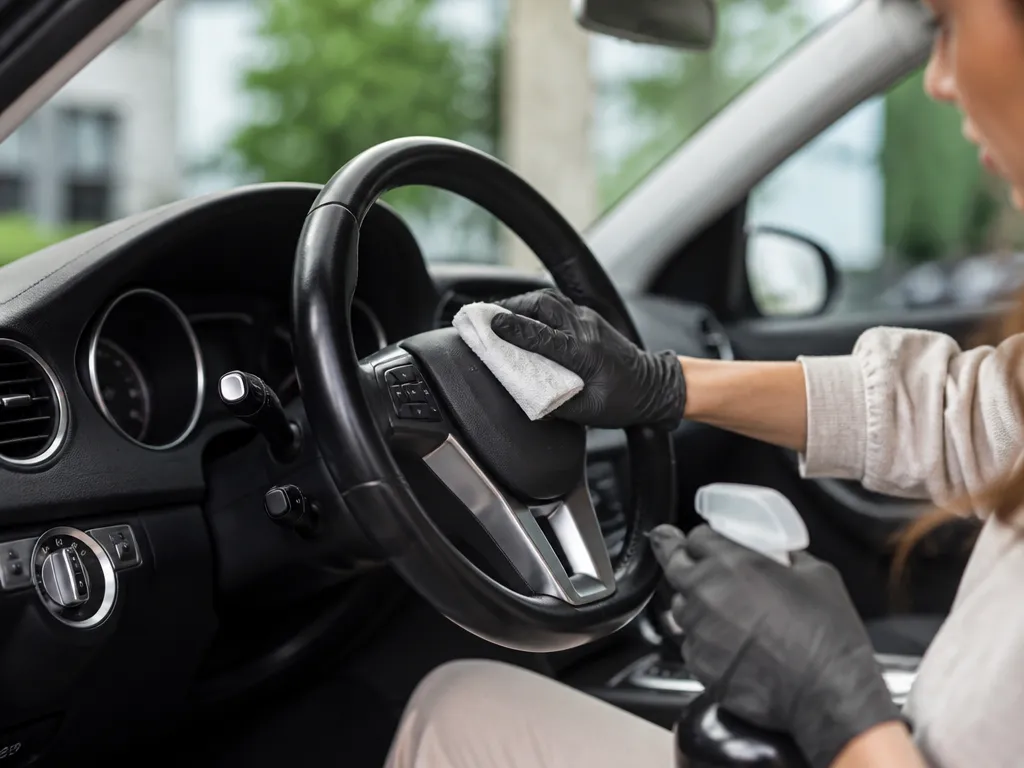
Airbags and steering-wheel electronics are sensitive to accidental shorting or residue, so prep matters more than the cleaner choice. Start by treating the steering wheel like a safety-critical module, especially on vehicles with a driver airbag and steering-wheel control wiring.
Airbag Module Rules You Should Follow
Do not pry, press, or probe around the airbag cover seams, and never remove the airbag unit unless you are trained and have the correct scan tool and procedures. Even if the airbag seems “inactive,” the circuit can still trigger if the wiring or connector gets disturbed.
Keep cleaning towels and brushes away from the airbag seam and the horn pad area. If you must work close to those edges, stop and switch tools rather than forcing liquid into the seam.
Electronics And Controls: Keep Liquids Out
Steering wheels on most modern GM, Ford, Toyota, Honda, VW, and BMW models include wiring for cruise, audio, and phone controls. Liquid creeping into button housings can cause intermittent inputs or corrosion inside the switch pack.
Use a lightly damp microfiber, clean one small section at a time, and dry with a second towel immediately after wiping. Keep any cleaner off stitched wiring channels, button gaps, and the area where the wheel cover meets the trim bezel.
| Risk area | What to avoid | Safer alternative |
|---|---|---|
| Button seams and switch gaps | Spraying cleaner or wet towels | Lightly damp cloth, gentle wiping, quick drying |
| Airbag cover seam | Forcing liquid into the seam | Wipe up to the edge, use minimal moisture |
| Horn pad area | Pressing or dislodging the cover | Clean around it with controlled contact |
Disconnecting The Battery: When It Helps (And When It Causes Headaches)
Disconnect the battery when the vehicle has a lot of steering-wheel electronics and you want extra margin against accidental triggering or stored charge issues, especially on older systems where airbag reset behavior can be unpredictable. Many owners skip this step because the procedure can reset radio presets and trigger airbag warning lights if done incorrectly.
Use this approach only if you are comfortable with basic electrical prep and can follow the manufacturer’s recommended wait time after disconnecting. If the vehicle stores airbag codes or requires a relearn, a professional shop or dealership may save you time by avoiding repeated warning-light trips.
Rule of thumb: For routine cleaning with no parts removed, battery disconnect is optional. If you plan to clean very close to the airbag/horn seam, follow the car’s service procedure or have a shop do it.
Ventilation, Gloves, And Tool Hygiene Basics
Ventilate the cabin because interior cleaners can irritate eyes and lungs, and the steering wheel gets a lot of hand contact. Wear nitrile gloves if you are using any cleaner with strong surfactants or odor masking agents, and keep pets away from the work area.
Dedicate microfiber towels to “dirty solvent” tasks and keep a separate, dry towel for final buffing. Avoid mixing products, especially if you use a leather conditioner on a leather wheel and then switch to an interior all-purpose cleaner, since residue can soften the finish.
What To Do If Cleaner Spills Near The Seam
Act fast and control the spread, because liquid migration is the main way steering-wheel electronics get unhappy. Blot, do not wipe outward, using a clean, dry microfiber to lift the spill where it sits.
For spills close to seams, repeat blotting until the cloth no longer picks up residue, then switch to a slightly damp cloth for a tight perimeter wipe, followed by immediate dry towel contact. If the spill soaks into button gaps or the airbag seam area, stop and wait until it fully dries, and check for sticky controls before driving.
Tools And Material-matched Products
Plan for a damp-only application method, since oversaturating is what leads to stains, glue softening, and haze. Keep separate applicators for leather, vinyl, and fabric so you do not cross-transfer oils or dyes.
| Item | Amount/Specification | Notes |
|---|---|---|
| Microfiber towels | 2 to 4 (lint-free) | Use one for cleaning, one for drying/buffing. |
| Detail brushes | 1 to 2 soft-bristle brushes | Pick nylon/horsehair type that will not scratch plastic or leather embossing. |
| Small detail brush (for stitching) | 1 soft toothbrush-style brush | Great for handholds and textured spokes on most cars. |
| Cotton swabs | 1 pack | For crease lines, stitching edges, and emblem lettering. |
| Spray bottles | 1 small pump bottle | Use with non-saturating application, meaning spray onto the towel, not the wheel. |
| Glass-free, non-saturating cleaner application | Use damp towels only | Goal is damp, not wet (no dripping, no puddling near the airbag). |
| Leather cleaner | pH-neutral leather cleaner (1 bottle) | Use on leather steering wheels only, including grain and stitched areas. |
| Leather conditioner | 1 conditioner (follow label for frequency) | Choose a conditioner intended for automotive leather to restore grip and reduce cracking. |
| Vinyl/plastic cleaner | Mild, finish-safe cleaner (1 bottle) | For hard-touch surfaces on many GM, Ford, Toyota, and Honda interiors. |
| Vinyl/plastic protectant | 1 protectant (low-sheen finish) | Helps resist future skin oils, reduces dry, sticky feel. |
| Fabric or Alcantara-style options | Stain remover made for fabric (1 bottle) + soft brush | Use microfiber or nylon brush types designed for upholstery, not leather brushes. |
| Stain treatment helper class | Stain remover class product | Use for tracked spots like food, dye transfer, and general discoloration. |
| Degreasing helper class | Light degreaser (interior-safe) | Use for oily film from hands, especially on textured grips. |
| Oil-cutting approach (for oily grime) | Degreaser-type interior cleaner | Works when the wheel feels slick and collects dark smears quickly. |
| Ink-targeted approach | Ink-safe interior spot treatment (fabric or hard-surface rated) | Choose product labels that explicitly allow ink or dye removal on the wheel material. |
Grime And Material Matching (So You Do Not Damage The Finish)
Leather needs pH-neutral leather cleaner and a compatible leather conditioner after cleaning to prevent stiffness. Vinyl/plastic needs a mild, finish-safe cleaner and a protectant meant for interior trim, because aggressive cleaners can strip coatings and leave a rough, shiny surface. Fabric or Alcantara-style wheels need fabric-rated spot products and soft brushes that will lift lint and soil without marring the pile.
For oily buildup (dark, slick feel), start with an interior-safe degreaser-style product and damp towels so you can control how much you remove. For ink or dye marks, use an ink-targeted spot treatment rated for your wheel surface and stop early to avoid spreading the stain.
Avoid harsh solvents, bleach, ammonia, and soaking sprays. Those can remove dye, haze plastics, dry out leather, or cause permanent discoloration and tackiness.
Pre-clean Inspection And Test Spot
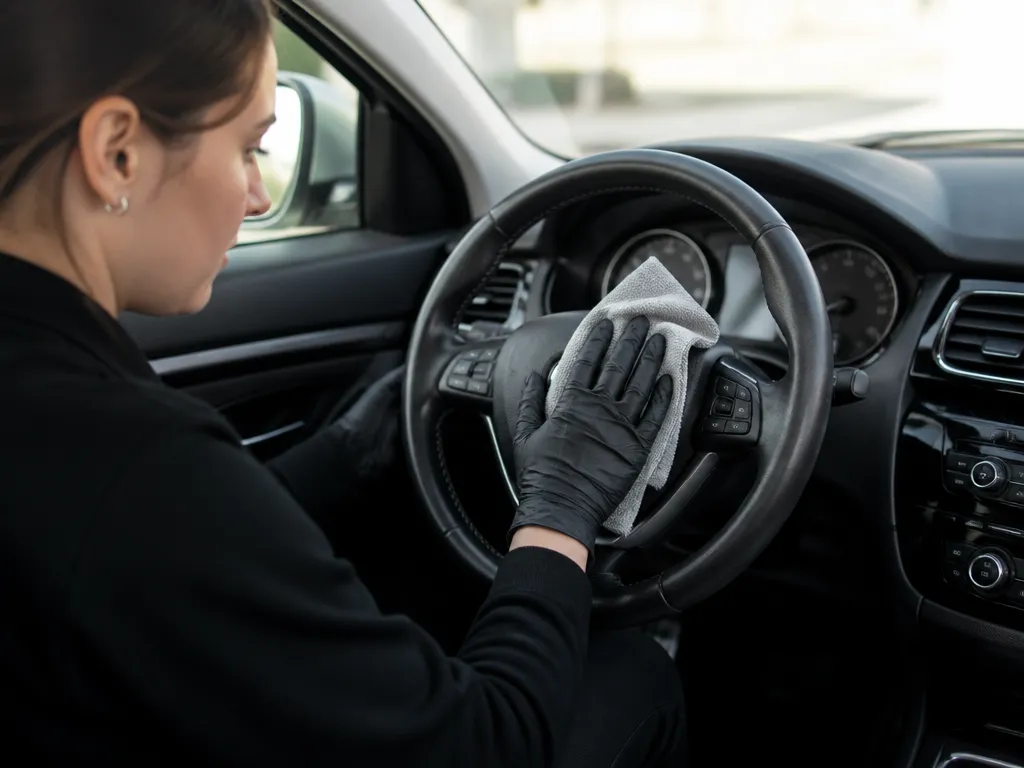
Steering-wheel cleaning starts by figuring out what the wheel surface is made of and what it is coated with. The wrong cleaner can gloss up matte leather, swell vinyl, or soften some textured plastics. A quick inspection helps avoid irreversible damage.
Identify Material And Surface Finish
Check the steering wheel rim, the thumb grips, and the spokes for material clues. Leather usually has a natural grain and may show stitched seams; vinyl and “leatherette” feel slicker and can look slightly uniform. Coated plastic often looks like uniform molded texture, and some wheels have a clear-coat on top of the grain.
Finish type changes how you clean. Matte surfaces (common on leather and some coatings) show shiny patches if you overwork cleaners or wipe too aggressively. Glossy or semi-gloss clear coats can smear if you use alcohol-heavy products, while textured grips need gentle pressure so you do not flatten the pattern.
Spot The Problems Before You Clean
Inspect for cracks, loose stitching, and areas where the coating is already compromised. If stitching is lifting, cleaning fluid can wick into the seam and make separation worse. Worn clear coat shows up as bare shiny spots, peeling edges, or a surface that feels tacky right after wiping.
Look for “hot spots” where your hands grip the wheel. Heavy oil buildup at these points can lift the top layer of some finishes if the cleaner is too strong or if you scrub hard. If you see fraying seams, deep cracks, or coating peeling, plan to clean lightly and consider professional reconditioning.
Decide your approach based on grime severity. Light dust and skin oils need mild soap-and-water type cleaners; greasy buildup often needs a dedicated interior cleaner but still in small, controlled passes. Heavy grime with unknown materials requires extra caution because the best cleaner for one wheel material can ruin another.
Insider tip: If the wheel has an airbag seam, keep all liquids off the seam line and avoid pushing product into gaps. Pressurized residue inside seams is one of the easiest ways to cause lingering tackiness.
Clean Leather Steering Wheel Step-by-step
Leather steering wheels clean best with a light, controlled process: remove dust first, lift grime with minimal agitation, then condition so the leather stays supple. Saturating leather with liquid causes blotchy discoloration and can damage the stitching over time.
For example, a lot of BMW, Mercedes-Benz, and Audi drivers notice streaking when they use a household all-purpose cleaner on the spokes. The fix is simple: cleaner on a microfiber, wipe in one direction, and switch to a fresh towel for final buffing.
Airbag safety tip: Leather cleaning is fine, but do not soak the seam areas around the airbag and harness openings. Keep liquids out of the airbag cover seams, and avoid any cleaner that drips into the wheel.
| Issue on the Wheel | Best Approach |
|---|---|
| Dry, chalky feel | Skip heavy cleaning, dry fully, then condition lightly |
| Slick residue | Use less cleaner, wipe with a drier microfiber |
| Pen or marker transfer | Blot first, then gentle targeted chemistry on a pad |
| Streaky look after wiping | Wipe one direction and replace microfiber frequently |
Clean Vinyl Or Plastic Steering Wheel
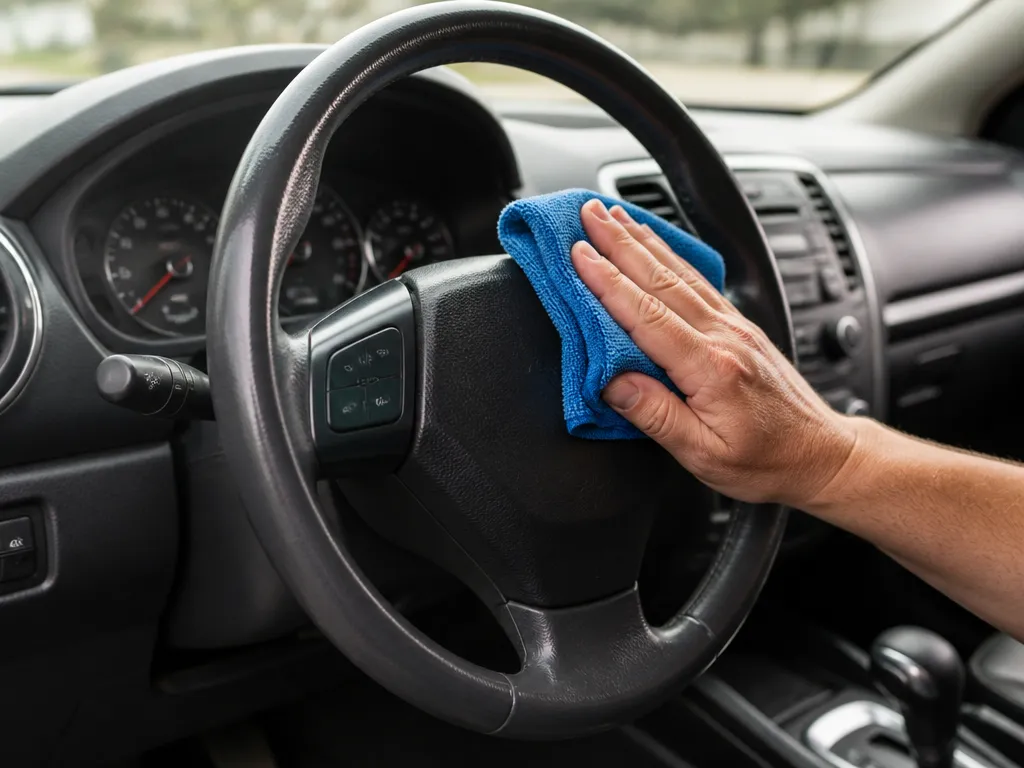
Vinyl and molded plastic wheels clean best with a damp microfiber and a mild cleaner, because aggressive solvents can lift the coating and leave a tacky finish. Proper drying also matters, since trapped moisture swells seams and makes controls feel slick.
For example, a VW Jetta, Honda Civic, or Ford F-150 can develop a slick “halo” right where your thumbs rest, especially in summer. That greasy feel is usually oils from skin and hand products, not just dust, so the damp microfiber step alone will leave it uneven.
Target Problem Spots
Repeatable spot cleaning beats one aggressive attempt. Use the lowest-strength product that fixes the issue, and keep liquid out of button seams to avoid swelling and finish lift around the horn pad.
| Issue | What to do | What to avoid |
|---|---|---|
| Grease ring | Degrase cloth-side, wipe, then water-wipe | Pouring cleaner into seams |
| Black streaks | APC damp microfiber, rinse wipe, dry | Solvents that soften the coating |
| Faded sheen | Interior vinyl/plastic dressing, light even coats | Spray waxes and abrasive rubbing |
Pro tip: Use two cloths, one for cleaner and one for the “rinse” pass. That prevents residue buildup that later feels tacky, especially on plastic wheels with textured finishes.
Dry the wheel with a dry microfiber right after the final water wipe, then give it 10 to 15 minutes to air-dry fully before driving. Do a final wipe with a clean, dry cloth for an even look, since overdressing or leftover cleaner can create shiny patches that collect more grime.
Final check is simple: run a clean finger over the contact areas. A uniform matte-satin feel is the goal; slick spots mean residue is still present, and they respond well to another water-damp microfiber wipe and immediate drying.
Clean Suede Alcantara-style Grips
Suede and Alcantara-style steering wheels need a dry-brush-first approach so you lift oils and dirt without soaking the foam backing. Use a soft nylon suede brush and cleaner applied as light foam, then remove residue with a barely-damp cloth.
Brush Method And Direction Control
Brush texture in one consistent direction so the nap stays aligned and you avoid shiny “matted” streaks. Start dry with gentle pressure at the top half of the grip where oils build from hand contact, then work outward.
For example, a steering wheel from a late-model Toyota RAV4, Honda CR-V, or BMW 3 Series often has heavier wear on the 3 and 9 o’clock zones. Brush those areas last, keep strokes short, and stop as soon as the surface looks cleaner.
Spot Cleaning Without Liquid Saturation
Foam beats liquid on porous grips. Put a small amount of upholstery or suede-safe cleaner onto a foam applicator or brush, then work the foam into the spot lightly. Avoid pouring cleaner onto the wheel, because the backing can trap moisture and stay hard to dry.
| Stain type | Best approach | What to avoid |
|---|---|---|
| General grime | Dry brush, then light foam spot clean | Soaking or scrubbing hard |
| Oily hand marks | Foam cleaner on brush, blot between passes | Harsh degreasers that can darken texture |
| Ink/dye transfer | Conservative dab attempts, minimal wetting | Rubbing the ink deeper |
Oils, Ink, And Controlled Blotting
Oils usually show up as darker patches after the wheel warms. Use a gentle cleaner class meant for fabric or suede, apply it as foam, and blot after each pass so you remove what the foam lifts.
Ink and dye transfer are the hardest, and they often wick into the backing. Start with the least aggressive attempt: a small amount of suede-safe cleaner on the brush, dab lightly at the edge of the mark, then blot. If the stain grows or the nap looks darker, stop.
Insider tip: treat dye like a “border problem.” Work from the perimeter toward the center to keep the spot from spreading across the grain.
Drying And Anti-matting Tactics
Drying needs to be humidity-friendly, not heat-blasting. Park in a shaded area or run the cabin fan on low so air moves across the surface without driving deep moisture. Keep the wheel untouched while it dries to prevent crushed nap spots.
Brush again once the wheel is mostly dry to re-lift the nap and prevent that flattening look. Brushing too early while damp can create permanent shiny patches, so wait until the surface feels dry to the touch and then use the same one-direction strokes.
Maintenance Schedule And Prevention Tips
Quick wipe-downs keep a steering wheel clean without wearing the finish. Aim for a 30 to 60 second wipe every 1 to 2 weeks, then save a deeper clean for about every 3 to 6 months depending on how much sun and skin oils your cabin gets.
Cadence: Quick Wipe Vs Deeper Clean
Use a microfiber cloth lightly dampened with water or a mild, wheel-safe cleaner for the weekly routine. For deeper cleans, switch to a product matched to the wheel material so you can remove buildup without stripping protective coatings.
| Routine | Frequency | Goal | Effort |
|---|---|---|---|
| Dry microfiber wipe | Weekly | Pick up dust, skin grit, and loose residue | Low |
| Light damp wipe | Every 1 to 2 weeks | Reduce oil film before it turns tacky | Low |
| Thorough clean + protect | Every 3 to 6 months | Reset appearance and grip | Medium |
High-risk Areas To Stay Ahead Of
Thumb arcs collect the most oil and friction residue, especially on the right and left spokes. Wheel center pads and the lower spokes are next, since they take constant palm contact and where grime dries first.
Hands And Oils: Wash Cadence, Glove Use, And Better Habits
When you cook, work in the garage, or handle products with lotion or sunscreen, the wheel gets coated in one trip. During messy jobs, wear nitrile or disposable clean gloves, or cover the wheel with a clean cloth until you are done.
Pro habit: wash your hands before driving after using hand lotion, sunscreen, hair products, or hand cleaners. Steering wheel grime behaves like a thin film, it only needs a little residue to feel tacky later.
Stain Prevention: What To Avoid
Hand lotions, especially scented ones, leave sticky residues that attract dirt and dull grip. Alcohol-based cleaners can dry materials out and accelerate cracking or fading, so stick to mild, material-appropriate cleaners and microfiber.
Protection After Cleaning, Plus Reapplication Timing
After a thorough clean, apply a conditioner or protectant only if the wheel material calls for it, and follow the product’s cure time before driving. Reapply on a schedule that matches your use, many owners end up doing it about every 3 to 6 months to maintain a stable finish.
Parking And Sun Strategy To Reduce Fading And Cracking
Sun is the enemy of steering wheel materials, it bakes oils in and dries coatings out faster. Parking with the wheel away from direct sun, using a sunshade for the windshield, and reducing peak heat exposure can noticeably slow fading and cracking over time.
In hot-sun climates, plan to inspect the wheel surface more often. If you see a dry, chalky feel or shiny patches that appear after wiping, adjust your protectant cadence sooner rather than waiting for visible cracking.
Troubleshoot Stubborn Stains And Wear
Stains that refuse to lift usually come down to the wrong cleaner, too much dwell time, or dye transfer that needs a gentler solvent approach. Treat the wheel like upholstery, start mild, and change products when the surface stays unchanged after a couple of careful passes.
When To Repeat Vs Switch Products
Stubborn grime often breaks loose after you re-wet the area and let the cleaner sit briefly, usually 30 to 60 seconds. Repeat cleaning if you see the soil starting to smear into the towel, but switch products if the stain outline stays crisp and the towel shows no new transfer after two attempts.
For steering wheels with heavy sweat oil, “stain remover” products can make it worse if they leave residues. If the wheel feels squeaky clean but looks dull or greasy again in a few hours, you likely used a strong cleaner or one meant for glass, trim, or carpets.
Color Transfer (Dark Jeans, Dye, Transfers)
Color transfer is common on light leather and many “satin” vinyl finishes. Use a clean, white microfiber, work a small hidden area first, and move to a fresh section of the towel constantly to avoid re-depositing dye.
Avoid bleach and harsh solvents. They can lift dye unevenly, leaving a light “halo” around the transfer.
Faded Finish, Shiny Patches, And Sticky Residue
Faded finish usually means you removed oils and conditioners or over-cleaned the top layer. Shiny patches happen when cleaner leaves a film, or when you wiped leather/vinyl with uneven pressure. Use a microfiber that is damp, not wet, and keep wiping consistent passes across the whole grip area.
Sticky residue after cleaning usually comes from solvent-heavy cleaners, cheap all-purpose sprays, or conditioners applied too thick. Remove it by wiping with a lightly water-dampened microfiber, then let the wheel dry fully before applying any conditioner.
| Symptom | Likely Cause | What to Do |
|---|---|---|
| Spotty shininess | Cleaner film or uneven wipe | Buff with clean damp microfiber, then dry thoroughly |
| Sticky feel | Leftover residue or over-conditioned area | Wipe with water-dampened microfiber, air dry, re-evaluate |
| Faded look | Over-stripping oils/finish | Use a light, material-specific conditioner after cleaning is complete |
Cracked Or Peeling Leather, And When To Get Help
Cracked leather can hold onto grime in the micro-cracks, and peeling usually means the top coating is failing. You can clean surface dirt, but you generally cannot “unstick” peeling without repair materials designed for automotive leather restoration.
For cracked or peeling areas, switch from cleaning to repair planning. A professional detailer or an automotive leather reconditioning shop can assess whether a re-dye, re-coat, or full wrap is the right move.
After cleaning, watch the airbag indicator like a hawk. If an airbag warning appears, stop immediately and have the system checked before driving, because steering wheel cleaning should never require unplugging connectors or moving wiring near the SRS.
Quick Summary
A steering wheel often feels tacky, shiny, or uneven in grip because sweat oils mix with whatever cleaner was used last time, so your method matters as much as the product. The article stresses safety around the airbag and electronics, specifically not soaking areas near the airbag and keeping cleaner away from switch seams. It also calls for material-matched cleaners, starting with a test spot, and using microfiber to apply pH-neutral cleaner lightly with gentle pressure.
After testing, you mist pH-neutral cleaner onto a microfiber rather than spraying the wheel directly, then wipe a small section at a time with a lightly damp cloth. Leather needs wiping, 10 to 20 minutes drying, and then leather conditioner, while vinyl and plastic need a dedicated cleaner, full drying, and careful avoidance of liquid at seams and the airbag area. It recommends a quick wipe every 1 to 2 weeks and a deeper clean every 3 to 6 months, ventilating and using gloves, and drying fully before use, since liquids in button housings can cause corrosion or intermittent inputs.
| Material | Cleaner approach | Drying and finish |
|---|---|---|
| Leather | Leather cleaner, apply to microfiber, gentle wipe | Dry 10 to 20 minutes, then apply leather conditioner |
| Vinyl and Plastic | Dedicated vinyl or plastic cleaner, avoid seams and airbag area | Dry fully, then do not rewet before use |
| General safety | No spraying directly on the wheel or airbag seam, keep liquids out of button gaps | Dry completely, ventilate, and use separate towels for dirty solvent and final buff |
Frequently Asked Questions
What Is The Best Way To Clean A Leather Steering Wheel Without Damaging The Finish?
Use a pH-balanced leather cleaner or a mild soap and water solution. Dampen a microfiber cloth so it is just damp, wipe in gentle circular motions, and dry with a clean cloth. Always test first on a hidden area to avoid color transfer or finish damage.
Can I Use Alcohol Wipes To Clean A Leather Steering Wheel?
No, alcohol can dry and crack leather. Stick with a mild soap and water or a dedicated leather cleaner, and wipe with a damp microfiber cloth. For best results, test on a small area first.
Is It Safe To Spray Cleaner Directly On The Steering Wheel?
No, do not spray cleaner directly on the wheel; spray onto a cloth and wipe. Keep liquids away from the airbag housing to avoid ingress, and avoid soaking stitching or seams.
How Often Should I Clean The Steering Wheel To Prevent Grime Buildup?
For most drivers, perform a quick wipe with a microfiber and interior cleaner every 1 to 2 weeks. Do a deeper clean every 3 to 6 months, depending on use and exposure to oils or sunlight.
What Is The Difference Between Cleaning Leather And Vinyl Steering Wheels?
Leather wheels require leather cleaner and optional conditioner to keep the surface supple and avoid drying, while vinyl wheels tolerate mild soap and water or interior cleaners. Use a soft brush on textured vinyl areas and test colorfastness first.