
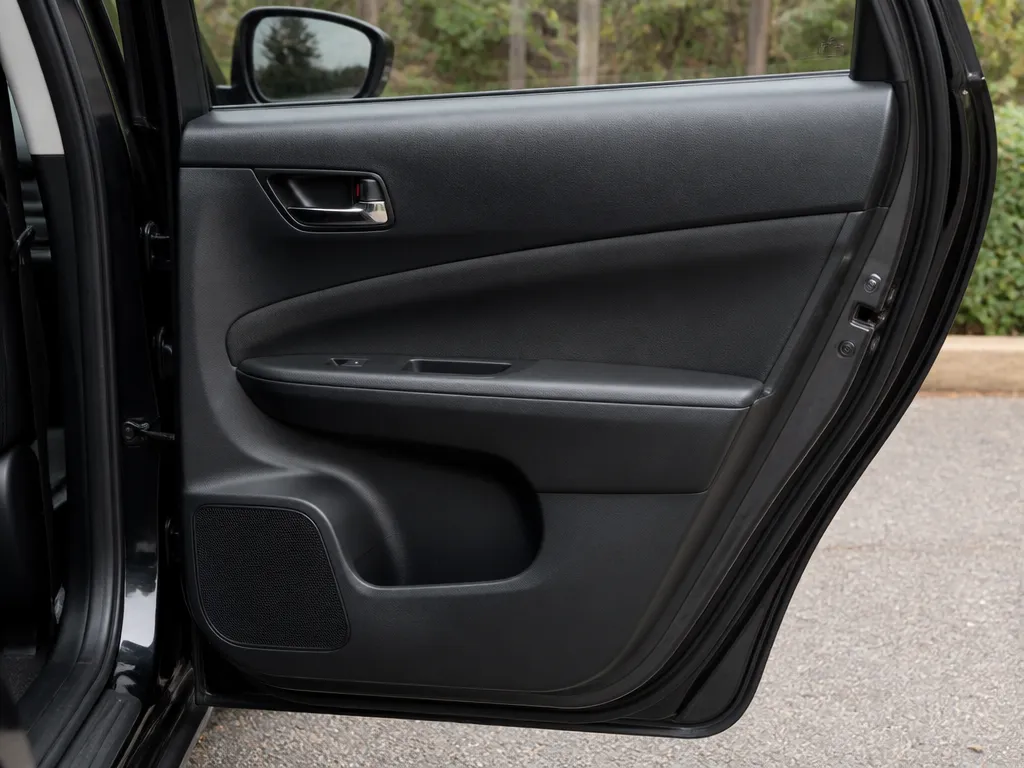
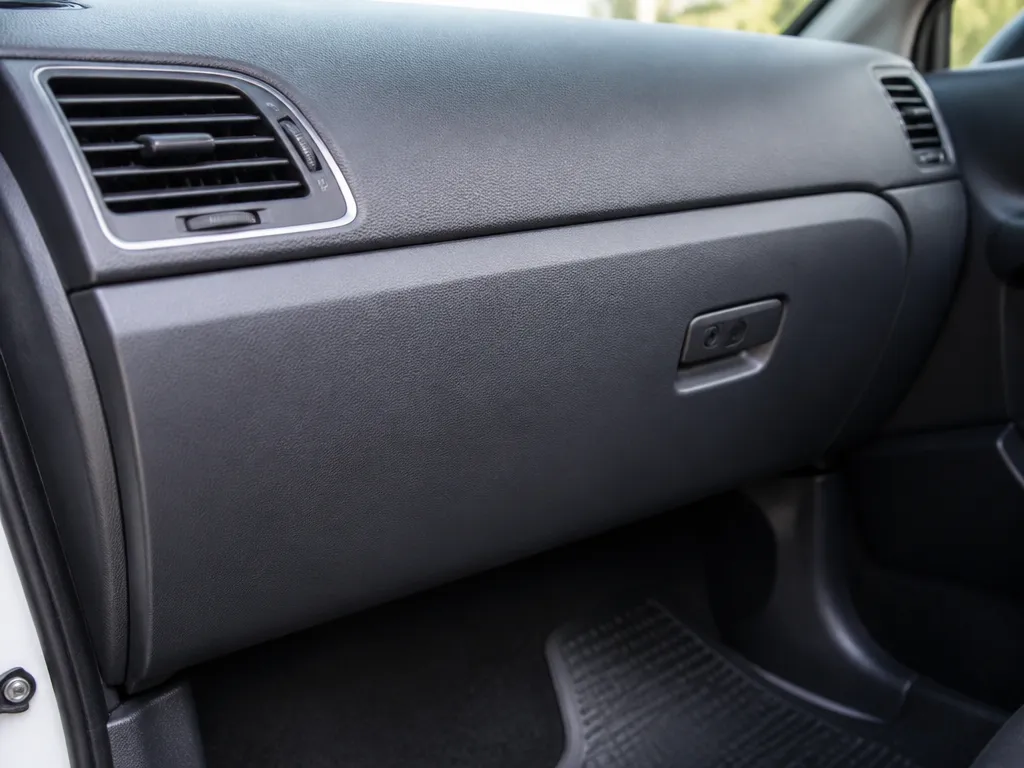
Your bumper cover, window trim, or interior switch panel has that ugly white line from sunglasses, a kid’s keys, or a car wash brush. The hard part is guessing whether your plastic is unpainted matte, clear-coated glossy, or painted, because the wrong abrasive just makes the scratch look worse. This guide walks you through identifying trim type, then matching the right repair steps to scratch depth.
Start by identifying painted vs unpainted and glossy vs matte. Then choose the method based on depth: light scuffs usually polish out, medium scratches need progressive correction, and deep gouges require a trim restoration kit and possibly dye/paint. Mask, test in a hidden spot, and finish with an appropriate UV protectant so it holds.
How To Remove Scratches From Plastic Trim
Scratch Type And Realistic Outcomes
Light scuffs and mild haze often respond to polishing or a fine scratch-removal product. Medium scratches can improve a lot on clear-coated or glossy painted trim, but the result depends on depth and whether the scratch breaks through the coating. Deep gouges usually need a trim restoration kit, color matching paint or dye, or replacement, because the plastic has lost material.
| Scratch severity | What you see | Most likely result | Best method |
|---|---|---|---|
| Light scuff / surface drag | Gray “wipe” marks, mild dulling | Nearly invisible | Polish or plastic-specific scratch remover |
| Paint transfer | Another color in the scratch | Major improvement after removal | Cleaner first, then polish |
| Medium scratch | Visible line that catches light | Noticeably better, may remain | Refine with compound, then protect |
| Deep gouge | Sharp edges, you can feel the damage | Often needs repaint or resurfacing | Trim restoration kit or dye/paint, or replacement |
In practice, if you can feel the scratch with a fingernail, you are past the “polish-only” zone for many trims. If the mark has a crisp edge or the finish looks worn through, plan on restoring color and texture rather than just buffing.
Finish Type Changes The Rules (Painted Vs Unpainted Vs Clear Vs Matte)
Painted trim has a color layer and often a clear coat, which means polishing can level the top surface. Unpainted trim, especially black textured pieces, is different: rubbing can create a shiny spot and make the damage stand out more. Clear-coated glossy trim can usually handle compound steps, while matte and textured finishes can turn uneven if you use the wrong abrasive.
“Test in an inconspicuous corner first. The biggest DIY mistake is using a glossy-polish approach on matte or textured plastic, because the finish sheen becomes uneven.”
Before you choose a product, dry the area fully and wipe with an isopropyl-alcohol cleaner on a microfiber cloth to remove wax or road film. A hazy mark that disappears after cleaning is usually contamination or transfer, while a line that stays after cleaning is likely actual surface damage or coating breakdown.
Difficulty for the DIY approach is usually easy to moderate for scuffs and haze, but it can become moderate to challenging for medium scratches, and challenging for deep gouges on textured or matte parts. When scratches keep reappearing after cleaning, or the trim shows cracks, spidering, or missing coating around the damage, replacement or a professional refinement is often the cleanest path.
Identify Your Trim Type Fast
Start with the “painted vs unpainted” checks. Painted trim usually has an even, uniform color layer, while unpainted trim often shows molded texture and a more natural, color-through appearance.
Glossy, Matte, And Textured Surfaces
Glossy trim tends to respond to polishing because the clear or color layer is smooth enough to refine. Matte or heavily textured trim will usually look worse if you sand it, since abrasion levels the texture and creates shiny “burned” spots.
Use texture as your decision point. Light scuffs on glossy trim can often be reduced with polishing compounds, while matte and grainy finishes usually need gentle cleaner and a trim restorer meant for non-gloss surfaces, with minimal abrasive work.
| Trim Look | What It Usually Means | Scratch-Removal Approach to Use First |
|---|---|---|
| Deep gloss over color | Clear coat is present | Polish in stages, stop when haze matches |
| Matte, eggshell, or grainy finish | No clear coat or texture is exposed | Restorer made for matte trim before abrasives |
| Texture molding visible | Unpainted or texture-forward surface | Gentle cleaning, targeted touch-up only |
Clear Coat Presence, Interior Vs Exterior Wear
Clear coat often shows up as a “depth” gloss at certain angles, and the scratch edges can look like they caught a hard, shiny layer. If you wipe the trim with isopropyl alcohol on a hidden spot and the shine is strongly reduced, the surface may be coated, waxed, or contaminated, so you should clean thoroughly before judging scratches.
Interior trim sees different damage than exterior trim. Interior scratches are often shallow scuffs from belts, keys, and panels, while exterior trim gets UV chalking, gritty grime, and thermal cycling, which makes clear coats thinner and increases the chance of hazing if you use the wrong polish.
Rule of thumb: Glossy clear-coated trim can handle refinement, matte or textured trim needs restoration and low-aggression methods, and unpainted trim is usually better served by products that blend color than by heavy abrasion.
Gauge Scratch Depth And Damage
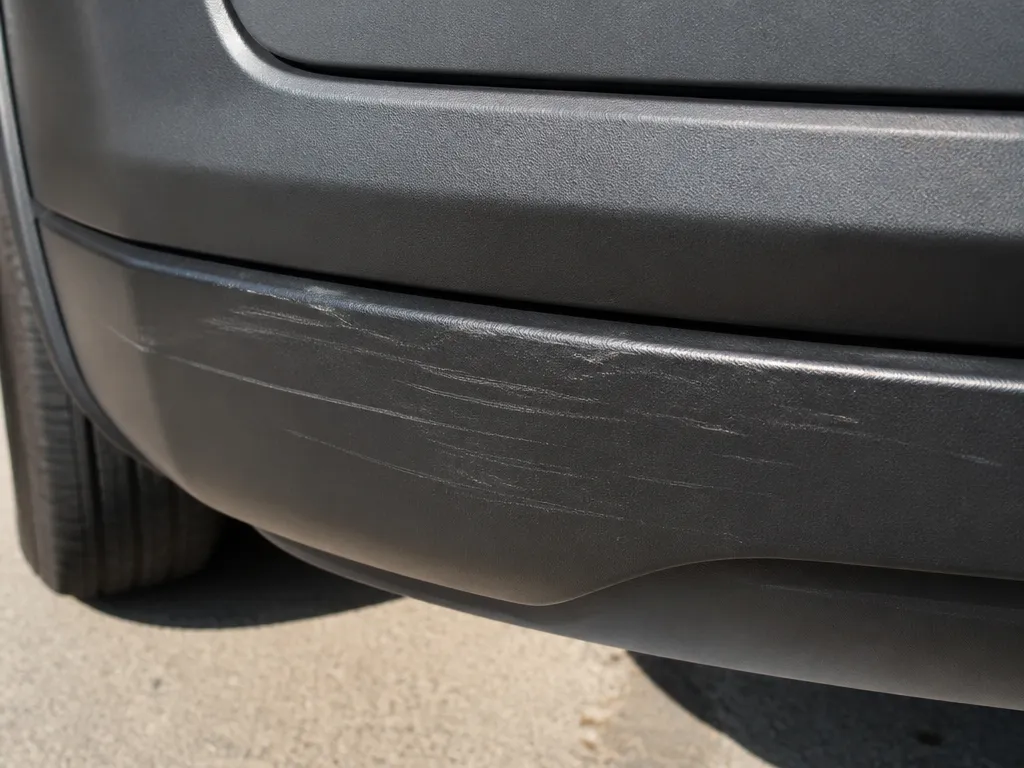
Scratch depth tells you whether you are dealing with surface scuffs or material loss. Your goal is to correct only what the trim can realistically give up, since deep gouges usually keep the same shape even after polishing.
What You Can See And Feel, By Severity
Use your fingertips as the first measuring tool. Light scuffs feel like drag marks with little or no catch, while deeper scratches catch your nail and look like a channel in the finish.
For example, matte or textured black trim on many Toyota, Honda, and GM interiors often shows “shinier tracks” because a scratch smooths the surface instead of removing paint. That kind of damage improves with gentle polishing and trim restorer, but you still may not get the exact factory texture back.
Reveal True Depth With Water And A Trim-safe Cleaner Test
Before you use any abrasive, do a two-step reveal: water first, then cleaner. Water darkens scuffed areas and lets you see whether the mark is only on the surface or into the finish.
| Damage level | Water/cleaner result | Realistic correction |
|---|---|---|
| Light scuffs / white marks | Fades a lot, may fully wipe clean | Usually improves 80 to 100 percent with polishing plus a plastic protectant |
| Moderate scratches | Remains visible after cleaning, edges still catch | Usually improves visibly, but perfect removal is hit-or-miss without color matching |
| Deep gouges | Stays sharply defined after cleaning | Polishing can reduce haze, but it cannot restore missing shape or fill depth |
“If your nail drops into a groove, treat polishing like sandpaper on a dent. You can smooth the edges, but you are not rebuilding the plastic.”
Deep gouges often require a trim restoration kit, dye or paint, or replacement depending on whether the trim is unpainted, clear-coated, or color-matched. Moderate scratches are the gray zone where the finish type decides whether compounds can level the haze or whether you need color restoration to make the “line” vanish.
Clean, Decontaminate, And Mask Safely
Clean plastic trim with a trim-safe soap or plastic cleaner before any polishing, dye, or touch-up. Contaminants like wax, silicone, and skin oils create hazing and cause products to wipe off early. Dry the surface completely so you do not trap moisture under polish or restore compounds.
Step-by-step Cleaning And Drying
Wash the area with cool to lukewarm water and a product labeled safe for automotive trim or plastics. Use a microfiber wash mitt or soft microfiber towel, then rinse thoroughly to carry off gritty residue that can worsen scratches.
Drying is where people ruin progress. Use clean microfiber towels for the first dry, then follow with compressed air or a second towel to remove water from texture grooves and seam lines.
For textured or matte trim (common on many GM and Toyota interior panels), avoid heavy scrubbing that changes the look. For clear-coated painted trim (common on some Audi and BMW exterior inserts), use a gentle technique so you do not lift weak coatings.
Decontaminate Oils And Waxes That Block Correction
Decontamination breaks the bond between your product and the plastic. Swipe the area with a wax and grease remover that is safe for plastics, then re-wipe with a clean microfiber and let it flash dry.
Tip from the shop floor: after degreasing, do not touch the correction zone with bare fingers. Oils are enough to cause uneven sheen after you polish or apply dye.
Mask Adjacent Paint, Glass, Leather, And Vinyl
Masking prevents accidental scuffs from polish, dyes, and abrasive pads. Use painter’s tape or automotive masking tape designed for clean removal, and place it with the edge just off the trim face so you do not bridge into adjacent paint.
Adhesive choice matters on interiors with leather and vinyl. Press the tape lightly with a clean fingertip or a plastic trim tool, and avoid stretching tape across curves where it can leave residue.
| Adjacent surface | Tape choice | Where to place tape |
|---|---|---|
| Painted metal | Painter’s tape (low-tack) or automotive masking tape | Right at the trim edge, leaving paint fully covered |
| Glass | Automotive masking tape | On glass surface only, keep polish products off wipers and seals |
| Leather/vinyl | Low-tack painter’s tape | Back from stitching and textured grain, avoid pressing into pores |
Spot-test And Evaluate Progress Before You Commit
Pick an inconspicuous corner or an area with the least visible scratch pattern. Run your lightest step first, then wipe clean and inspect under bright overhead light and a moving flashlight to catch haze.
Progress should show as reduced dullness or a smoother reflection line across the scratch. If the finish turns cloudy, shows streaky residue, or the scratch looks deeper after polishing, stop and adjust pad pressure, product aggressiveness, or decontamination before moving on.
Choose The Right Diy Correction Path
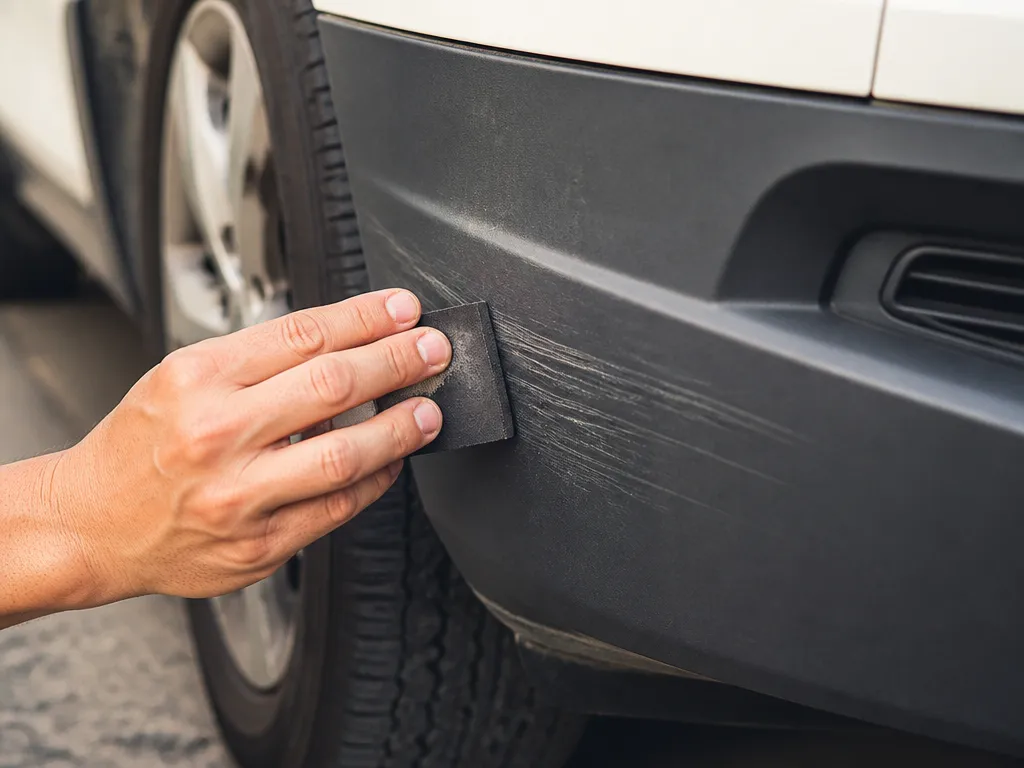
Light scuffs and smooth surfaces benefit from a simple, conservative routine. Start mild, test in a hidden area, and stop if you see hazing or color change.
Medium scratches need gentler polishing with a bit more cut. A finer plastic polish or a micro-abrasive compound applied with a clean foam pad yields better results when used in thin, overlapping passes.
Textured matte trim demands restraint. Polishing can gloss the texture if you go too hard, so keep sessions short and stop as soon as you see the texture losing its character.
Deep gouges usually require a repair kit to level the surface and retexture. A resin or leveling compound paired with a texture sheet or spray offers the best chance at an even match, especially on curved or high-visibility pieces.
When the color is compromised beyond polish, or the finish is faded beyond repair, dye or paint steps may be needed, or replacement may be the wiser option. For unpainted or factory matte options, consider patching rather than full color change unless you can match texture precisely.
Tip: Always test on an unseen area, and document the area you treated in case you need to revert or rework later.
| Severity | Recommended Path | |
|---|---|---|
| Light scuffs | Cleaner + trim polish + soft pad | Restored gloss and smoothness without haze |
| Medium scratches | Finer plastic polish or micro-abrasive with light passes | Smaller scratches reduced, texture preserved |
| Textured matte | Gentle cleaner and limited polishing | Texture preserved, minimal shine |
| Deep gouges | Repair/resurfacing kit with leveling and retexture | Level surface, texture matched |
| Dye/Paint issues | Dye or repaint, or replacement if necessary | Color corrected or piece replaced |
Scratch Removal Workflow Step-by-step
Identify the trim type and severity first, then choose the correction method. Test in an inconspicuous area with a small amount of product on a clean pad and verify the result before committing to the full piece. Keep the surface cool, use light pressure, and work in tight, overlapping strokes to avoid edge damage.
Finish With Uv Protection
UV protection is what keeps your repaired area from turning hazy, chalky, or darker next season. After scratch removal, lock in the finish with the right protectant for the trim type so the surface stays uniform instead of flashing under sunlight.
Exterior Trim Protectant: Uv Resistance And Streak-free Application
Exterior unpainted plastics (door handles, cowl trim, lower cladding) fade because UV breaks down surface resins. A trim protectant with strong UV inhibitors is the difference between “it looks good today” and “it still looks good in six months.”
Exterior protectants should go on thin and even. Thick coats streak, attract dust, and can leave high spots that look worse than the original scuff.
For best results, avoid applying in direct blazing sun. Warm panels dry faster, which is how streaks and uneven sheen happen.
| Trim location | Finish type | What to aim for |
|---|---|---|
| Upper panels, around glass | Smooth black or factory matte | Uniform matte, no glossy islands |
| Lower cladding, textured areas | Deep texture | Dry-to-the-touch look, no white pooling |
Interior Trim Protectant: Control Glare And Prevent Sticky Residue
Interior plastics need UV resistance too, but the bigger risk is a tacky surface. Sticky protectants pull dust and grit, which then get ground into the finish every time you wipe the dash.
Choose an interior plastic protectant labeled for low-gloss or matte use, then apply sparingly. Over-application is what causes smeary glare on windshields and a shiny “hot spot” that you can see from the driver seat.
How Often To Reapply (Sun Exposure And Cleaning Routine)
Expect different timelines between a daily-driven car parked outside and a garage-kept weekend vehicle. Exterior trim in strong sun typically needs attention sooner because UV damage accelerates when the surface stays hot for hours.
In practice, reapply based on how the trim looks and how it behaves after washing. If water stops beading, the finish looks gray again, or the repaired area fades sooner than surrounding plastic, it is time to do another light coat.
Rule of thumb: Cars that sit in full sun and get automatic washes often need re-treating sooner than cars that are garage parked and cleaned with gentle, plastic-safe products.
What To Avoid Right After Repair
Right after you restore the surface, steer clear of products that fight adhesion or swell plastic. Paste waxes, heavy carnauba “detailer waxes,” and interior dressings that leave a high-gloss film can smear or remove the protectant layer.
Avoid harsh cleaners like strong degreasers and ammonia-heavy glass cleaners on interior trim, and avoid steaming the area immediately after polishing. Heat and moisture can raise oils and cause uneven sheen, especially on matte and textured pieces.
Troubleshoot Common Repair Failures
Scratch removal fails most often because the wrong abrasive or solvent grabs the plastic surface, or because the finish type cannot be polished back without re-leveling. Start by confirming whether the trim is clear-coated, painted, or textured/matte, then match your product to that coating system.
Hazing Or Swirl Marks After Polishing
Hazing or swirls after polishing usually means you finished with too aggressive a compound or you polished in dry conditions (lack of lubricant) which leaves micro-marring. Haze can also be “over-cleared” on soft clear films where the top layer has been wiped thinner.
Fix the finish by stepping down abrasiveness and switching to a true finishing polish (not the same compound you used for scratch cutting). Work small sections, keep the pad flat, and wipe with a clean microfiber after every pass to prevent re-introducing swirls.
White Residue Won’t Wipe Off
White residue that won’t wipe off is typically oversaturation (too much product) or the wrong solvent interacting with bare plastic or an incompatible clear. On many interior trims, harsh solvents can bloom the surface and lock residue into the pores.
Fix it by stopping solvent-based cleaners and removing gently with a dedicated plastic-safe cleaner, then re-evaluate the finish. If the residue is from compound/polish, use a cleaner with light detergents first, then finish with a true plastic polish only after the surface is clean and dry.
Uneven Gloss On Matte Or Textured Trim
Uneven gloss on matte trim happens when polishing changes the surface texture, so the “fixed” area looks glossier because you effectively burnished it. Matte/textured plastics often need blending rather than bulk correction.
Fix it with a stop-point strategy: treat the affected area only, then feather outward until the gloss difference disappears. Use a matte-friendly product (or very light finishing polish by hand) and avoid heat and aggressive pads, because texture flattening is usually permanent.
Color Mismatch After Dye Or Touch-up
Color mismatch after dye or paint is usually a re-leveling problem, the dye sits higher or lower than the surrounding coating, or the sheen differs between layers. A spot can also look “off” because the trim is textured and you painted smooth while the original is not.
Fix it by re-leveling first, then re-tone. Lightly refine the surface with very gentle technique, then apply a color blend in thin coats, letting each coat dry fully before judging match.
Scratch Won’t Improve: Depth/material Limit
A scratch that refuses to improve usually means it is too deep, it cut through the coating into a harder layer, or it is actually a gouge in textured plastic. Polishing can only remove transfer marks and shallow marring, it cannot rebuild missing material.
Fix it by switching to resurfacing or replacement based on severity. If you can catch a fingernail in the groove or the scratch edges are raised, plan for a trim restoration kit (for minor coating loss) or consider replacing the trim piece (especially for exterior exposed trim).
“Rule of thumb: if the damage has a ridge you can feel, polishing is a dead end. Go to resurfacing or replace.”
Quick Summary
After cleaning and drying, inspect under angled light to tell haze from transfer and real surface cuts. Light scuffs and mild haze typically respond to polishing with a plastic-safe cleaner and a swirl-reducing plastic polish, while moderate scratches use progressively finer plastic polishes and foam or microfiber pads. Deep gouges often need a trim restoration kit, plus dye or touch-up paint, and a final UV protectant. Always use an inconspicuous spot test and stop if haze or uneven sheen shows up.
| Scratch/Finish Clue | What You’ll See | Best Approach |
|---|---|---|
| Light scuff, mild haze | Gray “wipe” marks or mild dulling | Plastic-safe polish, then wipe clean |
| Paint transfer | Another color in the scratch | Cleaner first, then polish |
| Medium scratch | A visible line that catches light | Progressively finer compound steps, then protect |
| Deep gouge | Sharp edges you can feel | Trim restoration kit, then dye or touch-up paint, then UV protectant |
Frequently Asked Questions
What’s The Best Way To Remove Scratches From Plastic Trim Without Making It Worse?
Start with the least aggressive method, because deep gouges cannot be “polished” out. Try plastic trim restorer or a plastic polishing compound with light pressure first, then move up to finer scratch remover only if the scratch is shallow.
Can I Remove Scratches From Clear Plastic Trim, Like On Tail Lights Or Dash Screens?
Yes, but you need to use clear-plastic-safe products, since normal trim scratch removers can haze or smear. Clean first, then use a rubbing/polishing compound designed for plastics, working in small sections and wiping often.
Is Sanding Plastic Trim Safe For Scratch Removal, And What Grit Should I Use?
Sanding can work on suitable smooth, glossy surfaces when the scratch is deep enough to require leveling, but it must be controlled to avoid removing the coating or changing the trim texture. Use very fine wet/dry sandpaper starting around 1500 grit, keep it wet, and stop as soon as the scratch is leveled. Avoid sanding matte or textured trim unless the repair system specifically calls for it.
How Do I Fix Swirls Or Haze After Polishing Plastic Trim Scratches?
Swirls usually mean you used too coarse a compound or kept polishing in one spot too long. Try ultra-fine polishing with a clean microfiber pad, then finish with a plastic protectant or trim dressing if the surface looks uniform.
Will Heat Or A Hair Dryer Remove Scratches From Plastic Trim?
Usually, no for scratches, and heat can damage the plastic by causing warping, discoloration, or haze. If you are trying to “soften” a surface, stop and stick to polishing products instead.
How Much Does It Cost To Remove Scratches From Plastic Trim Professionally?
It depends on whether the shop can polish it out or needs to replace trim, and pricing varies a lot by location. As a rough expectation, polishing-only jobs are commonly cheaper than replacement, but get a photo-based quote because deep damage can’t always be restored.