
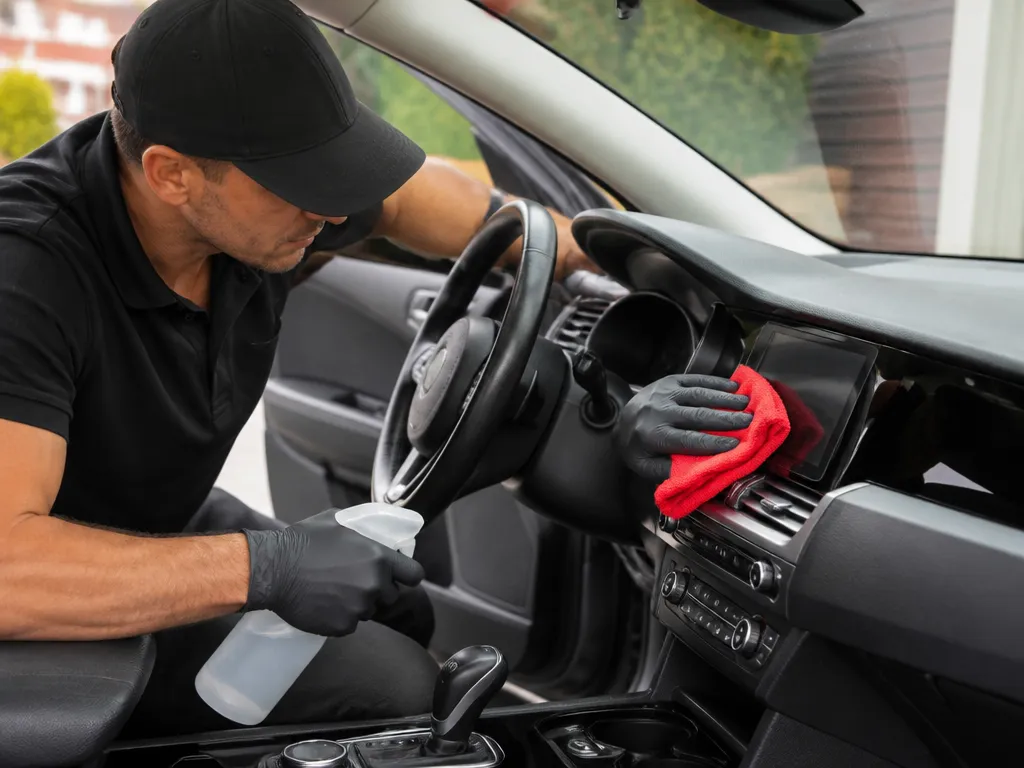
Your kid’s cold came home again, and now you’re staring at the car seats, floor mats, and door cards thinking, “How do I disinfect this without ruining the fabric or electronics?” The fastest path is a material-safe workflow: prep, clean, disinfect, then dry fast. You’ll need the right disinfectant and contact time, plus patch-testing and HVAC steps.
Disinfecting a car interior works best when you follow clean first, disinfect second, then respect surface contact time and material compatibility. Expect to pre-clean most messes, wipe plastics and vinyl with a safe disinfectant, treat fabric with caution, and keep cleaners away from airbag/sensor areas and wiring.
Car interior disinfection means cleaning surfaces first, then applying a disinfectant for the label’s contact time (often 3 to 10 minutes) without soaking. Treat fabric by blotting and using a disinfectant made for upholstery, disinfect hard plastics and vinyl by wiping, and dry everything within 1 to 2 hours.
How To Disinfect Car Interior: Quick Start
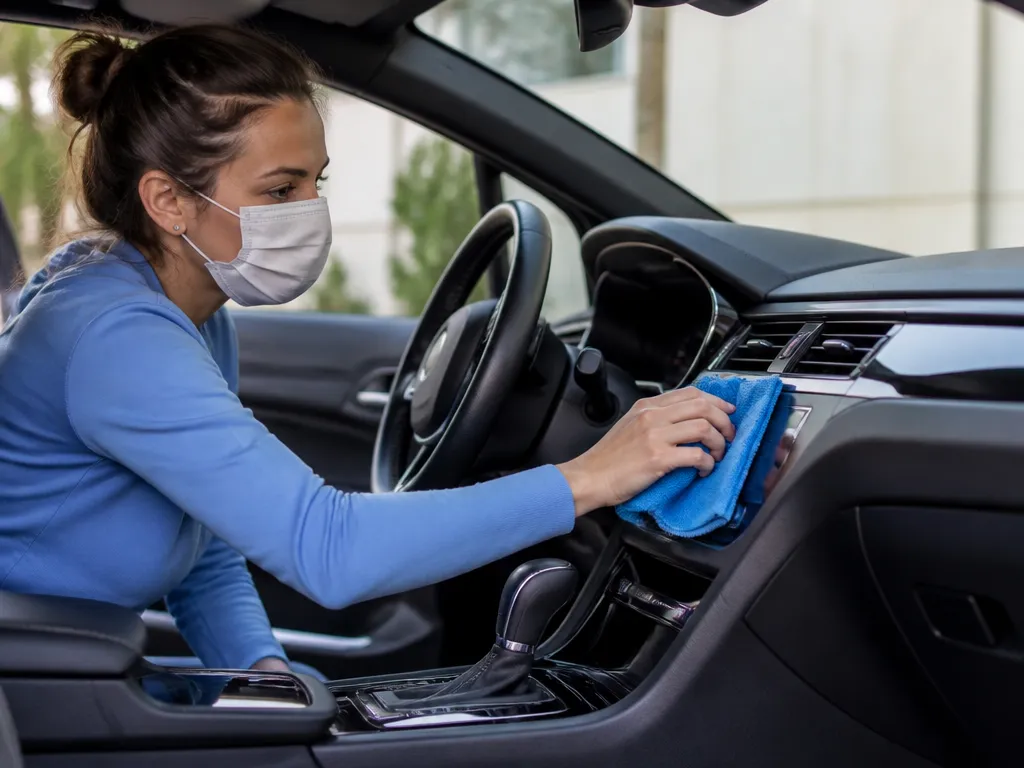
Disinfecting a car interior starts with picking the right product for each material and controlling moisture so you do not soak electronics or ruin trim. Start by mapping the cabin into zones, then treat those zones in a fixed order so you do not re-contaminate cleaned areas.
In practice, “interior disinfecting” usually means dealing with three categories: soft materials (fabric seats, carpet, headliners), semi-soft coatings (vinyl, coated plastics), and electronics-adjacent touch points (switches, controls, display bezels). The risk trade-off is simple, more liquid kills more germs and can also cause damage. Your job is to get enough contact time without turning the cabin into a water trap.
Ppe And Ventilation Plan
For example, a late-model pickup with a panoramic roof and more cabin volume may feel “safer” because smells disperse faster, while a small sedan with windows up can trap vapor quickly. Always follow the disinfectant label for any required contact time and ventilation guidance, since dwell time and chemical types vary.
Zone-by-zone Disinfection Map
| Zone | Top touch points | Moisture control tip | How to apply |
|---|---|---|---|
| 1. Steering and dash | Steering wheel, stalks, ignition knob/slot, display bezel | Keep liquids off seams and screen edges | Spray cloth, wipe surface |
| 2. Console and shifter | Shifter/selector, cup holders, radio knobs, buttons | Avoid pooling in creases | Microfiber for wipe-down |
| 3. Seats and seat belts | Seat bolsters, seams, buckles, latch areas | Do not soak fabric or belt webbing | Light damp cloth, then dry-wipe |
| 4. Doors and handles | Door pulls, window switch cluster, lock button | Keep product off speaker grills | Cloth wipe |
| 5. Floors and mats | Carpet edges, mat tops, dead pedal | Prevent water from running under mats | Work perimeter first, then mats |
Insider mechanic tip: Treat “disinfectant residue” like you treat cleaner residue, wipe it off where the product doesn’t require staying wet. Sticky residue attracts dirt fast, and it is harder to remove after it dries into plastic and vinyl.
Epa-disinfectants Safe For Car Interiors
EPA-registered disinfectants are the only category that comes with an evaluated kill claim on the label, including the required contact time. For car interiors, the safest choice is a product you can use on the exact surface type you have (hard plastic, vinyl/leather, fabric, glass) while keeping overspray off electronics.
Ready-to-use Epa Product Types (What To Look For)
Interior-friendly disinfectants are usually either quat-based wipes or alcohol-free hard-surface sprays labeled for upholstery or “hard, nonporous” areas. When you scan the label, look for three things: the EPA Registration Number, the kill claim organism list, and the surface compatibility wording (fabric, vinyl, leather, finished wood, etc.).
| Brand (example) | Active ingredient | EPA Registration No. | Label contact time | Surface compatibility notes |
|---|---|---|---|---|
| Quat disinfectant wipes | Quaternary ammonium compounds | Check label (format: EPA Reg. No. xxxx-xx) | Often 1 to 10 minutes (varies by product) | Best on sealed, hard surfaces and many vinyl seats and consoles when label allows |
| Alcohol-based disinfectant spray | Ethanol or isopropanol | Check label | Often 30 seconds to 1 minute (varies by product) | Safer for small hard areas than leather and some plastics, because fast-drying can still haze and some trims discolor |
| Hydrogen peroxide disinfectant | Hydrogen peroxide | Check label | Commonly 1 to 10 minutes (varies by product) | Usually workable on hard surfaces; only use on fabrics and leather if the label explicitly says so |
Practical shop rule: Avoid spraying anything directly into vents, switches, infotainment screens, or the seam gaps around airbags. Apply to a microfiber or wipe first, then disinfect the surface you can safely reach.
How To Verify Epa Numbers And Use The Label Correctly
EPA verification is simple. Find the line that reads “EPA Reg. No.” and make sure the digits match the specific product in your hand, then follow the exact contact time printed for your target surface and organism. Contact time only counts when the surface stays visibly wet for the full duration.
For car interiors, match the surface before you start.
In practice, product-to-product differences matter more than the “active ingredient” alone. Wipes usually shorten the wet time risk because the material stays wet longer on vertical surfaces, while sprays can flash off too fast if you mist lightly. For any disagreement between “wet time” and your application method, follow the label and re-wet as needed until the full contact time is satisfied.
Contact Times By Surface Material
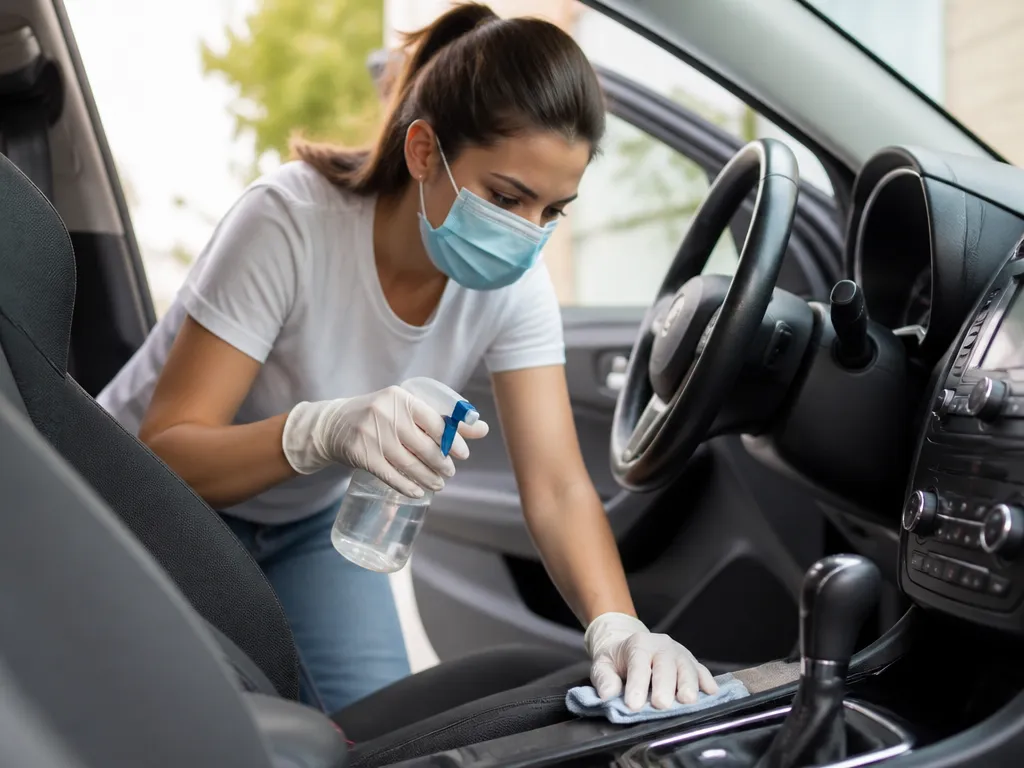
Disinfection only works when the product stays wet long enough on the surface, so contact time is the make-or-break variable. Plan on applying disinfectant so it remains visibly damp for the full window on every spot, including seams and textured areas.
| Surface in the car | Typical disinfectant wet-contact time | Practical notes (so you don’t overdo it) |
|---|---|---|
| Fabric upholstery (seats, door panels) | 5 to 10 minutes | Use a sprayer that mists evenly, and don’t flood. Keep vents, airbags, and wiring dry. |
| Leather (seats, steering wheel, shifter boot) | 3 to 7 minutes | Wipe on, keep it damp, then remove residue. Follow with a light leather conditioner if the product is not conditioning. |
| Plastic & vinyl (dash, console, door cards) | 3 to 10 minutes | Spray onto a microfiber first or use gentle misting to prevent runoff into seams. |
| Carpeted areas (floor mats, carpeted footwells) | 5 to 10 minutes | Apply enough to stay wet, then extract excess. Avoid soaking under padding. |
Contact time depends on the exact disinfectant chemistry and how quickly the surface dries, so treat the ranges above as a field guide. Read the product label for the required wet time and stick to that window, even if it differs from the range.
How To Manage Contact Time Without Damaging Trims
In practice, you control contact time with application rate and dwell management, not by “waiting dry.” For example, apply disinfectant in sections, then watch the surface closely so it stays damp until the timer ends.
Insider tip: textured fabrics and stitched seams dry faster than flat panels. Plan slightly shorter sections, around 1 to 2 seat sections at a time, so you can maintain wet contact through the full dwell.
For floor mats, you can usually hit the higher end of the time window because you can extract moisture after dwell. For molded carpeted areas, aim for the middle of the range and prioritize drying, since trapped moisture can cause odor or mildew.
If you’re disinfecting after a spill (juice, pet accidents, or unknown residue), give the surface a clean first so the disinfectant can reach the material. Disinfectants lose performance when heavy soils are present, and soils also delay drying, which can trap moisture if you over-saturate.
For cars with extensive electronics in the dash and door panels (common on many modern Ford, GM, and Toyota trims), keep spray off controls and connectors. Contact time still applies, but you may need to apply to a cloth first to control where the disinfectant goes.
Disinfecting Workflow: Prep To Finish
Remove debris and vacuum before disinfecting in a controlled order from top to bottom. This keeps you from scrubbing grime back into treated surfaces and reduces the amount of disinfectant you have to use on dirty material.
Built-in Visual Aids Plan
Use a checklist and a simple “zone map” so you do not bounce around and miss seams. Treat seat controls and switch areas as the most mistake-prone spots, because liquid migration through gaps is what causes sticky behavior and can trigger electrical issues.
| Surface area | Order | Method | Key caution |
|---|---|---|---|
| Steering wheel, shifter, door handles | 1 | Wipe with disinfectant on microfiber | Avoid liquid pooling around buttons |
| Dashboard/center console plastics | 2 | Damp wipe, light pressure | Do not flood speaker grilles |
| Seat controls, seat switches | 3 | Wipe, keep product off gaps | Prevent drips into rails |
| Upholstery fabric, carpet | 4 | Light wetting, blot excess | Do not soak padding |
| Mats and floor edges | 5 | Wipe or treat flat mats, then dry | Check underside edges |
Quick reference: Prep debris out, vacuum, then disinfect top-to-bottom with a dwell time you control. Dry with airflow and check seams last, because missed seams are the usual “it still smells” complaint.
Material-specific Care Guidelines
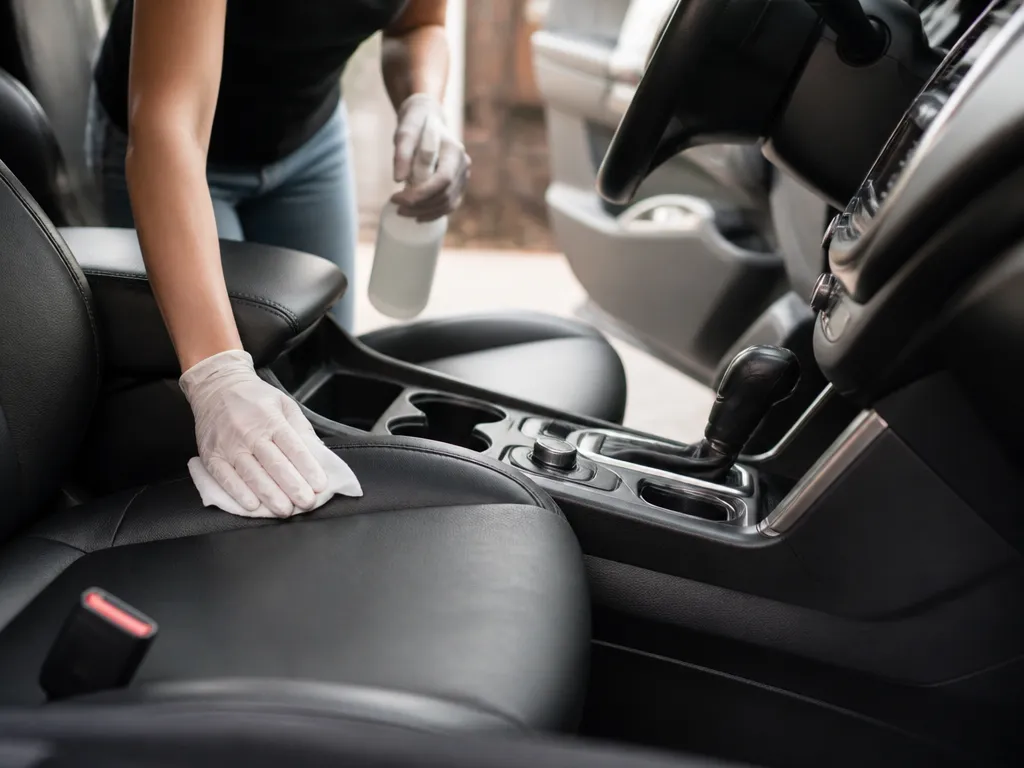
Fabric, leather, vinyl, and carpet each react differently to disinfectants, so the disinfectant type and dwell time matter as much as the cleaning step. Picking the right product for the surface prevents residue, color fade, and stiffness while still reducing germs.
| Interior material | Best approach for disinfection | Typical contact time | Big risk to watch for | Post-care to protect |
|---|---|---|---|---|
| Fabric seats, headliners (cloth) | EPA-registered disinfectant made for upholstery, then rinse-wipe | Follow product label, often 1-10 min | Water rings, color bleeding, oversaturation | Lightly extract moisture, air-dry with airflow |
| Leather (seats, wheel, dash pads if leather) | Disinfectant wipe/spray designed for leather, then neutral wipe | Label time only, keep it brief | Drying, cracking, finish dulling | Condition after it is fully dry |
| Plastic trim, vinyl surfaces (door panels, armrests) | Disinfectant that is compatible with hard surfaces, wipe and remove residue | Label time, then wipe clean | Cloudiness, sticky film, residue on textured plastic | Dry buff and apply a trim protectant if needed |
| Carpet (floor mats, carpeting) | Disinfectant approved for fabric, use controlled moisture and blot extraction | Label time, do not soak through padding | Mold smell from trapped moisture | Dry fast, lift mats, ventilate thoroughly |
Fabric: Cleaning Vs Disinfection, Stain Risk
Fabric absorbs what you apply, so start with a detergent clean to remove body oils and grime, then disinfect with an EPA-registered upholstery-safe product. Keep the nozzle aimed at the cloth, not the seams and padding seams, and avoid scrubbing hard enough to fuzz the weave.
For example, if you notice dye transfer from dark cloth after wiping, stop using that disinfectant and switch to a fabric-safe product that can be wiped off quickly.
In practice, use a slightly damp microfiber to wipe the area after the label dwell time, then extract or blot until the fabric is only lightly moist.
Leather: Conditioning And Finish Protection
Leather needs disinfection without stripping its finish, so wipe on a leather-compatible disinfectant (or a product labeled safe for leather) and keep dwell time strictly to the label. After dwell time, wipe off excess solution because leaving cleaner on leather can accelerate drying and make the surface feel tight or squeaky.
For example, if your leather looks slightly tacky after disinfection, buff it with a clean, dry microfiber, then let it sit for 30 to 60 minutes before conditioning. Conditioning should come after it is fully dry, since applying conditioner to damp leather can trap moisture and dull the finish.
Plastic/vinyl: Avoid Discoloration And Residues
Plastic and vinyl tolerate most disinfectants better than fabric or leather, but they hate residue. Spray onto a microfiber first, then wipe the trim, because overspray can soak into seams and leave a cloudy film on textured surfaces.
In practice, after the label dwell time, do a second wipe with a clean damp cloth to remove any remaining disinfectant ingredients. If you skip that rinse-wipe step, you can get hazing on BMW 3 Series and Mercedes C-Class style gloss trims, especially around cupholders and center stacks.
Carpet: Safe Disinfection Approach And Test Spots
Carpet cleaning is moisture management first, disinfection second, because soaking the padding turns into a lingering odor. Use a carpet-safe disinfectant at controlled dilution or per the label, apply enough to wet the pile surface, and avoid flooding the underlay.
For example, with floor carpeting in a Ford Escape or Subaru Outback, disinfect one small section, let it sit for the label time, then blot-extract to remove as much moisture as possible. Drying is your win condition, so run cabin fans and keep doors closed until the carpet is dry to the touch.
Pro tip: The safest way to reduce damage is to disinfect after you clean, then wipe away residue and control moisture so surfaces dry quickly.
Safety, Patch Testing, Electronics Protection
Protective gear and proper ventilation cut exposure to cleaning agents and fumes. Wear disposable nitrile gloves, safety glasses, and a lightweight respirator or mask if you anticipate aerosols, and keep fresh air circulating by cracking doors or running the HVAC on outside air. Patch testing should be done on a hidden spot with a small amount of product to confirm no staining before a full interior treatment.
Hvac, Vents, And Cabin Filter Care
Vent cleaning steps: Remove the cabin air filter and inspect the housing. Replace the filter if dirty. Vacuum the blower housing and accessible ducts with a narrow tool, and use low-pressure compressed air to loosen dust. Do not spray liquids directly into the ductwork.
Ventilation-aware cautions near electronics: Keep all liquids away from HVAC control modules, wiring, and the blower motor. When cleaning, spray only onto a cloth or use products approved for automotive use directed away from connectors. Do not run the system while damp and allow cleaned areas to dry completely before powering the system.
Cabin air filter cleaning or replacement steps: Inspect the filter for dirt or mold; replace as needed, typically every 12,000 – 15,000 miles or per your vehicle manual. Clean the housing seals and mating surfaces, then reinstall the cover firmly to prevent unfiltered air leakage.
| Surface | Disinfectant Type | Suggested Contact Time | Notes |
|---|---|---|---|
| Plastic/Vinyl | EPA‑registered disinfectant or 70% isopropyl alcohol | 1 – 3 minutes | Wipe and air dry; avoid over-wetting seams |
| Fabric upholstery | Fabric‑safe disinfectant spray | 5 – 10 minutes | Test colorfastness first; allow to dry completely |
| Carpets | Carpet disinfectant spray or foam | 5 – 10 minutes | Blot excess moisture after treatment |
| Leather | Leather‑safe cleaner; conditioner after | Follow label | Avoid saturating; test a hidden area |
Pro tip: after disinfection, run the HVAC on recirculate for 2 – 3 minutes, then switch to outside air to help dry surfaces and reduce lingering smells. Activated carbon odor absorbers in the cabin can help, but avoid relying on ozone unless a trained technician handles it.
Post-clean airflow check and odor control: Reinstall any removed components, start the vehicle, and run the blower on high with fresh air for 5 – 10 minutes to flush any remaining residues. Listen for abnormal noises and verify the odor is gone. If odors persist, repeat with a different disinfectant or pursue a professional cleaning of the ductwork and components.
Quick Summary
To disinfect a car interior safely, follow a material-safe workflow: prep, clean, disinfect, then dry fast, while matching the disinfectant to what you are treating. Disinfecting typically uses label contact time that is often 3 to 10 minutes, applied without soaking. The article also emphasizes patch-testing two hidden spots, like the seat underside and seatbelt pillar, before you do the full cabin.
Work in zones starting from the cleanest area and moving outward to prevent re-contamination, using the planned order shown above. Avoid spraying disinfectant directly into seams around airbags, overhead consoles, and speaker grilles, and never drip cleaner near airbags and sensors. For moisture control, dry everything within 1 to 2 hours using ventilation, which is the single most important takeaway for protecting electronics and materials while still getting disinfectant dwell time.
| Step | What to do | Article numbers or rules |
|---|---|---|
| Prep and protect | Ventilate, wear nitrile gloves and eye protection, and use a microfiber towel so disinfectant is applied to the cloth, not the vehicle | Open doors, HVAC to fresh air mode |
| Clean first | Remove grime before disinfecting, especially high-touch areas like steering wheel, door pulls, shifter and console controls, seat belt buckles, and window switches | Always clean first, disinfect second |
| Disinfect with dwell time | Apply to the right material category, and keep sprays away from electronics-adjacent areas | Contact time commonly 3 to 10 minutes |
| Dry fast | Use ventilation and avoid over-wetting fabric | Dry within 1 to 2 hours |
Frequently Asked Questions
What Is The Safest Way To Disinfect Car Interior Without Damaging Leather Or Upholstery?
Start by vacuuming first, then use a pH-balanced cleaner and a lightly damp microfiber, not soaking the seats or carpets. For leather, stick to a leather-safe disinfectant and wipe off any excess moisture to prevent dye transfer and cracking.
Can I Disinfect My Car Interior With Alcohol, And How Much Should I Use?
You can use 70% isopropyl alcohol on hard, non-porous surfaces like the steering wheel spokes, plastic trim, and door handles. Avoid spraying it directly onto soft materials, because it can dry out vinyl and leather and weaken adhesives.
How Do I Disinfect A Car Interior After Vomiting, A Bio Mess, Or Heavy Contamination?
Remove solids first, then clean thoroughly before disinfecting, using an enzyme cleaner or an appropriate cleaner designed for bodily fluids. After cleaning, disinfect with a product that’s labeled for the surface you’re treating, and let it stay wet for the time on the label before wiping.
How Long Does It Take To Disinfect A Car Interior Properly, Including Drying Time?
Plan on at least 30 to 60 minutes for cleaning plus disinfecting, then allow up to 1 to 2 hours for drying depending on humidity and airflow. Crack windows, use a fan, and keep products off sensitive electronics, like the infotainment controls.
What Common Mistake Should I Avoid When Disinfecting My Car Interior?
Do not flood the cabin or over-wet seams, headliners, and floor padding, because trapped moisture can lead to mildew and odor. Also avoid mixing chemicals like bleach with other cleaners, since you can create dangerous fumes.
What’s The Best Way To Disinfect High-touch Areas Like Steering Wheel And Gear Shifter?
Use disinfectant wipes or a cleaner on a microfiber for the steering wheel, shifter, seatbelt buckles, and door handles, and keep the surface wet briefly per the product directions. For textured plastics and buttons, use gentle pressure so cleaner gets into crevices without forcing liquid under panels.