

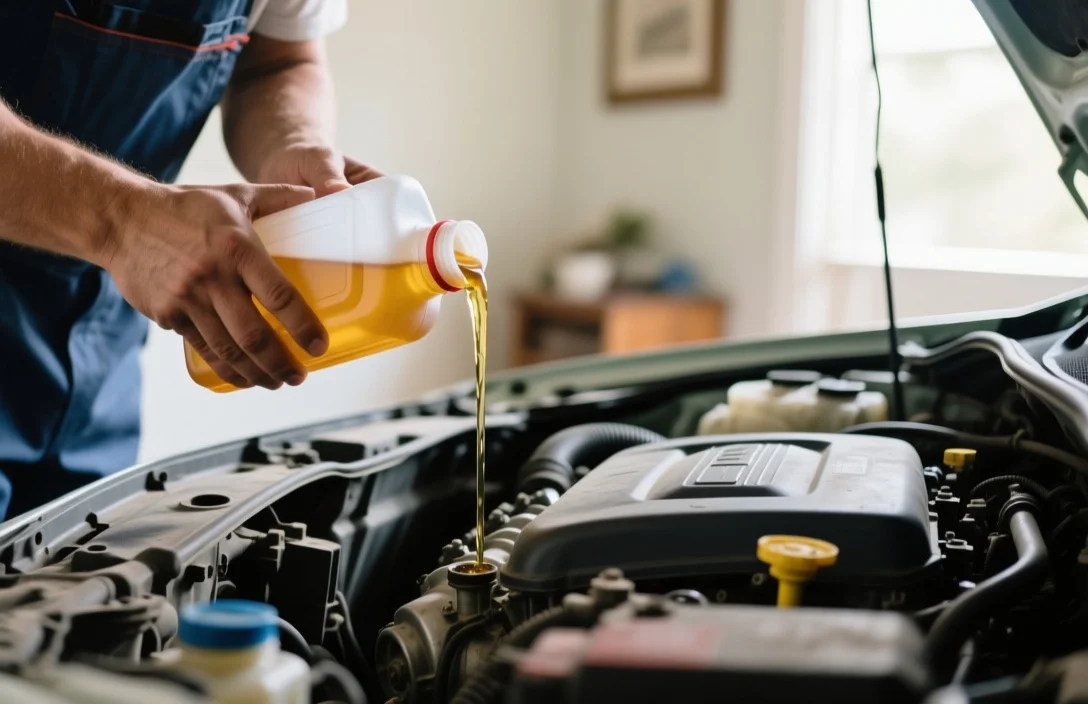
Changing your own oil can shave $30‑$50 off each service and gives you confidence that the right amount of fresh lubricant reaches every moving part. This guide walks you through every prerequisite, tool, and action you need to complete a clean, safe oil change in your driveway. By the end you’ll know how to drain, replace, refill, and dispose of oil without a garage lift or professional technician.
Changing engine oil at home takes roughly 45 minutes for most passenger cars, requires 4 - 6 quarts of oil, and eliminates the hidden labor markup that dealerships charge. Follow the steps below, gather the listed tools, and you’ll finish with a properly lubricated engine and a clean work area.
Key Takeaways
- Save money. Performing the oil change yourself avoids shop labor fees that can exceed $40 per service.
- Protect the environment. Proper disposal of used oil prevents groundwater contamination and complies with EPA regulations.
- Use the right oil. Consult your owner’s manual for the exact viscosity and capacity; most cars need 4‑6 qt per change.
- Stay safe. Warm‑up the engine briefly, then let it cool before handling hot oil to avoid burns.
- Check for leaks. After refilling, run the engine a few minutes and inspect the drain plug and filter gasket for drips.
How to Change Engine Oil at Home Step by
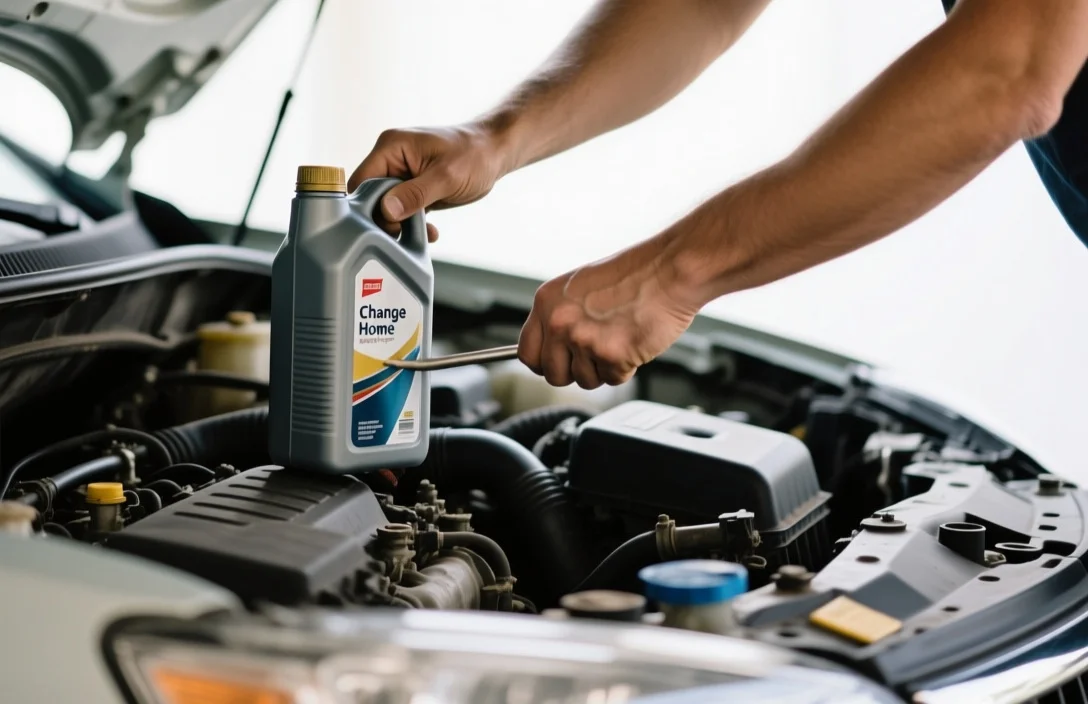
A complete oil change follows a predictable sequence: preparation, draining, filter replacement, refilling, and verification. Knowing the order prevents missed steps and keeps the job efficient.
Start by parking the vehicle on a flat surface and engaging the parking brake. Gather all tools within arm’s reach, then warm the engine for about five minutes to thin the oil, which eases drainage. After the engine cools for ten minutes, place a drain pan under the oil pan’s plug and begin the removal.
Next, unscrew the drain plug using a socket wrench and allow the oil to flow completely into the pan. Once the oil stops, replace the plug with a new washer if the old one shows wear. Then, remove the old filter with a filter wrench, apply a thin coat of fresh oil to the new filter’s seal, and install it hand‑tight. Finally, pour the recommended amount of fresh oil through the filler neck, check the dipstick, and run the engine briefly to circulate the oil before a final level check.
- Warm up the engine – Run for 3‑5 minutes to reduce oil viscosity.
- Cool down – Shut off and wait 10 minutes to avoid burns.
- Position the drain pan – Align under the drain plug.
- Remove the drain plug – Use the correct socket size (usually 13‑17 mm).
- Drain the oil – Let it flow until it stops.
- Replace the plug – Install a new crush washer if needed.
- Take off the old filter – Use a filter wrench; expect some oil spillage.
- Install the new filter – Lubricate the gasket and screw on ¾ turn past hand‑tight.
- Add fresh oil – Pour the correct grade and amount via the filler tube.
- Check level – Use the dipstick after a short idle, add oil if low.
Following this order ensures that each component is addressed before moving on, reducing the chance of forgetting a critical step.
Required Tools for a DIY Oil Change
Having the right equipment turns a potentially messy job into a smooth operation. Below is a concise inventory that covers most passenger vehicles; larger trucks may need heavier‑duty tools.
A basic toolkit includes a socket set with the appropriate size for the drain plug, a wrench for the oil filter, and a funnel to avoid spills when refilling. Adding a rubber‑handled oil‑catch pan prevents scratches on the ground and makes disposal easier. A set of disposable gloves protects your hands from old oil and any chemicals in the filter.
- Socket wrench – 13 mm to 17 mm range, typically 3/8‑inch drive.
- Oil filter wrench – Adjustable band or socket style.
- Drain pan – Capacity of at least 6 quarts; plastic with a built‑in spout works best.
- Funnel – Wide mouth, preferably with a built‑in strainer.
- Gloves – Nitrile or latex, size L or XL for a comfortable fit.
- Rag or shop towels – For wiping drips and cleaning the filter area.
- Jack and jack stands (optional) – Useful for higher clearance vehicles; always use a rated jack.
Investing in a quality set of tools pays off after multiple oil changes, and many auto parts stores offer starter kits that bundle these items at a reasonable price.
Choosing the Right Oil Grade and Filter
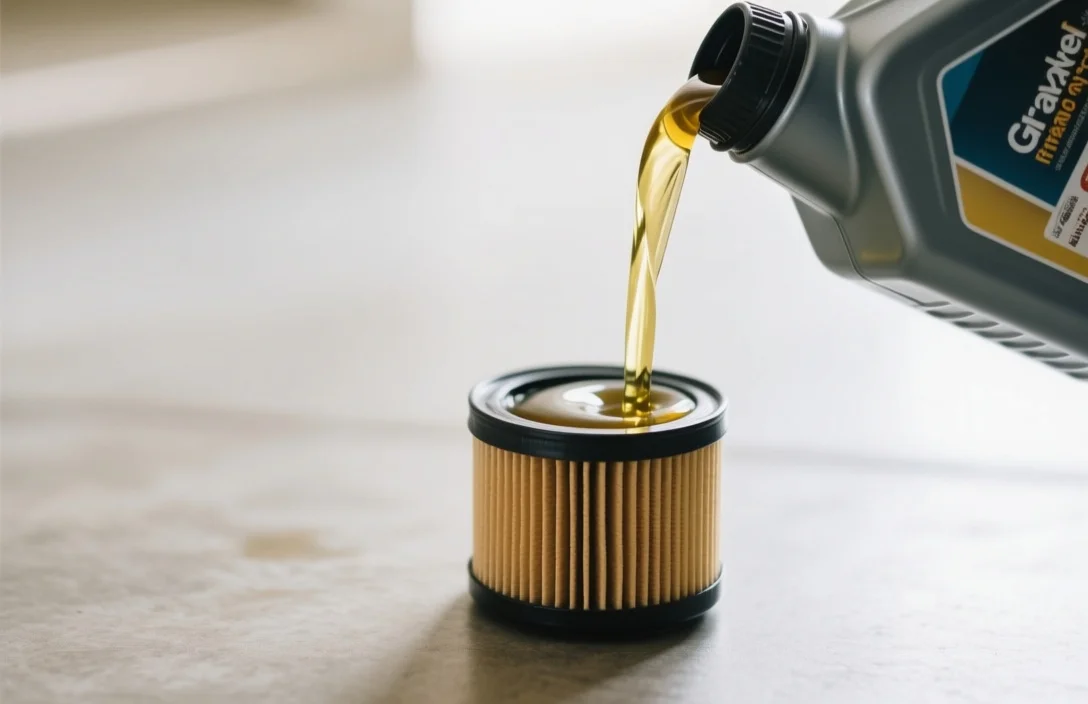
The oil’s viscosity and the filter’s specifications directly affect engine longevity and performance. Selecting the correct grade hinges on the manufacturer’s recommendation, which balances temperature range and engine wear protection.
Most modern gasoline engines use 5W‑30 or 10W‑30 oil, while older models may call for 15W‑40. Synthetic blends provide better high‑temperature stability, but they are pricier. The filter must match the engine’s thread size and flow rate; universal filters often list compatible makes on the packaging.
| Oil Grade | Typical Viscosity (W) | Recommended for | Synthetic? |
|---|---|---|---|
| 5W‑30 | 5 (cold) – 30 (hot) | Most 2010‑2020 cars | Yes |
| 10W‑30 | 10 (cold) – 30 (hot) | Older 2000‑2009 models | Optional |
| 0W‑20 | 0 (cold) – 20 (hot) | Modern fuel‑efficient engines | Yes |
| 15W‑40 | 15 (cold) – 40 (hot) | Heavy‑duty trucks, older diesels | No |
When buying a filter, verify the part number against the vehicle’s service manual. Filters rated “OE” (original equipment) guarantee the correct filtration efficiency, while “Premium” filters often boast higher micron ratings for finer particles.
Always double‑check the owner’s manual for the exact oil capacity; many sedans hold 4.5 qt, while SUVs may require up to 6 qt. Using the wrong grade can increase fuel consumption and accelerate engine wear, especially in extreme climates.
Draining the Old Oil Safely
Proper drainage removes contaminants and ensures the new oil runs clean from the start. Safety and environmental considerations dominate this step, so follow a disciplined approach.
Begin by placing the drain pan directly beneath the oil pan’s drain plug, confirming that the pan’s lip sits lower than the plug’s edge. Loosen the plug slowly to control the flow; a sudden rush can splash oil onto the vehicle’s undercarriage. As the oil empties, watch for any metallic particles, which may indicate internal wear.
Once the oil has fully drained, reinstall the plug with a new crush washer to maintain a tight seal. Over‑tightening can strip threads, while under‑tightening may cause leaks. After the plug is secure, wipe any residual oil from the surrounding area with a rag to prevent slip hazards.
If you notice a sudden gush of oil that seems unusually fast, pause and check whether the drain plug is fully cleared. A blocked plug can cause pressure buildup and damage the oil pan. Patience at this stage saves time and prevents costly repairs later.
Replacing the Oil Filter and Gasket
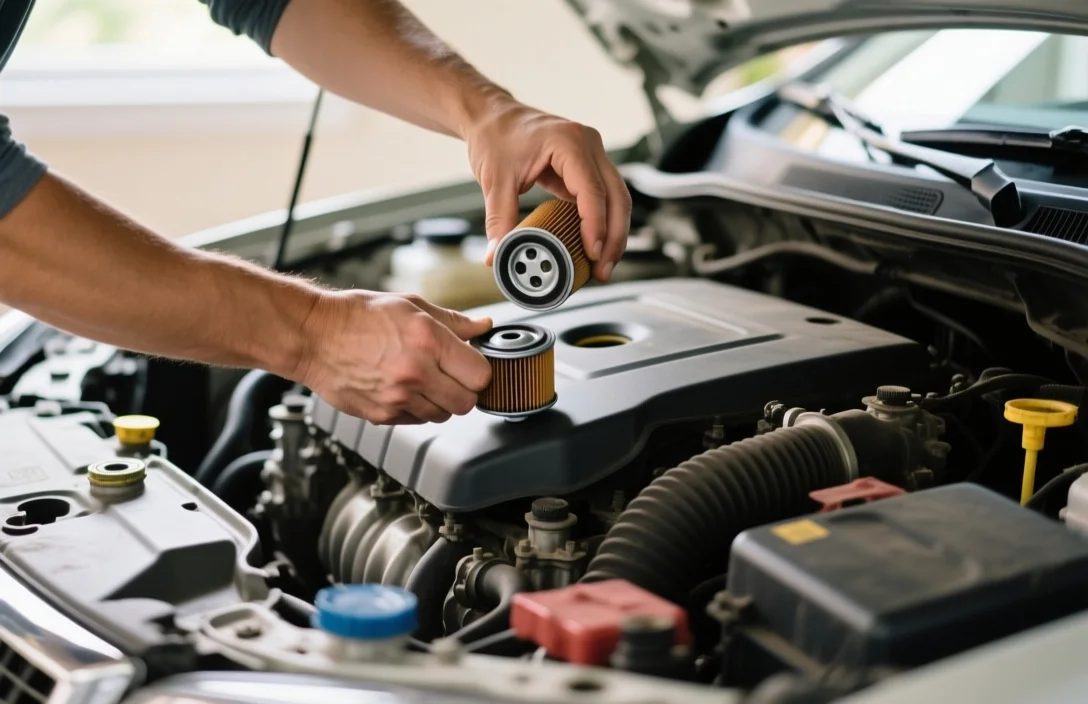
The oil filter captures debris that would otherwise circulate through the engine, making its proper installation vital. A fresh gasket ensures a leak‑free seal between the filter housing and the engine block.
First, loosen the old filter with the filter wrench; expect a small amount of oil to spill when the seal breaks. Remove the filter and clean the mounting surface with a rag, removing any old gasket material. Apply a thin film of fresh oil to the new filter’s gasket – this lubricates the seal and eases installation.
Screw the new filter on by hand until the gasket contacts the housing, then turn it an additional three‑quarter turn. Over‑torquing can crush the gasket, while under‑torquing may allow oil to seep out. After installation, double‑check that the filter is secure but not forced.
Many filters include a built‑in gasket; however, some vehicle designs require a separate gasket or O‑ring. Consult the filter’s instructions or the service manual to confirm whether an extra seal is needed, especially on older models.
Filling the Engine to the Correct Level
Accurate oil volume guarantees proper lubrication and prevents engine damage from over‑ or under‑filling. The dipstick offers a quick visual cue, but following the manual’s fill line eliminates guesswork.
Remove the oil filler cap and insert a funnel to avoid spills. Pour the recommended amount of oil slowly, pausing to let it settle before checking the level. After the first pour, insert the dipstick, wipe it clean, re‑insert fully, then pull it out to read the oil level; it should sit between the “Low” and “Full” marks.
If the reading is low, add oil in small increments – no more than half a quart at a time – to avoid overshooting. Once the correct level is achieved, replace the filler cap securely. Start the engine and let it idle for a minute, then shut it off and re‑check the dipstick; a slight rise is normal as oil circulates.
Running the engine briefly after the fill helps the new oil coat internal surfaces and reveals any hidden leaks at the filter or drain plug. If you notice a steady drip, tighten the offending component by a half turn and re‑inspect after a short run.
Disposing of Used Oil and Filters
Improper disposal of used oil and filters can harm the environment and violate local regulations. Most municipalities provide designated collection points for hazardous waste, often located at recycling centers or auto parts stores.
Transfer the used oil from the drain pan into a sealed, leak‑proof container – plastic milk jugs with tight‑fitting lids work well. Label the container “Used Motor Oil” to avoid confusion. For the filter, place it in a sturdy bag; some recycling programs accept whole filters for metal recovery.
Do not pour oil down the drain, onto the ground, or into the trash; it can contaminate water supplies and soil. Many service stations accept used oil for free, and some offer a small discount on new oil purchases as an incentive. Check your city’s website for the nearest drop‑off location and operating hours.
By following these disposal steps, you keep your neighborhood clean, comply with EPA guidelines, and may even earn a modest rebate on future oil purchases.
FAQ
How often should I change my engine oil at home?
Most manufacturers recommend an oil change every 5,000‑7,500 miles or every six months, whichever comes first. Driving conditions such as frequent short trips or extreme temperatures may require more frequent changes.
What type of oil is best for a 2018 Toyota Camry?
For a 2018 Toyota Camry, 0W‑20 synthetic oil is the factory‑specified grade. Using this viscosity ensures optimal fuel efficiency and engine protection.
Can I reuse the old oil filter after cleaning it?
Reusing a used oil filter is not advised. Even after cleaning, microscopic contaminants remain, and the gasket may be compromised, leading to leaks.
How much oil does a typical compact car need?
A compact car usually holds between 4 and 4.5 quarts of oil. Verify the exact capacity in the owner’s manual before refilling.
What are the penalties for improper oil disposal?
Improper disposal can result in fines ranging from $100 to $1,000 per violation, depending on state regulations. It also poses serious environmental risks, making proper disposal essential.