
New brake pads feel soft and spongy until a thin layer of friction material bonds to the rotor. Proper bedding creates that layer, improves stopping distance, and prevents premature wear. This article walks you through the exact process, the science behind it, where to do it safely, and how to tell when the job is done.
How to bed in new brake pads requires five to ten moderate stops from 30-40 mph, a cool‑down pause of 2-3 minutes between each stop, and repeated cycles until the pedal feels firm and consistent. The method builds a uniform transfer layer, avoids brake glazing, and keeps rotors from overheating.
Key Takeaways
- Start with moderate stops. Perform 5-10 stops from 30-40 mph, allowing brakes to cool between each.
- Control pressure. Apply firm, steady pressure without slamming the pedal to generate even heat.
- Watch rotor temperature. Keep rotor surface below roughly 250 °F to prevent warping.
- Listen for squeal. Persistent high‑pitched squeal indicates poor transfer layer formation.
- Feel the pedal. A firm, non‑spongy pedal after the cycle means the pads are fully bedded.
How to Bed In New Brake Pads Step by
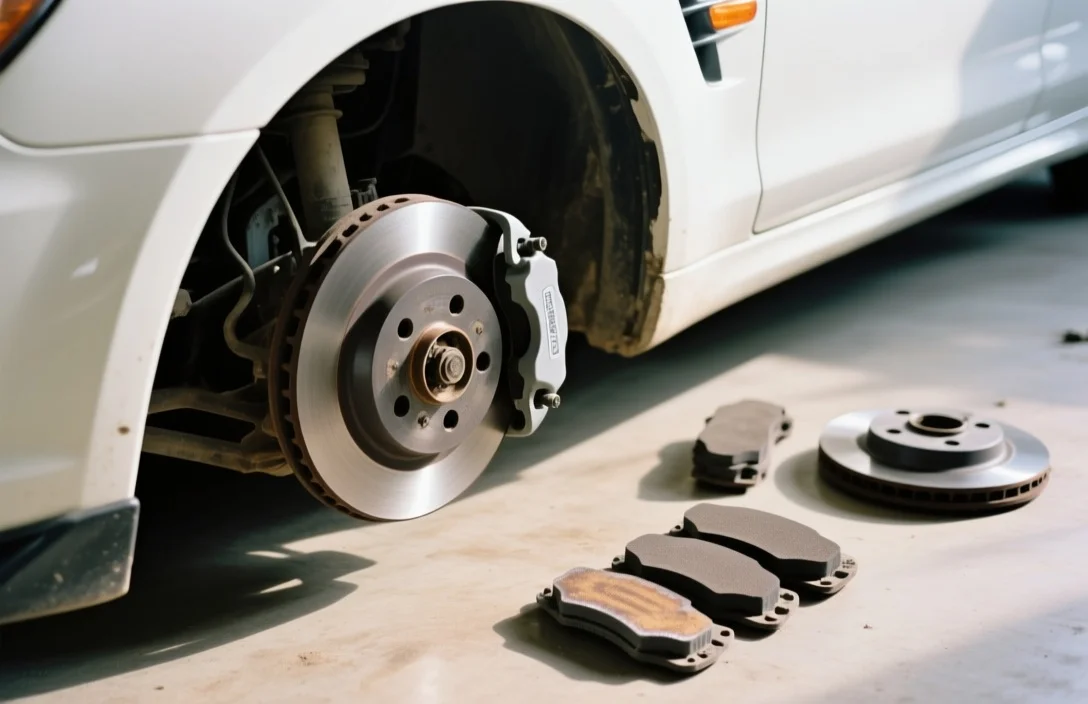
Bedding in new pads is not a one‑time event; it’s a short series of controlled stops that gradually raises the pad temperature while the rotor stays cool enough to avoid distortion. The goal is to lay down a thin, even transfer layer that matches the rotor’s surface finish.
Before you begin, verify that the pads are properly mounted, the brake fluid is at the correct level, and the rotors are clean of oil or debris. A clean system ensures the friction material can adhere without contamination, which would otherwise cause uneven wear or glazing.
- Accelerate to 30-40 mph on a straight, dry road with minimal traffic.
- Apply the brakes firmly but avoid locking the wheels; aim for a deceleration of about 0.6-0.7 g.
- Hold the brake pressure until the vehicle comes to a near‑stop, then release just before the wheels lock.
- Coast to a complete stop without using the brakes, allowing the pads to cool.
- Wait 2-3 minutes before the next stop; this prevents rotor overheating.
- Repeat the cycle 5-10 times, gradually increasing the speed to 50 mph on the final few stops.
- Finish with a light stop from 20 mph, then let the brakes cool for 10 minutes before normal driving.
After the sequence, you should notice a firmer pedal and a consistent bite. If the pedal feels spongy or the vehicle pulls to one side, repeat the process with slightly lighter pressure.
The Science of Transfer Layers and Brake Glazing
When a pad contacts a hot rotor, microscopic particles of the pad’s friction material transfer onto the rotor surface, forming a thin “transfer layer.” This layer provides the primary friction interface and determines how evenly the pad engages the rotor.
If the pad temperature exceeds the material’s optimal range – typically above 300 °F – the friction material can melt and re‑solidify as a glossy film known as brake glazing. Glazing reduces friction, causing squeal and longer stopping distances. Proper bedding keeps temperatures within the material’s sweet spot, allowing the transfer layer to bond without glazing.
The chemistry of the pad matters. Organic pads tend to create transfer layers at lower temperatures, while semi‑metallic pads require higher heat to achieve the same bond. Understanding this helps you adjust pressure and speed during the bedding cycle to match the pad type.
Safe Road Environments for Bedding In Brakes
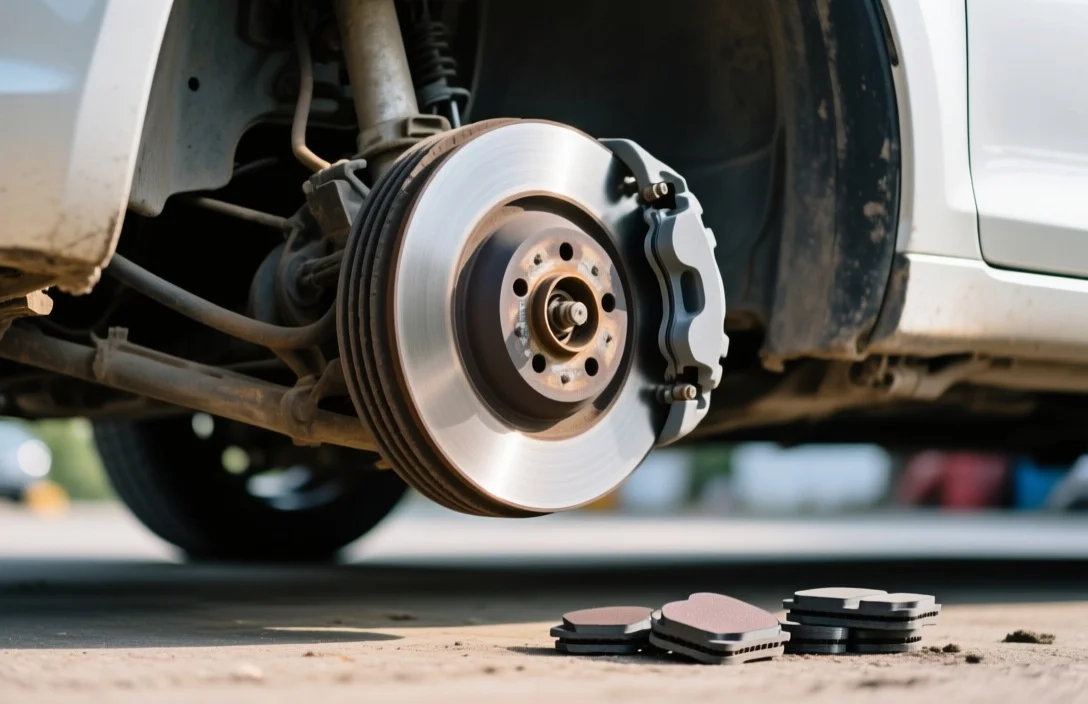
Choosing the right location reduces risk and improves the quality of the transfer layer. An empty parking lot with a smooth concrete surface is ideal because it offers consistent grip and no traffic interruptions.
If a parking lot isn’t available, a quiet stretch of highway with low traffic volume works, provided the road is dry and free of oil patches. Avoid wet or icy surfaces, as they cause uneven friction and can mask the true feel of the pads.
Make sure the area has good visibility and clear signage. Performing the process in a well‑lit environment helps you judge speed and pressure more accurately, especially during the early stops when the pads are still cold.
Deceleration Speeds and Pressure for Optimal Heat
The amount of heat generated during each stop depends on both vehicle speed and the pressure you apply to the brake pedal. Too little pressure yields insufficient heat, while too much can cause uneven pad wear or rotor warping.
Below is a typical range for passenger cars equipped with standard disc brakes. These values are guidelines; actual results may vary with vehicle weight, pad composition, and rotor size.
| Speed (mph) | Brake Pressure (psi) | Approximate Rotor Heat (°F) |
|---|---|---|
| 30 | 150-180 | 200-230 |
| 40 | 180-210 | 230-260 |
| 50 | 210-240 | 260-290 |
| 60 | 240-270 | 290-320 |
Aim for the middle column values during the first few stops, then increase pressure slightly as the pads warm up. Maintaining pressure within the 150-240 psi band prevents overheating while still producing enough heat for a solid transfer layer.
Cool Down Periods to Prevent Rotor Warping
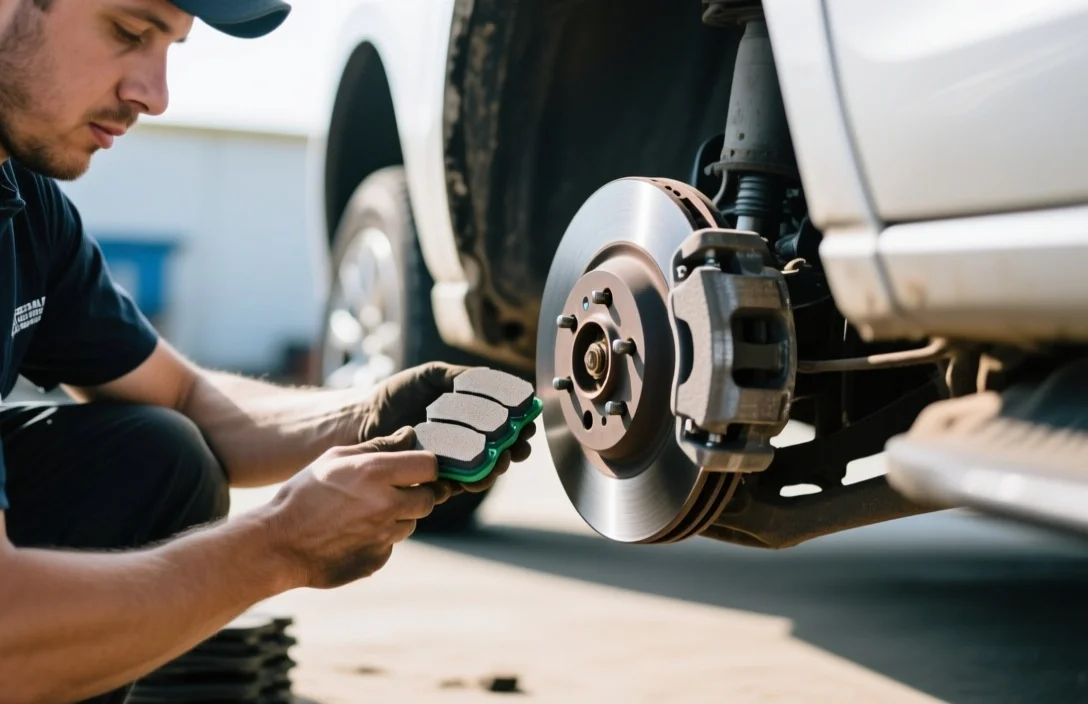
Rotor warping occurs when localized hotspots cause the metal to expand unevenly. The cooling interval between stops is essential to dissipate heat evenly across the rotor’s surface.
A 2-3 minute pause after each stop allows the rotor to drop below 250 °F, a temperature many manufacturers cite as the upper limit for safe operation during bedding. After completing the full sequence, let the brakes idle for at least 10 minutes before resuming normal driving; this ensures the entire system returns to ambient temperature.
If you notice the brake pedal pulsating or the vehicle pulling to one side during the cooling phase, stop the process and let the brakes cool for an additional 5-10 minutes. This extra time helps the rotor contract uniformly and reduces the risk of permanent warping.
Signs Your New Brake Pads Are Fully Bedded
A fully bedded pad delivers a firm, responsive pedal feel with minimal travel before the vehicle begins to decelerate. You should experience a consistent bite at the same pedal position each time you apply the brakes.
Another indicator is the absence of high‑pitched squeal after the bedding cycle. A quiet, steady sound – often a low‑frequency hum – means the transfer layer is stable. Additionally, the vehicle should track straight when braking from moderate speeds, indicating even pad wear.
Feel for a slight “grabbing” sensation that smooths out after the first few stops; this is the pad’s friction material settling onto the rotor. Once these characteristics appear, the pads are ready for regular use.
Identifying Poor Bedding Through Brake Squeal or Pulsing
Persistent squeal that rises in pitch as you apply more pressure usually signals an uneven transfer layer or early glazing. In such cases, repeat the bedding process using lighter pressure and longer cool‑down intervals.
A pulsating brake pedal – where the pedal vibrates or the vehicle shudders during braking – often points to rotor surface irregularities caused by insufficient cooling or uneven pad material deposition. If the pulsation continues after a full bedding cycle, inspect the rotors for thickness variation or contamination.
Both symptoms are early warnings. Addressing them promptly prevents accelerated pad wear, uneven braking performance, and costly rotor resurfacing.
FAQ
How long does the bedding process usually take?
A typical bedding cycle lasts 20-30 minutes, including the cooling pauses between each of the 5-10 stops.
Can I use the brakes normally after the first few stops?
It’s best to avoid heavy braking for at least the next 10 minutes; this lets the transfer layer stabilize and the rotors cool evenly.
What if my vehicle has a parking brake that locks the rear wheels?
Apply the parking brake lightly during the first few stops to help the rear pads engage, then release it before the final stops to avoid overheating the rear rotors.
Is it safe to bed pads on a wet road?
No. Wet surfaces reduce friction and can cause uneven heat distribution, leading to glazing or reduced bite.
Do I need special tools to measure brake temperature?
A handheld infrared thermometer is helpful but not required; visual cues like pedal feel and audible squeal are reliable indicators for most drivers.