
Most cars let you swap brake pads without touching the rotors – provided the rotors are thick enough and smooth enough to work safely. Rotors wear every time you brake, and they rarely last through two sets of pads. If you skip measuring them, you risk uneven braking, vibration, or a failed inspection.
Replacing brake pads alone saves money when rotors measure above the manufacturer’s minimum thickness and show no deep grooves, cracks, or warping. A micrometer check and visual inspection determine if the rotors can stay. Clean the rotor surface thoroughly, bed the new pads properly, and you will get near-new braking performance without the cost of new hardware.
Key Takeaways
- Minimum thickness is non-negotiable. Most passenger cars require at least 22-25 mm.
- Surface smoothness is critical. Deep grooves or cracks mean the rotor must be replaced or resurfaced.
- Cleaning prevents noise. Use a wire brush on the hub face and rotor to remove rust before installation.
- Bedding-in restores grip. Perform a 10-stop cycle from 35 mph to cool the pads and rotors evenly.
- Avoid “pad slapping.” Skipping rotor prep or bedding leads to vibration and shorter pad life.
- Basic tools suffice. A jack, jack stands, lug wrench, C-clamp, and brake cleaner cover most jobs.
When You Can Skip New Rotors
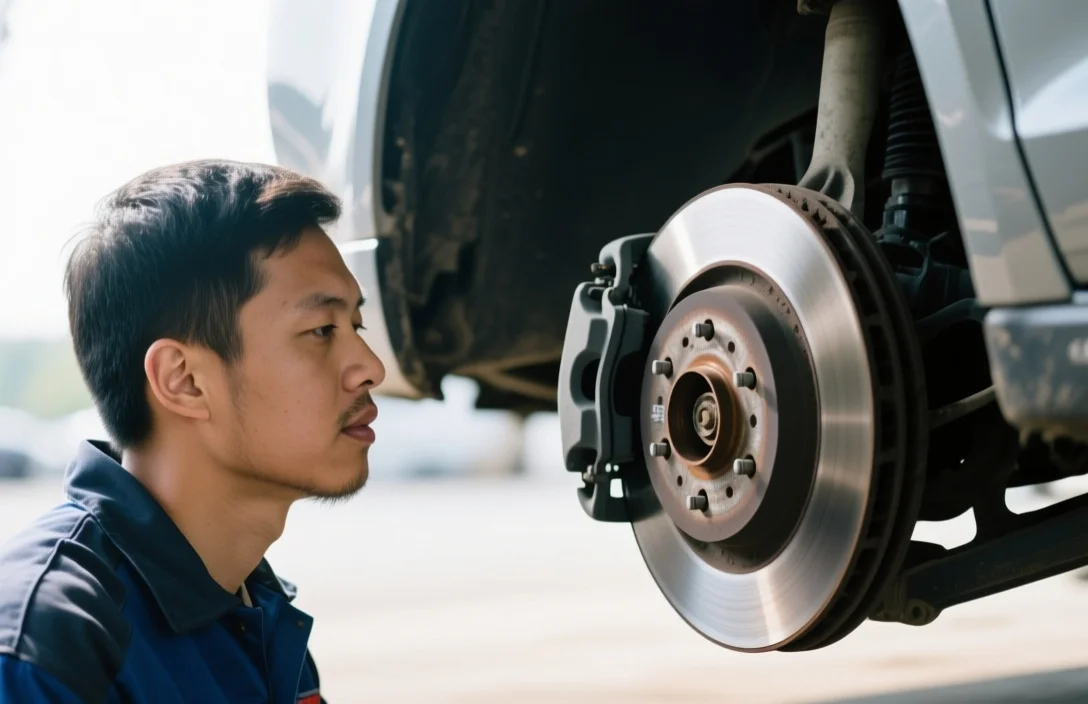
Rotors are reusable if they stay within manufacturer specs and show no structural damage. Measure the thickness with a micrometer – most passenger cars require at least 22-25 mm. If the rotor is above that minimum and free of deep grooves, cracks, or warping, it is safe to reuse. Clean the hub face and rotor surface with a wire brush and brake cleaner to remove rust and debris before installing the new pads. Finish with a proper bedding-in procedure to transfer an even layer of friction material onto the rotor surface.
Checking Rotor Thickness and Surface Health
Measure rotor thickness at eight evenly spaced points around the disc. Compare the thinnest reading to the minimum thickness stamped on the rotor or listed in your vehicle’s manual – typically 22-25 mm for passenger cars. If any spot falls below that number, replace or resurface the rotor.
Visually inspect the surface for deep grooves, cracks, or a blue tint, which indicates severe overheating. A slight lip at the outer edge is normal and does not affect performance. If the rotor passes both the thickness and visual checks, it is safe to reuse.
Prepping Used Rotors for New Pads
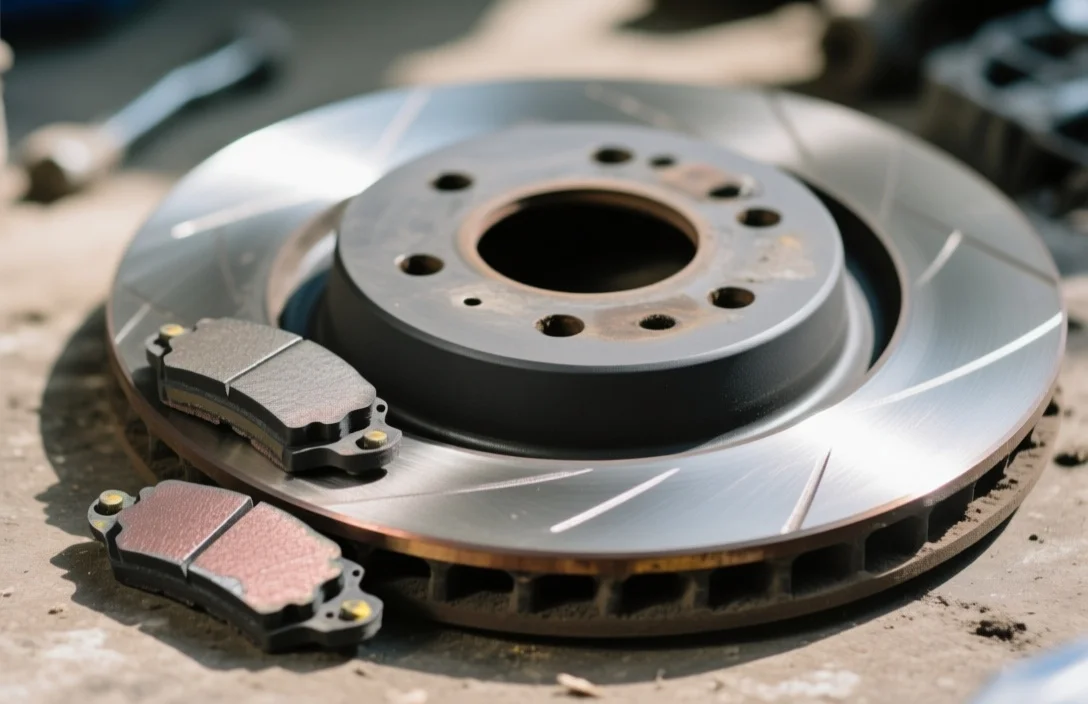
Remove rust and debris from the hub face and rotor surface with a wire brush and brake cleaner. Rust on the hub face prevents the rotor from sitting flat, which causes warping. Wipe the rotor with a clean rag to remove remaining particles. For light surface rust, a quick spin with 120-grit sandpaper restores a smooth finish. Do not use compressed air, as it can blow debris into the wheel bearings.
Bedding in New Brake Pads on Old Rotors
Bedding-in transfers a layer of friction material onto the rotor surface to prevent vibration and uneven wear. Perform five moderate stops from 35 mph down to 5 mph, followed by five harder stops from 45 mph down to 10 mph. Let the brakes cool for 10 minutes between cycles.
Avoid coming to a full stop during this process, as it creates hot spots on the rotor. After bedding, drive for 10-15 minutes without heavy braking to let the system cool completely.
The Dangers of Pad Slapping
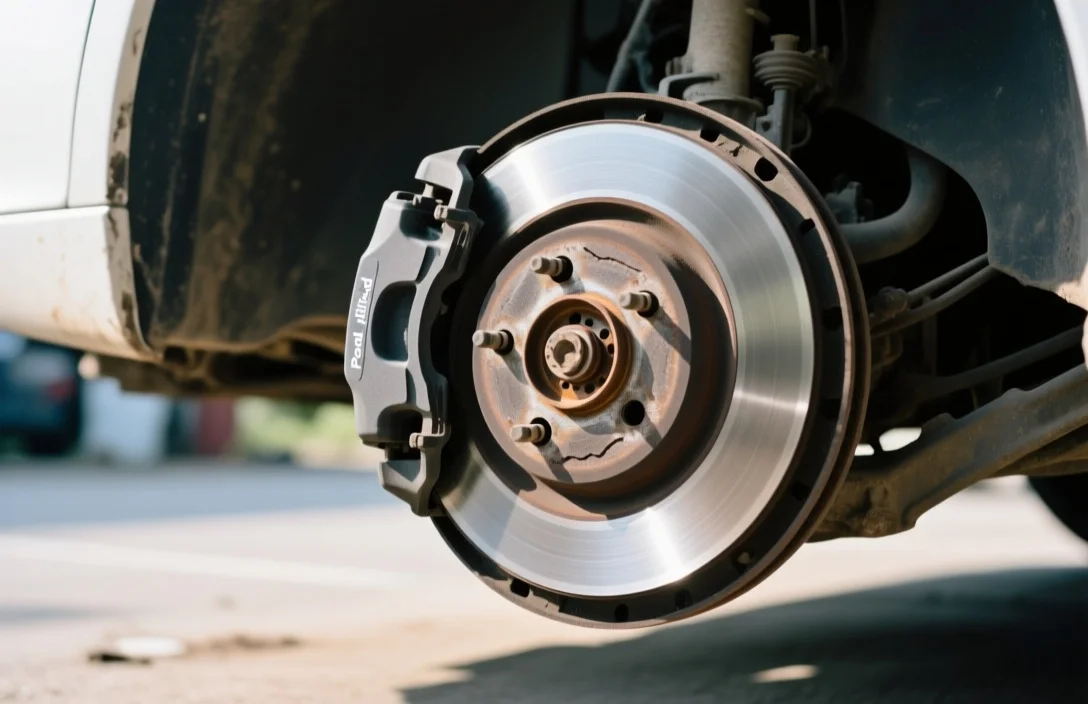
Pad slapping – replacing pads without inspecting or prepping rotors – causes uneven wear, vibration, and reduced braking performance. When a rotor is too thin or damaged, new pads cannot make full contact, which increases stopping distances. Skipping the bedding-in process creates hot spots, leading to warping or premature pad failure. A full service involving inspection, cleaning, and bedding ensures the longest possible life for the new pads.
Essential Tools for Pad Replacement
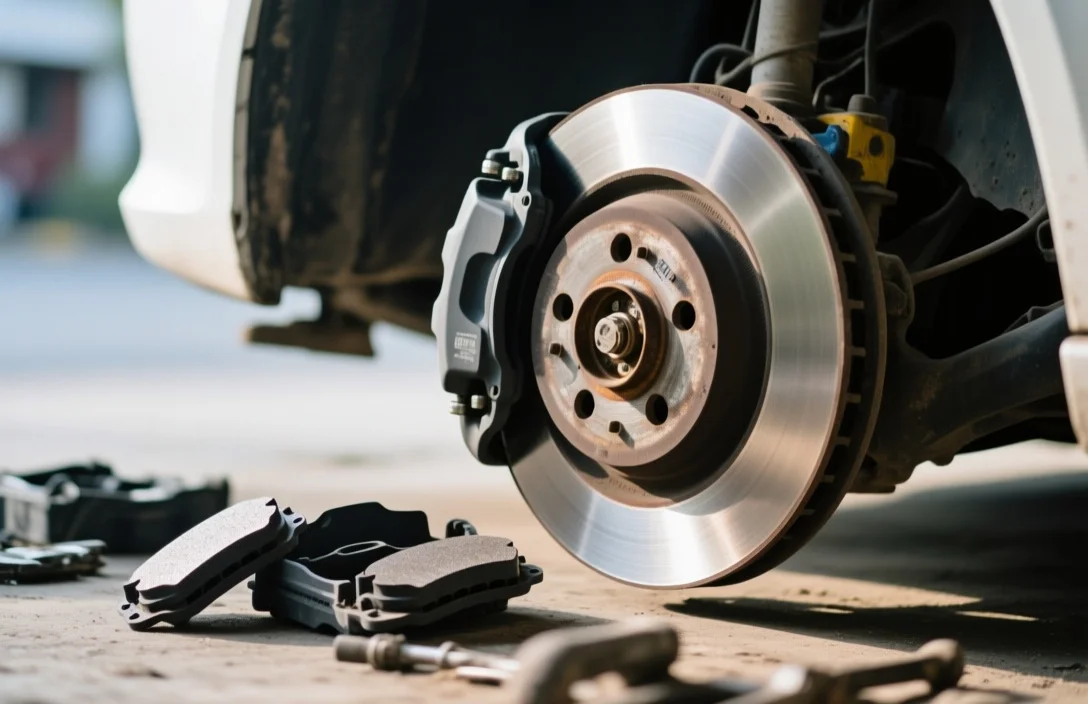
A standard pad-only replacement requires a jack, jack stands, lug wrench, C-clamp (or brake piston tool), brake cleaner, wire brush, and a micrometer. Use a torque wrench to ensure lug nuts are tightened to factory spec. If the caliper piston is recessed, a brake piston cube tool or channel locks can compress it. Wear gloves and safety glasses to protect against caustic brake dust and metallic debris.
FAQ
How do I know if my rotors are too thin?
Measure the rotor at eight points with a micrometer. If any reading is below the minimum thickness stamped on the rotor – usually 22-25 mm – you must replace or resurface it.
Can I reuse rotors with light rust?
Yes. Clean light surface rust with a wire brush and brake cleaner. If the rust has caused deep pitting in the metal, the rotor is compromised and needs replacement.
What happens if I don’t bed in new brake pads?
You risk uneven pad deposits, which cause steering wheel vibration, brake squeal, and reduced stopping power. Bedding ensures a uniform transfer of friction material.
Do I need to resurface rotors when replacing pads?
Only if the rotor has deep grooves or uneven wear. If the surface is smooth and the thickness is within spec, cleaning is sufficient.
How long do rotors last with new pads?
Rotors typically last through two sets of pads if maintained properly. If they are already near the minimum thickness during the first change, they will need replacement by the second.