
You pop the door and the smell hits right away, diesel, wet dog, smoke, or “sweet” coolant. Before you buy an air freshener, you need to find whether the odor is coming from the upholstery, HVAC case, seat foam, or a leak. This guide gives you a step-by-step way to eliminate car odors safely, including ozone and enzyme options.
Start with a quick diagnosis: if the smell changes with fan speed or recirculation, it usually points to the HVAC system, and if it lingers after vacuuming, the source is often soaked padding. Expect to spend about 1 to 2 hours for light cases and 4 to 8 hours for deep fabric or headliner work, then decide if you need a pro.
Car odors are eliminated by finding and treating the source, not masking it. Check for leaks first, then inspect HVAC air, carpets, seat seams, and headliner. For fabric and carpet, deep-clean with an extraction step, then dry fully in 4 to 24 hours. For leather and vinyl, clean and condition, and treat odors in foam with enzyme cleaners.
How To Eliminate Car Odors: Diagnosis
Car odors get eliminated fastest when you triage by source, moisture, and scent behavior. A correct diagnosis usually tells you whether to clean a surface, dry a hidden area, or stop the source (fuel, coolant, AC, sewer trap, mold). Start with a short “odor log” and then follow a simple decision path for DIY cleaning versus professional remediation.
Record what you notice before you buy anything, because scent memory fades and “guess sprays” waste time. Write down the odor type, when it happens, where it seems strongest, and what changed recently (spills, new pets, cabin filter replaced, floods, roof work, brake service, or new fuel station).
Flowchart Overview (Quick Triage)
Use this order: start with safety and leak checks, move to moisture and HVAC, then handle surface cleaning and odor-specific treatments. If the source is ongoing (active leak or wet insulation), deodorizing sprays will mask it temporarily and you will likely repeat the problem.
Decision nodes for DIY vs pro can be simple:
| Observation | Most likely cause | Best next move |
|---|---|---|
| Musty smell mainly on A/C | Evaporator moisture, drain issue, cabin filter | DIY cabin filter, drain cleaning, and evaporator-safe cleaner if accessible, then dry |
| Sweet smell or oily residue | Coolant leak | Repair leak first, then clean any stained areas |
| Gasoline smell near cabin or trunk | Fuel system or container leak | Stop and inspect for leaks, repair first, then odor remediation |
| Wet padding after rain | Clogged drain, seam leak, or floor intrusion | Dry thoroughly and correct the leak, replace soaked padding if needed |
Professional escalation is worth it when odor returns within 24 to 72 hours. That pattern usually means moisture or a hidden contamination source is still active, not that you need a “stronger deodorizer.”
When to escalate to remediation includes these red flags: sewage or cat urine smell, visible mold colonies on surfaces, waterlogged seat foam or headliner sagging, persistent smoke or electrical “burn” odor, or any sweet fuel/coolant odor that could tie into overheating or a leak you cannot locate safely. For vehicles with heavy cabin contamination after a flood, professional extraction and documentation is often cheaper long-term than repeated DIY cleaning attempts.
For safety, avoid indiscriminate ozone or aggressive chemical fogging during diagnosis. Ozone treatments can irritate lungs and worsen odor sensitivity in some people if you do not follow strict exposure controls, and strong chemicals can drive odors deeper into foam if moisture is still present. Once you have identified the likely source and ensured the cabin is dry and ventilated, the next sections can walk through targeted cleaning for fabric, carpet, headliner, and leather.
Odor Sources By Type
Odor culprits cluster around five zones inside and around the cabin. Fabric and carpet areas soak up moisture and old spills, which harbor microbes. Leather and vinyl surfaces can trap skin oils and breakdown odors with heat and sun exposure, while the headliner and interior plastics shed compounds from aging adhesives and cleaners.
Fabric and carpet sources absorb water, sweat, and spills from shoes, pets, and occupants. Musty smells point to damp carpets or floor mats, especially when the car sits in rain or after heavy spills. Mildew can grow under a seat or in the trunk area if moisture remains.
Leather and vinyl sources originate from skin oils and the breakdown of coatings. A new car may have a sharp chemical scent from finishes, which fades with conditioning. Older leather or vinyl can release acrid notes as additives degrade and oils migrate.
Headliner and interior plastics trap volatiles from aging plastics, adhesives, and cleaners. Smoke residues cling to fibers, and humid days push embedded odors toward the cabin. Damp headliners or peeling backing often signal a moisture problem behind the roof or in the pillars.
HVAC and duct sources may harbor mold on the evaporator or damp ducts. When the system runs, a musty or sour odor can blow through the vents. Odors also come from stale cabin air or from ozone and chemical treatments used inside the system.
External and hidden sources include trunk moisture, spilled fluids, rodents, and leaks from sunroof drains or door seals. A smell that shifts with weather often points to water intrusion you can’t see in the cabin. Look for hidden drips and damp insulation around the firewall or floor pans.
| Odor clue | Likely origin | Common locations | Quick checks |
|---|---|---|---|
| Mildew musty | Moist fabric or damp carpet | Floor mats, under seats, cargo area | Feel for damp spots; check for water intrusion |
| Sharp chemical | Fresh coatings or cleaners | Headliner, dashboards, plastics | Identify recent products; ventilate thoroughly |
| Burnt plastic or electrical | Overheating components or wiring | Under dash, fuse panel area, vents | Unusual heat or sizzling sounds; avoid driving if suspected |
| Musty air from vents | Mold in HVAC | Vent outlets, cabin air path | Replace cabin air filter; run fresh air mode to purge |
| Tobacco residues | Smoke or ash deposits | Seats, headliner fibers, carpets | Deep cleaning or professional detailing recommended |
Tip: If you suspect hidden mold behind carpeting or under seats, a moisture meter and careful visual inspection are worth the time. Persistent odors after cleaning often mean HVAC or insulation needs remediation, which is best handled by a pro.
Fabric, Carpet, Leather Cleaning Steps
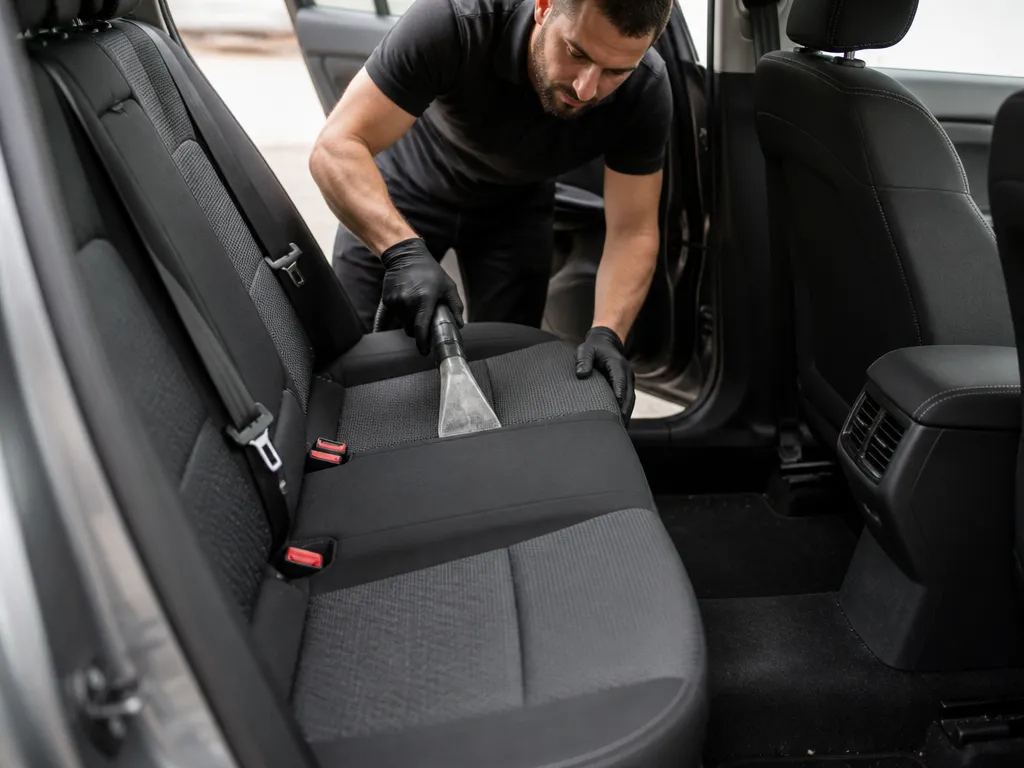
Fabric and carpet odors usually come from trapped moisture, food proteins, and spilled drinks that sink below the surface. Leather odors often come from body oils in the grain and conditioner buildup that holds smells. Cleaning works best when you prep the surface, test the product in a hidden spot, then use chemistry matched to the odor type.
Leather-specific Cleaning And Conditioning
Rough cost and time (DIY, per vehicle)
| Service type | Typical DIY time | Rough consumables cost |
|---|---|---|
| Spot clean (fabric/carpet) | 1 to 3 hours + dry time | $20 to $60 |
| Full upholstery and carpet clean | 4 to 8 hours + dry time | $40 to $140 |
| Enzyme treatment (organic odor) | 2 to 4 hours active + 8 to 18 hours dwell/dry | $25 to $90 |
| Leather clean + condition | 1 to 3 hours + dry time | $25 to $80 |
Professional call-out: If the odor returns within a day after drying, the padding under carpet is likely contaminated. For water-damage situations or recurring urine smells, hiring a detailer with extraction equipment and odor-specific chemistry is often cheaper than repeated DIY cycles, especially on sedans and SUVs where front floor padding soaks deep.
Notes that keep results consistent: In vehicles like Honda Civics/Accords, Toyota Camry/Corolla, and Ford F-150s, stains often sit over thicker padding, so controlled extraction matters more than scrubbing. In BMW 3 Series and Audi A4/A6, leather seats with ventilation/perforations trap oils in holes, so cloth-applied cleaner and light conditioning give better control. In any car, avoid heavy oversaturation, because lingering moisture is the fastest way to keep odors alive.
Headliner Cleaning And Care
Headliner odor is usually tied to trapped moisture, microbial growth, or old smoke residues that soaked into the foam backing. Treating the surface too aggressively can loosen adhesive bonds or push odor deeper into the headliner liner. The goal is controlled cleaning with fast, gentle drying.
Assess Headliner Material Risk
Start by identifying the headliner type because some materials are fragile and some are foam-backed. Alcantara, velour, and most OEM cloth headliners tolerate light agitation, while heavily textured or paper-backed liners can mark easily. For bonded foam headliners, soaking is the fastest way to create a permanent odor source by spreading moisture through the backing.
Use a flashlight and check for stains, sagging, or bubbling near roof leaks. Look for water tracks around sunroof drains, A-pillar seams, and windshield corners. If the headliner is already loose at the edges, stop and fix the leak first or plan on replacement.
Gentle Cleaning Methods
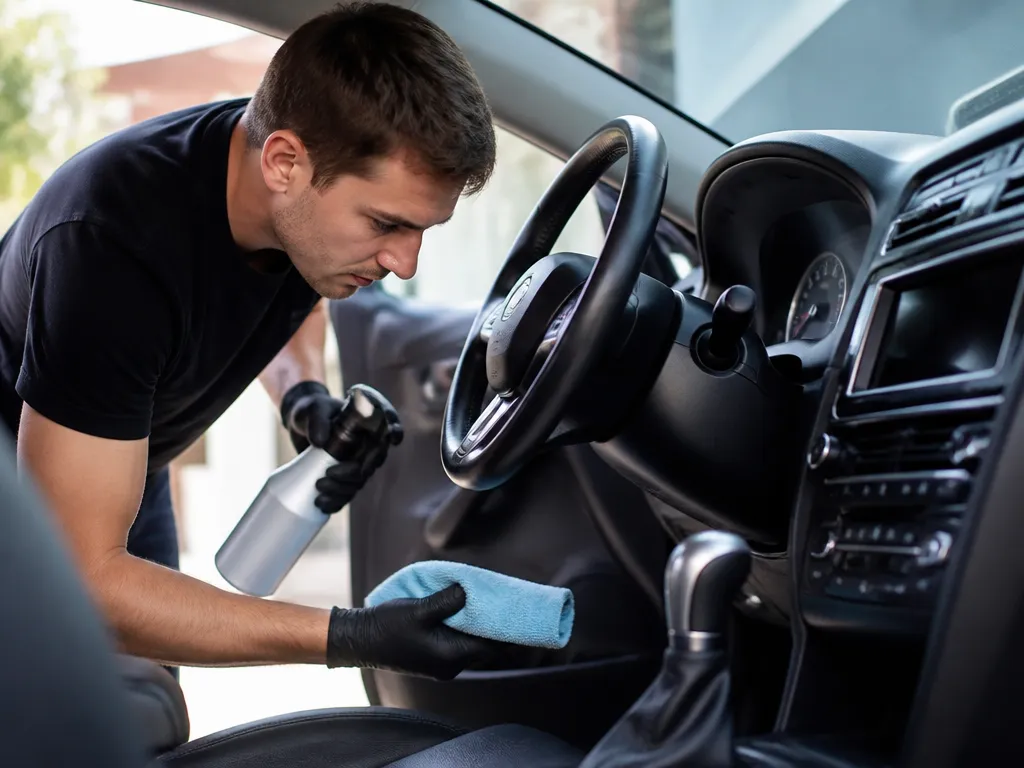
Use a pH-neutral interior cleaner or a small amount of upholstery shampoo on a microfiber towel, never directly on the headliner. Work in small sections with light dabbing, then wipe with a second clean damp cloth to remove residue. Residue is a major reason “clean” smells return within days.
For smoke and odor films, choose an enzyme odor neutralizer only after the surface is dry and you have not saturated the liner. Enzymes help when odor is biological, but smoke is often a mix of oils and particulates, so a light detergent step is commonly needed before enzymatic treatment.
Mechanic tip: Spray cleaners into the towel first. Wetting the headliner material directly can wick liquid into the backing and ruin bond integrity.
Stain Handling Without Saturation
For spot stains, lift first with a dry method. Blot oily spots with a clean, dry microfiber, then apply cleaner to the towel and dab until the stain stops transferring. For coffee or food spills, use a minimal amount of damp cloth to release residue, then blot hard with dry towels.
When a stain has penetrated deeply, repeated light passes beat one aggressive soak. If you see the stain halo spread outward, stop and switch to blotting only.
| Stain type | Best approach | What to avoid |
|---|---|---|
| Oily marks (food, fingerprints) | Light pH-neutral cleaner on towel, dab and blot | Strong degreasers, wet scrubbing |
| Water marks (roof leak) | Dry the source, then minimal damp wipe and dry | Chasing the stain while the leak is active |
| Musty odor stain | Dry first, then odor neutralizer lightly on towel | Enzyme product into a damp liner |
| Smoke residue | Clean film lightly, then neutralize remaining odor | High-foam cleaners that leave residue |
Drying Process And Detackling
Drying is where most headliner odor fixes succeed or fail. Use airflow from multiple directions, run the HVAC on fresh air with low fan speed to avoid adding moisture, and keep cabin humidity down with a dehumidifier if you have one. Aim to fully dry the liner backing, which can take a day or more depending on how wet it got.
For household-style drying, a fan in the cabin is usually safe, but avoid blasting hot air directly at seams or toward the ceiling liner if it is already sagging. If the headliner feels tacky after cleaning, stop and continue drying before applying any odor treatment.
When Headliner Replacement Is Considered
Headliner replacement is the realistic option when the bonded foam has delaminated or the liner smells sour even after thorough drying. Replacement is also worth it if you keep seeing recurring odor after cleaning, which often means microbial growth is deep in the backing. Certain sunroof drain issues in vehicles like the Honda Accord, Toyota Camry, and Nissan Altima are notorious for slow roof leaks that soak the liner without obvious puddles.
If the headliner is already sagging, or if you spot repeated bubbling or loose sections after light moisture exposure, replacement saves time and prevents recurring smells. A professional interior detailer or upholstery shop can also inspect bond condition before you spend more on chemicals.
Hvac Duct Odor And Cabin Air
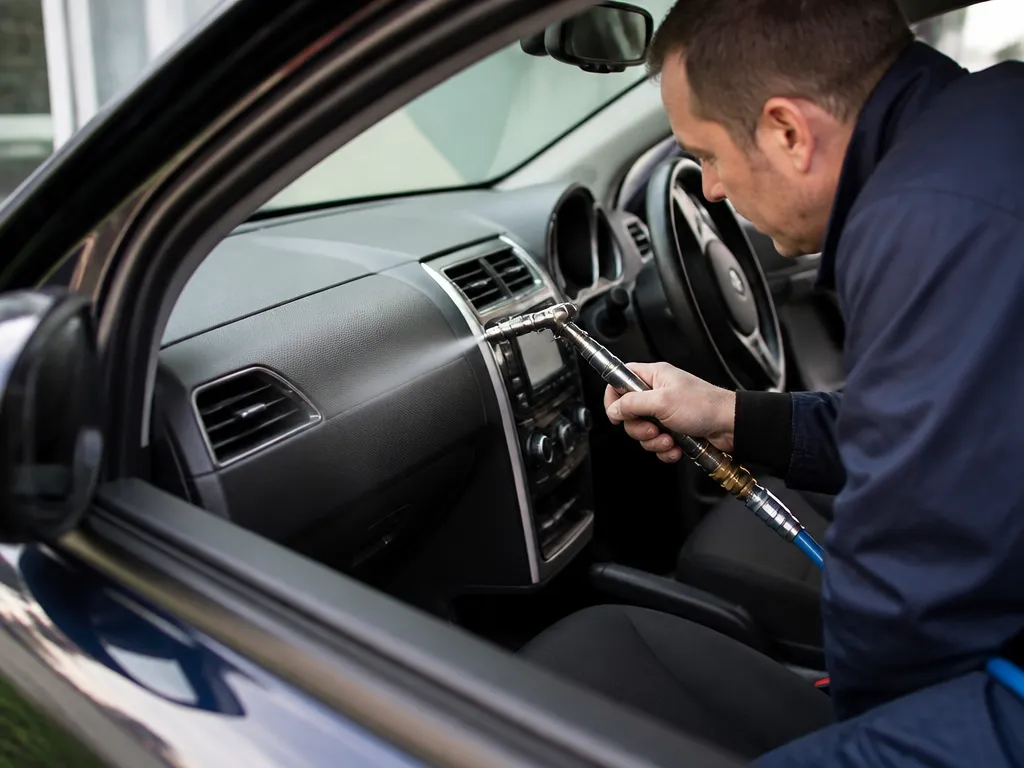
Cabin odors often come from the HVAC air path, especially when evaporator water or dirty intake debris lets mold, mildew, and organic gunk build up inside the housing and ducts.
Signs The Hvac System Is Carrying The Smell
Look for these clues before you start spraying random odor eliminators. In many cars, the A/C evaporator drain can clog, leaving stagnant moisture that feeds odor.
For example, common offenders include water-trap issues on many Toyota Camry and Honda Civic trims, and heavy cowl debris days in trucks and SUVs that run in dust or rain.
Duct Cleaning Vs. Ozone Treatment
Duct cleaning can help when there is actual particulate buildup or debris in the ducting and blower housing, but it has limits. Most “smells” in passenger cars are tied to the evaporator, the blower wheel, and the cabin filter area, which are only partially addressed by generic duct vacuuming.
Ozone can oxidize odor molecules, but it is easy to overdo and it can drive odors deeper into porous materials if you have moisture or organics still active. Ozone also does not fix the source; it only treats residual odors after the source has been addressed.
| Approach | Best for | What it can’t do | Typical risk level |
|---|---|---|---|
| Duct/air-housing cleaning | Debris, dust, and blower housing contamination | Ongoing moisture or clogged drain issues | Low to medium |
| Enzyme treatments | Organic sources like mildew and biofilm when moisture is corrected | Dry smoke residue trapped in plastics and seams without cleaning | Low |
| Ozone treatment | Hard-to-remove odors after source cleaning | Does not fix evaporator drain or active growth | Medium to high (if used improperly) |
Pro mechanic tip: If the A/C drain is clogged, any odor “treatment” is likely to come back. Fixing the moisture path is what makes the smell removal last.
Post-clean Cabin Air Filtration And Safe Chemical Steps
After HVAC cleaning, install a new cabin air filter and verify the filter type matches your climate use. If you live where pollen is heavy or the vehicle sits in shade and humidity, a quality activated-carbon filter can help capture odors from incoming air while you finish the source cleanup.
For chemical treatments, use only products intended for automotive HVAC or cabin surfaces. Always protect yourself and avoid fogging treatments unless you know the system intake routing and can prevent overspray into electronics.
Time And Cost Ranges You Can Plan Around
Exact pricing varies by region, shop labor rates, and whether the tech must remove blower components, so expect ranges rather than a single number.
When the odor is strong, returns fast, or you suspect a clogged drain, a shop that can access the evaporator and confirm the drain path is worth the money.
Products, Safety, And Time-cost Guide
Odor removal depends on treating the right material with the right chemistry. Fresh-looking carpet and seats still smell if the odor source is in padding, under mats, or on the HVAC air path where it reappears. Plan around two realities: time for dwell (so the product can work) and repeated passes if the source is deep or long-term.
Enzymatic, Fabric, And Leather Products (What To Buy And Where They Work)
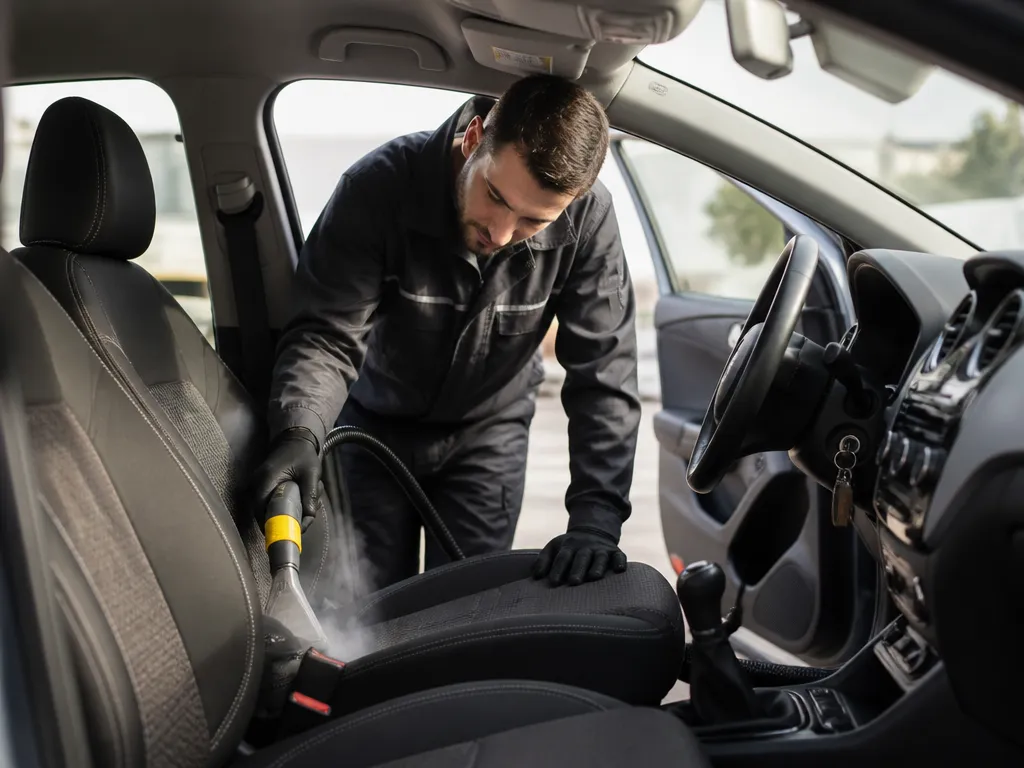
Enzymatic cleaners are the go-to when the smell tracks to an organic source trapped in padding, like urine or vomit. Choose a product that is explicitly enzymatic, then give it enough dwell time before extraction or blotting. For fabric and carpet, a cleaner with a good agitation and extraction plan usually beats “spray and forget,” especially on vehicles with salt exposure or frequent wet feet.
Leather care is different because harsh degreasers and strong solvents can dry the hide and worsen long-term odor. Use a dedicated leather cleaner, then condition, especially on Volvo XC90, BMW 3 Series, and Honda Accord trims where leather perforations can hold oils deep in the foam. Leather smell often improves once the surface oils are removed, but deeply soaked odors still require targeted cleaning and may need seat removal in extreme cases.
Ozone Vs. Non-ozone, Safety, And When To Hire It Out
Ozone treatment is the one product category where safety planning is mandatory because ozone irritates lungs and can damage certain materials if exposure is uncontrolled. Treat ozone like a controlled process: remove people and pets from the vehicle, seal the vehicle as directed by the generator manufacturer, and ventilate thoroughly afterward before anyone enters. Ozone can also mask odors temporarily if the source is still present, so cleaning first is usually the smart move.
Non-ozone options like hydroxyl-based sprays, anti-microbial neutralizers, and foggers can be easier to manage, but results depend heavily on cleaning first. If the odor keeps returning after cleaning, the odds increase that the source is under the sound deadening, in HVAC components, or behind trim panels, where a shop with extraction tools and access capability is worth the money.
Time And Money Planning (Diy Vs. Professional)
DIY odor elimination usually costs less, but the time risk is real because you might need multiple cycles of cleaning, dwell, extraction, and dry time. Budget extra day(s) for drying, especially in humid climates where wet foam keeps odors alive. Professionals speed up the job with extraction equipment, faster drying strategies, and access to deep-clean processes.
DIY typically ranges from under half a day for mild odors to 2-3 full working sessions for deep fabric or padding sources. Professional remediation often takes half-day to full-day scheduling depending on seat and trim access needs, plus additional time for drying. Exact pricing is not consistent across cities and shops, so treat the table as a rough range and request a written scope for what material is being cleaned or replaced.
Professional Remediation And Case Studies
Some odors require source excavation, not just surface cleaning, especially when the smell has soaked into padding, HVAC components, or hidden moisture. When repeated DIY attempts fail, a pro’s process is usually faster because they identify the odor pathway and treat the material at the right depth.
Indications For Professional Service
Professional remediation is worth it when the odor returns within days, when it is clearly linked to a prior event (pet accidents, flood, smoker household), or when you suspect HVAC contamination. If the smell is strong enough to cause headaches or nausea, treat it like an air-quality problem and get it assessed.
Escalate to a shop when any of these show up.
What A Remediation Typically Includes
A reputable odor specialist starts with inspection and a map of where the smell is coming from, then they remove or neutralize the source rather than masking it. Common tools include deep extraction equipment for carpets and seats, ozone or other air treatments when appropriate, and HVAC cleaning to address odor released through the vents.
Typical service flow looks like this:
| Odor source | Pro remediation focus | Common “why it comes back” issue |
|---|---|---|
| Pet urine | Enzyme/biological treatment on extracted areas and padding | Urine soaked into foam or stayed under trim |
| Cigarette smoke | Residue removal from plastics, cloth, headliner seams | Smoke film trapped in porous upholstery padding |
| Mold and moisture | Moisture source correction plus antimicrobial treatment | Wet material remains behind liners or in HVAC |
Safety callout: Ozone treatments can be unsafe for occupants during treatment. A competent shop will explain evacuation, ventilation, exposure limits, and verification steps before any re-entry.
Case Study A: Pet Odor Elimination
For a 2017 Honda CR-V with a recurring “urine” smell after repeated shampooing, the effective work centered on deep extraction plus foam-level enzyme treatment on the rear seat and cargo floor. After treatment, the odor faded for a short window, then returned slightly because the source also involved under-mat contamination in the cargo area.
For example, the shop corrected the pathway by treating the carpet backing and lifting edge trim enough to reach the affected fibers. The client reported consistent odor disappearance after one full treatment cycle with drying time long enough to prevent residual moisture.
Case Study B: Cigarette Odor Removal
For instance, a 2014 Ford F-150 with heavy smoke odor often smells strongest through the HVAC on fan-only settings. In that case, the remediation team removed the in-cabin filter, cleaned vent surfaces, and focused on residue removal for cloth and vinyl contact points.
The trade-off is that smoke residue is stubborn, and porous materials like headliner and seat padding may need multiple passes. Shops that skip HVAC attention or only mist an odor neutralizer usually see the smell return when the system runs again.
Case Study C: Mold And Moisture-related Odor
For a 2009 Toyota Highlander with a musty odor that intensified during defrost, the root issue was ongoing moisture trapped behind interior panels. Remediation included identifying the moisture origin, correcting it, and treating affected surfaces with an antimicrobial approach, then fully drying the cabin before air treatments.
Mold odors often return when the underlying moisture path remains. In practice, pro drying and a thorough check behind carpet edges and under-seat areas are what break the cycle.
Estimated Timelines And Costs For Pro Work
Timelines depend on fabric condition, odor intensity, and whether the HVAC or hidden padding needs attention. Simple upholstery odor cleanouts can take about a day, while contaminated padding and moisture cases often take multiple days due to drying and re-checks.
Cost ranges vary by region, vehicle size, and whether parts of the interior must be treated multiple times. The table below gives rough planning numbers, since current exact shop rates are not reliably consistent across providers:
| Service type | Typical time | Rough cost range (labor) |
|---|---|---|
| Fabric extraction and odor treatment (single-area) | 4 to 10 hours | $150 to $450 |
| Full cabin detailing with multi-surface treatment | 1 to 2 days | $300 to $900 |
| HVAC-focused odor remediation | 1 to 3 days | $250 to $1,000 |
| Moisture or mold-related cleanup with drying | 2 to 5 days | $600 to $2,500+ |
What to ask the shop: “Where will you treat, what material layers get addressed, how will you verify the odor is gone, and what safety steps do you use for any air treatment?” Clear answers reduce the chance of paying for masking.
Quick Start Checklist
Start by locating the odor source and stopping the source first, then clean the materials that hold smell. Spend 30 to 60 minutes today on triage and a targeted clean, then do a progress check before you buy stronger products.
| Odor you notice | Likely culprit | First action to try |
|---|---|---|
| Musty, damp | Carpet backing, seat foam, HVAC water/biogrowth | Dry, then targeted cleaner and extraction/vacuum |
| Pet urine | Organic residue in carpet padding | Enzyme-based cleaner in light, repeat applications |
| Burnt, sweet, chemical | Electrical, coolant/oily residue, or product overspray | Stop driving if you suspect overheating or leaks, inspect source |
| Rotten/garbage | Trash, spills in trunk, hidden food | Find and remove source, then clean affected surfaces |
Odor progress test (after 2 to 24 hours)
For a clean test, note the time the odor is strongest, then run the same routine again (doors closed overnight, then first sniff after opening). Track changes, not just your memory.
Quick Summary
The core method is to identify the source, correct leaks or moisture, clean the affected material, and dry it fully. Fuel, coolant, or oil smells require inspection and repair before deodorizing. Ozone should be reserved for residual odors after source removal and used only with strict safety controls.
Frequently Asked Questions
What’s The Fastest Way To Eliminate Car Odors Without Replacing Parts?
Start by finding the source, not masking it. Remove trash, vacuum the carpet, and clean the interior surfaces that trap smell, then run fresh-air ventilation for 10 to 15 minutes with the HVAC fan to push out lingering odors.
How Do I Get Rid Of Musty Smell In A Car Caused By Moisture?
Musty odors usually mean moisture in the cabin or HVAC system. Dry things out first by running the AC on maximum cold with the fan on high for several minutes, then follow up by cleaning the cabin air filter area and replacing the filter if it is heavily soiled.
Can A Car Ac Cleaner Or Deodorizer Actually Eliminate Odors, Or Does It Just Cover Them?
Most sprays and foggers can help if the smell is on the surfaces or in the airflow path, but they often mask odors if the root cause is dirty buildup. If the odor returns within a few days, you usually need to clean the source, not just spray again.
Why Does My Car Smell Like Gasoline, And How Should I Eliminate That Odor Safely?
A gasoline smell is not something you should deodorize away, because it can indicate a leak or fuel system issue. Check for obvious signs like wet spots or strong fumes, ventilate the car, and if the smell is persistent or strong, have it inspected as soon as possible to avoid a fire risk.
How Do I Eliminate Smoke Smell From Car Upholstery And Headliner?
Smoke odor clings to fabric and porous surfaces, so you need thorough cleaning plus proper drying. Use an upholstery cleaner designed for smoke, wipe down hard surfaces, and run air circulation until the interior is fully dry, since trapped moisture can bring odors back.
What’s A Common Mistake When Trying To Eliminate Car Odors That Makes The Smell Worse?
One of the biggest mistakes is using an “odor bomb” while the source is still active, like a wet carpet, spilled food, or a clogged drainage area. Always clean the suspected source first, then deodorize, because spraying over contamination usually just spreads it around.