
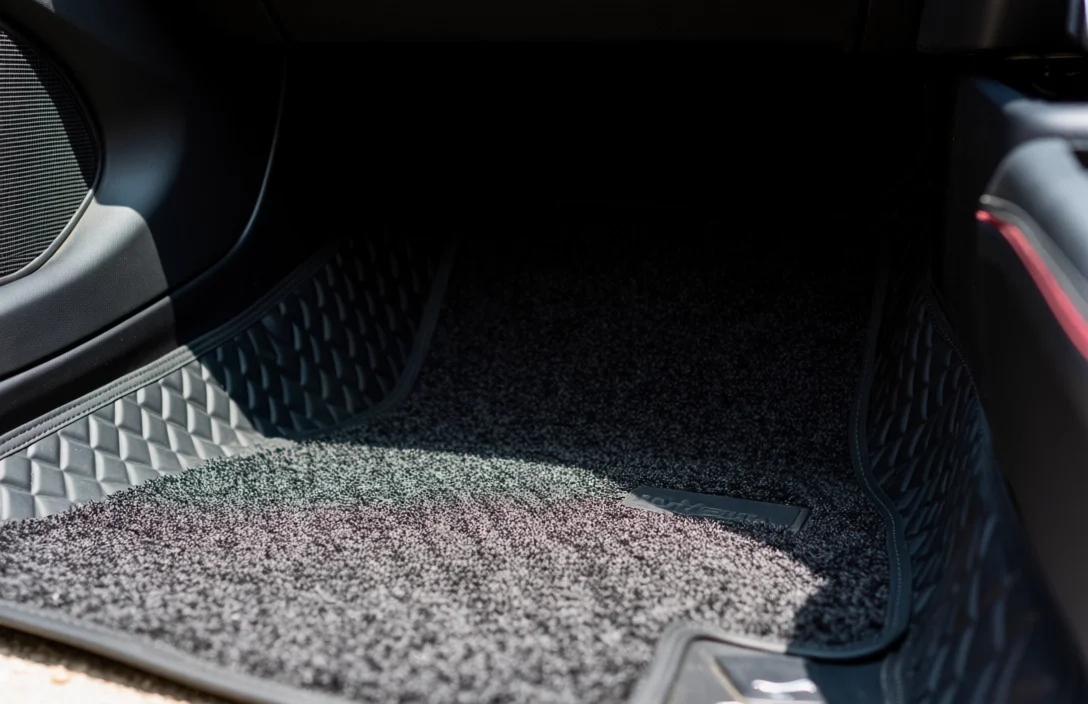
New floor mats protect your car’s carpet from dirt, salt, and spills, but they also keep you safe. A mat that slides forward can jam under the brake pedal, turning a routine stop into an emergency. The National Highway Traffic Safety Administration reports that loose floor mats cause hundreds of pedal entrapment incidents every year – most are preventable with a ten-minute installation.
What You Need Before You Start
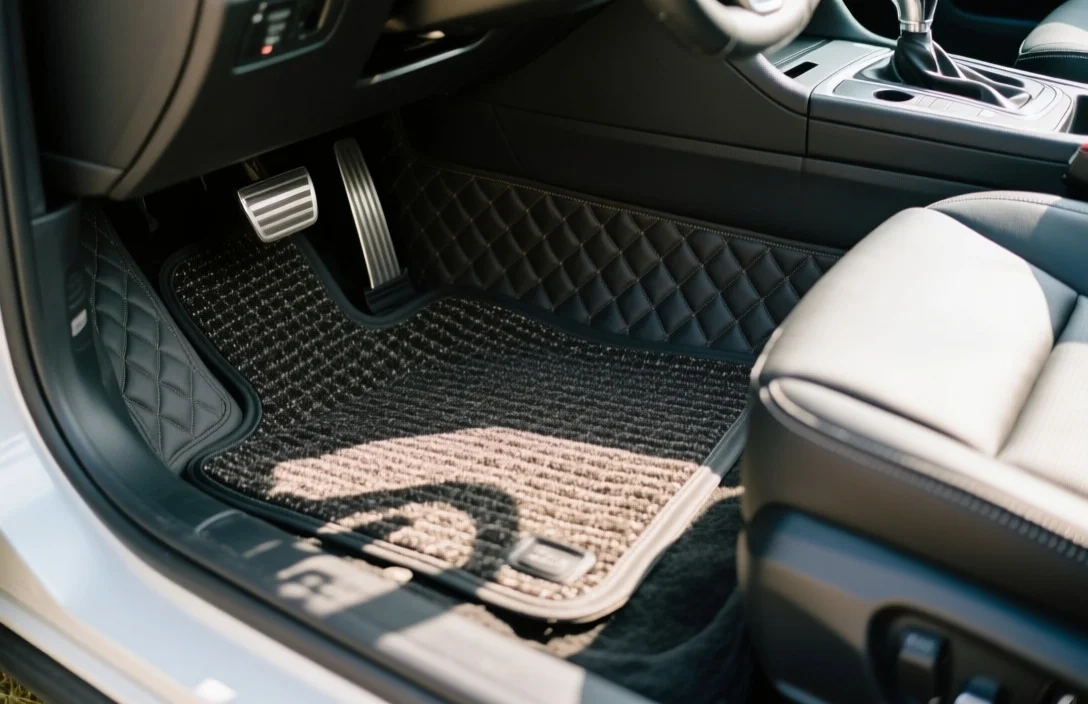
- New floor mats (vehicle-specific or universal with trim lines)
- Vacuum with crevice tool
- Flashlight
- Scissors or utility knife (for universal mats)
- Dielectric grease or silicone spray (optional, for stubborn clips)
Step-by-Step Installation
- Remove the old mats
Pull them straight up to avoid scattering dirt. Shake them outside, then vacuum the footwells – pay special attention to the seams where the floor meets the firewall. Even small pebbles create bumps that prevent new mats from lying flat.
- Check for factory anchors
Look for plastic posts, hooks, or metal snaps in the footwell. These are usually near the firewall or under the seat. If your car has them, your new mats should have matching grommets or loops. No anchors? Universal mats with adhesive strips or heavy rubber backing are your next best option.
- Position the new mat
Slide the mat into place, starting at the firewall. Press it firmly against the footrest and floor contours. If the mat has a heel pad, make sure it aligns with where your foot naturally rests. For driver-side mats, keep the edge at least two inches away from the pedals – any closer and the mat can creep forward under braking.
- Secure the mat
– Factory anchors: Push the grommet or loop over the post until it clicks. Tug gently to confirm it’s locked in.
– Adhesive strips: Peel the backing and press the mat down for 30 seconds. Avoid stepping on it for an hour to let the adhesive set.
– No anchors: Use a heavy rubber-backed mat or add your own hook-and-loop strips to the floor and mat underside.
- Test pedal clearance
Sit in the driver’s seat and press the accelerator and brake all the way to the floor. The mat should not bunch up or slide forward. If it does, reposition it or trim the edges slightly – always cut outside the vehicle to avoid damaging the carpet.
- Repeat for passenger side
The process is the same, but you don’t need to worry about pedal clearance. Focus on keeping the mat flat and secure, especially if passengers will rest their feet on it.
Trimming Universal Mats
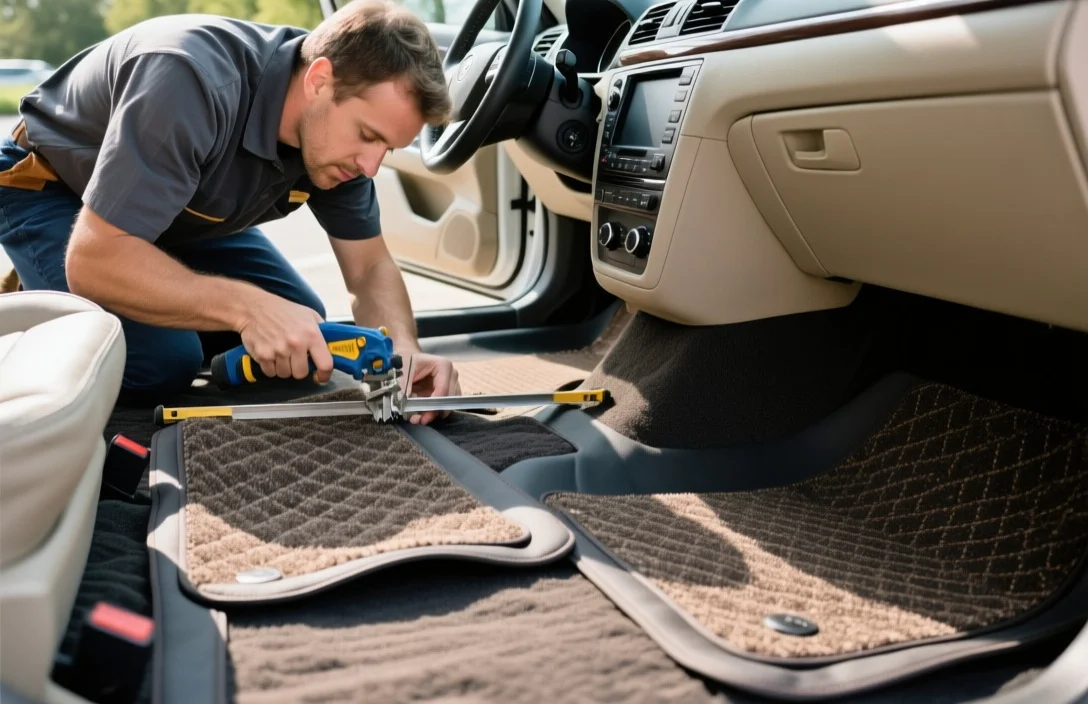
Universal mats fit a range of vehicles but often need trimming. Here’s how to do it without ruining the mat:
- Lay the mat in the footwell and mark the edges with a dry-erase marker.
- Remove the mat and cut along the trim lines (usually marked on the mat’s underside) with scissors or a utility knife. For thick mats, make several shallow passes to avoid jagged edges.
- Test the fit. If the mat still overlaps the pedals or door sills, trim a little more – you can’t undo a bad cut.
Troubleshooting Common Issues
- Mat slides forward under braking
The most common cause is a mat that’s too large or not secured. Try these fixes:
– Reposition the mat so the edge is farther from the pedals.
– Add hook-and-loop strips to the floor and mat underside.
– Switch to a vehicle-specific mat with built-in anchors.
- Mat bunches up underfoot
This usually happens when dirt or debris is trapped underneath. Remove the mat, vacuum the footwell again, and reposition it. If the problem persists, the mat may be too thick – opt for a thinner, more flexible model.
- Mat won’t stay flat against the firewall
Some vehicles have deep footwells with sharp angles. If the mat won’t lie flat, try:
– Pressing it into place with a rolling pin or heavy book.
– Using a mat with a stiffer backing or built-in heel pad.
– Adding a small bead of silicone adhesive along the firewall edge (use sparingly – it’s hard to remove).
- Factory anchors don’t line up with mat grommets
This is a sign the mat isn’t designed for your vehicle. Either:
– Return the mat and order a vehicle-specific version.
– Drill new holes in the mat (not recommended unless you’re confident in your aim).
– Use adhesive strips instead of anchors.
Maintaining Your Floor Mats
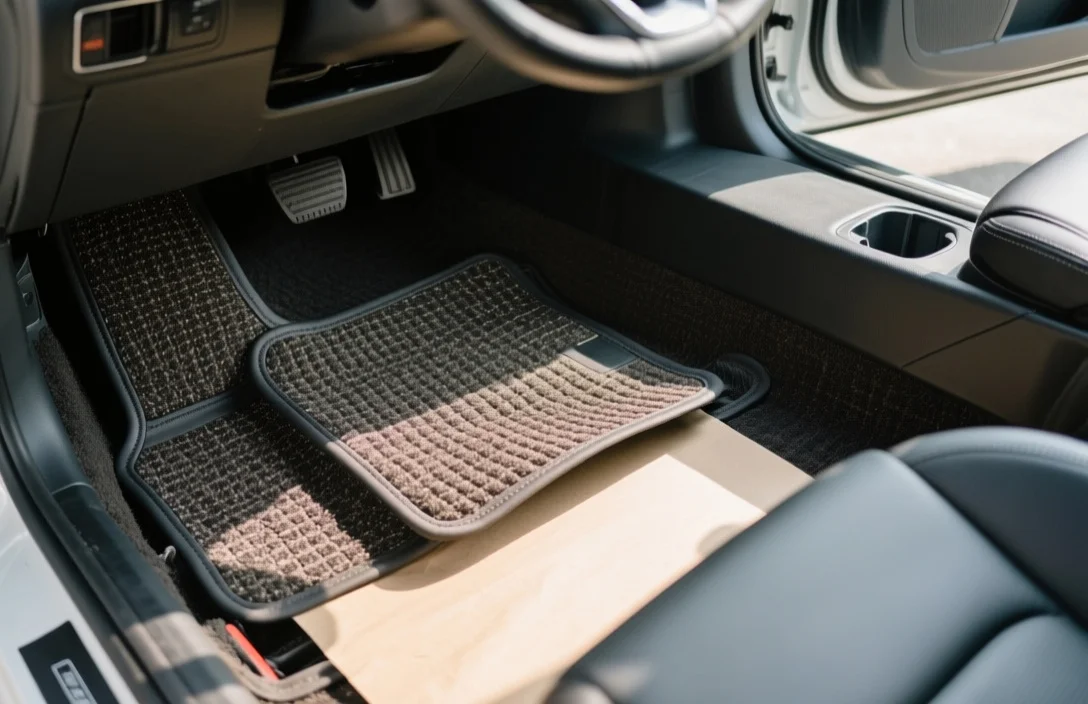
- Cleaning: Shake out loose dirt weekly. For deep cleans, hose off rubber mats and scrub carpeted mats with a stiff brush and mild soap. Avoid harsh chemicals – they can degrade the backing.
- Seasonal checks: Before winter, ensure mats are still secure and free of cracks. Salt and slush accelerate wear, so replace mats every 2-3 years if you drive in snowy climates.
- Storage: If you switch between summer and winter mats, store the off-season set in a dry place. Fold them with the backing facing out to prevent creases.
When to Replace Your Floor Mats
- Cracks or tears: Small cracks can turn into big ones, especially in cold weather. Replace mats before they split completely.
- Fading or discoloration: Sun damage weakens the material, making it more likely to slide or bunch.
- Worn heel pads: If the heel pad is smooth or thinning, the mat won’t grip your shoes as well.
- Odors: Mats that smell musty or like gasoline need replacing – lingering odors can seep into the carpet.
Final Checklist Before You Drive
- [ ] Mats are flat and secure in all footwells.
- [ ] Pedals move freely without obstruction.
- [ ] No part of the mat overlaps the pedals or door sills.
- [ ] Anchors (if present) are fully engaged.
- [ ] Passenger-side mat is positioned to avoid tripping hazards.
A properly installed floor mat does more than protect your carpet – it keeps your feet planted and your pedals clear. Spend the extra five minutes to get it right, and you’ll avoid the hassle (and danger) of a mat that moves when you don’t want it to.
Frequently Asked Questions
1. Can I install car floor mats without any tools?
Yes, most vehicle-specific floor mats can be installed without tools. Simply align the mat with the factory anchors or contours of your footwell and press it into place. For universal mats, you may need scissors or a utility knife to trim them to fit, but no other tools are typically required.
2. How do I know if my car has factory anchors for floor mats?
Check your footwells for small plastic posts, hooks, or metal snaps, usually located near the firewall or under the seats. If you see these, your car likely has factory anchors. You can also consult your vehicle’s manual or look for grommets/loops on the underside of your new mats, which are designed to fit these anchors.
3. What should I do if my new floor mat keeps sliding forward?
If your mat slides forward, first ensure it’s positioned at least two inches away from the pedals. If it still moves, try securing it with adhesive strips or hook-and-loop fasteners on the underside of the mat and the car floor. Vehicle-specific mats with built-in anchors are also less likely to slide.
4. Is it safe to trim universal floor mats to fit my car?
Yes, trimming universal floor mats is safe if done carefully. Lay the mat in the footwell and mark the edges with a dry-erase marker before cutting along the trim lines. Always cut outside the vehicle to avoid damaging the carpet, and test the fit after each trim to ensure it doesn’t overlap the pedals or door sills.
5. How often should I check or replace my car floor mats?
Inspect your floor mats every few months for signs of wear, such as cracks, fading, or thinning heel pads. Replace them if they no longer stay flat, have tears, or develop persistent odors. In snowy or salty climates, check them more frequently, as these conditions can accelerate wear and reduce their effectiveness.