
You pull the driver’s mat after a rainy week, and there it is, a dark fuzzy patch and that damp, musty smell that seems to come back fast. Or the smell shows up after using the A/C, but you cannot find the source. Getting mold out of a car interior is doable, but you have to stop the moisture first and protect the materials while you clean.
Fix the leak or moisture source, then remove growth and clean safely: bag wet mats, HEPA vacuum loose spores, and use a cabin-safe mold cleaner with the right dwell time. Dry everything completely within 24 to 48 hours, or it returns.
Mold removal from a car interior starts with drying the cause, like a clogged AC condensate drain, a wet floor from rain, or leaking window/door seals. Wear gloves and a mask, bag contaminated mats, HEPA vacuum visible growth, then apply a cabin-safe mold cleaner for 10 to 15 minutes. Extract and rinse only compatible areas, then dry with fans and a dehumidifier for 24 to 48 hours.
How To Remove Mold From Car Interior
Visible mold is only part of the problem; moisture is what keeps it alive. Stop the water or condensation source first, then clean, dry completely, and control odor so spores do not restart in hidden padding.
Quick Read: What You Must Do First
Mold control starts with water control. Check for active leaks and wet materials before you scrub anything, because cleaning over ongoing moisture just spreads growth and keeps it cycling.
Common moisture sources inside cabins are AC condensation drain issues, windshield or door seal leaks, spilled drinks left under mats, and damp carpet from interior flooding. If you smell mildew most when you run the HVAC, the evaporator drain or HVAC box is usually in play.
Containment basics: if you can see mold, you can assume spores are airborne during agitation. A damp paper towel around visible spots and gentle bagging prevent a lot of re-contamination.
What “Success” Looks Like (Clean + Dry + Odor Gone)
Success is three things: the surface looks clean, materials are fully dry all the way through, and the musty odor drops off after the cabin is aired out. Surface wiping alone is a common failure because carpet backing and foam hold moisture.
For example, water under the carpet can wick into the underlayment. Cleaning the top pile removes staining, but odor returns when humidity rises because the backing stays damp.
| Check | Good outcome | Typical failure sign |
|---|---|---|
| Visual mold | No spots, no fuzzy regrowth | New dark dots within days |
| Dryness | Carpet padding feels dry, no cool dampness | Carpet stays cool and smells “wet” |
| Odor | Musty smell fades after drying and airing | Odor returns with AC or after rain |
Do Not Spread Spores: Containment Basics?
Containment is about controlling airflow and agitation. Avoid shop vacs that blow spores back into the cabin, unless the unit has proper filtration and you are using it carefully on small areas.
Containment also protects your HVAC. If mold is near the blower intake or evaporator area, do not blast it with high-pressure cleaners, because runoff can carry spores deeper.
Mold-safe Prep And Ppe Checklist
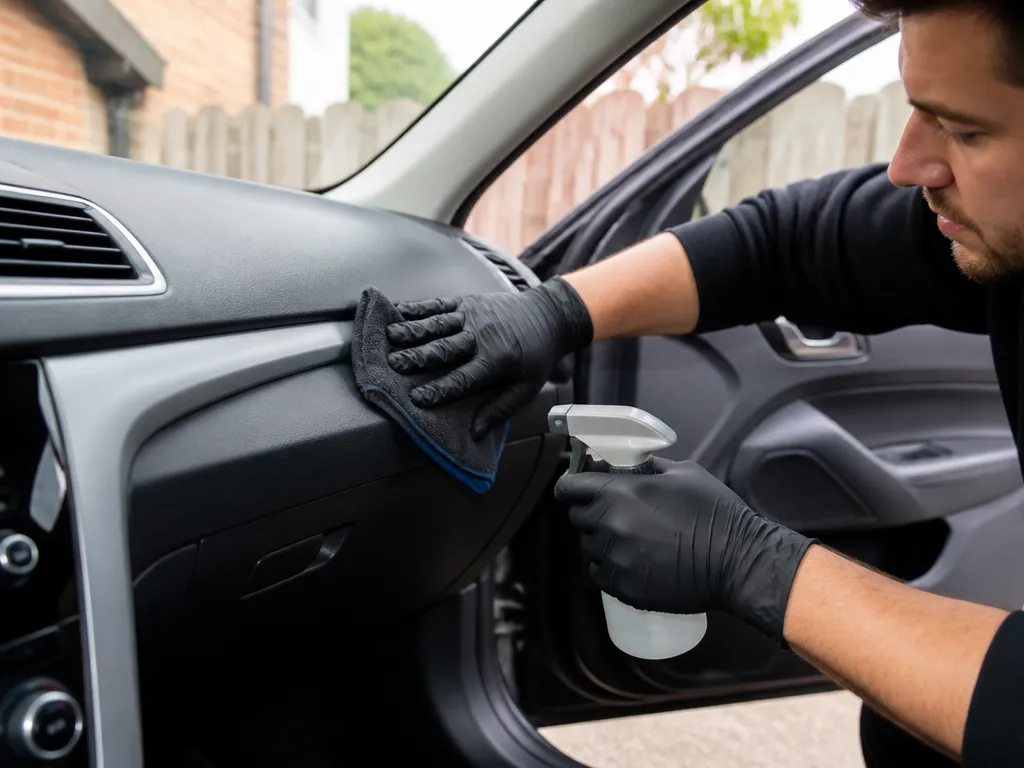
Mold cleanup exposes you to spores and irritants, so protection comes first. Wear nitrile gloves, eye protection, and a respirator suitable for mold dust and odors, plus clothing you can launder or discard after the job. Keep the area well ventilated to limit inhalation exposure during cleaning.
Cover bare skin and footwear, and consider disposable coveralls for longer sessions or heavier growth. If you anticipate strong odors or moisture, use a P100 or N95 respirator and replace it if it becomes damp or clogged.
Ventilation is key to safety and faster drying. Open doors and windows when possible and point a fan outward to exhaust air, not blow spores deeper into the cabin.
Expert tip: Label and bag any contaminated mats and textiles separately, then seal the bags before bringing them inside the house to prevent spreading spores.
Containment means separating contaminated items from clean surfaces. Bag, label, and transport moldy textiles in sealed bags, and dispose of or treat them according to local guidelines to avoid reintroduction.
| Vacuum Type | Pros | Cons | Best Use |
|---|---|---|---|
| HEPA-equipped shop vacuum | Captures fine spores, reduces spread | Heavier, filter care needed | Dry debris and dust during remediation |
| Regular shop vacuum | Common and readily available | Low filtration, can spread spores when damp | Do not use on damp growth without HEPA filter |
| Portable handheld with HEPA | Lightweight and convenient | Limited capacity | Spot cleaning and tight areas |
Avoid vacuuming damp mold with a non-HEPA unit and always empty bags outside. After finishing, seal the container and wash the canister to prevent residual spores from lingering.
When mold coverage is extensive or backing materials like padding or insulation are wet, stop DIY cleanup and seek professional remediation. HVAC contamination or growth behind panels requires specialized equipment and containment to prevent recurrence.
Find The Water Source First
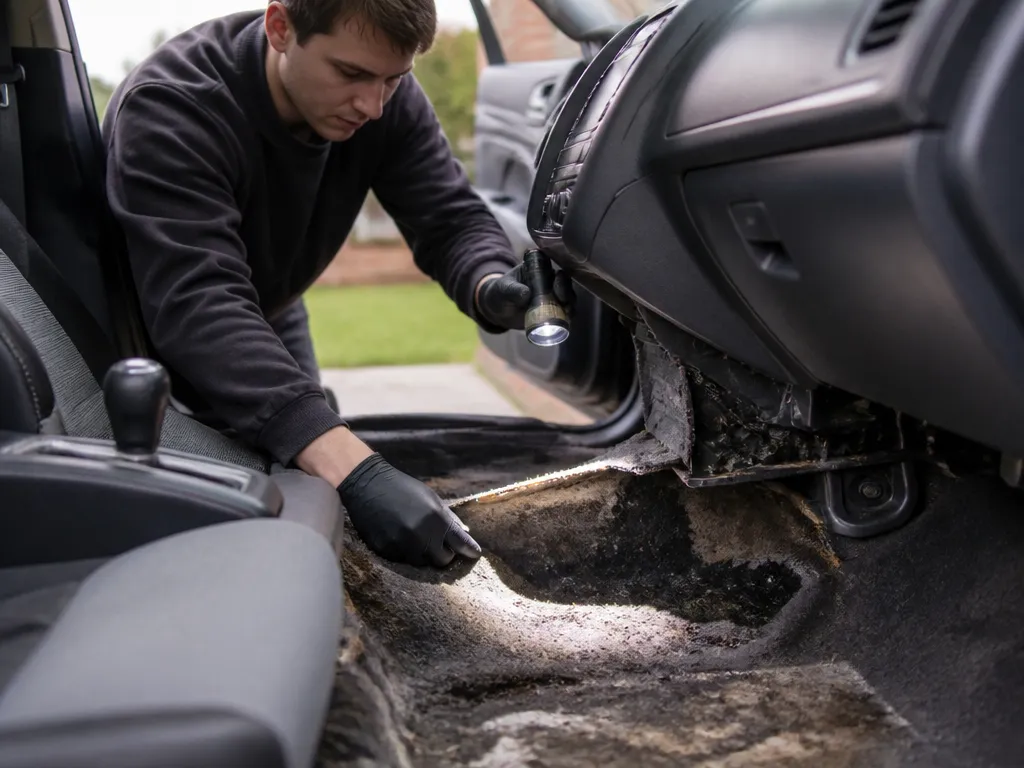
In practice, a quick clue helps: a musty smell that changes with weather often points to HVAC involvement, while fresh damp zones near seals suggest exterior intrusion. Check both moisture entry and interior drying when investigating a return of mold.
Pick Cleaners By Interior Material
Match cleaners to interior material for effective mold removal and to protect sensitive components. For carpet and cloth, use extractable mold cleaners that lift mold without soaking into padding or electronics; leather and vinyl respond to wipe-on cleaners followed by conditioning. Plastics and metal trim can be disinfected with non-abrasive formulas that won’t dull finishes, while headliners and foam surfaces require gentler handling and less liquid.
Tip: Never mix ammonia with chlorine bleach, and always vent the cabin well during cleaning to reduce mold spores in the air.
| Interior Area | Recommended Cleaner Type | Notes |
|---|---|---|
| Carpet and Cloth | Extractable mold cleaner, enzyme-based fabric cleaner | Avoid soaking; test colorfastness first. |
| Leather and Vinyl | Wipe-on cleaner; leather conditioner | Do not use oil-heavy products; avoid saturating. |
| Plastics and Metal Trim | Non-abrasive disinfectant safe for plastics | Test trim finish; avoid bleach on dyed plastics. |
| Headliner and Foam | Light mist disinfectant; minimal liquid | Stop if fabric shows dampness or stiffening. |
Always test cleaners on inconspicuous spots and ensure complete drying before driving. If odor persists or visible mold returns, stop DIY and consult a professional, especially if the HVAC or insulation shows signs of contamination.
Step-by-step Mold Removal Process
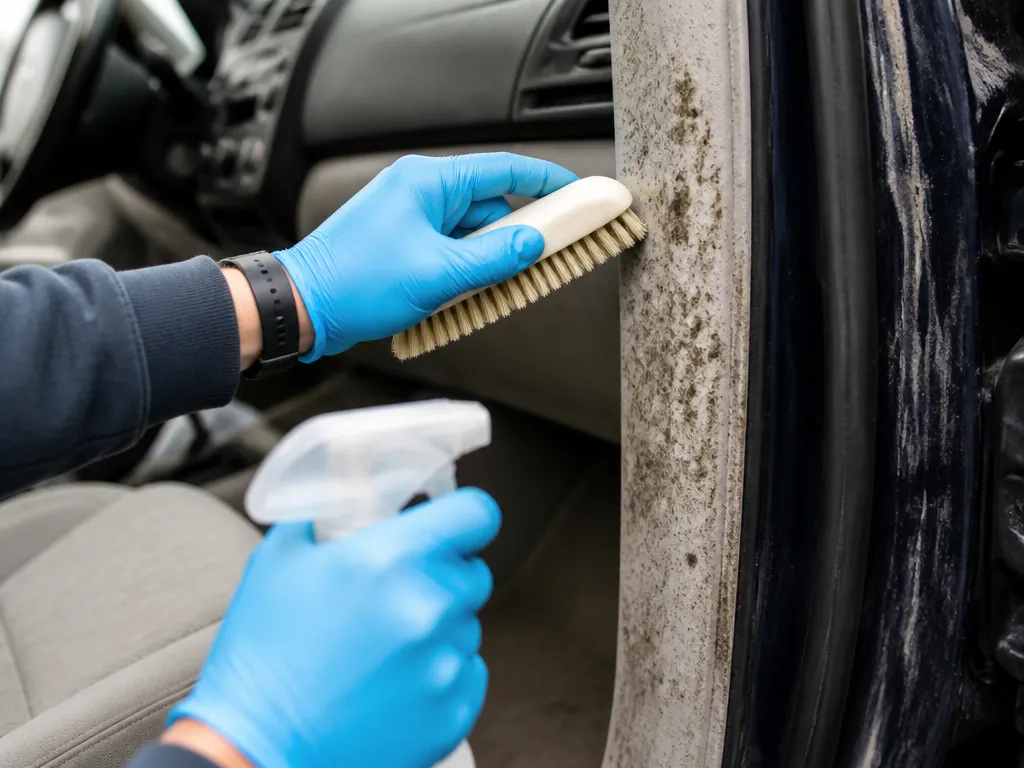
Use a repeatable order of operations so you remove growth first, then disinfect what remains, and finally get the material dry enough that the mold cannot come back. The workflow below keeps you from soaking the wrong layers and spreading spores across clean areas.
| Interior Material | Best Cleaning Approach | Common Mistake to Avoid |
|---|---|---|
| Carpet (including floor area) | HEPA vacuum, thin cleaner application, light brush agitation, controlled extract/blot passes | Soaking padding or saturating underlay so it stays wet |
| Rubber liners and hard mats | Scrub with cleaner, dwell time, rinse, dry completely | Skipping dwell time, which leaves biofilm behind |
| Vinyl trim and many plastics | Wipe-on application, soft brush, wipe rinse, dry towel | Grinding spores into texture or spreading residue |
| Cloth seats and bolsters | Cleaner dwell time, gentle brush agitation, blot and extract only as needed | Over-wetting foam so it stays damp for days |
Insider tip: When you think you are done with visible growth, run your fingertips across the area. A sticky or slippery feel usually means leftover mold cleaner film or bio residue that will invite return growth unless you rinse or extract properly.
Drying Workflow To Prevent Return
“Dry to the touch” usually means only the top surface is dry, while the underlayment stays damp for days. Check the carpet, floor backing, and any wet foam padding all the way through before treating the job as complete.
For example, water intrusion from a clogged AC evaporator drain can wet the front passenger carpet and the seat base area without obvious puddles. Dry-check the floor inboard of the door sill and under the seat tracks, since the carpet backing holds moisture and can create a musty smell that returns after you put trim back on.
Mechanic tip: If you can lift the carpet edge and it “spring-dampens” or feels rubbery-cool, that usually means the backing is still wet. Keep drying until the feel is consistent across the whole affected area, not just the visible spot.
Deodorize Without Re-wetting
Musty odor comes from mold byproducts and trapped organic residue inside padding, seams, and HVAC duct surfaces. Spraying air freshener over wet spots usually makes the smell swing back once the fragrance fades. The goal is odor control that kills the smell source chemistry without adding more moisture to the cabin.
Why The Smell Lingers
Mold leaves behind volatile compounds and microscopic residue that cling to carpet fibers, headliner backing, and foam padding. When you see a clean surface but the interior still smells “damp,” the odor source is often deeper than the visible growth. Once those compounds sit in porous materials, they keep wafting even after the surface dries.
For example, floor mats and carpet can feel dry while the pad underneath still holds moisture from a leak or HVAC condensate. In that case, deodorizing on top works briefly, but the chemistry keeps regenerating until the hidden moisture is corrected.
Cabin-safe Deodorizer Types
Use deodorizer products designed for organic odor, not just perfume. Enzyme or odor-neutralizer sprays work by breaking down odor-causing compounds, while foggers and “odor bombs” mostly mask smell and can leave an overwhelming scent.
| Product type | How it helps | Best for | Avoid when |
|---|---|---|---|
| Enzyme/odor neutralizer | Targets organic odor chemistry | Carpet, seat cloth, foam padding | Materials that you cannot keep dry during dwell time |
| Quaternary or oxidizing odor control | Neutralizes odor without relying on fragrance | Trim, under-seat areas (when well-dried) | Large visible mold infestations on soaked backing (source must be fixed) |
| Air freshener (spray/clip) | Masks smell | Quick cover-up after cleanup | Any situation where odor keeps returning |
Mechanic tip: If the product label says “disinfect” or “kills mold” but it’s only meant for hard, non-porous surfaces, it may not penetrate carpet or seat foam enough to remove the odor source.
Odor Treatment Workflow Without Re-wetting
For lingering odor, repeat the deodorizing cycle once after the cabin has fully aired out. Multiple light treatments beat one heavy application that dampens the padding and restarts the problem.
When Odor Means The Source Was Missed
If the musty smell returns within days, the moisture source is still active, even if the surface looks clean. Common culprits are damp carpet underlay from a leak, wet seat foam from spills, and condensation near the HVAC case that never fully dries.
Stop treating odors as a DIY endpoint when you find recurring dampness, stains that keep reappearing, or persistent odor after two deodorizing cycles with proper airflow. Hidden wetness usually needs moisture removal and source repair before odor control can hold.
Ac And Hvac Mold Checks
Musty odor with no visible spots often comes from AC moisture management, especially the evaporator drain system and humid cabin air trapped in ductwork. After AC use, a clogged or overflowing condensate drain can leave standing water long enough for mold to grow out of sight. Fresh-air versus recirculation testing helps you confirm whether the smell is coming from inside the HVAC stream.
Condensate Drain Checks (The #1 Hidden Cause)
Condensation forms on the AC evaporator core when you run cooling or sometimes dehumidify mode. If the evaporator drain clogs, water can back up and wet areas under the HVAC case, then create odor that returns whenever the system runs. For common front HVAC designs, the cabin air filter housing and the drain path work together, so a drain problem can feel like a “mystery smell.”
For example, if the smell shows up right after cooling, the evaporator drain is the first suspect, even when you cannot see wet carpet. Run the AC for 5 to 10 minutes, then check for water under the car and around the cabin filter area using a flashlight. If water appears outside the typical drain outlet location, the drain may be running somewhere it should not.
Fresh Air Vs Recirculation Smell Test (Quick Hvac Source Detective)
Switch the fan to a medium setting and compare odors in two modes. With recirculation selected, cabin air passes through the HVAC evaporator area again, so any mold growing on the evaporator case or ducts will often smell stronger. With fresh air selected, outside air enters the HVAC system and can dilute or temporarily reduce the odor if the source is inside the HVAC stream.
Tip: Run the test for 30 to 60 seconds per mode. If the odor changes dramatically between modes, treat the evaporator and ducting as the primary contamination area rather than the carpet.
| Odor behavior | Most likely source | What to inspect next |
|---|---|---|
| Strongest on recirculation | Evaporator case, drain pan, or duct interior | Cabin filter housing and drain-related areas |
| Same smell in both modes | Carpet padding, floor mat area, or persistent interior contamination | Under mats, seams, and any past water intrusion points |
| Stronger with HVAC off, windows open | Spill or leak that soaked upholstery | Footwells, window seals, and HVAC intake location |
Where To Check: Hvac Intake And Cabin Filter Area
Inspect the cabin air filter housing area any time odor points toward the AC system. Cabin filters trap dust and spores, and a wet filter or wet housing can create a musty smell even when the rest of the cabin looks dry. Use a flashlight and look for dampness, crusty debris, or staining on the filter edge and surrounding plastic.
For many makes, including popular Honda, Toyota, Ford, GM, and Nissan models, the cabin filter is behind the glove box or under a dash panel. The HVAC intake usually sits low at the cowl where water and debris collect, so clogged intakes can keep the system humid and feed odor even after surface cleaning.
When Mold Is Deeper In The Evaporator Or Ducts
DIY cleaning hits a wall when the mold is on the evaporator core, inside the HVAC case, or inside duct runs that you cannot reach. If the smell returns quickly after you clean the visible surfaces, and the fresh-air versus recirculation test points to the HVAC stream, the contamination is likely in the evaporator/ducting. You may also see continued moisture behavior, which suggests the drain is still compromised.
For example, if you treat the cabin filter area, spray disinfectant on surfaces, and still get odor within days, stop and bring it to an A/C shop for evaporator treatment and verification of condensate flow. Professional service often includes confirming drain clearance and using HVAC-safe methods that reach behind the filter and into the HVAC case without soaking materials.
DIY limit: If the carpet padding is damp or you suspect water stayed under the dash for weeks, DIY odor control alone rarely solves the root problem. Once the padding is contaminated, it can keep releasing smell even when the top layer looks clean.
Prevent Drain Recurrence (Basic Maintenance Verification)
After any cleaning attempt, verify that water runs normally through the drain path and that the cabin filter area stays dry. A common failure mode is “surface dry, drain still clogged,” so odors come back next time the evaporator sweats.
When To Replace And Call A Pro
Replace materials that mold has soaked through, because cleaning the surface does not remove the organism growing inside the padding. Call a professional when the moisture source is tied into the HVAC system or when the odor returns after proper drying.
Replace Porous Materials You Cannot Truly “De-mold”
Carpet padding, floor underlayment, and many foam-backed components are the big problem areas. Once these materials stay wet for a while, the growth often spreads beyond what you can see, and repeated cleaning can keep re-feeding spores.
Bagging matters because disturbed spores can ride on airflow and settle elsewhere in the cabin. Wear a proper respirator, such as an N95-style respirator if you are doing the removal, and seal the contaminated pieces before they go anywhere near your home or shop floor.
Bag-and-dispose Contaminated Items The Right Way
Pro tip: Treat any saturated underlayment like bio-contaminated waste. If you drag it across the garage floor, you will seed the next surface you clean.
Call A Pro For Hvac Involvement Or Recurring Return
HVAC contamination is the line between “DIY cleanup” and “system-level problem.” If the musty smell persists, you see recurring growth after drying, or you suspect moisture is coming from the AC evaporator drain area, a shop may need to inspect and clean the air path.
| What you see | What typically drives pricing | Reality check |
|---|---|---|
| Extensive growth in carpet and padding | Labor time for removal, replacement parts, and thorough dry-out | Costs usually rise quickly because you are replacing materials, not scrubbing them |
| Mold tied to HVAC components | Access time to duct/evaporator area, odor treatment, parts that must be replaced | Expect higher shop time because airflow paths get cleaned, not just the cabin surfaces |
| Recurring return after DIY | Time spent chasing hidden moisture and verifying the fix holds | Paying for diagnostics can be cheaper than repeated “cleaning cycles” |
Most mold interior jobs bill on labor hours and what must be removed or replaced. The biggest swings are how much porous material is compromised and whether the HVAC air path needs cleaning, so get a clear scope before work starts.
Practical “Stop And Hand It Off” Criteria
Stop DIY and call a professional when you have visible heavy growth over a large area, you cannot confidently locate the moisture entry point, or the smell comes back within weeks. Stop DIY immediately if you find widespread saturation of insulation or backing materials under the carpet.
Difficulty is usually moderate for basic surface cleanup, but it becomes high when carpet removal, insulation replacement, and HVAC cleaning are involved. If you drive a high-demand model like a Honda Civic, Toyota Camry, Ford Escape, or similar vehicle that has fast interior access but complex HVAC moisture paths, it is still worth involving a shop if the issue keeps returning.
Common Scenarios And Fixes
Small localized growth on a seat area can be handled with containment and targeted extraction if you dry the foam and seams. Musty odor after AC use may indicate HVAC condensation or a clogged drain, even when you cannot see a spot.
Quick decision table
| Symptom | Most likely cause | DIY path |
|---|---|---|
| Visible growth on carpet, wet feel after rain | Water intrusion and saturated backing | Source finding, extraction, cleaner dwell, then fans and dehumidifier |
| Musty odor after A/C, no spots seen | Clogged condensate drain or HVAC biofilm | Drain check, HVAC cleaning products, verify drainage, then dry with fan-only |
| One seat corner or small area | Localized spill with wicking into seams/foam | Containment, targeted cleaning, and moisture verification |
Trade-off: DIY works best when the water exposure is limited and you can dry within 24 to 48 hours. If the carpet padding is soaked, the HVAC has heavy contamination, or mold keeps returning after full drying, stop and have a shop inspect the underlayment and HVAC evaporator area.
Quick Summary
Before cleaning, check the AC condensate drain, window and door seals, and areas under the mats. For visible growth, use a HEPA vacuum for loose spores, then apply a cabin-safe mold cleaner and let it dwell for 10 to 15 minutes before agitation.
After treatment, extract or rinse only compatible areas, then use fans and a dehumidifier. If the carpet padding stays damp after thorough drying, replace the soaked padding, since surface cleaning alone often fails.
| Stage | What to do | Key time |
|---|---|---|
| Stop moisture | Check AC condensate drain, window and door seals, and under-mat wet spots | Before cleaning |
| Contain and remove | Bag wet mats, use HEPA vacuum for visible loose growth, avoid spreading spores | During cleanup |
| Clean | Apply cabin-safe mold cleaner, then agitate only after dwell | 10 to 15 minutes dwell |
| Dry | Fans and dehumidifier, fully dry all affected materials | 24 to 48 hours |
Frequently Asked Questions
What Is The Safest Way To Remove Mold From A Car Interior Without Spreading Spores?
Wear at least gloves and an N95-style respirator, then clean small sections at a time. Use a vacuum with a HEPA filter if you have it, keep ventilation running, and avoid scrubbing dry mold because it can aerosolize spores.
Can I Use Bleach To Clean Mold In My Car, And What Should I Avoid?
Don’t use bleach on porous materials like fabric seats, carpet padding, or headliners because it often won’t fully penetrate. Also avoid mixing bleach with other cleaners or any ammonia-based products.
How Long Does It Take To Dry A Car Interior After Mold Removal?
Plan on 24 to 48 hours for thorough drying, and longer if the cabin is humid or the seat padding is affected. Use airflow and, if possible, a dehumidifier, because damp padding is what lets mold return.
Will Mold Come Back After Cleaning The Car Interior, And How Do I Prevent That?
Mold returns when moisture remains. After cleanup, keep humidity down and periodically inspect under the mats and around door seals.
How Much Does It Usually Cost To Remove Mold From A Car Interior?
DIY cleanup is usually cheaper, but professional interior detailing plus extraction can run significantly more depending on whether upholstery and padding need replacement. Since prices vary by region and how deep the mold is, a shop must assess affected materials before giving an accurate estimate.
When Should I Stop Diy Mold Removal And Take The Car To A Professional?
If mold is on the headliner, deep in the seat padding, or you smell persistent mustiness after cleaning, it’s usually time to hand it off. Any signs of a water leak should also be addressed first; otherwise your “removal” will only be temporary.