
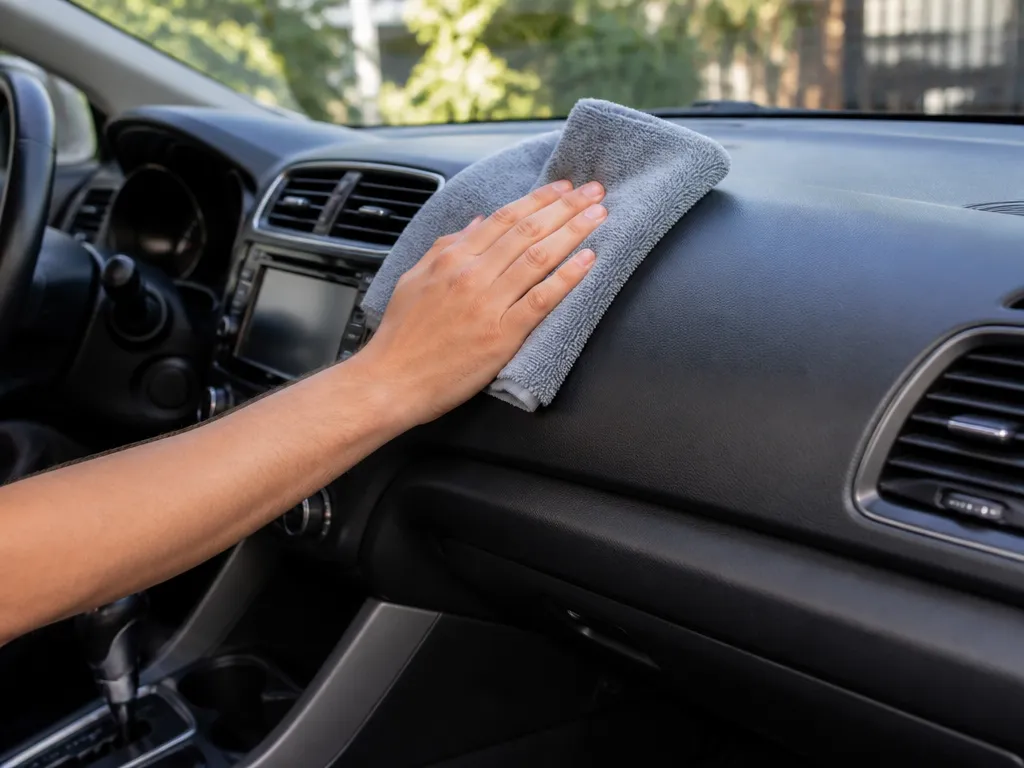
That dusty, greasy dashboard is showing up as soon as the sun hits it, and the wrong wipe turns it into streaks or a shiny mess. If you searched “how to clean car dashboard at home,” you want a safe, step-by-step method for getting grime off without cracking, discoloring, or irritating sensors and vents.
Warm interior, microfiber-only, and a cleaner made for dashboards are the difference between clean and tacky. Plan on a 30 to 45 minute full wipe-down, use one light pass, and finish with a non-greasy protectant to cut glare and dust cling.
Dashboard cleaning at home: park in shade, let the interior cool 10 minutes, then vacuum loose dust with a soft brush. Wipe using a damp microfiber, 1 section at a time, then dry with a second microfiber. Finish with a small amount of non-greasy protectant, buff off after 2 minutes.
How To Clean Car Dashboard At Home
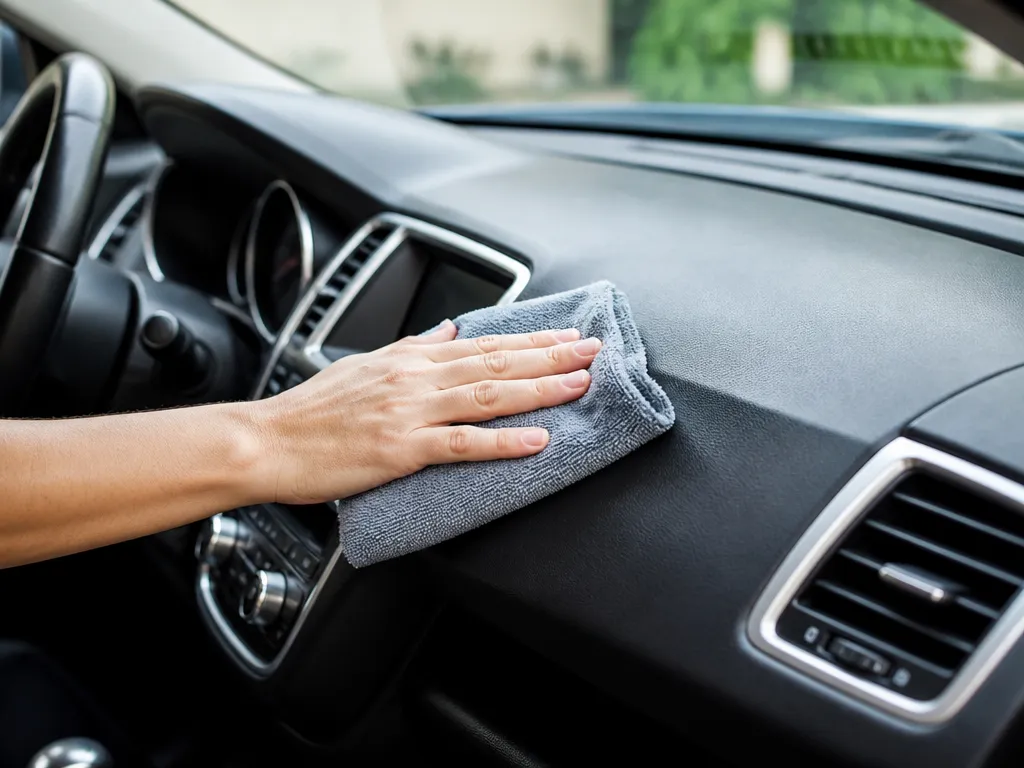
A clean dashboard should feel smooth, look even in the light, and have zero tackiness left behind. The goal is to lift dust and grime without smearing, then leave a thin, low-grease finish that reduces glare and keeps fibers from drying out.
What You’ll Achieve
Done correctly, you remove everyday skin-oil films, HVAC dust, and hand smudges while keeping coatings intact. Most streaks come from using the wrong cleaner strength or wiping with a dry microfiber too soon, so this method is built around controlled dampness and final buffing.
Safety Expectations And The Test Patch Reminder
Dashboard materials vary (vinyl, soft-touch polyurethane, leather, and specialty coatings), and some react badly to alcohol-heavy products, all-purpose degreasers, or heavy silicone dressings. Heat from direct sun also makes residue harder to remove, so plan on a cool cabin.
| Problem you see | Most likely cause | Fix |
|---|---|---|
| Greasy smears | Cleaner or dressing is too oily | Wipe again with a lightly damp microfiber, then buff dry |
| Tacky feel | Overapplied protectant or residue | Remove excess with a clean microfiber, then reapply a thinner coat |
| Water spots | Too much liquid or hard-water streaking | Dry immediately and use distilled water for pre-dampening |
| Color looks blotchy | Wrong chemical for soft-touch/leather | Stop, remove residue, and switch products after a new test patch |
Tip from shop-floor experience: if the surface looks “even” under garage lights but turns blotchy in sunlight, that is chemical interaction or leftover dressing. Stop and re-do the section with a safer product.
Tools And Product Checklist
Lint-free microfiber and a pH-neutral interior cleaner are the safest combo for removing dust film and light grime without streaking. A matte, non-greasy protectant finishes the job by cutting glare and slowing new dust buildup on most dash finishes.
| Item | Amount/Specification | Notes |
|---|---|---|
| Microfiber cloths | 2 to 3 lint-free | Use one for cleaning, one for drying/buffing. Choose 300 to 600 GSM to avoid lint and smearing. |
| Soft-detail brushes | 1 to 2 (small + medium) | Soft bristles for vents, seams, and textured plastics. Avoid stiff brushes that can abrade coatings. |
| Vacuum with crevice attachment | 1 vacuum | Use before any liquid so you do not grind grit into the surface. Keep the nozzle just off the plastic to prevent scratching. |
| pH-neutral dashboard cleaner | Enough for 1 cleaning session (spray bottle or concentrate) | Pick a “pH-neutral” or “interior safe” product intended for vinyl, plastic, and similar dashboard materials. |
| Water spray bottle | 1 clean bottle | Mist water on the cloth, not the dashboard, to control moisture and reduce water spotting risk. |
| Non-greasy protectant (matte finish) | 1 bottle | Choose matte or satin for dashboards to minimize shine and hazy reflections. |
| Cotton swabs | 1 pack | Great for tight vent fins, button edges, and seam buildup where a brush leaves residue. |
For German and Japanese interiors with textured vinyl and matte finishes (common on many Volkswagen, Honda, Toyota, and Mazda models), a matte protectant is the difference between a clean look and that “oily glare” that collects dust fast.
Step-by-step Cleaning Method
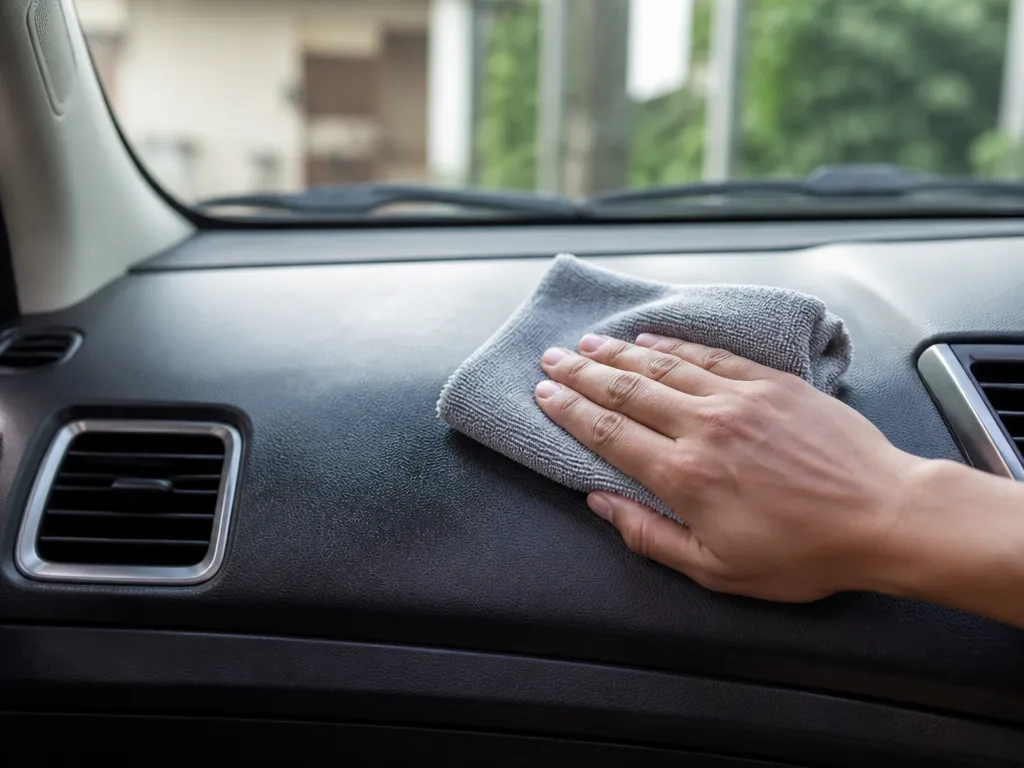
Start with a dry clean first. Dust and grit scratch soft-touch coatings and leave faint haze when you wipe them out with cleaner.
Common troubleshooting: greasy smears usually come from wiping over oil residue before dust removal, and tackiness comes from cleaner film. Water spots come from over-wetting, fix by wiping with a lightly damp microfiber then drying immediately.
| Situation | Best move |
|---|---|
| Smears after wiping | Rewipe with a clean, lightly damp microfiber, then dry buff |
| Visible streaks | Use dry microfiber follow passes in straight sections |
| Sticky feel | Stop product, remove film with minimal moisture, then dry |
| Dust keeps returning fast | Use less protectant or switch to a non-greasy dressing |
Dash Surfaces By Material
Match your cleaner to the dashboard’s surface so you lift grime without stripping dye, blooming coatings, or leaving a slick film. Start with the gentlest option that still breaks the grime, because overspraying and strong solvents are what cause streaks, tackiness, fading, and cracking.
| Dashboard Material | Cleaner Style | Wipe Technique | Protectant Choice |
|---|---|---|---|
| Vinyl / hard plastic | pH-balanced interior cleaner | straight passes, dry-buff immediately | satin dashboard protectant (light coat) |
| Soft-touch / matte | matte-safe interior cleaner | gentle pressure, small sections | matte or satin finish only |
| Leather (if equipped) | leather cleaner | light damp microfiber, no soaking | leather conditioner, thin and even |
For vents, controls, and stitching-adjacent areas, keep cleaner on the cloth instead of spraying the surface.
In practice, a damp micro-corner for pickup and a separate dry cloth for buffing prevents tacky edges around buttons and reduces the chance of cleaner settling into seams.
Troubleshooting: greasy smears usually mean the cleaner was too strong or not dried-buffed; tacky residue means too much protectant or cleaner remained on the surface; water spots mean you used too much moisture or let it air-dry. Correct tackiness by wiping with a barely damp microfiber (water or interior cleaner per label), then dry-buff.
Vent And Crevice Detailing
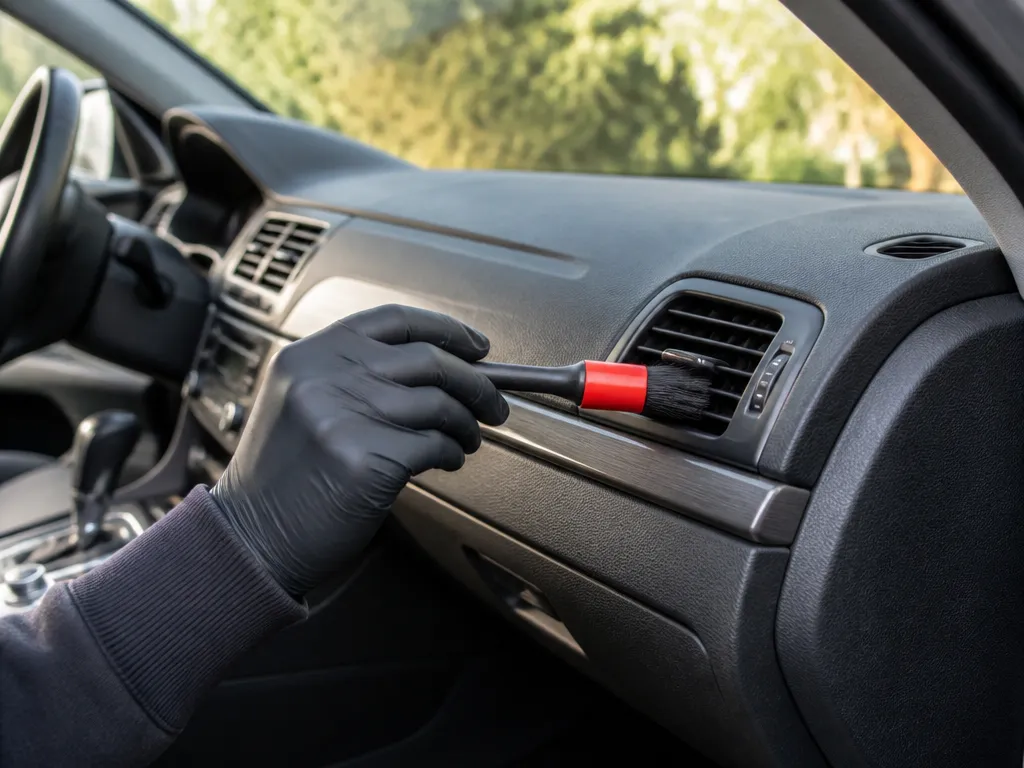
Car vents and tight seams collect dust that a normal wipe misses, so your main goal is controlled pickup, not blasting grime loose. Use soft brushes and precise airflow, and keep cleaners off screens, climate sensors, and the vent motor area.
Start by clearing loose grit so you do not grind it into the plastic. Use a clean microfiber, or a detailing brush with soft bristles, to “lift” dust out of the louvers and seams, then follow with a barely damp wipe. When you pull debris out, wipe it onto a towel, do not smear it around the panel.
Brush Technique That Won’t Chew Up Louvers
Use a small detailing brush (foam or soft nylon) and hold it at a shallow angle so the bristles ride the surface, not dig in. Work one vent section at a time, brushing along the direction of the slats, then rotate the brush to clean the opposite side. If you need more pull, lightly mist the brush with interior cleaner on the brush, not directly on the dash.
Canned Air Caution And Moisture Control
Canned air can blow water or propellant mist, and that mist can creep into switch housings and the edges of displays. If you use it, give the can a quick shake, keep the nozzle a few inches away, and do short bursts aimed at the dust, not at sensor faces or screen corners. Prefer a hand vacuum (with a soft brush attachment) when possible, because it removes debris instead of pushing it deeper.
Moisture is the enemy around electronics and “soft-touch” coatings.
Quick rule: Any cleaner should go on the brush or microfiber first. If you can see liquid forming a trail toward the vent motor or switch openings, you are using too much.
| Area | Safe method | Avoid |
|---|---|---|
| Vent louvers | Soft brush, then wipe with a slightly damp microfiber | Soaking with spray, long bursts of canned air into the gap |
| Crevices around trim | Crevice brush, then microfiber edge to lift residue | Flooding with all-purpose cleaner |
| Sensor/display edges | Dry microfiber first, then minimal cleaner on cloth only if needed | Direct spray, drips, or aggressive wiping that drags solvent |
After detailing, do a quick inspection under angled light. If you see streaks, tacky spots, or white residue at the vent edges, it usually comes from over-spray or too-wet wiping, so re-wipe with a clean, slightly damp microfiber and finish dry.
Protectants And Glare Control
Use a matte, non-greasy protectant after cleaning so the surface resists dust and doesn’t shine up under sunlight. A thin coat also reduces the chance of tacky residue that smears when you touch the dash or rub the vents.
For example, many Toyota and Honda models with textured black dash tops respond well to matte protectants, but softer coated areas around the center stack can turn shiny if you oversaturate. If you notice a wet-looking spot after application, wipe it down right away with a barely damp microfiber, then dry buff.
| Dashboard material | Best protectant type | Common problem |
|---|---|---|
| Vinyl or hard plastic | Matte interior protectant, “low-sheen” | Shiny glare if coat is too thick |
| Soft-touch coated plastic | Soft-touch safe, low-oil formula | Tacky film and premature wear |
| Leather (if applicable on upper dash) | Leather conditioner made for interiors | Over-softening and color change |
Avoid silicone-heavy products on soft-touch coatings and anything you may need to clean again soon. Silicone oils can create slick residue that attracts dust and makes later cleaning harder, especially around textured grain.
Matte glare control also depends on how you apply it. Heavy coats look good at first, then catch dust and reflections, so the winning approach is controlled, light application with a final buff.
Troubleshooting And Maintenance
Streaks Or Swirl Marks
Swirl marks happen when you rub dry dust or when you keep wiping with a single worn towel. Use two microfiber towels, one for lifting grime and one for final buffing, and never press hard on soft-touch coatings.
For example, a lot of “streaking” on vinyl and hard plastic is actually leftover surfactant. A light re-wipe with a damp microfiber, followed by immediate dry buffing, clears it faster than adding more product.
Tacky Residue Removal
Tacky spots come from overusing wipes, using a protectant meant for exterior trim, or letting gel-like cleaners sit too long. The goal is to remove the residue without soaking seams and gauges.
Trade-off: Stronger degreasers remove tack faster, but they also strip some finishes and can worsen haze on certain soft-touch dashboards. If the surface feels sticky after two gentle passes, step down to a dedicated interior cleaner and confirm you are not using an exterior trim dressing.
Water Spots And Fading
Water spots are mineral deposits left after improper drying, or after a cleaner flash-dries on the dash. If the dash looks dull or chalky and the spots won’t wipe away, reduce heat exposure and use a cleaner that is safe for the specific finish.
| Symptom | Most likely cause | Home remedy |
|---|---|---|
| White haze, stubborn ring marks | Hard-water/mineral residue | Light damp wipe, then dry buff immediately with clean microfiber |
| Gray/dull patches after cleaning | Finish stripping or overdrying | Use a finish-safe cleaner, then apply a non-greasy interior protectant thinly |
| Color looks washed out near vents | Sun exposure plus residue | Gentle repeat wipe, then protect against UV with a dashboard-safe product |
Hot dashboards bake cleaners on contact. Clean in the shade or after the car cools, then buff right away.
Odors And Mildew Prevention
Musty smells usually come from moisture that got into seams, the headliner area, or deep around cup holders and vents. After cleaning, run a light fan and crack a window to dry out the interior fully before you close it up.
For example, on many vehicles, water intrusion near the windshield seals or clogged evaporator drains can keep returning odors even after the dash looks clean. If the smell returns quickly after wiping, you need to chase the source.
Maintenance Cadence: Quick Wipes + Seasonal Sealant
Keeping the dash clean is a habit, not a weekend project. Do quick wipes regularly so dust does not build into a film you need harsher cleaners to remove.
When you apply a protectant, use less than you think you need. If the surface looks glossy and feels slightly tacky, wipe off the excess with a clean microfiber, then let it set for a short period before driving.
Quick Summary
To clean a car dashboard at home without streaks, cracking, discoloring, or irritating vents and displays, the article emphasizes starting with a cool interior and using microfiber cloths plus dashboard-safe products. Park in the shade and let the cabin cool for 10 minutes, then vacuum loose dust using a soft brush. Wipe one section at a time with a damp microfiber, keeping the cloth damp and not wet, and use a second microfiber to dry. Plan on a 30 to 45 minute full wipe-down, using one light pass.
After cleaning, the article calls for finishing with a small amount of a non-greasy protectant, buffing it off after 2 minutes to reduce glare and dust cling. It also recommends careful crevice work with a soft detail brush and cotton swabs for tight vent fins and button edges, then drying immediately if water spots appear. A test patch is required every time, applying cleaner to the microfiber and checking color match under driver-seat light after 2 to 3 minutes. The single most important takeaway is to control moisture and protectants, not just scrub the surface.
| Step | What to do |
|---|---|
| Prep | Park in shade, cool cabin 10 minutes |
| Dry removal | Vacuum loose dust with soft brush |
| Clean | Use damp microfiber, 1 section at a time, dry with 2nd microfiber |
| Protect | Non-greasy matte/satin protectant, buff off after 2 minutes |
Frequently Asked Questions
How Do I Clean My Car Dashboard At Home Without Damaging It?
Use a dry or barely damp microfiber cloth first, and avoid soaking the dash or getting cleaner into seams. If your dash is leather, vinyl, or matte textured plastic, use a product labeled for interior trim and test a small hidden spot.
What Can I Use To Clean A Dashboard At Home For Dust And Fingerprints?
Start with dry dusting using a microfiber cloth, then follow with a cleaner meant for interiors. For light fingerprints, a slightly damp microfiber is often enough, and you can finish with a dry cloth to reduce streaks.
Is It Safe To Use Disinfectant Wipes To Clean The Car Dashboard?
It depends on the wipe ingredients, but the safer approach is to avoid soaking the dash and avoid letting liquids pool near buttons or vents. If you use wipes, choose ones labeled for surfaces like vinyl/plastics, keep it light, and wipe dry right after.
How Do I Remove Oily Dashboard Grime Without Leaving A Greasy Shine?
Use an interior cleaner on the cloth, not sprayed directly on the dash, and wipe in small sections. If it looks greasy after drying, switch to a second wipe with a clean, dry microfiber, because oils and residue commonly cause shine.
How Long Does It Take To Clean A Dashboard At Home Properly?
For a quick clean of dust and light grime, plan on 10 to 20 minutes. If you have caked-on buildup and need multiple passes, expect 30 to 60 minutes since you should let products flash off and then buff with a clean cloth.
What’s The Most Common Mistake People Make When Cleaning A Dashboard At Home?
The big one is applying cleaner too liberally, which can run into seams and controls. Another common mistake is using an all-purpose cleaner or glass cleaner that leaves residue, so stick to interior-specific products and always wipe off excess.