
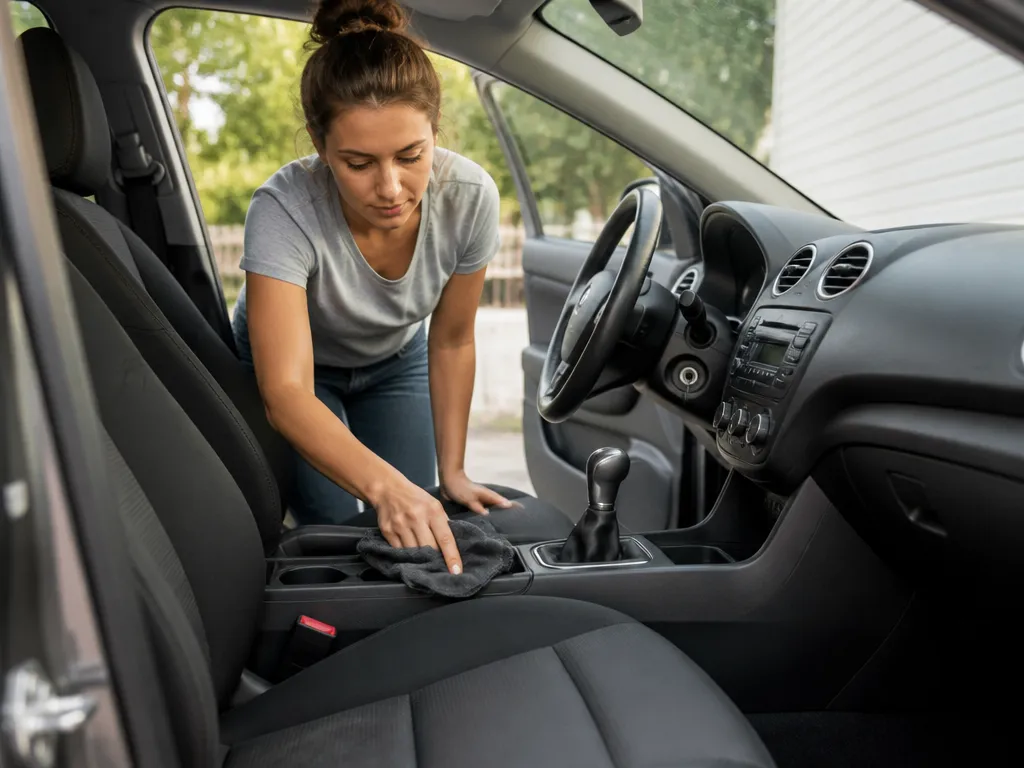
Your cup holders are stuffed, the console tray is half-emptied, and the trunk turns into a junk drawer every week. If you have to hunt for cables, sunscreen, or a tire gauge before every drive, interior organization stops being “nice to have” and starts costing you time.
Organize car interior space by doing a 20-minute declutter, then installing one “landing zone” per storage area (console, trunk, seat-back, doors) using organizers that fit your measurements. You’ll get a step-by-step workflow, placement tips, and product picks with size guidance and safety rules.
Car interior organization starts with a 20-minute declutter: empty one area, toss trash, group items by use, then keep only what you use weekly. Measure the space (length, width, height) and match organizers to those numbers. Add a landing zone per area, then stop overfilling containers.
How To Organize Car Interior: Goals First
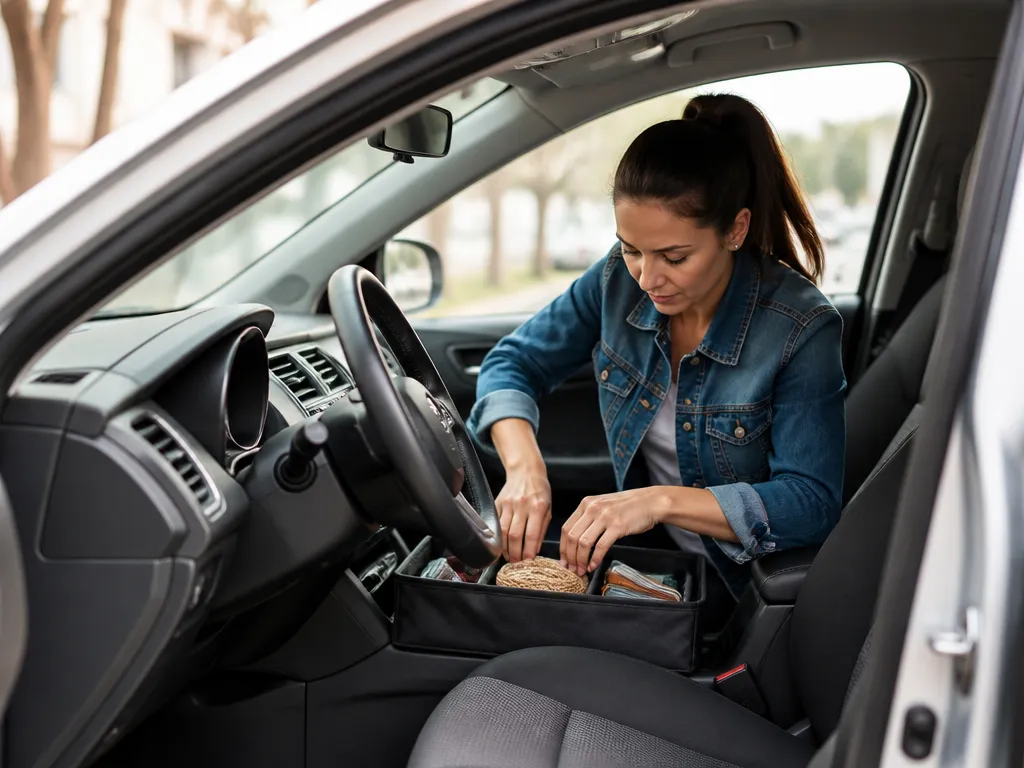
Clutter steals usable space and delays access to the items you reach for every day. Organization works when it cuts “search time” and keeps essentials where your eyes and hands go first. The simplest way to get there is to set rules based on daily driving, long-trip use, and safety zones you never block.
Common Clutter Hotspots, And Why They Grow
Car clutter expands in predictable places because these areas invite quick tosses and then miss out on regular resets. Door pockets, the seat gaps, the center console lid, and the floor behind the front seats collect “small stuff” that never goes back to its home.
For example, a charging cable in the cupholder turns into a “kit” (cable, adapter, earbuds), then into a permanent pile once you keep adding what you need during the week.
Organization Goals You Can Measure
Successful organization is measurable. Set goals for time to find items, physical containment so stuff stays put during turns and braking, and clear sightlines so nothing blocks your view through mirrors.
| Goal | What success looks like | Where to enforce it |
|---|---|---|
| Quick-access | Most-used items are within arm’s reach in under 10 seconds | Console, driver-side door pocket, dash-side compartments |
| Containment | Items do not migrate when you corner or brake | Trays, lidded bins, organizer pouches |
| Visibility | No loose items block mirrors or windscreen corners | Passenger dash area, seat gaps, roofline storage |
| Safety zones | Nothing interferes with airbag deployment paths or pedals | Under seats, footwells, and around steering wheel/side airbags |
Safety rule: keep every organizer clear of the footwell and pedal travel. Avoid stuffing loose bins under seats where they can shift and interfere with airflow or controls.
Set Your Rules: What Stays, What Leaves, What Gets Stored
Start with an honest inventory, then decide each item using a simple “use frequency plus replacement plan” test. Items you use weekly or daily belong in quick-access zones; items you use seasonally belong in a single contained storage location; everything else gets donated, tossed, or carried only when needed.
For example, in a compact car or small SUV, prioritize a console tray for daily items and a single trunk organizer bin for everything seasonal. In a midsize sedan or minivan, add a seat-back organizer for passengers so the rear floor stays clean during commutes.
Insider mechanic advice: the best organizer is the one that cannot “fail silently.” If a bin tips, slides, or comes unlatched, it will become another junk magnet. Use containment you can secure, then lock down the rest with clear storage rules.
Decluttering Workflow In 6 Steps
Start with a 30-minute triage so you remove the stuff that causes friction every day, then do a slower reset if you still have clutter pressure after that. This keeps you from buying organizers that just hold the same junk in a prettier box.
Decision rules that prevent re-cluttering:
Pro tip from the shop floor: if you cannot explain where an item goes in one sentence, it is not organized yet. Move it back to a landing zone until you can.
Seat, Console, And Cupholder Setup
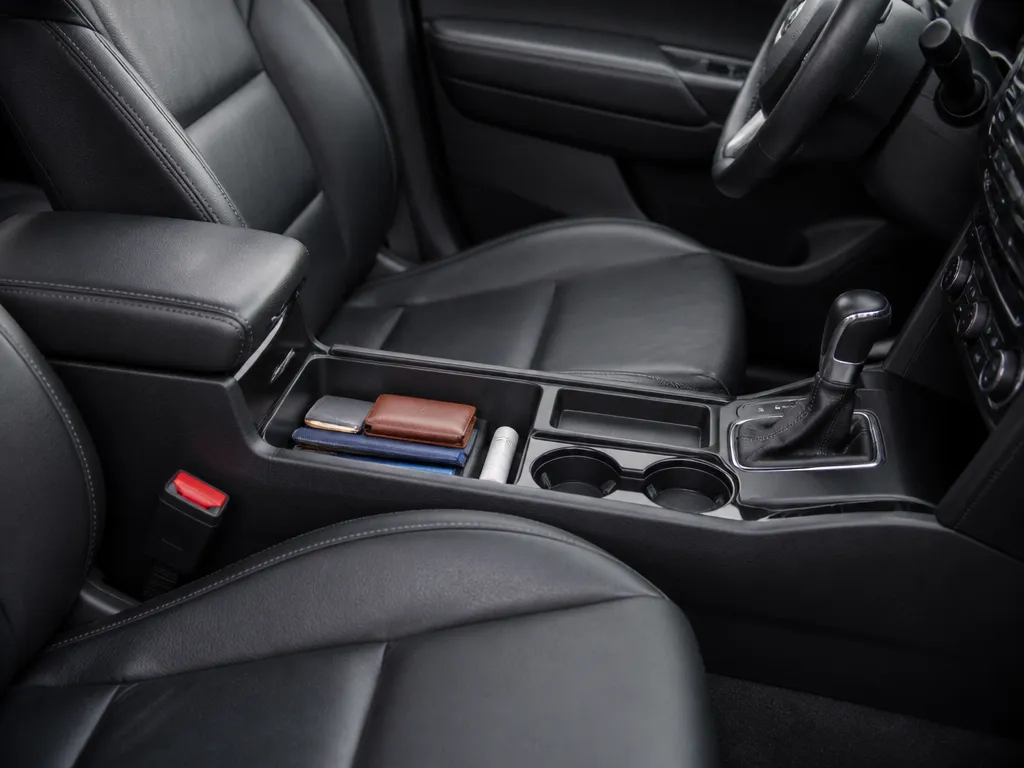
Console storage should keep the driver’s right hand free and protect the shifter and vents from sliding items. Cupholder organizers help, but spill-control inserts and loose toppers can trap liquid and make seats and floors smell. Aim for containers that sit tight, don’t block airbags, and let you reach pedals and the parking brake without leaning or stretching.
Console Trays And Sliding Organizers
Console trays work best in the gap between the shifter area and the armrest, where you can set keys, sunglasses, and small cards without hunting. Sliding organizers are ideal for USB dongles, charging cables, and a small wallet, but the track must clear the shifter boot and any reverse lockout linkage.
Measure the “usable pocket” width and depth rather than the visible plastic. If your console has a removable tray, verify it does not cover cupholders when you slide items in and out, since vibration can tip tall items into the cup area.
Cupholder Organizers Vs Spill Control
Cupholder organizers are best when you drive with dry items (mints, small snacks in sealed wrappers, a compact umbrella clip). Cupholder “tray” organizers and inserts can trap moisture when coffee or soda leaks, and liquid can creep under the insert edges.
Phone/charging Mounts And Cable Management
Phone mounts belong where you can glance without taking your eyes off the road too long, usually above the console or on the dash vents, depending on your vehicle. Console-side mounts are okay if the phone stays below eye line and does not block the shifter or emergency brake release.
Route the cable into a tray channel or organizer lip so it does not dangle into the driver’s knee space. A cable that can yank loose on bumps is a real quality-of-life problem, and it can end up yanking the phone mount.
Driver Ergonomics And Rough Sizing Targets
Driver ergonomics come down to reach. Keep organizer corners low and narrow enough that you can still hit the pedals, parking brake, and climate controls without your hip sliding forward on turns.
“Rule of thumb that saves returns: tape paper templates to the console for a day. If you bump it, can’t reach something, or feel extra heat from vents, the organizer is wrong for that layout.”
Vehicle-type Compatibility (Compact Vs Sedan Vs Suv)
Compacts usually need shallow, narrow organizers because the center tunnel is tight and the cupholders sit close to the shifter. Sedans often tolerate wider trays on the center armrest side, but you still must clear the lid swing if you have a covered storage bin.
SUV consoles tend to be deeper and taller, so sliding organizers are more practical, but cupholders are often spaced farther out and can tempt you to overstuff them. For SUVs, keep the heaviest items in the console tray, not in the cup area, since cupholders take more side load during cornering.
| Vehicle type | Best organizer approach | Common pitfall |
|---|---|---|
| Compact | Shallow tray, cable channel, minimal cup add-on | Blocking shifter/armrest clearance |
| Sedan | Middle console tray plus sliding phone cable storage | Lid interference |
| SUV | Deeper tray, optional sliding organizer with better mounting | Overstuffing cupholders and trapping spills |
Trunk And Cargo Space Storage Plan
Measure the trunk before you buy anything, since widths and lip heights decide what kind of organizer will actually fit. Use a tape measure to record maximum width and depth, plus the lip height from the cargo floor to the threshold.
| Vehicle type | Best organizer approach | Common fit issue to measure |
|---|---|---|
| Sedan trunk | Rigid or collapsible bin + cargo net | Lip height and narrow front edge |
| Hatchback | Net + corner-friendly bins | Floor shape and seatback angle |
| SUV | Main base bin + underfloor zone | Depth change around wheel humps |
For example, a Toyota Camry sedan owner carrying weekly groceries can use a single bin sized to the width between the trunk’s inner walls and a smaller net to keep bags from sliding forward during braking. For a Subaru Outback wagon, a cargo net across the top layer plus two shallow corner bins keeps camping gear from migrating when you load awkward items.
Road-trip kit zones should be deliberate: place first-aid and charging gear in the most reachable bin, and put tools and blankets on the bottom where they do not become projectiles. First-aid items should face up so you do not dig through blankets after an emergency. Charging gear (USB cables, phone mounts, power bank) should live in a small, lidded organizer inside the main bin so it does not get lost under shifting loads.
Professional tip: If your organizer relies only on friction, it will move when the road surface changes. Add straps or a net whenever you carry anything heavier than grocery bags.
Door, Seat-back, And Visor Organizers
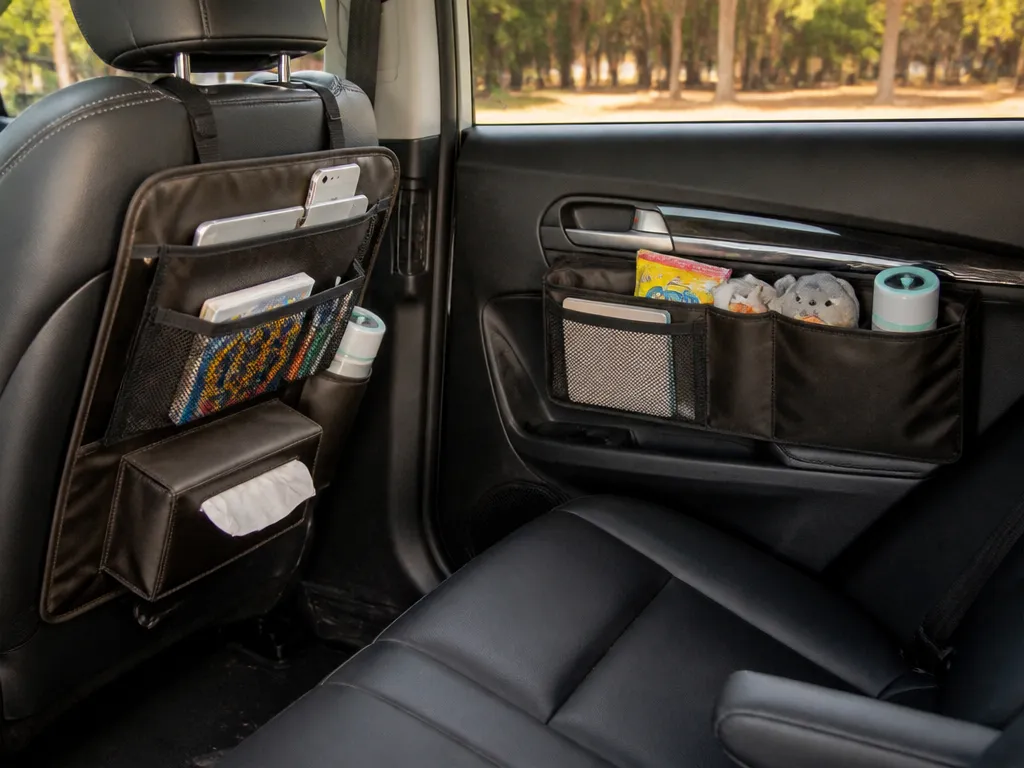
Effective organization in these zones keeps essential items accessible without clutter or interference with movement, airbags, or seat travel. Use compact pouches and light, adjustable fittings so you can remove them quickly when needed.
Where to avoid – never mount items over speaker grilles or near airbags, as obstructions can impede sound quality or safety deployment. Avoid strapping items across seatbelt paths or through the belt guides, which can create entanglement or release issues in a crash.
| Interior Type | Recommended Pouch Size | Mounting Method | Notes |
|---|---|---|---|
| Compact sedan | 4×6 to 5×7 in | Adhesive backings or slim Velcro | Keep controls accessible; door depth often limited |
| Midsize sedan / SUV | 5×7 to 7×9 in | Straps or light screws (where allowed) | More storage, verify airbag coverage |
| Truck / Van | 6×8 to 9×12 in | Heavy-duty straps or mounting rails | Durable materials help with frequent entry/exit |
Pro-tip: go with multi-pocket designs that include a slim zippered pocket for coins and a mesh sleeve for a pen or stylus. This keeps essentials visible and easy to grab without digging.
Product Picks By Category (Pros/cons)
Console trays and modular organizers are the most reliable way to stop small clutter from sliding around while you drive. A good tray should match your console footprint with tight edges and a non-slip base so it stays put during hard braking.
Console Organizer Tray (Rigid Or Modular)
For most sedans and crossovers, look for trays in the 10 to 14 in wide range with 4 to 6 in depth. Rigid plastic trays are the simplest install, typically $20 to $60, while modular kits cost more but adapt to different shifter layouts.
For example, a rigid cup-holder-style tray works well in the center stack gaps on many Toyota Camry, Honda Accord, and Subaru Outback trims. Modular systems are a better pick if your console has odd contours or if you want to add phone and card slots later.
Seat-back Organizer With Multiple Pockets
Seat-back organizers work best when pocket sizes match what you actually carry. Target 10 x 8 in pockets for books and charging bricks, plus a smaller 7 x 5 in pocket for chargers, sunglasses, or a folded umbrella.
For example, families in the Honda CR-V, Kia Sportage, and Ford Escape often prefer organizers with a mesh map pocket on top and a deep main pocket that sits above the seat belt path. Fit cautions matter here because some long-pocket designs can interfere with the seat-back hooks or rear vents.
Trunk Bin/tray Organizer
Trunk bins help when you carry groceries, tools, or sports gear that can shift. Compact cars usually need bins around 20 to 24 in long, 10 to 14 in wide, and 7 to 10 in tall, while sedans often fit 28 to 32 in by 14 to 18 in bases.
For instance, SUV trunks like a Toyota RAV4 or Nissan Rogue often benefit from angled bins that sit against the side walls, typically 30 to 40 in long total system width. Foldable fabric bins are lighter, but rigid plastic trays protect bottles and prevent collapse.
| Bin type | Best for | Rough cost |
|---|---|---|
| Rigid plastic | groceries, bottles, tools | $25 to $80 |
| Collapsible fabric | light items and seasonal carry | $15 to $50 |
Cargo Net With Hooks/anchor Points
Cargo nets are a smarter choice than bins when you need fast access and irregular-shaped storage. Nets hold items against the floor and reduce forward movement, especially in hatchbacks and SUVs with flatter cargo areas.
In practice, a cargo net often works better for outerwear, groceries in bags, or camping smalls than a rigid bin because it conforms to the load. Fit caution is anchor spacing: nets need solid hook points, and some cars only have limited anchor locations.
Tip: Measure from anchor to anchor, then choose a net with a stretch span that matches the tightest dimension for a snug setup.
Door Organizer Pouch Set
Door pouches are the go-to for maps, water bottles, umbrellas, and charging cables you want within reach. Typical pouch sets fit the door card with a 12 to 16 in vertical height and pockets that range from 6 x 4 in (small items) to 10 x 7 in (bottle-friendly areas).
For example, many owners of the Volkswagen Tiguan, Mazda CX-5, and Chevrolet Equinox like pouch sets because the door stays the “grab zone” and keeps the console free. Fit caution: door pockets can block window switches on cars with deep armrests, and stiff velcro edges can rub door paint.
Charging/tech Organizer (Cable + Power + Small Device Case)
A tech organizer is a small win with real impact, since it stops cable nests and prevents charging bricks from bouncing around. Choose a case with a 8 to 10 in length, 5 to 7 in height, and a slim profile so it fits in a console tray or glove box without interfering with vents.
For example, cable lengths matter: keep a 3 to 6 ft cable for front-seat use and a separate longer run only if you routinely charge passengers. Overlong cables tangle more, so organizers that include elastic loops or labeled sleeves are worth the extra cost.
| Tech organizer type | Rough cost | Best placement |
|---|---|---|
| Hard shell case | $20 to $60 | console tray or door pocket |
| Fabric sleeves with elastic | $12 to $40 | glove box or trunk bin |
Small-item Holder System (Glove-box Organizer Or Cup-to-console Caddies)
Small-item holders are the difference between “organized” and “mostly tidy.” Glove-box organizers usually need 12 to 16 in wide spacing to cover the main compartment, while cup-to-console caddies typically target 6 to 10 in by 3 to 6 in per cell depending on your cup opening shape.
For instance, cup-to-console caddies work well in trucks and compact SUVs where owners want pens, sunglasses, and toll cards off the seat and out of the center well. Fit caution: cup holders vary widely in diameter and depth, so confirm that the base clips or grippers fully contact the cup walls and do not interfere with retracting cup liners.
Diy Organizers That Won’t Rattle
Rattling usually comes from hard plastic on hard surfaces, loose contact points, and fasteners that miss solid structure. DIY fixes are simple: add closed-cell foam edging, use spreader nuts or rivnuts where appropriate, and mount through metal or thick plastic only. Plan the layout around heat sources, seat travel, and wiring so your organizer stays put year-round.
Diy Console Or Side-pocket Insert (Soft-edge, No Rattle)
Console gaps and side pockets are perfect for a low-profile insert that locks items in place without chewing up your trim. This build is ideal for center consoles in Honda Civics, Toyota Corollas, and many Ford Escape setups.
Safety note: Keep the insert clear of anything that can interfere with the brake and accelerator pedal area, and do not route it near any airbag vent path. If you are working around the dash or pillar, avoid drilling until you confirm where wiring and airbag sensors are behind the panel.
Diy Trunk Bin With Non-slip Liner (Water-resistant Edges)
Trunks get wet, muddy, and salty, so the bin needs sealed seams and a liner that grips without sliding. This works well for sedans like Toyota Camry and SUVs like Subaru Outback where the cargo floor has dips.
Insider tip: if the cargo floor has grit, clean it first and let it fully dry before liner adhesion. Adhesive mats often fail after months because of moisture and dust under the contact points.
Diy Charging Cable Organizer (Cord Wrap + Labeled Routing)
Charging clutter usually comes from slack cable loops and mystery “which end goes where” problems. A compact wrap-and-label organizer keeps cables tidy and reduces wear at the plug by keeping bend angles consistent.
Cleaning And Durability Tips (Heat, Uv, Moisture)
Most DIY failures come from heat cycling and moisture, especially in sun-baked cabins. Use materials that tolerate UV and wet conditions: HDPE or ABS resists warping better than thin plywood, and closed-cell foam holds up where open-cell foam absorbs water.
DIY mounting safety checklist: Avoid drilling near airbag components, wiring harnesses, and any pedal movement zones. Test-fit twice before you commit to holes, and if you feel resistance through a panel you did not expect to drill, stop and reassess.
Sizing Guide For Compact To Suv
Measure the usable space in your footwell, console, seat area, doors, and cargo before you buy any organizer. Organizer fit is about clearances, not advertised dimensions, so you need width, depth, lip height (if it has one), and travel clearance for seats and shifters.
| Vehicle layout | Best first organizer types | Footprint target (what to measure) | Placement bias |
|---|---|---|---|
| Compact hatch / small sedan | Console tray, slim door pouches, seat-back organizer (if legal/compatible) | Console top width, cupholder openings, door pocket depth | Cabin reach over cargo volume |
| Sedan | Trunk organizer with dividers, trunk side bags | Cargo width between wheel wells (if equipped), depth to rear seat fold line | Trunk-first for bulk items |
| Wagon | Cargo base bin + side mesh, seat-back organizers | Rear cargo height under hatch, side wall clearance | Balanced cabin and cargo |
| SUV | Large trunk organizer, cargo net, seat-belt friendly organizers | Wheel well interference, hatch opening height, cargo floor lip height | Cabin quick-grab + bigger cargo bins |
Organizer compatibility callouts matter most on consoles. Console trays often fail on cars with unique shifter gate shapes, deep armrest wells, or sliding armrest bases (common on many Toyota and Honda trims), because the tray lip can foul the shifter boot or prevent full armrest closure.
Mock placement method: use painters tape to mark the organizer footprint on the target surface, then place the organizer in position without clips. Cycle seat travel, turn the wheel slightly (to check access), and open/close the armrest or lid if applicable. If you can’t do all movements comfortably with the tape outline, the real organizer will fight you.
After you validate fit with the mock template, choose the organizer capacity that matches your actual load. If you measure, mock, and still want to “stuff more,” you are usually better off adding a second smaller organizer in a different zone than oversizing the first bin and creating wasted dead space.
Mounting Safety And Weekly Maintenance
Organizer mounts must never interfere with airbag deployment, pedal travel, seat motion, or the driver’s line of sight. Every strap, hook, or adhesive pad needs a clear path that stays clear in worst-case driving positions and impacts.
Maintenance Rhythm That Keeps Storage In Place
Weekly organization prevents the “everything migrates” effect that happens with temperature swings and daily braking. A quick wipe-down also lets you catch peeling mounts, frayed straps, and loose lids before they become a safety issue.
| Problem | Quick Fix | When to Escalate |
|---|---|---|
| Organizer won’t fit after install | Verify floor mat thickness and seat rail clearance with the seat fully forward and rearward. | If it interferes with a seat adjuster or pedal, switch to a lower-profile model. |
| Items still migrate | Add a non-slip liner in the bin and use dividers for small items. | If migration drags items toward vents or the center console shifter area, re-seat the organizer. |
| Gear shifts feel impacted | Check that the organizer does not touch the shifter gate, boot, or cables and that it clears cup holders during armrest movement. | If the shifter boot binds or you feel resistance, remove the organizer and get a fitment swap. |
Keep heavy items low and near the center of the car, and keep loose sharp objects out of seat-back pouches where they can become a projectile during a sudden stop.
Printable Checklist Quick-start Guide
Six-step declutter workflow keeps you efficient during a single session. It targets the car interior in a repeatable sequence that reduces re-cluttering and makes room for purpose-built organizers. Pairing this workflow with the measurement worksheet ensures you only buy or place items that truly fit.
Vehicle measurement form helps capture critical interior dimensions by vehicle type, so trunk organizers, seat-back pockets, and console trays fit without blocking controls. Use the worksheet to record your numbers and transfer them to your shopping list before buying.
Vehicle Measurement Form (Compact/sedan/suv Worksheet)
| Measurement Field | Compact | Sedan | SUV |
|---|---|---|---|
| Trunk opening width (narrowest point) | Enter | Enter | Enter |
| Trunk opening height | Enter | Enter | Enter |
| Cabin floor length dash to rear seat | Enter | Enter | Enter |
| Seat-back fold depth | Enter | Enter | Enter |
| Door pocket width | Enter | Enter | Enter |
| Available floor width between center console and seat | Enter | Enter | Enter |
Organizer Placement Safety Checklist
Organizer placement safety checklist keeps the cabin usable and safe during driving. Secure items with non-slip mats, straps, or built-in anchors and avoid blocking airbags, pedals, or the driver’s view. Test-fit each organizer with the seat fully moved and the visor up to confirm no interference.
Pro tip: A low profile trunk organizer with removable bins keeps the floor clear and makes spills easier to clean while still allowing quick access to emergency gear.
Quick Summary
Organize your car interior by starting with a 20-minute declutter and then installing one landing zone per storage area. The article says to empty one area, toss trash, group items by use, and keep only what you use weekly. Measure the space: length, width, and height, then match organizers to those numbers. Place a landing zone in each area such as the console, trunk, seat-back, and doors, using organizers that clear airbags and keep vents unobstructed. Mount only to safe points and avoid pedals or shifter paths.
Beyond the declutter, the article emphasizes goals and hotspots. Set rules based on daily driving, long trips, and safety zones you never block, and target quick-access areas where items tend to migrate. Common clutter hotspots include door pockets, seat gaps, the center console lid, and the floor behind the front seats. For placement, prioritize daily use items in quick-access zones, seasonal gear in a single trunk bin, and use a seat-back organizer for the rear. The single most important takeaway is to establish one landing zone per area to stop clutter from migrating.
| Area | Landing zone rule | Notes |
|---|---|---|
| Console | One landing zone per area | Daily items within reach |
| Trunk | Single storage bin for seasonal items | Keep in a sealed bin |
| Door pockets | Organizers to reduce clutter | Avoid blocking mirrors and vents |
| Seat-back | Pouches and back-of-seat organizers | Helps rear floor stay clean |
Frequently Asked Questions
How Do I Organize My Car Interior In One Day Without Buying Anything?
Start with a 30-minute trash pass, then pull everything out of the cupholder and door pockets and sort into 3 piles: trash, keep, and relocate. Use one bin for small stuff and put it in the passenger footwell or center console so loose items do not migrate back to the seats.
What’s The Best Place To Store Charging Cables, Sunglasses, And Small Essentials In A Car?
Keep cables and chargers in a small organizer pouch that fits under the center armrest or in the glove box. Put sunglasses in a dedicated hard case on the dash or in the door pocket, and avoid letting them ride in loose cupholders because they end up tipping and getting crushed.
How Can I Organize Car Seats And Floor Mats Without Blocking Seat Movement Or Controls?
When placing organizers, make sure they do not interfere with the seat track or the seatback release levers. If you use under-seat storage or floor boxes, leave at least a finger-width gap so the organizer cannot shift into pedals or seat mechanisms.
What’s The Safest Way To Organize A Car Interior While Keeping Emergency Items Reachable?
For safety, store your first aid kit, flashlight, and roadside essentials in a reachable location such as the trunk, or a fixed pocket that you can access quickly without moving bulky items. Keep anything you might need in an emergency away from the driver footwell and do not crowd the center console so you can still access controls.
How Do I Stop Car Interior Clutter From Coming Back After Organizing?
Use a simple “home” system, where each item has one spot, and enforce a daily reset of 2 minutes at the end of your drive. A lot of clutter returns because paper, wrappers, and receipts do not have a designated bag or pocket, so keep a small bag in one consistent place.
What Are Common Mistakes People Make When They Organize A Car Interior?
The big ones are putting items where they roll, blocking vents or visibility, and creating organizers that slide around. Avoid stacking soft items on the dash or in cupholders, and choose organizers that sit flat and stay put, especially near the driver seat.