
Fresh spills dry fast, and fabric seats turn into a sticky, smell-holding mess if you clean them wrong. If you searched “how to shampoo car seats,” you probably want the same outcome as a detailer: clean fabric, no wicking, and no damp mildew smell. You’ll need the right products, the right dwell time, and an extraction step that doesn’t over-wet.
Plan on 2 to 4 hours total for most cars, then dry for 4 to 24 hours depending on humidity and airflow. Use a pH-balanced fabric cleaner with controlled agitation, pre-treat stains first, and extract or vacuum-dry until the rinse water runs light. Leather needs a different approach.
How to shampoo car seats: Vacuum loose dirt, then pre-treat stains (5 to 10 minutes) with the right cleaner. Mix fabric shampoo with water at about 1:10 (adjust to label), spray lightly, agitate gently, and extract with an extractor or wet/dry vac. Repeat until rinsing is clear, then dry 4 to 24 hours with fans.
How To Shampoo Car Seats (Prep To Finish)
Shampooing fabric seats is a controlled cycle of cleaning solution, agitation, and fast extraction. Good results happen when you pull the water and dirt out as you go, then dry the fabric fully before it smells musty. Typical seat jobs take 60 to 120 minutes of active work plus an additional 8 to 24 hours of dry time.
Good workflow is everything. A clean pass is usually done in this order: vacuum → pre-treat → shampoo → extract → dry → deodorize or protect.
| Stage | Typical time (single row) | Success looks like |
|---|---|---|
| Vacuum + dry brushing | 10 to 20 min | No loose crumbs, sand, or lint trapped in seams |
| Pre-treat spots | 5 to 15 min dwell | Stain softens, edges lighten, no fresh grime smeared |
| Shampoo + agitation | 20 to 40 min | Foam stays white or turns slightly dirty, not thick brown paste |
| Extraction (wet pick-up) | 20 to 40 min | Rinse water runs clearer and less watery with each pass |
| Dry time | 8 to 24 hrs | No damp cool spots, seats feel crisp-dry, no odor |
| Deodorize/protect (optional) | 10 to 20 min | Fine mist sets without soaking, fabric repels light moisture |
What “Good Extraction” Looks Like Vs Over-wetting
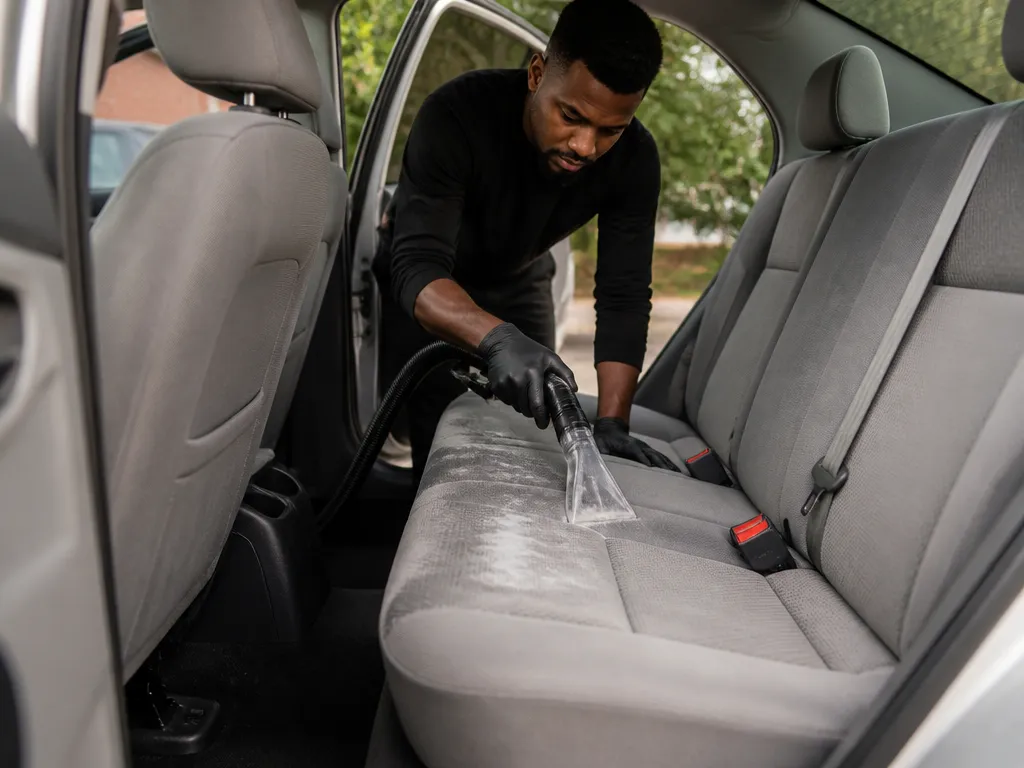
Extraction is where most DIY jobs win or fail. “Good extraction” means you are pulling solution and grime out quickly, so the seat never stays saturated long enough to drive dirt deeper or loosen padding for days.
For instance, a 2017 to 2023 Toyota Camry cloth seat with coffee spotting often cleans best with two lighter shampoo passes and extra extraction between them. A single heavy pass usually looks cleaner right away, then reappears as a darker ring after the seat dries because residue stays in the fibers and foam.
Insider tip: Work in small sections (about 1 square foot), keep your passes overlapping, and stop adding product when foam starts getting thicker and slow to lift.
Prep To Finish Workflow With Time Targets
For stubborn stains (like grease, ground-in mud, or body oil), you may need a second shampoo cycle after the first extraction. A good finish usually shows even color across the section with no darker tide lines along seams or panel borders.
Materials And Tools You Actually Need
A pH-balanced fabric upholstery shampoo cleans without weakening fibers or leaving sticky residue. Follow the label for dilution; an enzyme cleaner is optional for organic stains and heavy soils.
| Item | Amount/Specification | Notes |
|---|---|---|
| pH-balanced fabric upholstery shampoo | Dilute 1:10 to 1:20 per label | Test on an inconspicuous area first; use a low-foam formula to minimize residue. |
| Optional enzyme cleaner | As directed on bottle | Tackles organic soils like coffee, sweat, and food; use after shampooing if stains persist. |
| Vacuum with hose attachment | Full suction before cleaning | Remove loose debris and dust to prevent grinding grit into fibers. |
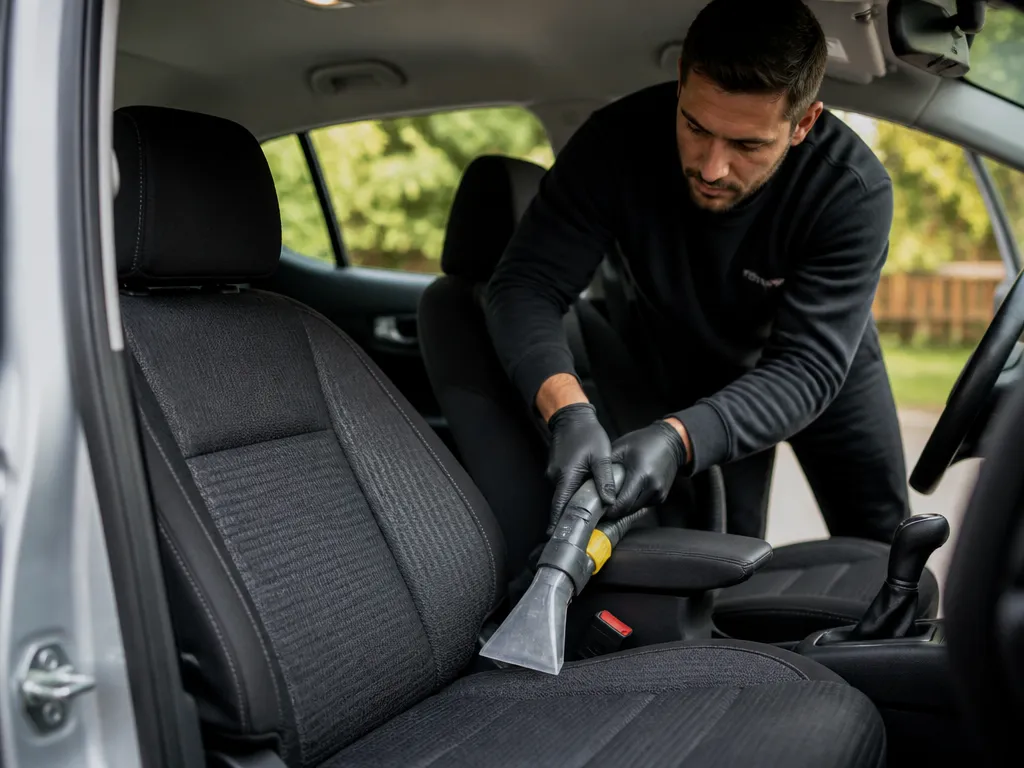
| Upholstery extractor or wet/dry vacuum | Carpet/upholstery wand recommended | Extracts dirty solution and rinse as you work to keep fibers from oversaturating. |
| Spray bottle | 1 per cleaning solution | Controlled application and handheld agitation without over-wetting. |
| Bucket | 1 clean bucket | Use separate rinse water; keep solution and dirty water apart. |
| Soft brush | Nylon or natural bristle | Gentle agitation to lift soil without harming delicate fibers. |
| Microfiber towels | Several, ideally color coded | Blot dry and remove excess moisture without lint transfer. |
| Drying aids | Portable fans or a small air mover | Direct airflow to the seat surface to speed evaporation. |
| Ventilation | Open windows or shade | Helps evaporation and reduces humidity buildup inside the cabin. |
| Brush guard (optional) | 1 | Protects seams during agitation on textured fabrics. |
| Stain spreaders or fabric protector (optional) | As directed | Use after the seat is completely dry if you plan to treat protected fabric. |
| Fabric protector (when appropriate) | Spray bottle, follow product directions | Choose protector compatible with the fabric type; apply lightly. |
| Avoid these mistakes | N/A | Hair shampoo, harsh household detergents, or steam directed at seams can damage foam and set stains. |
Test For Colorfastness And Hidden Risks
Fabric seats must pass a colorfastness check before any wet cleaning. Do a hidden-area test using a clean white cloth dampened with the cleaner and a mild solution; if color transfers or the fabric looks lighter, do not shampoo.
Colorfastness test locations include hidden seams, under the edge of the seat cushion, or the back of the seat where it won’t be obvious. If the dye bleeds onto the cloth, stop and switch to spot treatment or a dry-clean approach instead of full shampooing.
| Test Area | Bleed Result | Recommended Action |
|---|---|---|
| Hidden seam or edge | No bleed | Proceed with shampoo on surrounding area |
| Under seat cushion edge | Bleed present | Avoid saturation, consider spot clean |
| Seat fabric patch | No bleed | Continue with test plan |
Protect electronics and seat controls by sealing off power components and covering surfaces that could be soaked. Use plastic sheeting or painter’s tape to shield switches, wiring, airbags, and seat heaters while keeping the control panels dry. Do not spray cleaner directly onto electronic modules or connectors.
Ventilation and personal protective equipment matter when moisture is introduced. Open doors or windows and run a fan to move air, but keep it away from sensitive electronics. Wear nitrile gloves and safety glasses; a simple disposable mask helps if cleaners have strong fumes.
Check the seat build for foam saturation risk and wiring routes. Foams near seams can soak up moisture quickly, and wiring harnesses may run under cushions. A quick dry test with a towel can reveal hidden moisture pockets before you begin any agitation.
Pro tip: a dry veil of paper towels pressed into seams can reveal moisture that a visual check misses.
When to stop and call a pro is clear. If you suspect mold growth, heavy water intrusion, or unknown chemical spills, postpone cleaning and seek a professional detailer or upholstery shop. Persistently odorous, stained after drying, or foam distortion warrants expert evaluation.
Vacuum And Pre-treat Stains First
Loose dirt works like sand during shampooing, so vacuuming first is what keeps grime from grinding deeper into the fibers. Pre-treating based on stain type cuts the mess the cleaner has to break down later, which means less residue and faster drying.
For coffee and urine, pre-treating too aggressively can ring the stain, so apply a thin amount and keep the treated area tight. For vomit, start with gentle scrape-and-blot of solids, then pre-treat the remaining discoloration so enzymes can work on the organic residue.
Enzyme cleaner timing tip: Enzyme products work best when the stain stays damp but not rinsed away. Apply the pre-treat, let it dwell fully, and only then move on to overall shampoo so you are not washing enzymes out before they break down odor-causing material.
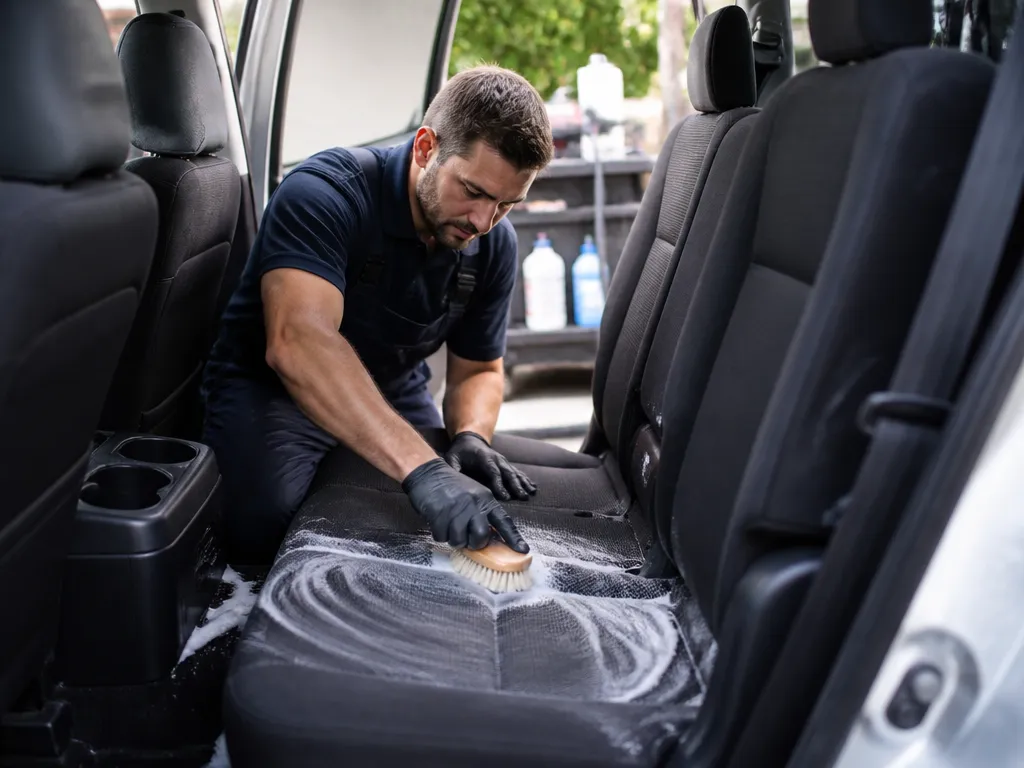
Agitation comes after pre-treatment. Use a soft upholstery brush to work the product into the surface with light pressure, just enough to loosen the stain. Scrub through the fabric texture, or back-and-forth grinding across the same spot, can damage fibers and make the area look fuzzy or darker later.
| Stain type | Best pre-treatment goal | Common mistake to avoid |
|---|---|---|
| Food, grease, oily hands | Break down oils sitting in surface fibers | Scrubbing dry oil into a larger smear |
| Urine | Disrupt odor and residue (often enzyme-based) | Rinsing before the dwell time ends |
| Coffee | Lift pigment and tannins | Soaking so much that rings form |
| Vomit | Break down organics and remove discoloration | Skipping solids removal and blotting first |
Dilution Ratios And Agitation Technique
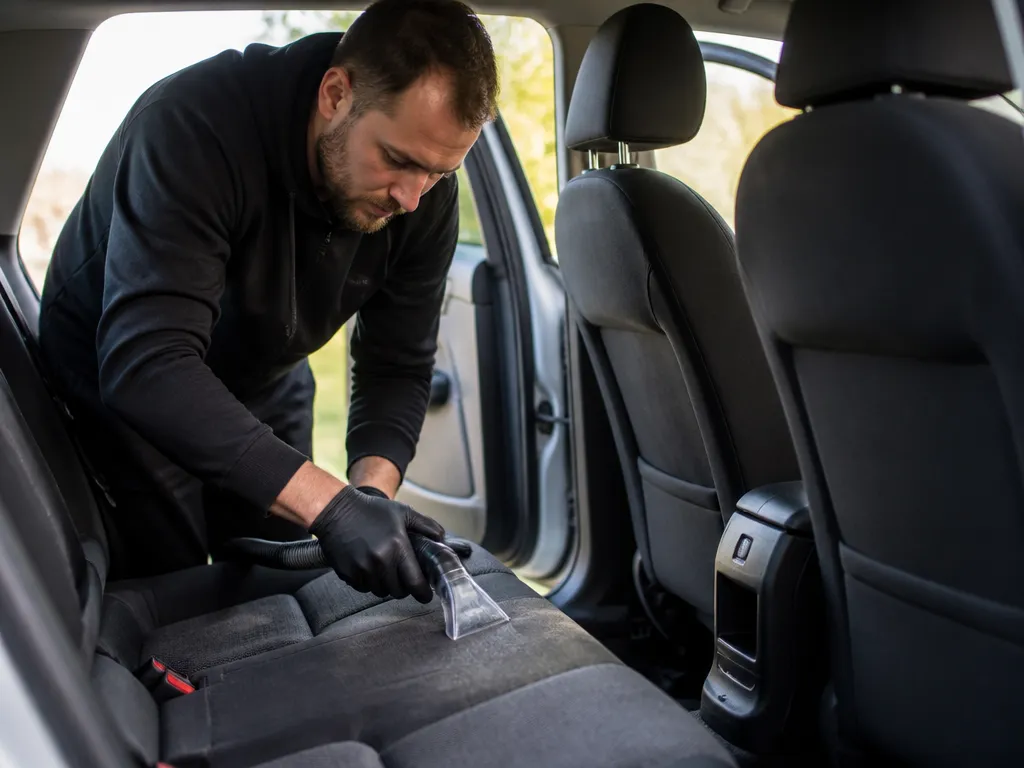
Use the chemical label for dilution first, because “strength” changes how fast dye releases and how much residue stays behind. When the label is unclear, start with a light mix (about half strength) and increase only if spots remain. Stronger cleaner can leave a sticky feel by overdosing surfactants.
Work in small sections so the cleaner does not dry on the fibers. Overlap each damp area by 1 to 2 inches, so you remove soil evenly across seams and bolsters without missing stripes.
Rule of thumb: aim for “evenly damp,” not “soaked.” A soaked seat takes much longer to dry and increases the chance of dye migration or a permanent stiff feel.
Manage saturation by using quick trigger mists rather than streaming product, and pause between passes to let the fabric absorb only what it can. If the seat starts to look glossy or water runs along stitching, stop spraying and blot with dry towels until the shine is gone.
Do not pre-foam heavily before scrubbing. Extra suds can trap dirt in the foam instead of loosening it for extraction later, and the leftover detergent chemistry can attract grime again as the seat dries.
| Fabric type | Agitation approach | Common risk |
|---|---|---|
| Cloth (woven) | Light dwell, soft brush, then blot to keep it damp only | Stiffness from overdosing detergent or drying too fast |
| Microfiber (synthetic) | Short dwell, gentle brushing with the nap direction | Matted feel if you overwork the pile |
| Heavier textured cloth | Crosshatch only lightly, avoid pressing deep | Residue in texture valleys |
For cloth, watch for dryness lines forming while you work, that is a sign your dwell is too long or your spray rate is too high. For microfiber, keep agitation lighter and more directional, then stop when the pile returns to its normal texture to prevent a fuzzy, sticky surface.
Extraction Method To Prevent Over-wetting
Extraction removes both loosened dirt and excess cleaner, which is how you prevent that soggy, lingering “wet upholstery” smell. Move slowly, keep passes consistent, and pull moisture out before it sinks deeper into the foam.
Seam and foam control is where over-wetting usually happens. Seams, piping, and stitched borders hold water longer, so keep those areas at the edge of your section and extract them as soon as they darken.
How To Avoid Over-wetting While Extracting
Work in tight areas, typically no wider than one seat panel section, so you can extract before the cleaner migrates. Blot towels should be wrung out frequently, and you should switch to a dry towel when the current one turns fully saturated.
Extraction should also change the surface texture. After correct moisture removal, fabric will feel slightly damp with reduced stiffness, and the pile will look flatter instead of matted and glossy. If the surface stays glossy, it usually means cleaner is still present or the vacuum is not pulling enough volume.
| Extraction cue | What you’ll notice | What it means |
|---|---|---|
| Surface sheen drops quickly | Fabric loses gloss after a few overlapping passes | Moisture is being removed instead of spreading |
| Towel transfer slows | Microfiber pulls less brown/gray dye each cycle | Dirt load is coming out and cleaner residue is falling |
| Vacuum pick-up turns clearer | Extracted liquid looks less dirty over time | You are lifting, not pushing, grime |
Insider tip: Aim for “damp after extraction,” not “damp during the whole job.” Leaving fabric wet between passes is what soaks foam and delays drying.
Routinely re-check your work by touch and look across the panel. Extracting correctly leaves fewer wet spots in corners and around bolsters, and you can feel light dampness instead of a cold soaked feel through the fabric.
Drying, Deodorizing, And Optional Protection
Most fabric seat dye and foam need time to finish drying, so plan on 4 to 12 hours for light cleaning and 12 to 24 hours for heavy staining, depending on humidity and airflow. Drying happens from the surface inward, so speed comes from moving air through the seat without forcing water deeper.
Lingering odors usually mean residue left in the foam or a stain that needs repeat extraction. For example, coffee, colas, and urine can leave sugars or salts that keep smelling after the top looks clean.
Fabric protectors can help prevent future staining, but they can also trap whatever residue is still inside the fabric. Protectors generally work best on seats that are completely dry and odor-free, and they should be applied in thin, even coats so you do not create a waxy layer.
| Situation | Protector Result | Best Move |
|---|---|---|
| Seat is fully dry after shampoo | Improves stain resistance | Apply light, even coverage and let cure per label |
| Any damp spots or odor still present | Can lock in residue | Delay protector, finish drying and repeat extraction if needed |
Post-clean maintenance prevents re-soiling from turning into a second deep clean. Vacuum the seats gently after 2 to 3 days, then again after 1 to 2 weeks to pull up loose fibers, dry residue, and any remaining particles.
Mechanic’s habit: treat stains fast and dab, not rub. Rubbing drives material deeper into the foam and makes the drying stage last twice as long.
Troubleshooting Shampooed Seats
Sticky residue is almost always too much cleaner left behind, or too much foam that never fully gets extracted. Color bleed happens when the seat dye is not colorfast and the wrong chemistry or agitation releases it.
Sticky Residue (Tacky Feel, Grime Reappears)
Symptom is a tacky surface that attracts dirt, or you see brown gray grime transfer when you wipe. Cause is excess shampoo, overuse of a foam prespray, or weak extraction that leaves surfactants in the fabric. Fix is a targeted rinse and extraction cycle: add clean water to your extractor or sprayer, mist lightly, agitate with a soft brush, and pull it out again.
For example, if you used a foam upholstery cleaner and the seat still feels sticky after drying, run a 2-pass water extraction before adding any more product. Use only a light amount of water, then do slow strokes with the extractor nozzle so you actually remove the dissolved residue.
DIY difficulty: Medium. A second rinse usually fixes it, but deep foam fills can hold residue longer on front seats and heavier-use areas.
Color Bleed (Dye Transfer, Blotchy Darker Patches)
Symptom is the stain area turns hazy, red brown spreads, or wiped cotton picks up color. Cause is non-colorfast dye reacting to your cleaner, hot water, or aggressive scrubbing. Fix depends on timing: stop using cleaner immediately, blot dry, then rinse with the mildest approach you have.
For instance, blot with clean towels until you stop lifting dye, then mist a small test spot with clean water at cool or lukewarm temperature, blot again, and stop before the whole seat gets saturated. If the bleed already dried, repeated light rinses can help, but you can also be dealing with permanent dye migration.
DIY recovery limit: Once dye has migrated into fibers and dried, you may need an upholstery pro or a color-restoration process.
Damp Smell Or Mildew (Musty Odor, Visible Fuzzy Spots)
Symptom is a persistent musty smell after the seat “feels dry,” or you see small mildew specks. Cause is trapped moisture in the foam and backing, plus slow drying in humid garages or during cold weather. Fix is to dry the seat base thoroughly, then treat if needed.
Mitigation steps are straightforward: increase airflow across the seat, pull the seat cover away from the cushion if it is safe for your vehicle, and use a fan directed into the seat seams.
In practice, car interiors can take 24 to 48 hours to fully dry depending on climate and how much solution penetrated, so re-check moisture before you close everything up.
Escalate to a pro if you see mildew growth or the smell persists after a full dry cycle, because the risk is that odor sits in backing materials you cannot reach with DIY extraction.
Wet Spots That Stay Dark (Drying Unevenly, “Rings”)
Symptom is dark rings or patches that remain darker than surrounding fabric even after a drying session. Cause is trapped moisture, uneven extraction, or water wicking deeper than where you applied cleaner. Fix is re-drying with controlled airflow, then a re-check with a clean, dry white towel.
Start by blotting with a dry microfiber, then move to forced air. Use a fan and, if available, a low-heat setting on a hair dryer or heat gun held far away, but keep it brief to avoid damaging adhesives or scorching fibers. After 30 to 60 minutes, blot again; if the towel picks up moisture, continue drying and revisit in a few hours.
Re-check rule: when the towel stays fully dry and the seat surface is equal color to the rest, you are done. If color difference remains after full drying, the stain likely set or changed dye balance.
Stains That Won’t Lift (Ghost Stains, Grease, Old Spills)
Symptom is the stain stays even after you’ve extracted thoroughly, or it lightens slightly then stops. Cause is residue embedded in foam, oily soils that need a degreaser approach, or chemistry mismatch (like using a general cleaner on protein-based spots). Fix is targeted treatment, usually enzyme for organic stains or a dedicated degreaser for grease.
For instance, coffee, food spills, and pet accidents often need an enzyme cleaner, but you only see real progress when the area stays damp for the dwell time on the label, then is extracted fully. Grease and oily marks may require a fabric-safe degreaser, and you must rinse or extract to prevent tackiness.
| Stain type | Most likely reason it persists | Best DIY next step |
|---|---|---|
| Organic (food, pet) | Protein or enzymes trapped in foam | Enzyme cleaner with full dwell time, then extraction |
| Grease/oil | Oily soil binds to fibers | Fabric-safe degreaser, rinse or extract thoroughly |
| Old water marks | Minerals or dye migration | Light cool rinses, then targeted treatment after dry |
When to escalate: if the stain is still obvious after one enzyme or degreaser cycle with correct dwell time, the foam pad may be permanently contaminated and a professional extraction plus ozone or upholstery restoration may be the only practical route.
Quick Summary
Shampooing fabric car seats works best when you control solution dwell and extraction, then dry fully so you do not end up with a damp mildew smell. The article’s method starts with vacuuming loose dirt so you do not grind sand into the upholstery, then pre-treating stains for 5 to 10 minutes before you scrub. Use a pH-balanced fabric cleaner, mix fabric shampoo with water around 1:10 unless the label says otherwise, spray lightly, agitate gently, and extract with an extractor or wet/dry vac.
Good results come from repeating passes until rinsing is clear, extracting after each shampoo pass to prevent wicking and residue from staying in the fibers. Total time is usually 2 to 4 hours for most cars, plus 4 to 24 hours of drying depending on humidity and airflow, with fans directed at the seats. The article emphasizes small section work, about 1 square foot, and watching foam, stopping product when foam thickens and slows to lift. Final takeaway: vacuum first, extract often, and dry completely to avoid darker rings and musty odor.
| Step | Target time | Key action |
|---|---|---|
| Vacuum | 10 to 20 min | Crevice tool for seams, soft brush for textured cloth |
| Pre-treat stains | 5 to 10 min (5 to 15 min in workflow table) | Apply to stained areas only, then blot with microfiber |
| Shampoo + agitation | 20 to 40 min | Mix around 1:10, keep the surface wet but controlled |
| Extract | 20 to 40 min | Rinse water should run lighter each pass |
| Dry | 4 to 24 hrs (8 to 24 hrs in targets) | Fans at seats, crack windows, avoid direct sun |
Frequently Asked Questions
What’s The Best Way To Shampoo Car Seats Without Soaking The Foam?
Spray your cleaner onto a clean microfiber or use a light, even mist, then scrub. Use an extractor or blot with towels, and try to keep the upholstery damp, not dripping. If water is pooling or taking a long time to dry, you’re using too much solution.
How Long Does It Take For Shampooed Car Seats To Dry?
Dry time depends on heat, airflow, and how much cleaner you used, but plan on at least 4 to 12 hours. For faster drying, run the fan and keep windows cracked if weather allows, and avoid sitting on the seats until they feel fully dry.
Can You Shampoo Car Seats That Have Leather Or Suede?
Yes, but don’t use the same shampoo method. For leather, use a pH-balanced leather cleaner and avoid soaking, since oversaturation can damage finish and backing. For suede, use a suede-safe cleaner and brush gently, because aggressive scrubbing can mat the nap.
How Much Does It Cost To Shampoo Car Seats At A Detail Shop?
Prices vary a lot by region and how bad the staining is, and exact current rates weren’t found in the research. As a rule of thumb, expect roughly $50 to $200 for typical seat shampooing, while heavy stains or extra services can push higher.
What’s The Safest Way To Shampoo Car Seats With Built-in Airbags?
Keep cleaner out of seams where airbags are located and avoid forcing fluids into stitching. If your vehicle has side airbags, follow your owner’s manual instructions and let everything dry completely before driving. If you’re unsure about airbag location or seat wiring, it’s worth having a pro handle it.
Why Do My Car Seats Smell Worse After Shampooing, And How Do I Prevent It?
Most “worse” smells come from moisture left in the foam or soap residue. Use less liquid, extract when possible, and rinse lightly only if the product requires it, then dry with airflow until fully dry.