

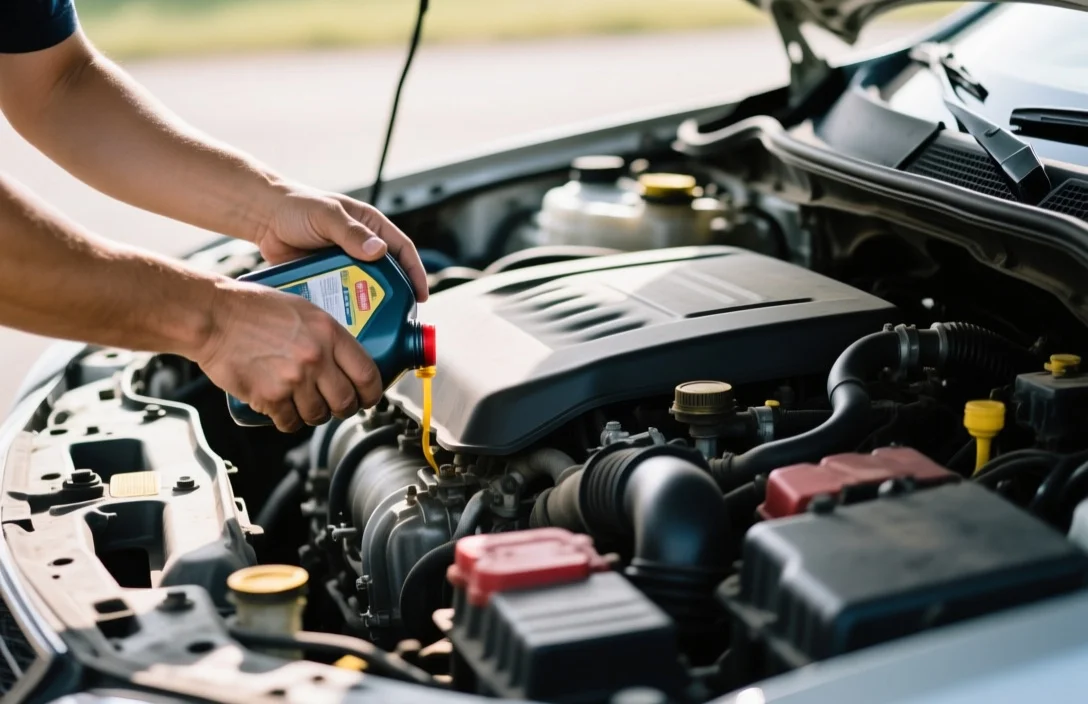
Changing your own motor oil saves between 30 and 70 dollars per visit and ensures the job is done with the exact grade of lubricant your manufacturer requires. Most drivers can complete this task in 45 to 90 minutes using a few basic hand tools. This guide provides a mechanical walkthrough to replace your oil and filter without making a mess or damaging your engine.
An engine oil change step by step process involves draining the old lubricant from the oil pan, replacing the filter, and refilling the system with fresh oil. You will need a wrench for the drain plug, an oil filter wrench, a drain pan, and the specific oil viscosity (such as 5W-30) listed in your owner’s manual.
Key Takeaways
Check your manual. Confirm the exact oil capacity and viscosity to avoid engine damage or oil leaks.
Warm the engine. Run the car for 5 minutes so the oil flows faster during the draining process.
Use a torque wrench. Tightening the drain plug to the manufacturer’s spec prevents stripped threads or oil leaks.
Lube the gasket. Smear a drop of fresh oil on the new filter gasket to ensure a proper seal.
Verify the level. Always check the dipstick after a 2-minute idle to ensure the oil is at the “Full” mark.
Recycle oil. Take used oil to an auto parts store or local collection center to avoid environmental fines.
Engine Oil Change Step by Step Process for Most Cars
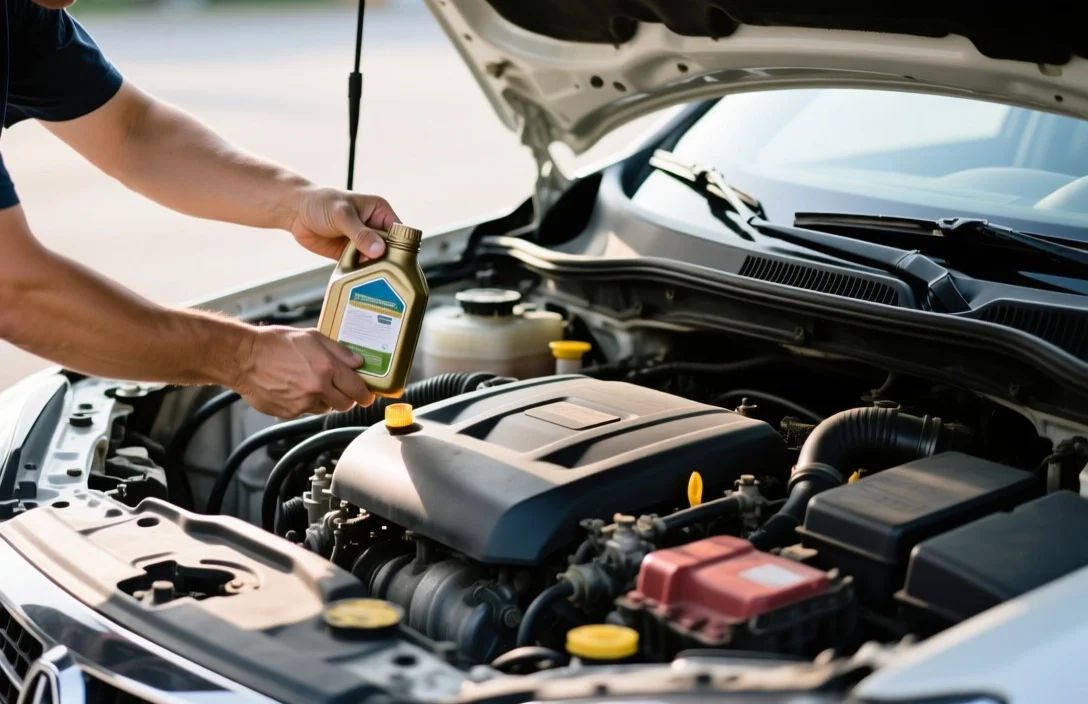
The basic cycle of an oil change is a loop of draining, replacing, and refilling. You start by lifting the vehicle safely to access the undercarriage, where the oil pan and filter are located. Once the old oil is removed, you seal the system and introduce fresh lubricant to protect the engine’s moving parts.
Most modern vehicles follow a similar layout, though some European or newer Japanese models use “cartridge” filters that require a specific housing tool rather than a spin-on can. Regardless of the filter type, the goal is to remove contaminated oil that has been thinned by fuel or thickened by carbon deposits.
For example, if you are working on a standard sedan, you will likely find a single 12mm to 17mm bolt holding the drain plug. In a few luxury models, you might encounter a plastic plug that requires a special socket or a Torx bit. Always identify your plug type before you get under the car.
The process generally follows this order:
- Prepare the vehicle and gather tools.
- Drain the old oil from the pan.
- Swap the old filter for a new one.
- Refill the engine with the correct oil volume.
- Test for leaks and verify the level.
Tools and Supplies Needed for an Oil Change
A complete toolkit prevents the frustration of having to crawl out from under the car to find a missing socket. You need tools that fit your specific vehicle’s hardware, as using a metric wrench on a standard bolt (or vice versa) will strip the head.
Safety equipment is the most critical part of your kit. Never rely on a hydraulic jack alone to hold up a car. Use heavy-duty jack stands to support the weight of the vehicle, as jacks can fail without warning.
The following table outlines the essential supplies and their primary purpose:
| Tool/Supply | Purpose | Tip for Selection |
|---|---|---|
| Socket Set / Wrenches | Remove drain plug | Match your car’s origin (Metric for most, SAE for old US) |
| Oil Filter Wrench | Unscrew stubborn filters | Use a strap wrench or cup-style for tight spaces |
| Drain Pan | Catch old oil | Choose a pan with a pour spout for easier recycling |
| Funnel | Pour new oil | Use a long-neck funnel to avoid spilling on the engine block |
| Jack and Jack Stands | Lift the vehicle | Ensure stands are rated for your car’s total weight |
| Fresh Oil | Lubricate engine | Check the owner’s manual for viscosity (e.g., 0W-20) |
| New Oil Filter | Filter contaminants | Match the Part Number exactly to your vehicle model |
| Shop Rags / Paper Towels | Clean spills | Keep these handy to wipe the drain plug area |
How to Drain Old Oil Safely
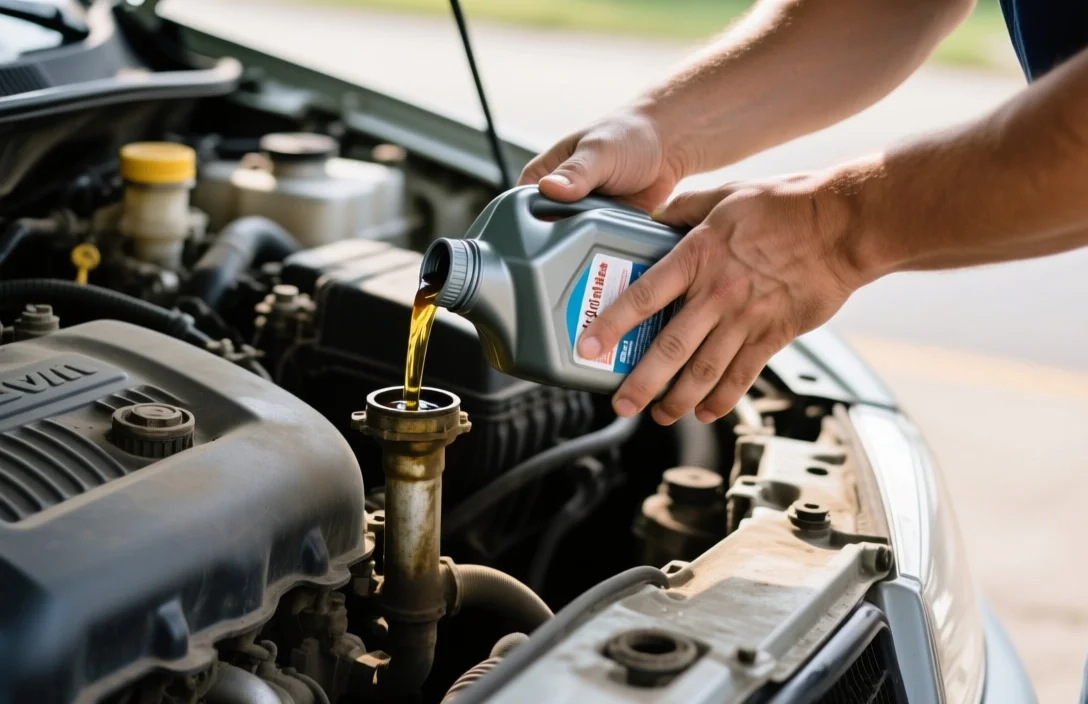
Warm oil flows much faster than cold oil because the heat reduces its viscosity. Start your engine and let it idle for about 5 minutes. This ensures that the sludge and contaminants are suspended in the oil and flow out of the pan rather than sticking to the bottom.
Position your drain pan directly under the oil plug. Give the plug a few turns with your wrench to break it loose, then unscrew it by hand for the final few turns. This prevents the plug from falling into the oil pan and splashing you.
For instance, keep a rag draped over your hand as you pull the plug. The oil will come out in a fast stream initially and then slow to a trickle. Leave the plug out for 10 to 15 minutes to ensure as much old oil as possible has exited the system.
To finish the draining process:
- Wipe the drain plug and the area around the hole with a clean rag.
- Inspect the drain plug gasket (the washer) for flattening or cracks.
- Replace the gasket if it looks worn to prevent slow drips.
- Thread the plug back in by hand to avoid cross-threading before tightening with a wrench.
Replacing the Oil Filter and Gasket
The oil filter is a canister that traps metal shavings and carbon. If you leave the old filter on, you are simply mixing new oil with dirty debris, which reduces the lifespan of your new lubricant.
Locate the filter, which is usually a cylinder attached to the side or bottom of the engine. Use an oil filter wrench to loosen it, then unscrew it by hand. Be careful, as the filter is full of oil and will leak the moment the seal breaks.
Once the filter is off, check that the old rubber gasket came off with it. It is common for the gasket to stick to the engine block. If you install a new filter over an old gasket, it will create a “double gasket” situation, which almost always leads to a massive oil leak the moment you start the engine.
To install the new filter:
- Dip your finger in fresh oil and smear it around the rubber gasket of the new filter.
- Thread the filter onto the mount by hand.
- Tighten it until it is “snug” (usually about 3/4 of a turn after the gasket touches the base).
- Do not over-tighten with a wrench, as this can crush the gasket or make the filter impossible to remove next time.
Adding New Oil to the Engine
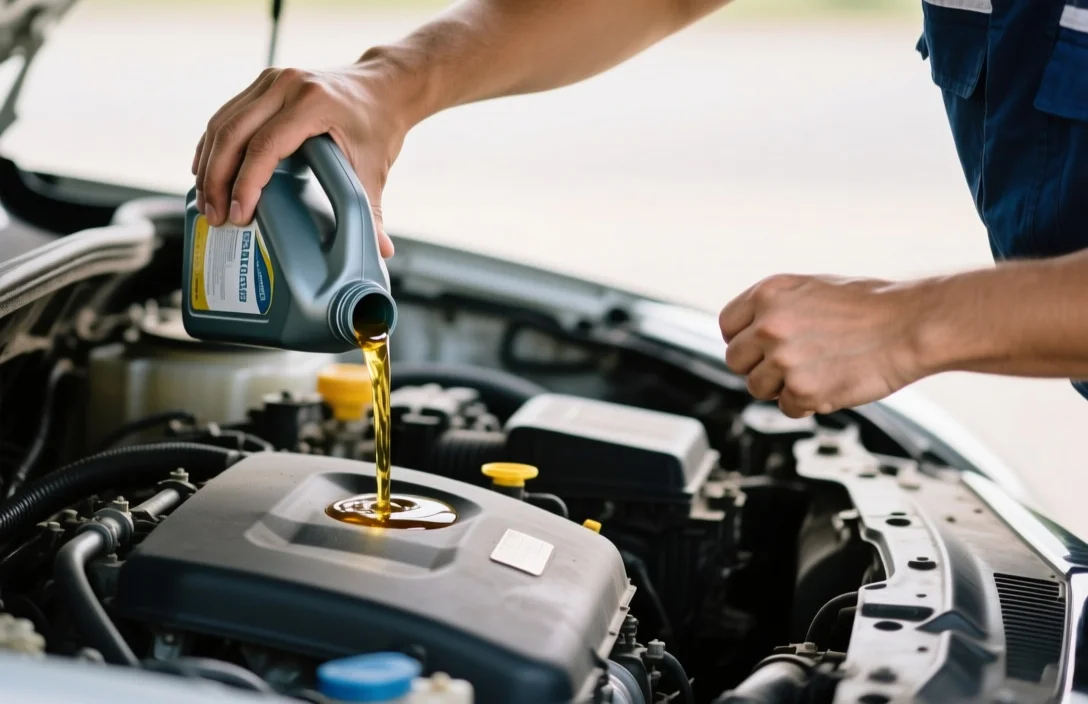
Adding oil requires precision to avoid overfilling, which can cause “frothing” where the crankshaft whips air into the oil, reducing its effectiveness. Locate the oil fill cap on top of the engine, usually marked with an oil can icon.
Insert your funnel and pour in the amount of oil specified in your manual, minus about a half-quart. It is easier to add a little more later than it is to drain excess oil if you overfill the reservoir.
For example, if your car requires 5.5 quarts, pour in 5 quarts first. This provides a safety margin and allows you to use the dipstick to fine-tune the final level.
After pouring, replace the oil cap securely. If the cap is loose or missing, the engine can suck in dirt or leak oil onto the hot exhaust manifold, creating smoke or a fire hazard.
Checking Oil Levels and Testing for Leaks
The dipstick is the only way to verify that the engine has the correct amount of oil. With the car on level ground, pull the dipstick out, wipe it clean with a rag, re-insert it fully, and pull it out again to read the level.
The oil should be between the two marks (usually dots or crosshatches) on the stick. If it is below the bottom mark, add oil in small increments. If it is above the top mark, you must drain some out to prevent pressure build-up in the crankcase.
Next, start the engine and let it run for 60 seconds. This fills the new oil filter and circulates the lubricant through the galleries. While the engine is idling, look under the car with a flashlight.
Check these three specific areas for leaks:
- The drain plug: Look for a steady drip or a “seep” around the bolt.
- The oil filter: Ensure there is no oil spraying out from the seal.
- The fill cap: Check that no oil is leaking from the top of the engine.
Proper Disposal of Used Engine Oil
Used motor oil is a hazardous waste product that can contaminate thousands of gallons of groundwater if poured down a drain or into the soil. It contains heavy metals and chemicals that are toxic to the environment.
Pour the old oil from your drain pan into a sealable plastic container, such as the empty jugs from your new oil. Use a funnel to avoid spills, and make sure the lids are tight to prevent leaks in your vehicle during transport.
In the United States, almost every major auto parts store (like AutoZone or O’Reilly) and many service stations accept used oil and filters for free. They have large collection tanks that are picked up by professional recycling companies.
To handle disposal correctly:
- Drain the old oil filter into the pan for 24 hours before tossing it in the recycling bin.
- Keep the oil and filter separate unless the recycling center specifies otherwise.
- Never mix oil with gasoline, antifreeze, or paint thinner, as this makes the oil unrecyclable.
FAQ
How often should I change my oil?
The interval depends on the oil type. Synthetic oils typically last 7,500 to 15,000 miles, while conventional oils usually need changing every 3,000 to 5,000 miles. Always follow the maintenance schedule in your owner’s manual, as modern engines with variable valve timing have specific requirements.
Can I use a different oil brand than the one from the factory?
Yes, you can use any brand as long as the viscosity (e.g., 5W-30) and the API certification match your engine’s needs. The brand name is less important than the oil’s ability to handle the heat and friction levels specified by the manufacturer.
What happens if I overfill my engine oil?
Overfilling can lead to aeration, where the crankshaft hits the oil and creates air bubbles. These bubbles cannot be compressed, which can lead to a drop in oil pressure and potential engine failure. If you overfill by more than a quart, use a vacuum pump or loosen the drain plug to remove the excess.
Why is my oil turning black so quickly?
Black oil is actually a sign that the oil is doing its job. Oil contains detergents that scrub carbon deposits and soot from the engine internals. As long as the oil level is correct and the viscosity is stable, a color change is normal for internal combustion engines.
Do I always need to change the filter every time?
Yes, you should replace the filter at every oil change. A new oil filter costs very little compared to the engine damage caused by a clogged filter. A dirty filter can trigger a “bypass valve,” allowing unfiltered oil to circulate through your engine to prevent oil starvation.
Grab your owner’s manual to find your specific oil capacity and viscosity, then head to the store for a filter and oil. Once you have your supplies, clear a flat space in your driveway and start with a warm engine.