

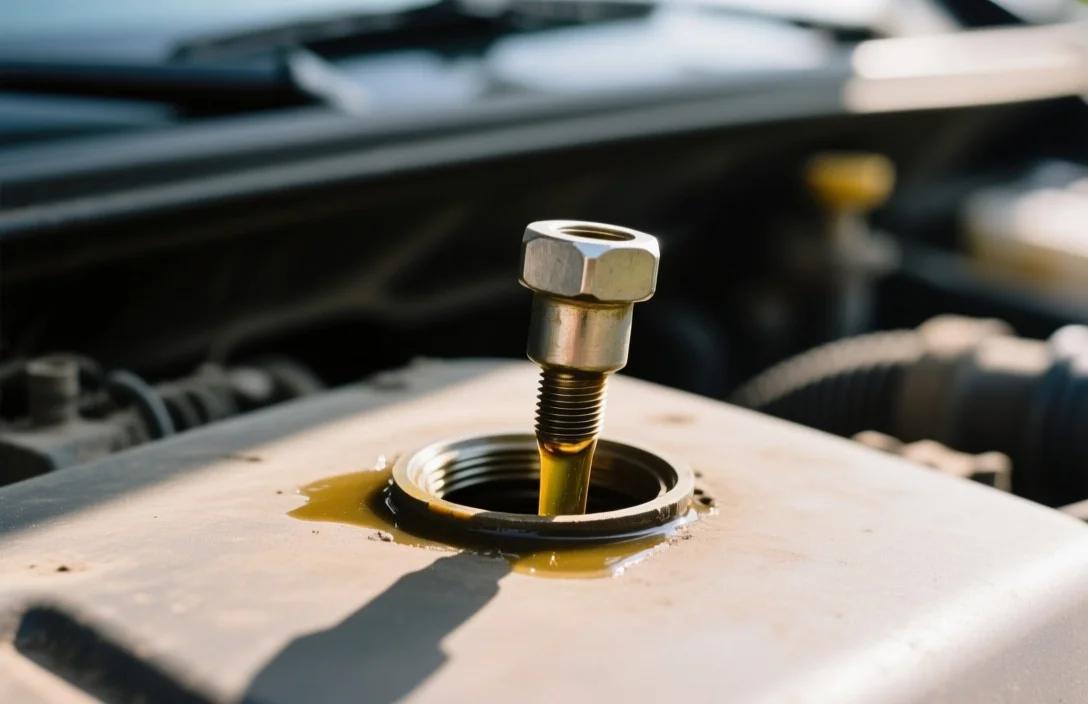
A stuck drain plug is the most common surprise during an oil change; around 30% of DIYers report a seized bolt at least once. The culprit is usually rust, over‑torque, or sludge that has welded the threads together.
Key Takeaways
- Identify the cause quickly. Rust, over‑tightening, and sludge each require a different remedy.
- Apply penetrating oil first. A 10‑minute soak often frees the plug without extra tools.
- Heat softens metal. Using a 250 °F heat gun for 30 seconds loosens seized threads.
- Avoid excessive force. A torque wrench set to the manufacturer’s spec prevents new damage.
- Replace stripped plugs promptly. A new plug restores a proper seal and avoids leaks.
Why Is My Oil Drain Plug Stuck?
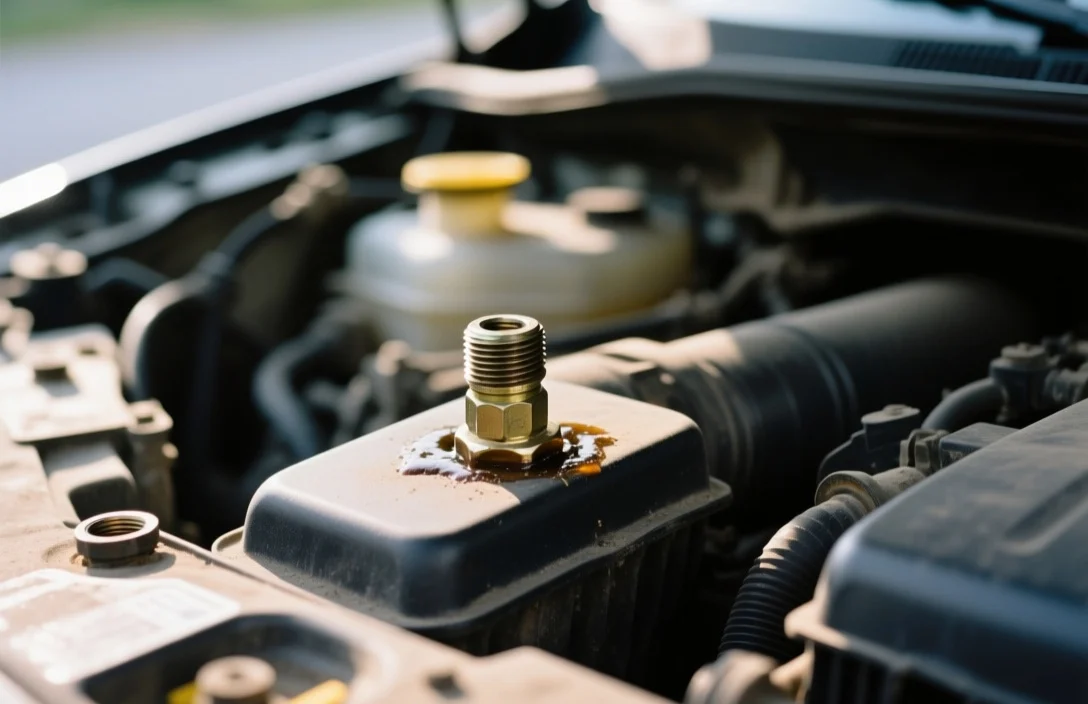
A stuck plug means the threads have fused together, likely from rust or sludge cementing the metal. Friction from the last torque application generated heat, accelerating oxidation and creating a permanent bond that resists normal turning force. The bolt becomes immobile even with a breaker bar.
If you notice the plug is immobile after a few gentle turns, stop immediately. Forcing it can strip the threads or break the bolt, turning a simple fix into a costly repair. Instead, assess the environment: is the vehicle old, exposed to salty roads, or has it missed regular oil changes? Those factors point to corrosion as the primary cause.
Rust and Corrosion on Bolt Threads
Rust forms when moisture contacts the steel of the drain plug and reacts with oxygen, creating iron oxide that fills the thread crevices. In coastal regions, salt accelerates this process; a plug left untouched for months can develop a ten‑to‑twenty‑micron layer of corrosion. That layer acts like glue, locking the threads together.
A quick visual inspection can reveal rust: a dark, flaky coating around the bolt head or a gritty feel when you try to turn it. In severe cases the plug may appear stuck even before you apply any force. Removing the rust requires a chemical approach; penetrating oil penetrates the microscopic gaps and dissolves the oxide, restoring movement.
Over‑Tightening from Previous Oil Changes

Owners often overtighten the plug to ensure a leak‑free seal, but manufacturers specify a torque range of 20‑30 lb‑ft. Exceeding that limit compresses the gasket and deforms the threads, creating a permanent bond. The extra torque also stretches the bolt, making it harder to reverse.
If a previous owner used a socket wrench without a torque limiter, the plug may be beyond the recommended spec. The result is a plug that behaves like a welded joint. The safest remedy is to back off the excess torque gradually with a breaker bar, applying steady, controlled force rather than a sudden yank.
Oil Sludge and Debris Buildup
Old or low‑quality oil breaks down into sludge, settling at the bottom of the pan and adhering to the drain plug threads. Over time, this sludge hardens into a crust that cements the bolt in place. Vehicles that run for long intervals between changes are especially prone to this condition.
When you attempt to loosen a plug surrounded by sludge, the friction spikes dramatically, and the bolt may seize. A practical way to address this is to pre‑heat the oil pan with a heat gun; the heat softens the sludge, allowing the plug to turn more freely. After removal, clean the threads with a brass brush before reinstalling a new gasket.
Using Penetrating Oil to Loosen Threads
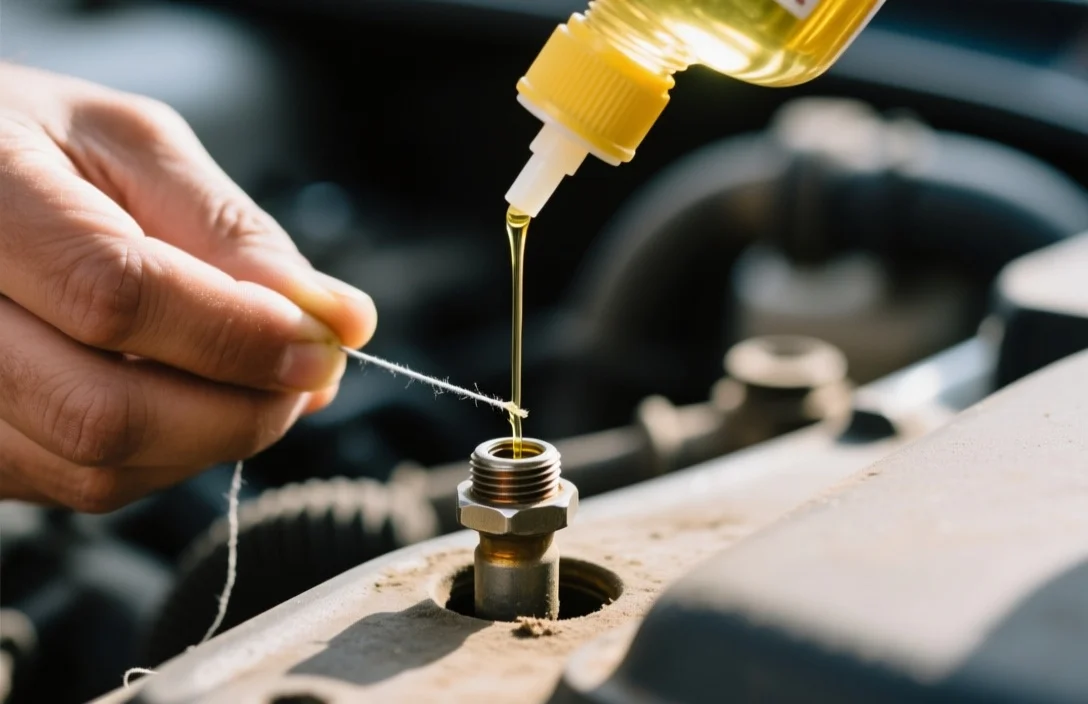
Penetrating oil seeps into the tiniest gaps to break down rust and sludge chemically. A 5‑minute soak is often sufficient for mild corrosion, while heavier buildup may need a 15‑minute dwell time.
- Spray liberally around the plug base, ensuring the fluid reaches the thread interface.
- Wait for the recommended time; most products list 5‑10 minutes for optimal penetration.
- Tap gently with a hammer to help the oil work its way deeper.
- Attempt to turn the plug using a socket and breaker bar, applying steady pressure.
If the plug still resists, repeat the spray and wait cycle. Modern formulations contain lubricants and anti‑seize additives that protect the threads from future binding.
Loosen Method Comparison
| Method | Typical Temperature (°F) | Time to Apply | Best For |
|---|---|---|---|
| Penetrating Oil | Ambient (70‑80) | 5‑15 min | Light rust, sludge buildup |
| Heat Gun | 250‑300 | 30 sec‑1 min | Severe corrosion, metal‑on‑metal |
| Impact Wrench | N/A | Instant | Stripped bolts, heavy torque |
Applying Heat to Loosen the Plug
Heat expands metal, creating a slight gap between the plug and the pan that reduces friction. A handheld heat gun set to 250°F applied for 30 seconds can raise the plug temperature enough to break the rust bond without damaging surrounding components.
Begin by positioning the heat gun a few inches from the plug, moving it in a circular motion to distribute heat evenly. After the brief heating period, immediately try to turn the plug with a socket. The combination of thermal expansion and residual penetrating oil often yields a quick release.
Caution: Do not exceed 350°F, as excessive heat can damage the oil pan’s paint or weaken nearby seals. Also, avoid using an open flame near flammable fluids; a heat gun is a safe, controllable option.
Replacing a Stripped Drain Plug
If the plug’s threads are damaged beyond repair, replacement is the only reliable solution. Stripped threads cause oil leaks, leading to engine wear and potential fire hazards.
First, remove the damaged plug using a bolt extractor or a larger socket that grips the remaining metal. Once extracted, clean the hole with a brass brush and apply anti‑seize compound to the new plug’s threads. Install the new plug by hand until snug, then torque it to the manufacturer’s specification – usually 20‑30 lb‑ft.
After installation, check for leaks by running the engine briefly and inspecting the drain area. A dry, drip‑free surface confirms a proper seal. Keep a spare plug in your tool kit; swapping it out during routine oil changes prevents future headaches.
FAQ
Why does my oil drain plug seize after only a few oil changes?
Over‑tightening is the main cause; using a torque wrench set to the manufacturer’s spec (20‑30 lb‑ft) prevents the threads from compressing and bonding.
How long should I let penetrating oil sit before trying to turn the plug?
A minimum of 5 minutes works for light rust, while 10‑15 minutes is recommended for heavier buildup.
Can I use a propane torch to heat the drain plug?
A propane torch can reach 350 °F, which risks warping the oil pan; a heat gun limited to 250‑300 °F is safer and equally effective.
What temperature indicates that the plug is hot enough to loosen?
When the plug surface feels warm to the touch (around 250 °F) after heating, the metal has expanded enough to reduce friction.
Is it safe to reuse the original drain plug after cleaning it?
If the threads are undamaged and you apply anti‑seize compound, the original plug can be reused safely; otherwise replace it to avoid leaks.