

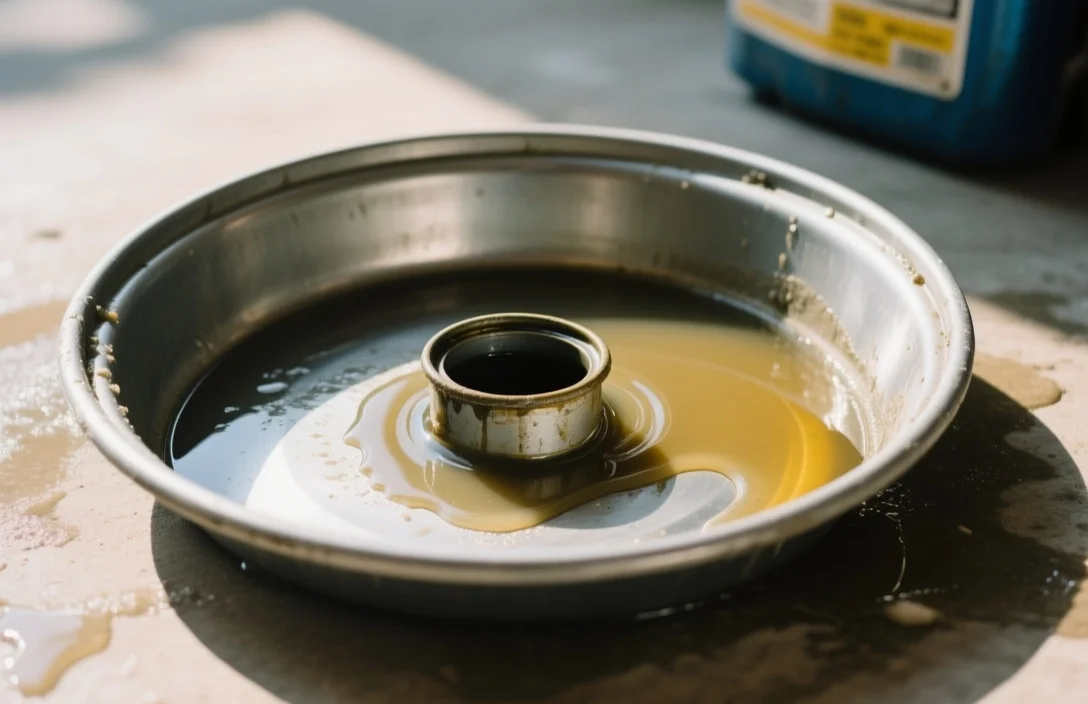
Cleaning a greasy oil drain pan is a tedious chore that often ends with a messy garage floor if you don’t have a system. Most people make the mistake of rushing straight to the soap, which only smears the oil around and creates a slippery sludge. By using a combination of absorbent materials and specific degreasers, you can return your pan to a usable state without contaminating your driveway.
Cleaning an oil drain pan requires removing bulk oil via absorbent materials, applying a heavy-duty degreaser, and scrubbing with a stiff brush. This process typically takes 20 to 30 minutes and ensures that leftover sludge does not contaminate your next oil change.
Key Takeaways
- Bulk removal first. Use kitty litter or rags to soak up standing oil before adding water.
- Choose the right soap. Use a concentrated degreaser or blue Dawn dish soap for breaking molecular oil bonds.
- Avoid the sink. Never wash an oil pan in a kitchen sink to prevent clogging pipes with sludge.
- Use stiff bristles. A nylon scrub brush is necessary to lift burnt-on carbon deposits from the pan floor.
- Dry completely. Wipe the pan with a microfiber cloth to prevent flash rust on steel pans.
- Check for leaks. Inspect the pan seals and seams during cleaning to ensure it is still oil-tight.
How to Clean an Oil Drain Pan in 7 Simple
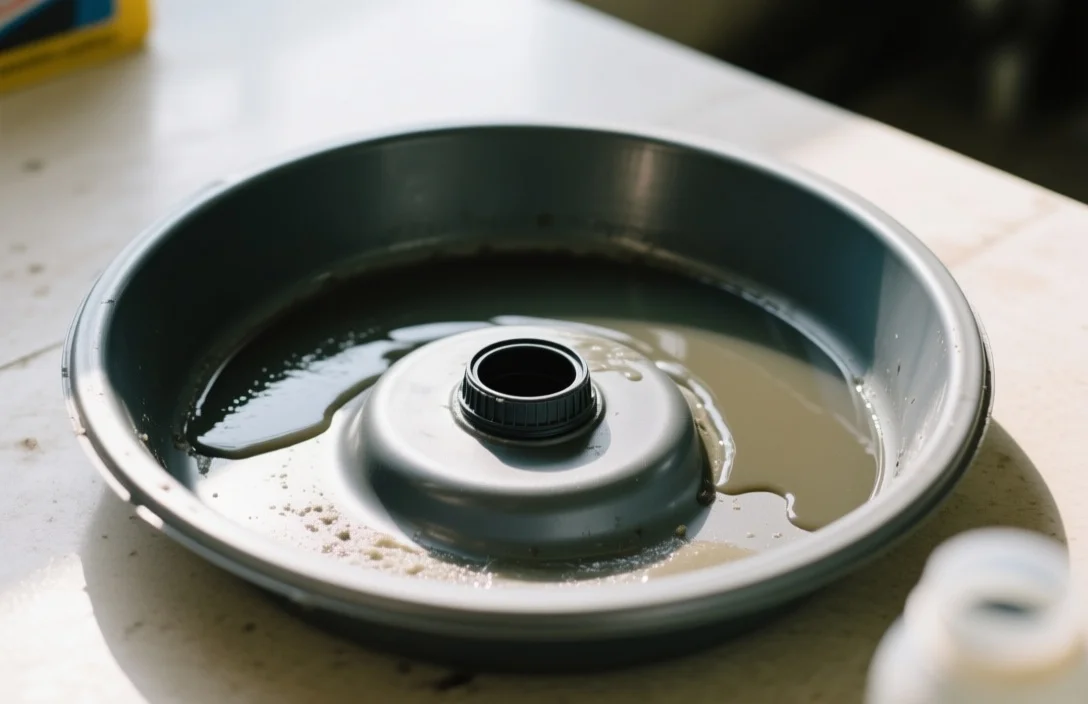
Cleaning an oil drain pan is a straightforward process of breaking down hydrocarbons and removing physical debris. The goal is to remove the “varnish” – that sticky, brown layer of oxidized oil – so that the pan doesn’t attract more dirt during storage.
If you have a plastic pan, you can be more aggressive with scrubbing. Metal pans require a bit more care to avoid scratching the protective coating, which can lead to rust. Following a structured sequence prevents you from simply pushing oil from one side of the pan to the other.
Tools and Materials You’ll Need for Cleaning an Oil Drain Pan
Having your supplies ready prevents you from having to touch your tool chest with oily hands. You will need a mix of absorbent materials for the initial phase and chemical agents for the finishing phase.
The most critical tool is a dedicated cleaning brush. A sponge is too soft to remove the grit and metal shavings that often settle at the bottom of a drain pan during a vehicle service.
| Tool/Material | Purpose | Best Version |
|---|---|---|
| Absorbent | Removes standing oil | Clay-based kitty litter or shop rags |
| Degreaser | Breaks down oil bonds | Citrus-based degreaser or Dawn dish soap |
| Scrubbing Tool | Lifts sludge and grit | Stiff nylon bristle brush |
| Cleaning Agent | Final rinse | Warm water and a garden hose |
| Drying Tool | Prevents rust/streaks | Microfiber cloth or shop towels |
| Safety Gear | Skin protection | Nitrile gloves |
Step-by-Step Guide to Removing Old Oil and Sludge
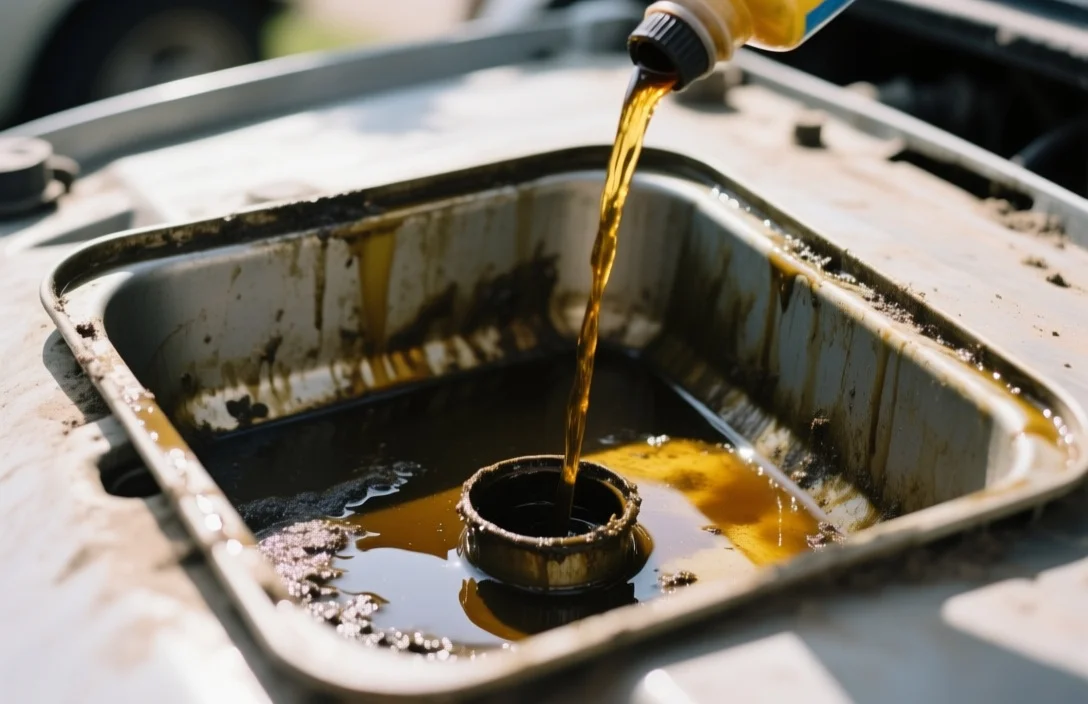
The first goal is to get as much liquid oil out of the pan as possible without pouring it down a drain. Pouring oil into a sewer or storm drain is illegal in most US jurisdictions and causes massive environmental damage.
Start by pouring the bulk of the oil into a sealed waste container or a dedicated oil recycling jug. Once the liquid is gone, you will notice a thick layer of sludge remaining on the bottom and sides.
For instance, if you have a large amount of residue, sprinkle a handful of clay-based kitty litter into the pan. Let it sit for 10 minutes to soak up the remaining film, then sweep the litter into a trash bag.
After the bulk oil is gone, wipe the interior with a few shop rags. This removes the “heavy” grime and ensures that your degreaser can actually reach the surface of the pan rather than just sitting on top of a layer of oil.
Which Works Best for Oil Drain Pans?
Industrial degreasers are the superior choice for oil pans because they are formulated to emulsify hydrocarbons. These products break the bond between the oil and the plastic or metal surface, allowing the grime to slide off with water.
Citrus-based degreasers are particularly effective because the d-limonene found in citrus oils acts as a natural solvent. These are generally safer for plastic pans and don’t leave a harsh chemical smell in your garage.
DIY solutions, such as a mixture of baking soda and vinegar, are generally ineffective for motor oil. While vinegar is great for mineral deposits, it lacks the chemical strength to break down heavy engine lubricants.
If you don’t have a professional degreaser, a high-concentration dish soap like blue Dawn is your best bet. It is designed to strip grease from cookware and works similarly on automotive oil, though it may require more scrubbing.
How to Scrub and Rinse Your Oil Drain Pan for a Spotless Finish
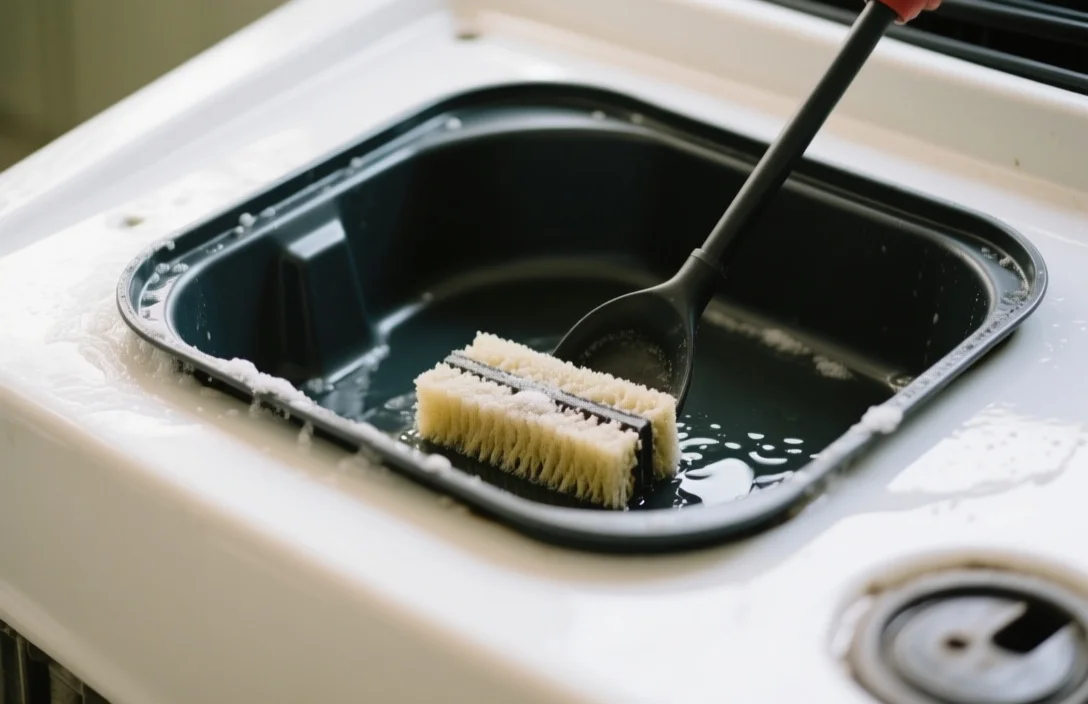
Apply your chosen degreaser directly to the dry pan before adding water. This allows the chemical to concentrate on the oil molecules without being diluted, which leads to a faster cleaning time.
Use a stiff nylon brush to scrub in circular motions. Focus on the corners and the drain spout, as these areas tend to trap the most sludge and metal particles.
For example, if you see black, hardened spots, apply a small amount of extra degreaser to those areas and let it dwell for five minutes before scrubbing again. This “dwell time” is what allows the chemical to penetrate the carbonized oil.
Rinse the pan using a garden hose or a pressure washer on a low setting. Direct the water flow from the top down, pushing all the loosened grime toward the spout and away from the clean edges.
Drying and Storing Your Oil Drain Pan to Prevent Rust
Water left in a metal drain pan will lead to oxidation and rust spots within a few days. Even plastic pans can develop a cloudy film or trap moisture that leads to mold if stored in a damp environment.
Wipe the pan down with a clean microfiber cloth or a disposable shop towel. Ensure you get into the crevices and the underside of the rim, as these are the primary spots where water pools.
Store the pan in a dry area, preferably upside down or propped up on its side. This prevents dust and insects from collecting in the bottom and ensures that any remaining moisture can evaporate.
If you have a high-end steel pan, you can apply a very thin layer of WD-40 or a similar corrosion inhibitor to the interior. This creates a moisture barrier that protects the metal until your next oil change.
When to Replace vs. Clean Your Oil Drain Pan
Cleaning is the right choice for most pans, but some damage makes a pan unsafe to use. A drain pan’s primary job is containment, so any compromise in its structural integrity is a dealbreaker.
Inspect the pan for hairline cracks or “stress whitening” in plastic models. If the plastic has become brittle from heat or age, it may crack during a pour, spilling several quarts of oil across your garage floor.
Replace your pan immediately if you notice any of the following:
- Deep gouges that have pierced the bottom or sides.
- Warping that prevents the pan from sitting flat on the floor.
- Leaking seams in welded metal pans.
- Severe pitting or rust-through holes in steel pans.
If the pan is simply stained brown, it is still functional. Motor oil stains the plastic over time, but as long as the surface is smooth and the structure is sound, there is no need to buy a new one.
FAQ
Can I use a dishwasher to clean my oil drain pan?
No. You should never put an oil drain pan in a dishwasher. The residual oil will contaminate your dishwasher, potentially ruin the pump, and leave a greasy film on all your other dishes.
How do I get the smell of old oil out of a plastic pan?
The best way to remove the smell is to leave the pan in direct sunlight for 24 hours after cleaning. The UV rays help break down the remaining volatile organic compounds (VOCs) that cause the odor.
Is it okay to use gasoline to clean an oil pan?
No. Using gasoline as a solvent is extremely dangerous due to the high volatility and fire risk. Use a dedicated citrus degreaser or a commercial automotive solvent instead.
How often should I clean my drain pan?
You should clean your pan every 2 to 3 uses. Allowing oil to sit for months allows it to oxidize and harden, making it much more difficult to remove later.
What should I do with the dirty cleaning water?
Do not pour soapy, oily water into the street or a storm drain. Use a wet-vac to suck up the rinse water and dispose of it at a local hazardous waste facility or an auto parts store.
Once your pan is clean and dry, store it with your oil filter wrench and funnel in a single bin. This ensures you have everything ready for your next service without hunting for tools.