
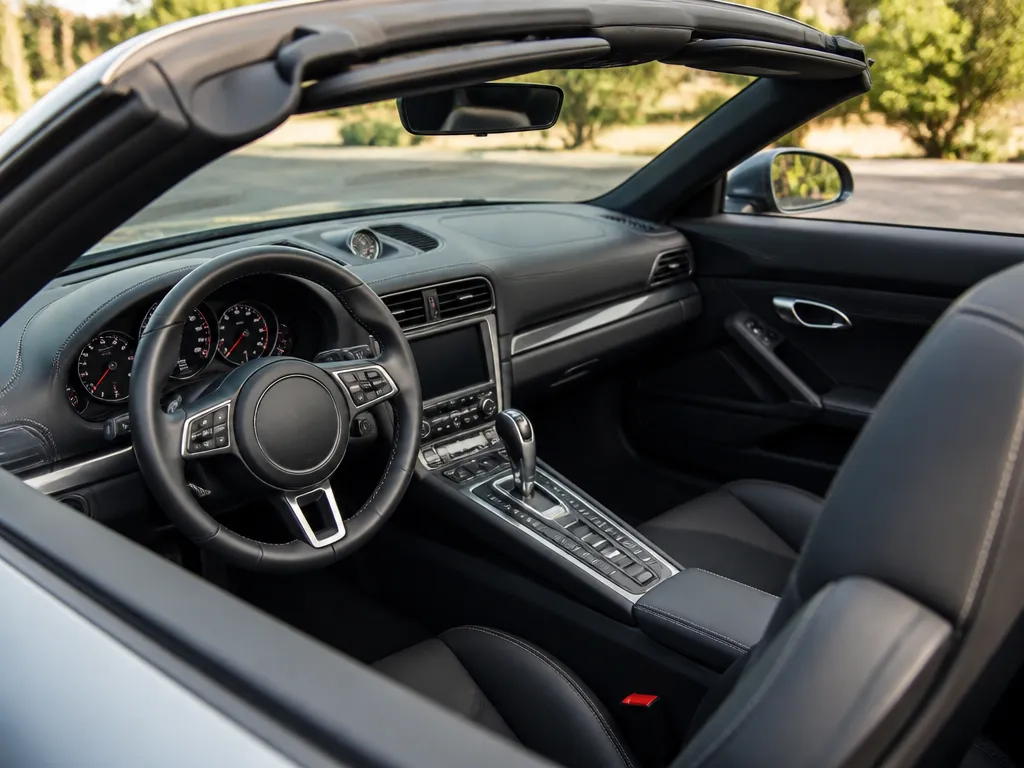
Your convertible interior takes a beating from sun, dust, and wet folds, and the dirt always seems to land in the worst spots. One coffee spill can leave a sticky seat, mildew can show up in seams, and vinyl trim can streak if you use the wrong cleaner. The fastest way back to clean is knowing your material and cleaning in the right order.
Clean convertible interiors by identifying the material first (cloth, leather, vinyl, Alcantara/suede, or plastic trim), then using pH-neutral cleaners for fabric and material-matched products for leather and vinyl. Control moisture by extracting when possible and drying with airflow for 6 to 12 hours.
How To Clean Convertible Interior
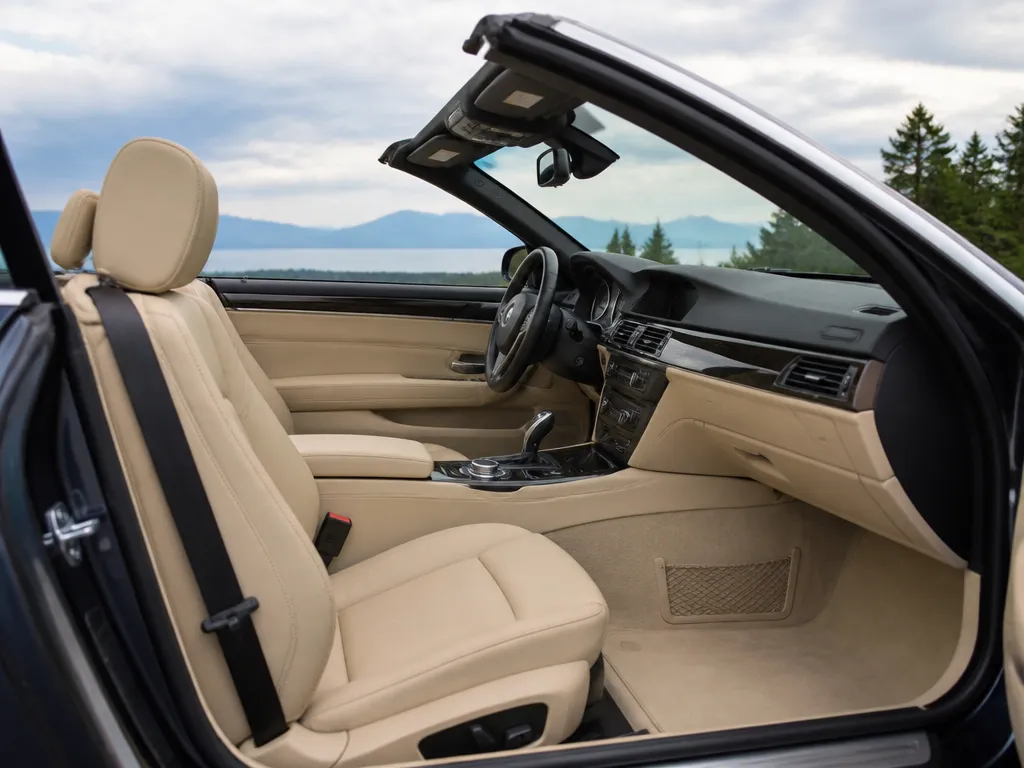
Material-first Workflow (What You Do Before You Spray Anything)
Before you grab a bottle, decide what you are cleaning. Cloth (textile) tolerates many cleaners but can shrink or blot if you over-wet it. Leather and many vinyl surfaces stain or discolor when you use the wrong chemical or leave residue behind.
Alcantara-like suede and other microfiber suedes are the most forgiving of grime and the least forgiving of soaking. Treat them like a “brush-only” surface unless your cleaner specifically says it is safe for suede and do spot tests first.
Tools And Cleaners To Gather Up Front
Having the right tools prevents repeat wetting, which is where most convertibles end up with lingering odors. Use multiple microfiber towels, clean brushes by material type, and a wet/dry vacuum or extractor if you have one.
In practice, a basic kit that works across most soft-top cabins includes an upholstery brush, a soft bristle detailing brush for crevices, and a shop-vac with a crevice tool. For moisture control, a fan and a dehumidifier nearby make the difference between “clean and dry” and “clean and musty.”
| Item | Why it helps | Common mistakes to avoid |
|---|---|---|
| Dry vacuum + crevice tool | Removes grit before it turns into paste | Scrubbing dry dirt into fabric |
| Soft upholstery brush | Releases embedded soil | Wire brushes on suede-like surfaces |
| Microfiber towels | Controls streaking and residue | Using one towel for all surfaces |
| Extract/wet vac (optional but best) | Removes dirty water from cloth | Leaving extractor wands wetting without extraction |
| Air movement (fan) | Dries seams and stitching faster | Cleaning late in the day with no airflow |
Pro tip: Do a small hidden spot test with the exact cleaner and tool you plan to use. Let it sit, blot, and check for color change or texture marring after it dries.
Top-down Order That Prevents Re-soiling And Mildew
Work from the least dirty areas downward and keep liquids controlled. Dirt from the floor and seat tracks rides up into cleaner zones fast if you skip the dry vacuum or spray too much cleaner at once.
Convertible interiors also hold onto smells if you trap moisture in seams, stitching, or under-floor areas. After cleaning, keep airflow on for several hours and check under mats and around seat mounts for dampness before calling it done.
Identify Your Interior Materials Fast
Convertible interiors clean correctly only when you match the cleaner to the material, and most damage happens from guessing. Start by finding the care label on the seat, door panel, or trunk of the vehicle, then confirm by feel and finish.
| Material you think it is | Fast tell | What “bad compatibility” looks like |
|---|---|---|
| Cloth / carpet | Absorbs water, fibers spring back after rubbing | Water rings, browning, crunchy residue |
| Leather | Natural grain, slight warmth from skin contact | Dry, tight surface, color fading or flaking |
| Vinyl | Smooth, uniform pores, mild rubber feel | Streaks, sticky film, paint-like sheen changes |
| Alcantara / suede-like | Nap that “lies” in one direction | Permanent dark patches, matted areas that do not lift |
| Soft-top adjacent headliner or trim | Fabric liner feels stitched and breathable, trim feels hard | Peeling, warped edges, glossy slick spots |
Cloth, Carpet, And Backing Clues
Cloth seats and carpet usually have absorbent surface fibers and a backing that can trap moisture. Press a clean fingertip or a damp corner of a white cloth in a hidden spot, if liquid wicks deep and leaves a slow-drying shadow, treat it like a sponge and plan for quicker extraction later.
For example, many convertibles with cloth inserts feel dry on top but hold grime in the base layer, especially around seat belt anchors and lower seat bolsters. When you see a darker “halo” after wiping, that halo is moisture and soil moving together, so you need controlled moisture and frequent microfiber changes.
Leather Vs Vinyl: The Gentle Rub Test
Leather tolerates mild cleaners better than most people expect, but it still needs pH-balanced products and time to dry. Vinyl reacts faster to strong solvents and can turn tacky or shiny, so do the spot-test and confirm the surface returns after drying.
For instance, a vinyl seat that looks fine right after cleaning but turns slippery or glossy later is a sign the cleaner stripped or changed the coating. Leather that dries with a stiff feel usually means the cleaner pulled oils too aggressively or you left residue behind.
Alcantara Or “Suede-like”: Brushing Direction Matters
Alcantara and suede-like materials have a nap that holds dirt and can show shiny traffic paths. Brushing technique is the difference between lift and damage, so you need to identify the nap direction by lightly stroking it with your hand, then keep your strokes consistent.
For example, wiping in tight circles can create a patchwork sheen because you flatten the fibers. When you see a shiny burnished spot in one direction only, switch to gentle, nap-following brushing and use only cleaners meant for suede-like upholstery.
Soft-top Adjacent Headliner And Trim: Fabric Liner Vs Plastic Pieces
Convertibles often have a headliner area near the folded top that mixes fabric liners and hard trim. Fabric liner reads as stitched and breathable, while plastic or painted trim reads as glossy or textured, and it smears if you use an upholstery method on it.
In practice, rubbing a cleaner on the wrong part shows up quickly as residue streaks on trim or dampness that lingers on the liner. Use your spot-test logic on both surfaces separately, because the same cleaner can be safe for the liner and wrong for the nearby trim.
Quick rule: If your cleaning plan relies on “soak and scrub,” the material ID is wrong. Convertibles punish over-wetting, especially around headliners, seams, and seat belt areas.
Safe Products And Tools List
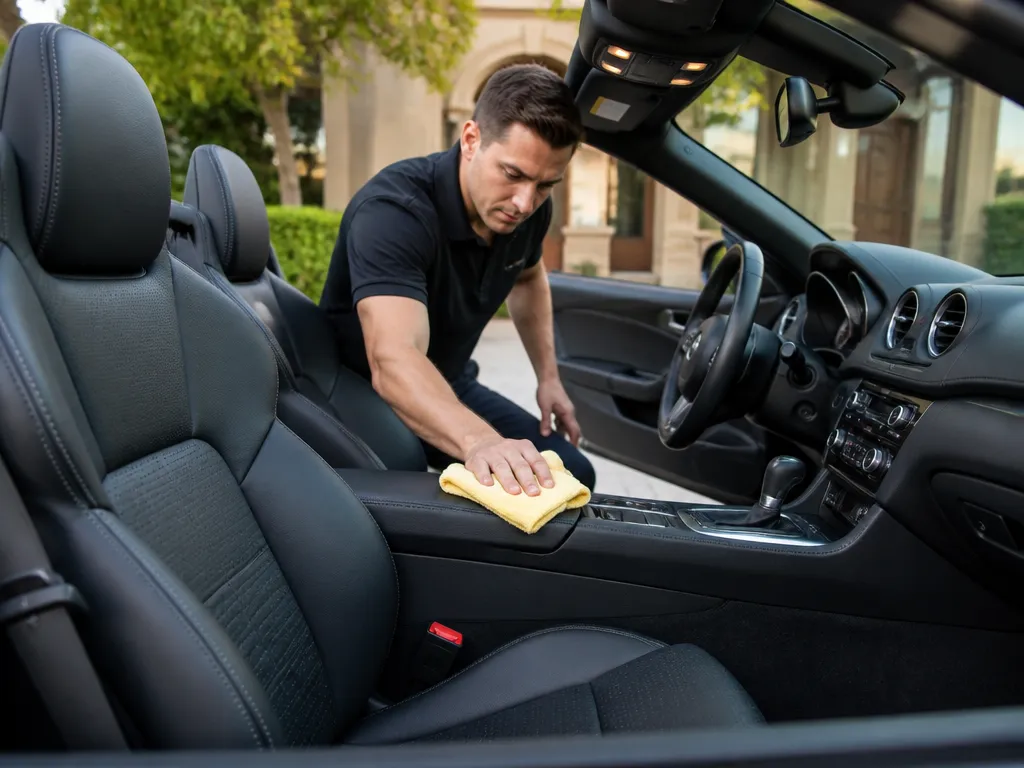
Convertible interiors get damaged most often from harsh detergents, stiff brushes, and over-wetting materials. This kit uses pH-neutral cleaners and material-matched products so fabric, leather, vinyl, and plastic trim clean without haze, dye bleed, or dried soap residue.
| Item | Amount/Specification | Notes |
|---|---|---|
| Microfiber towels | 8 to 12 towels, split by use (drying, wiping cleaner, polishing) | Use for cloth, vinyl, and leather. Pick low-pile, colorfast towels to avoid lint transfers. |
| Soft detailing brushes | 2 to 4 brushes (1 inch soft foam or nylon, 2 to 3 inch soft bristle) | Safest for seams, stitching, and textured panels. Avoid anything with stiff bristles on coated surfaces. |
| Crevice tool | 1 attachment for a vacuum or shop-vac hose | Crevice tools pull grit from seams and seat tracks where stains later form. Use low suction and keep it moving. |
| pH-neutral upholstery cleaner (fabric/cloth) | 1 bottle (concentrate or ready-to-use) | Choose pH-neutral formulas that are safe for automotive fabric. Always spot-test in a hidden area. |
| Leather cleaner + conditioner | 1 leather cleaner and 1 conditioner (separate bottles) | Leather cleaner lifts soil without stripping. Conditioner restores oils and reduces cracking on leather seats and leather-look trim. |
| Vinyl and plastic-safe cleaner | 1 bottle (interior vinyl/plastic cleaner) | Pick a cleaner that won’t leave a shiny film on dash plastics, door cards, and trim. Spot-test for streaking on matte surfaces. |
| Extractor or wet-shop-vac (optional) | Extractor is ideal, wet-shop-vac is the backup | Extractor is best for carpet and deep stains because it pulls water back out. Wet-vac helps, but go easy to avoid saturating padding. |
| Odor control: enzyme-based cleaner | 1 enzyme product for organic smells (pet, sweat) | Enzymes work when the odor source is organic. Over-scrubbing after applying can spread residue. |
| Odor control: venting and dehumidifying | Fan + dehumidifier (or HVAC on recirculate for brief sessions) | Drying is the cure for mildew smell. Heat guns and hair dryers can warp trims and fabrics. |
Convertible interiors stay cleaner longer when you manage moisture. Use the least liquid that gets the job done, then dry thoroughly to prevent mildew in carpet padding and under seat edges.
What Not To Use On Soft Tops
Bleach, harsh degreasers, and strong solvents can damage convertible interiors by fading dyes, stripping protective finishes, and breaking down fibers and coatings. The wrong cleaner can also soak deep into seams and padding, which later turns into mildew and persistent odors.
Material-specific “Stay Away” List
Convertible interiors mix materials, so the same product can be safe on one surface and destructive on another. Fabric and vinyl hate oxidizers and strong solvents, Alcantara and suede-like surfaces hate abrasion, and plastic trim hates repeated solvent exposure because it dulls and cracks over time.
For example, an Alcantara-like seat insert should never get a stiff brush or magic-eraser type abrasive pad, because it wipes the nap unevenly and makes stains harder to hide. Vinyl door pulls and dash edges should avoid harsh alcohol blends that strip flexibility from the finish, especially on cars that see lots of sun.
| Interior material | Avoid | What you risk |
|---|---|---|
| Cloth (upholstery, headliner) | Bleach, strong degreasers, soaking | Fading, stiffening, mildew from trapped moisture |
| Vinyl (seats, door cards, some trims) | Alcohol-heavy cleaners, harsh solvents, abrasive pads | Drying, cracking, permanent streaking |
| Alcantara or suede-like | Abrasion, wet saturation, heat unless approved | Shiny spots, fraying, texture damage |
| Carpet and floor edges | Over-wetting the backing and seams | Odor, slow drying, wicking into underlay |
Rule of thumb: if the label targets “engine grease” or “mold and mildew” with bleach-like chemistry, treat it as a bad match for interior upholstery and trim.
For convertibles, water control matters as much as chemical choice. Overuse of aggressive cleaners can make the interior look clean right away, then smell worse after it dries because residue holds moisture and dirt deeper in the padding.
Step-by-step Workflow By Area
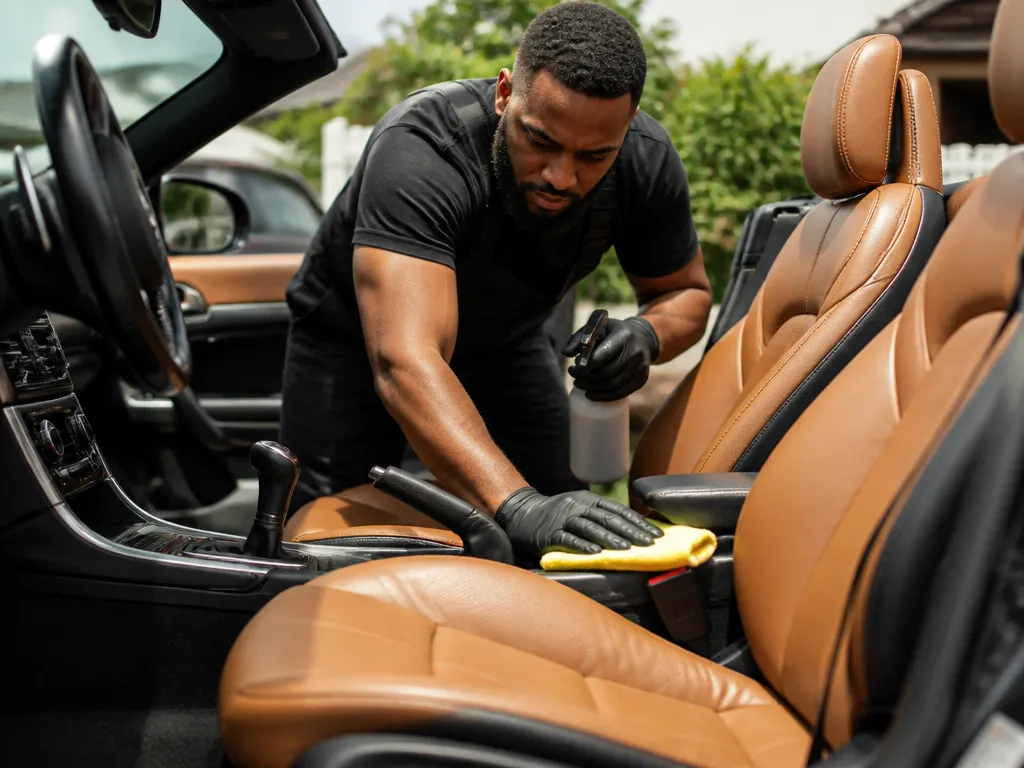
Start with a dry clean and finish with controlled moisture, because convertibles trap grime in seams and can develop mildew if you leave damp pockets behind. Use the least aggressive tool that gets the job done, then repeat only where needed.
Soft-top Headliner And Adjacent Touchpoints
Insider tip: After each major area, pause for 5 to 10 minutes and check dryness with your fingertips. Convertibles hide damp spots under mats and along seams, and catching it early saves you from repeating the whole cabin.
Stain Removal Mini-guides
Target stains with the least aggressive product that matches the fabric or finish, then control moisture so it stays removable instead of soaking deeper. Pre-test every cleaner in a hidden spot and work from the outside edge toward the center to avoid halos.
Prevent rings and color transfer: blot between treatments, don’t steam or soak, and always dry the spot with clean microfiber pressure. For vinyl and plastic trim, avoid harsh cleaners that leave residues, and wipe with a damp clean towel after any spot cleaner to remove film that reappears later.
| Material | Stain approach | Biggest risk |
|---|---|---|
| Cloth upholstery | Blot, short dwell (10 to 30 seconds), controlled extraction | Solvent spread and “ring” marks |
| Leather | Leather-safe cleaner on microfiber, blot and wipe, light conditioner after | Over-wetting and dye transfer |
| Vinyl | Cleaner on towel, wipe and rinse-backing, dry | Streaking and residue haze |
| Alcantara or suede-like | Minimal moisture, suede brush, blot first, targeted spot only | Matting and permanent sheen changes |
For convertibles, plan on drying time after staining because wet interiors can develop odors and water trails. After any stain, press with a dry towel for 30 to 60 seconds and keep air moving so the spot dries evenly.
Moisture Control To Prevent Mildew
Convertible interiors smell “wet” when moisture stays trapped in seams, foam, and the underside of trim after washing. Drying needs airflow plus time, otherwise mildew starts quickly and odor comes back even after the surface looks clean.
For example, the common mildew pocket is the seat perimeter where upholstery meets padding. That area dries last, so quick-drying the seats while the door card edges stay damp usually leads to odor returning in a day or two.
| Drying input | Best use | Risk if misused |
|---|---|---|
| Airflow (fans) | Fast, safe drying of seams and foam edges | Low risk if you keep heat mild |
| Temperature (low heat) | Dry out damp areas when outside air is dry | Warping or over-drying sensitive materials |
| Dehumidifying (remove moisture from air) | Humid climates, indoor drying, garages | Low if you let air circulate around the unit and cabin |
Pro tip: Press a clean microfiber along seams, seat edges, and the underside of door card corners. If the towel picks up cool dampness, keep drying and don’t reassemble the car for the day.
Lingering musty odor usually means moisture remained in padding, not that the cleaner “failed.” Extend airflow a few more cycles, then check again at the seat perimeter and lower door edges before moving on to deodorizing or finishing steps.
Finishing, Deodorizing, And Troubleshooting
Leather and vinyl need a light conditioner or protectant step once they are fully dry, usually the same day after cleaning, to prevent dryness and sticking. Fabric and suede-like trims should stay dry-first, then get protection only if you’re sure you won’t need stain removal later.
Leather/vinyl Finishing (Timing And Product Type)
Leather and vinyl dry from the surface inward, so applying protectant while the interior is still cool or damp can trap moisture and create a sticky feel.
In practice, wait until the material feels dry to the touch and doesn’t cool down noticeably after you wipe it with a dry microfiber. Condition with a pH-balanced leather conditioner for leather, or a vinyl protectant meant for interior vinyl for non-leather seats and door skins.
For example, if you cleaned seats with an all-purpose cleaner, follow with one thin coat, then let it cure before you drop the top or sit in the area. Thick application is where streaking and gummy residue come from. Keep the product off stitched edges and seat belt fabric so you do not soften the belt’s coating.
Fabric Protection (Optional For Convertibles)
Fabric protection like a fabric water and stain repellent helps against light spills and makes future wipe-downs faster. Fabric protection can also complicate stain removal because it raises the “work” needed to lift oily stains, so skip it until you confirm the spot is gone. Use protection only on clean, fully dry cloth or carpet, and do a small inconspicuous test first.
In practice, most convertible owners get the best results from protection after the deep cleaning pass, not before. If the interior already smells musty, focus on the source first, then protect last once everything is dry.
If Vinyl Or Plastics Streak: Re-wipe Correctly
Vinyl and plastic streak because cleaner residue redistributes across the surface while it air dries, especially on textured trim. The fix is mechanical removal: use clean microfiber and a proper wipe pattern. Wipe once with a slightly damp microfiber, then immediately buff dry with a second dry microfiber, switching towels often.
For example, if the dashboard or door pulls look hazy, start at one edge and wipe straight lines, then cross-buff lightly, so you are removing residue instead of smearing it around. If haze returns after it dries, you still have residue, repeat the damp-and-dry wipe once more, then apply protectant only after the surface is truly residue-free.
If Fabric Stays Tacky Or Wet: Pull Residue Without Re-soaking
Tackiness usually means shampoo or concentrate cleaner is still in the carpet pile and hasn’t fully rinsed or dried. Re-soaking makes it worse by pushing more detergent deeper, so you want to wick out residue. Use clean, dry microfiber or a wet-dry shop towel to press and lift repeatedly, then increase airflow with fans and cracked windows to move moisture out.
In practice, if you have an extractor, do a quick rinse pass with plain water after tacky spots appear, then extract again. Without an extractor, do the press-and-lift method, then run a fan directed at the spot for 2 to 4 hours and recheck before using any odor spray.
If Odor Or Mildew Persists: Find The Source (Pad Vs Surface)
Lingering mildew smells usually come from the carpet pad or trapped moisture in underlay, not the surface fibers, because mildew grows where water sits longer. Surface odor that fades after drying is common, but odor that returns when you raise humidity is a sign the pad is still damp. Confirm by pressing a clean white towel into the area and checking for moisture, or use a moisture meter if you have one.
For example, convertible rear footwells often trap water from clogged drains or side leaks, so the smell can keep returning even after a thorough shampoo. If the odor is coming from underneath, you need deeper cleaning and extraction, and sometimes lifting mats and targeting seams, not just scrubbing the top.
When It’s Time To Stop Diy And Use Professional Extraction
Professional extraction is worth it when the convertible smells like mildew after you’ve tried to dry it thoroughly, when the carpet pad is visibly damp, or when you get repeated tackiness after DIY cleaning. Extraction machines remove more dissolved detergents than hand wiping, which is key for preventing re-soil and odor rebound. If you have the time and equipment to run multiple rinse and extract cycles, DIY can work, but missed residue is what keeps interiors tacky.
For example, if you cleaned a full convertible floor and the odor is still noticeable after 24 to 48 hours with strong airflow, consider a detailer with hot-water extraction and a targeted moisture plan. When moisture is tied to a suspected leak, a professional can also inspect wet pathways you might not see with the top up, and that prevents repeating the work.
Quick Summary
| Material/Area | Product approach | Moisture control |
|---|---|---|
| Cloth (upholstery) | pH-neutral upholstery cleaner, gentle agitation | avoid steam, do extraction or thorough blotting |
| Leather | leather-safe cleaner, plan on conditioner after | apply to towel or brush, not soaked into seams |
| Vinyl | vinyl/plastic interior cleaner, avoid harsh solvents | do not oversaturate, wipe and dry if streaking happens |
| Alcantara/suede-like | dedicated suede method or cleaner labeled safe for suede | avoid soaking, brush-only unless cleaner says otherwise |
| Plastic trim and touch screens | plastic-safe interior cleaner, microfiber only | use minimal dampness and wipe dry |
Frequently Asked Questions
What Cleaner Should I Use To Clean Convertible Interior Without Damaging The Fabric Or Leather?
Use a cleaner made for your exact material, like a dedicated upholstery cleaner for cloth and a pH-neutral leather cleaner for leather. If you are unsure, start with a mild solution and test in a hidden spot first. Avoid all-purpose degreasers because they can soak in and leave rings or drying damage.
How Do I Clean A Convertible Interior Top Area Around The Seams Without Getting Water Trapped?
Spray cleaner onto a microfiber towel, not directly into seams, then wipe gently to reduce oversaturation. After cleaning, blot and let it air-dry with the top down if your climate allows, so moisture does not stay trapped along stitching.
Is It Safe To Use A Steam Cleaner To Clean A Convertible Interior?
Steam can warp or shrink some fabrics and it can loosen adhesives in trim if you dwell on one spot. If you use steam, keep it light and maintain distance, then test first and limit time in one area. If it is leather, it is usually better to skip steam.
How Do I Remove Stubborn Stains From A Convertible Interior Without Leaving A Water Ring?
For most stains, blot first, then use an appropriate cleaner and work from the outside toward the center. Rinse sparingly with a barely damp cloth, then dry immediately with a clean microfiber to minimize haloing. Heavy saturation is what usually causes rings.
How Much Does It Cost To Have A Pro Clean A Convertible Interior?
Costs vary a lot by region, material (cloth vs leather), and stain severity, so it is hard to give a single number. As a rough expectation, most detail jobs run in the hundreds of dollars depending on how deep the cleaning needs to go, plus any stain treatment.
What Is The Biggest Mistake People Make When Cleaning A Convertible Interior?
The biggest mistake is soaking the interior and top areas so the moisture gets into padding and seams. That leads to musty odors and slow drying, especially if you close the top too soon. If you clean, prioritize controlled application and full drying time.