To remove swirl marks from your car, you must perform a multi-stage paint correction process using a dual-action polisher, high-quality cutting compound, and a finishing polish.
Having spent years detailing everything from daily drivers to show-quality exotics, I have seen firsthand how easily improper washing techniques can ruin a beautiful finish. Those faint, web-like scratches that dance across your hood in the sunlight are not permanent flaws; they are simply surface-level damage that, with the right approach to how to remove swirl marks from car, can be completely eliminated. I am here to share my professional workflow so you can restore that mirror-like reflection safely and effectively.

Understanding Swirl Marks and Why They Happen
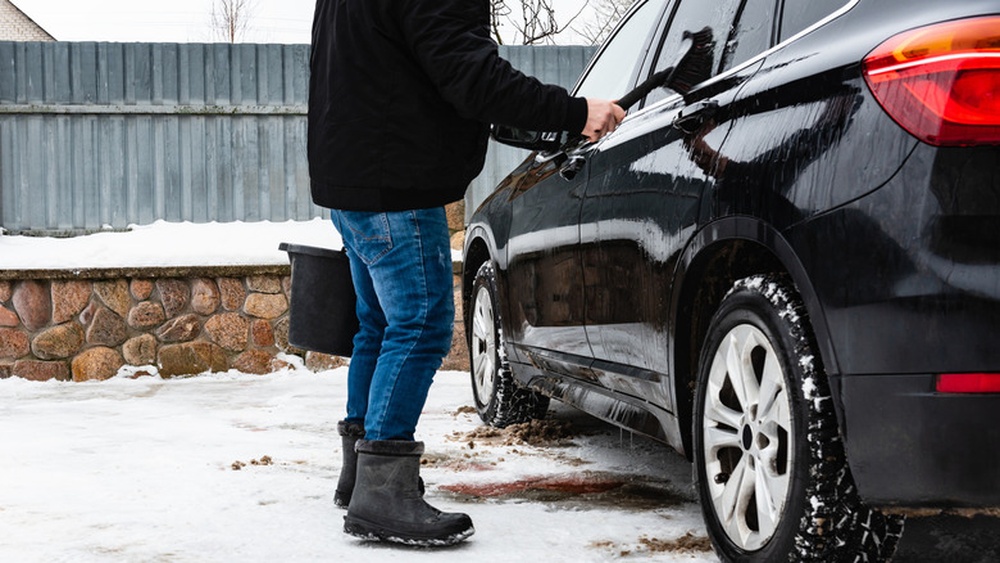
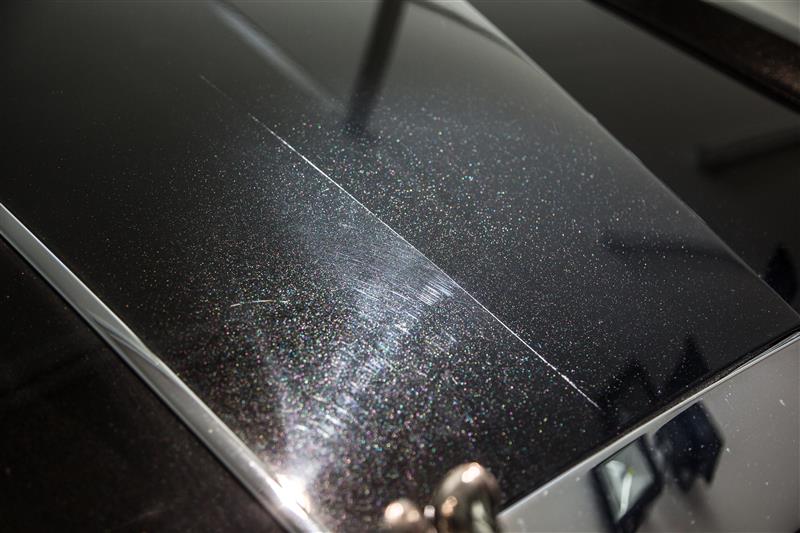
Swirl marks are essentially micro-marring in your car's clear coat. When you use dirty wash mitts, low-quality drying towels, or automatic tunnel car washes, you are essentially dragging grit across your paint. Over time, these tiny abrasions accumulate and become visible, especially under direct sunlight. Learning how to remove swirl marks from car begins with preventing further damage by adopting better washing habits, such as the two-bucket method.
Paint correction is a subtractive process. You are leveling the peaks of the clear coat until they sit flush with the bottom of the deepest scratch. While this sounds intimidating, modern dual-action polishers make it incredibly safe for beginners. I always remind my clients that patience is more important than speed when learning how to remove swirl marks from car.

Essential Tools for Paint Correction
Before starting, gather the right equipment to ensure you do not cause further damage. Attempting to fix paint with the wrong materials is a common mistake I see among enthusiasts. Here is what you need to successfully execute how to remove swirl marks from car:
- Dual-action polisher: These tools oscillate and rotate to prevent heat buildup, making them much safer than rotary buffers.
- Cutting compound: This abrasive liquid is designed to remove the deeper layer of clear coat containing the scratches.
- Finishing polish: Use this to refine the paint after cutting to ensure maximum gloss and clarity.
- Microfiber pads and polishing foam: Choose a firm pad for cutting and a soft pad for the final finish.
- Microfiber towels: Always use plush, clean towels to avoid adding new marks while wiping off residues.
- Degreaser or isopropyl alcohol: This is essential for wiping the surface clean so you can inspect your work properly.
Step by Step Guide to Removing Swirls
The process of how to remove swirl marks from car should always begin with a thorough decontamination. Wash and dry the vehicle completely, then use a clay bar to remove bonded surface contaminants. If you polish over dirt, you will just grind it into the paint.
Follow these steps for optimal results:
- Prepare your workspace: Ensure the vehicle is out of direct sunlight and the paint is cool to the touch.
- Apply compound: Place four small pea-sized drops of compound onto your cutting pad.
- Work in small sections: Focus on an area about two feet by two feet at a time to maintain control.
- Use the dual-action polisher: Move the machine in slow, overlapping passes, using light to moderate pressure.
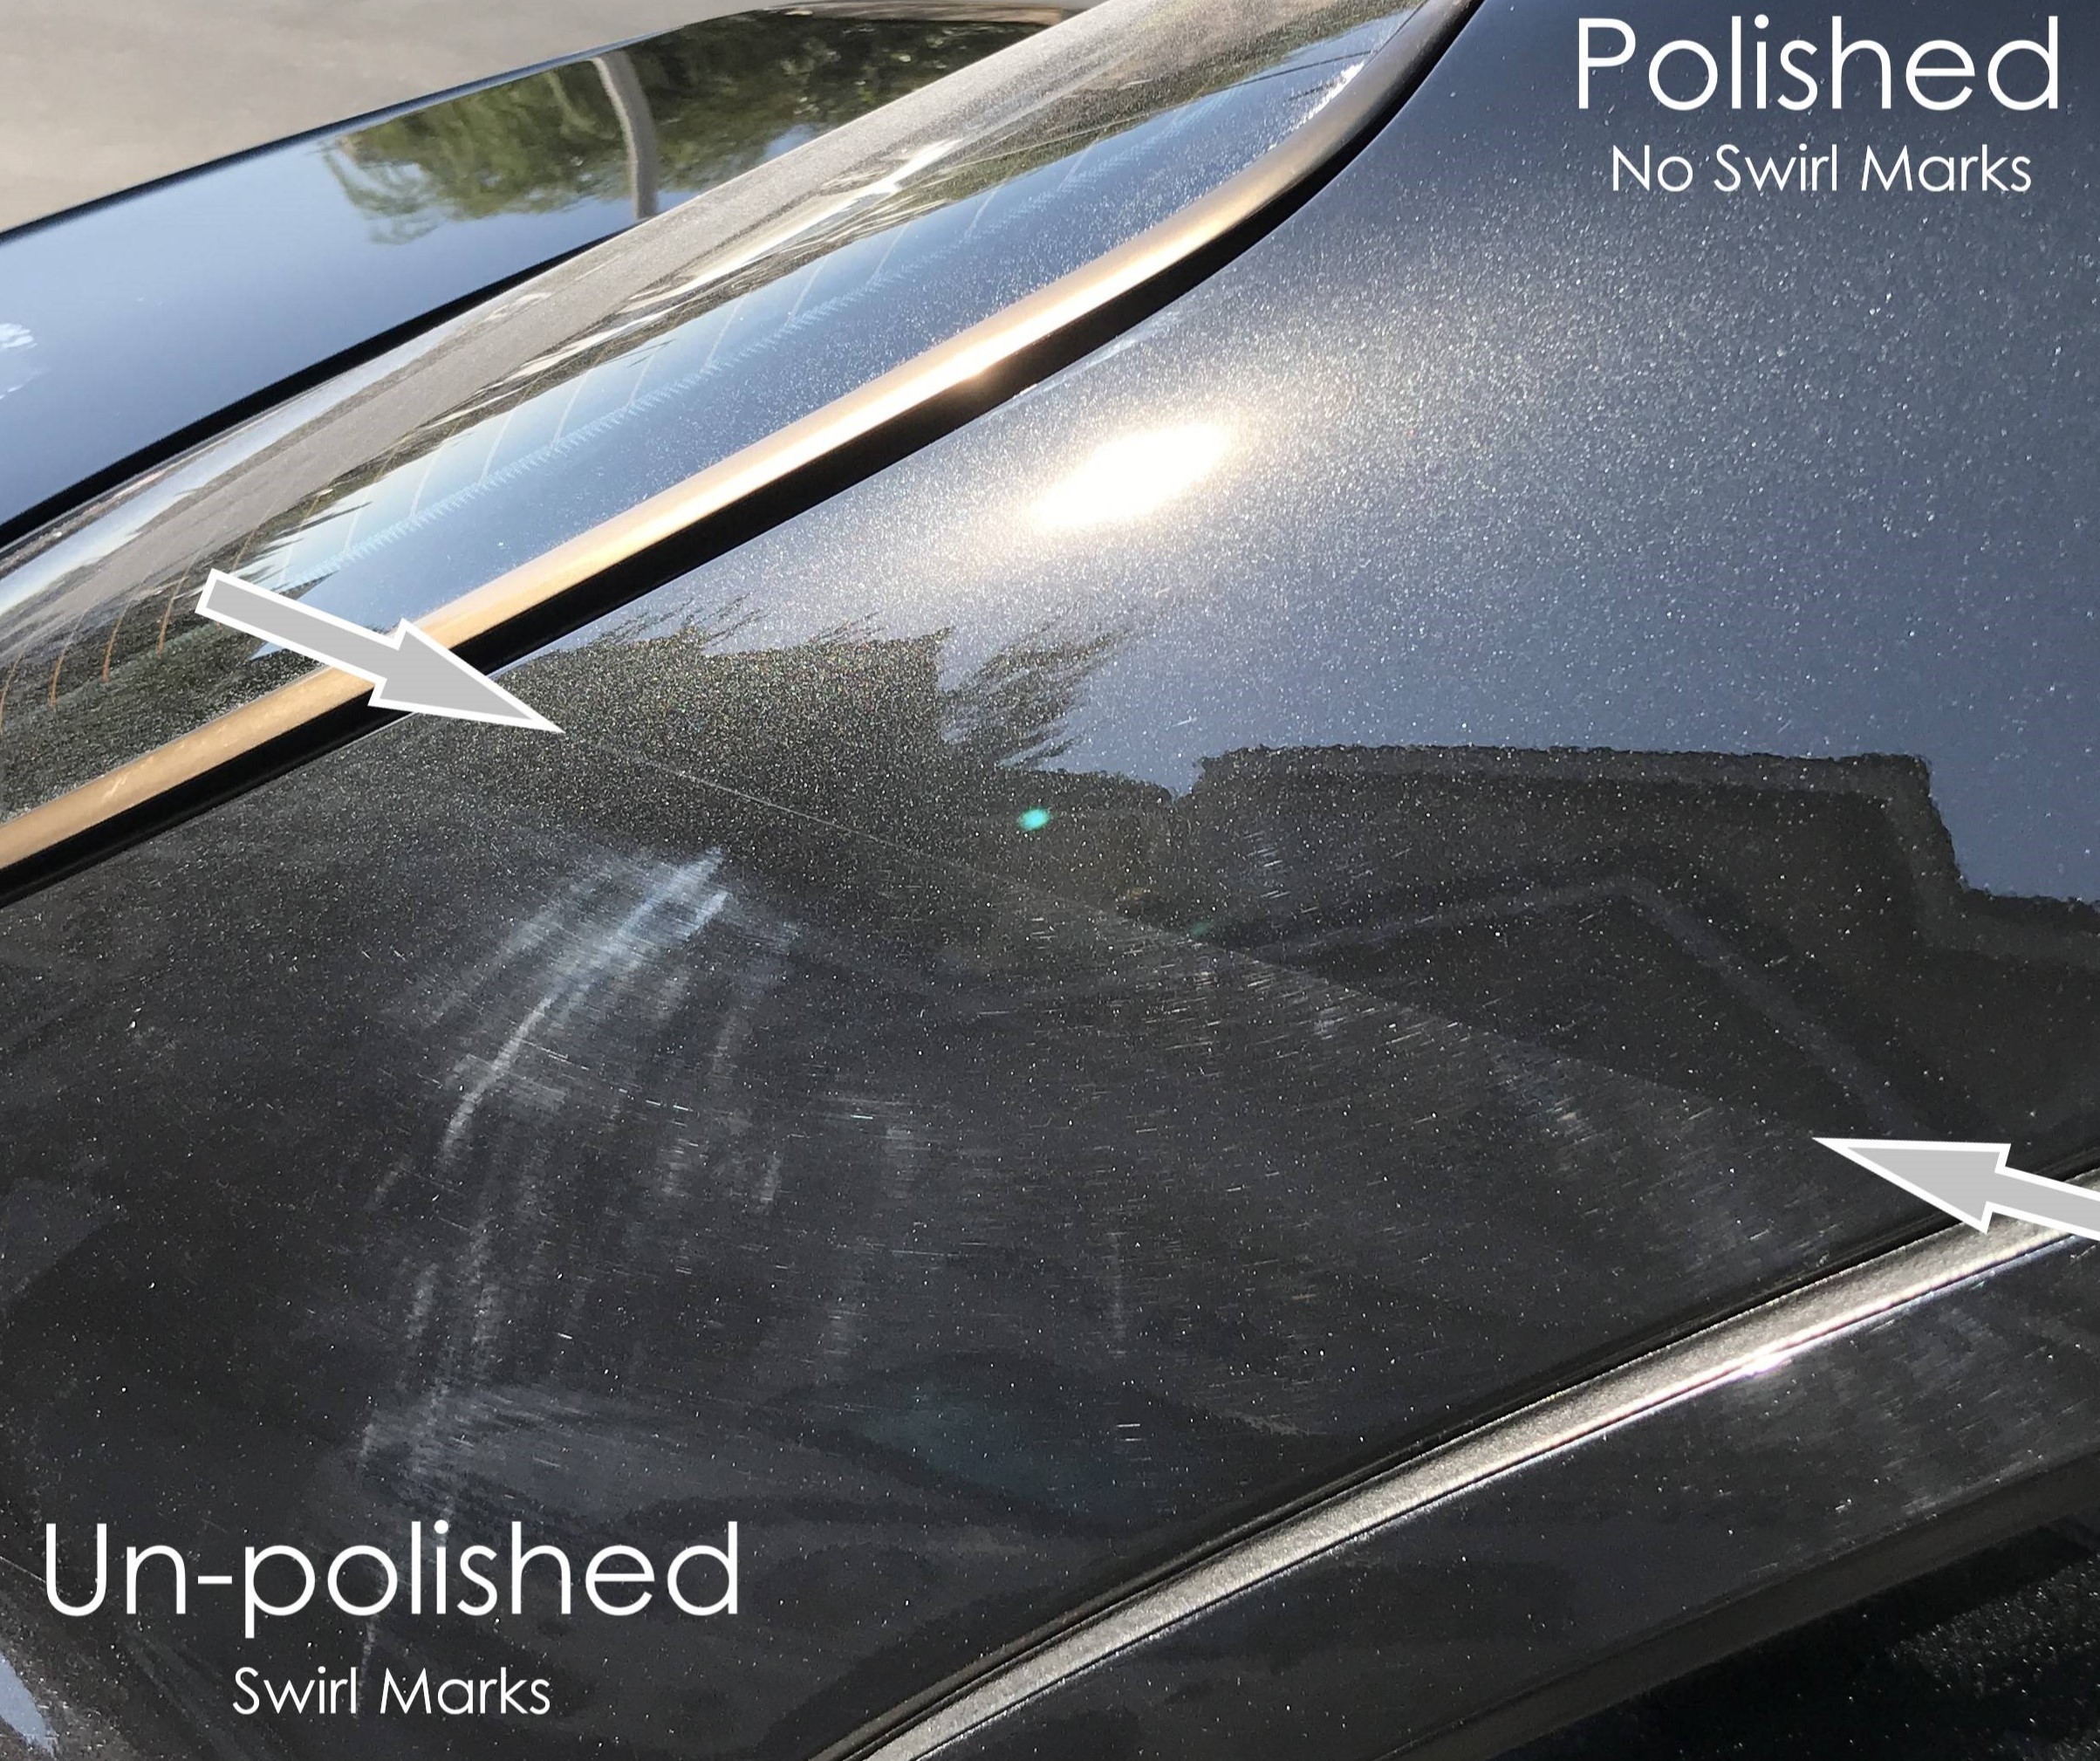
- Inspect the finish: Wipe away the residue and check your work with a bright LED light to see if the swirls are gone.
- Refine with polish: Once the swirls are removed, switch to a soft pad and a finishing polish to bring out the depth and gloss.
- Protect the paint: Apply a high-quality wax, sealant, or ceramic coating immediately to preserve the hard work you have put in.
Common Mistakes to Avoid
In my early days, I made the mistake of pushing too hard on the machine, which caused the pad to stop spinning and generated unnecessary heat. Another mistake is using the same pad for too long. As a pad becomes saturated with spent compound and paint residue, its effectiveness drops significantly.
Remember these tips to master how to remove swirl marks from car:
- Never work in direct sunlight, as it causes polish to dry too quickly.
- Always clean your pads regularly during the process to keep them fresh.
- Do not try to remove every deep scratch; prioritize the safety of your clear coat over perfection.
- Keep your movements slow and deliberate to allow the abrasives to work correctly.
.jpeg)
Frequently Asked Questions of how to remove swirl marks from car
Can I remove swirl marks by hand?
Removing swirls by hand is extremely difficult and time-consuming because your arm cannot achieve the speed or consistency of a machine. While you can improve minor hazing, a dual-action polisher is required for effective, professional-grade results.
Will these marks come back?
Swirl marks will only return if you continue to wash the car improperly or use abrasive drying towels. Maintaining your car with a two-bucket wash method and high-quality microfiber will keep your paint swirl-free for years.
How much clear coat do I remove?
The amount of clear coat removed during a standard paint correction is measured in microns and is minimal. As long as you do not over-polish the same area repeatedly, your clear coat will remain healthy and protective.
Do I need a professional detailer to do this?
You do not need a professional if you are willing to learn the technique and purchase the right tools. With the prevalence of user-friendly dual-action polishers, learning how to remove swirl marks from car is a very achievable DIY project.
Is it safe to polish older cars?
You must be cautious with older single-stage paints or vehicles with failing clear coat. Always test a small, inconspicuous area first to ensure the paint responds well to the polishing process.
Conclusion
Restoring your car’s finish is one of the most rewarding projects an enthusiast can undertake. By understanding the causes of damage and utilizing the proper tools for how to remove swirl marks from car, you can achieve a showroom shine right in your own driveway. Remember that the key to a perfect finish lies in patience, clean equipment, and consistent technique. Take your time, focus on the details, and do not hesitate to experiment with different pads until you find what works for your specific paint type. Start your correction project today and enjoy the satisfaction of a flawless, mirror-like reflection every time you walk up to your vehicle. Reach out if you have more questions, and share your results to help others learn.