You can easily clean foggy headlights at home using simple household items like toothpaste, baking soda, or a dedicated restoration kit.
Restoring your vehicle's clarity is not just about aesthetics; it is a critical safety measure for night driving. As a long-time automotive enthusiast, I have seen far too many drivers struggle with dim, oxidized plastic that reduces visibility by up to 50 percent. Knowing how to clean foggy headlights at home is a skill that saves hundreds of dollars in professional detailing costs while keeping your car looking sharp. By following this guide, you will master the art of headlight restoration using techniques that I have personally tested on several of my own daily drivers.
Understanding Why Headlights Get Foggy
Modern headlight lenses are primarily made of polycarbonate plastic. While this material is durable and impact-resistant, it is highly porous and susceptible to ultraviolet radiation from the sun. Over time, the factory-applied protective clear coat wears away, leaving the plastic exposed to oxidation. This chemical reaction creates that familiar yellow, hazy film that obstructs light output.
Environmental factors like road debris, salt, and harsh chemicals also contribute to surface degradation. When you learn how to clean foggy headlights at home, you are essentially removing this thin layer of oxidized plastic and resealing the surface. Without a final UV-resistant sealant, the fogging will return quickly, which is a common mistake many beginners make during their first attempt.
Preparation and Supplies Needed
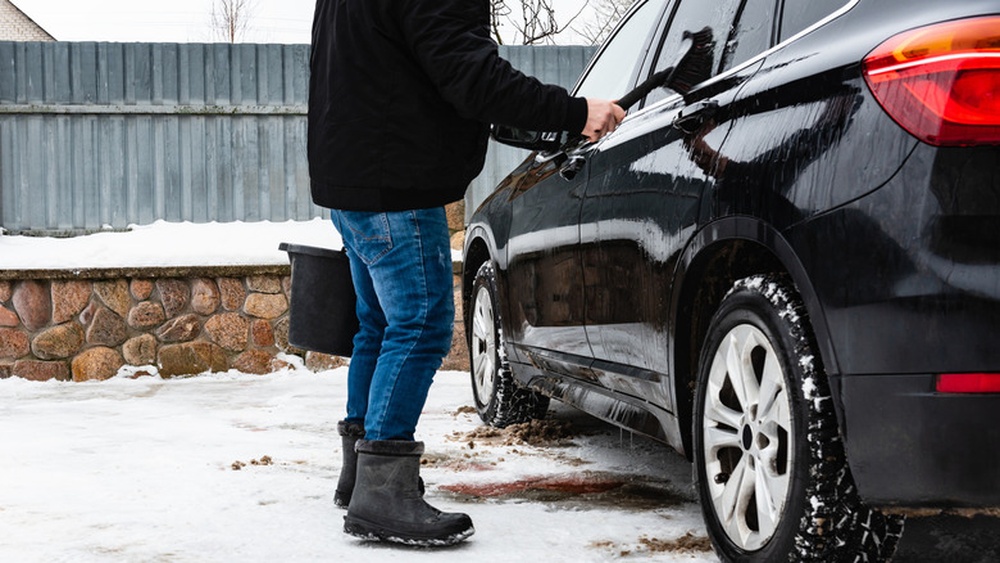
Before you begin the cleaning process, you need to gather the right materials. If you choose the DIY household method, ensure you have white toothpaste, baking soda, painter's tape, a microfiber cloth, and a bucket of water. If the oxidation is severe, you might need a wet-sanding kit that includes various grits of sandpaper ranging from 1000 to 3000.
I always recommend taping off the body paint surrounding the headlight housing with painter's tape. This prevents the abrasive materials from scratching your car's clear coat. Taking the time to prep properly is the most important step when learning how to clean foggy headlights at home. Rushing this stage often leads to accidental damage to the vehicle's finish.
Step-by-Step Restoration Process
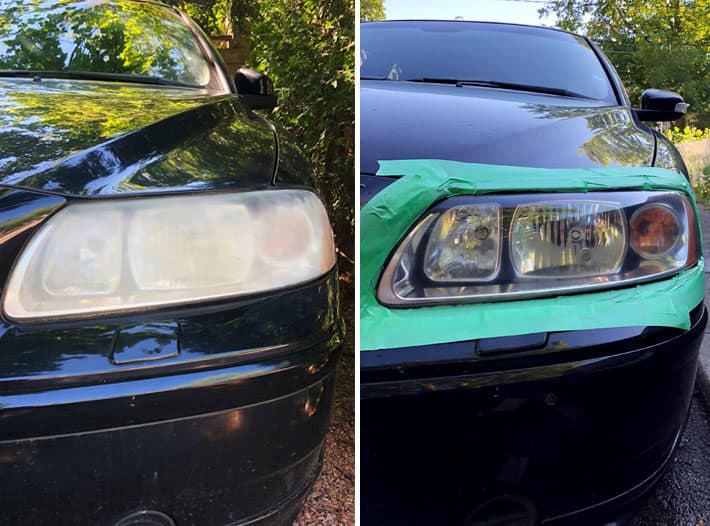
Start by washing the headlights thoroughly with soap and water to remove loose grit. Once dry, apply a generous amount of toothpaste or a baking soda paste to the lens. Using a circular motion with a damp microfiber cloth, scrub the entire surface for several minutes. You will notice the cloth turning yellow as the oxidation is lifted from the plastic.
For deeply etched lenses, wet sanding is necessary. Start with 1000 grit sandpaper, keeping the surface lubricated with water at all times. Transition to 2000 and then 3000 grit to refine the surface. Once the plastic looks clear, rinse it well and apply a high-quality UV sealant to protect your work. Learning how to clean foggy headlights at home effectively requires patience, especially during the sanding phase where light pressure is key.

Frequently Asked Questions of how to clean foggy headlights at home
Does toothpaste really fix foggy headlights?
Toothpaste contains mild abrasives that can buff away light oxidation on the surface of the plastic lens. While it works for minor cloudiness, it is less effective than dedicated restoration kits for severely yellowed headlights.
How long does a home headlight cleaning last?
The durability of your work depends on whether you apply a UV-protective coating after cleaning. If you properly seal the lens, the clarity can last between six months to a year.
Can I use vinegar to clean my headlights?
Vinegar is useful for removing surface grime and water spots, but it cannot remove deep-seated oxidation on its own. It is best used as a preliminary cleaning agent before performing more abrasive restoration techniques.
Is it necessary to sand my headlights?
Sanding is only required if the headlight has deep scratches or heavy, thick oxidation that a polishing compound cannot remove. For light haze, simple buffing with a specialized polish is usually sufficient.
Will cleaning my headlights improve my night vision?
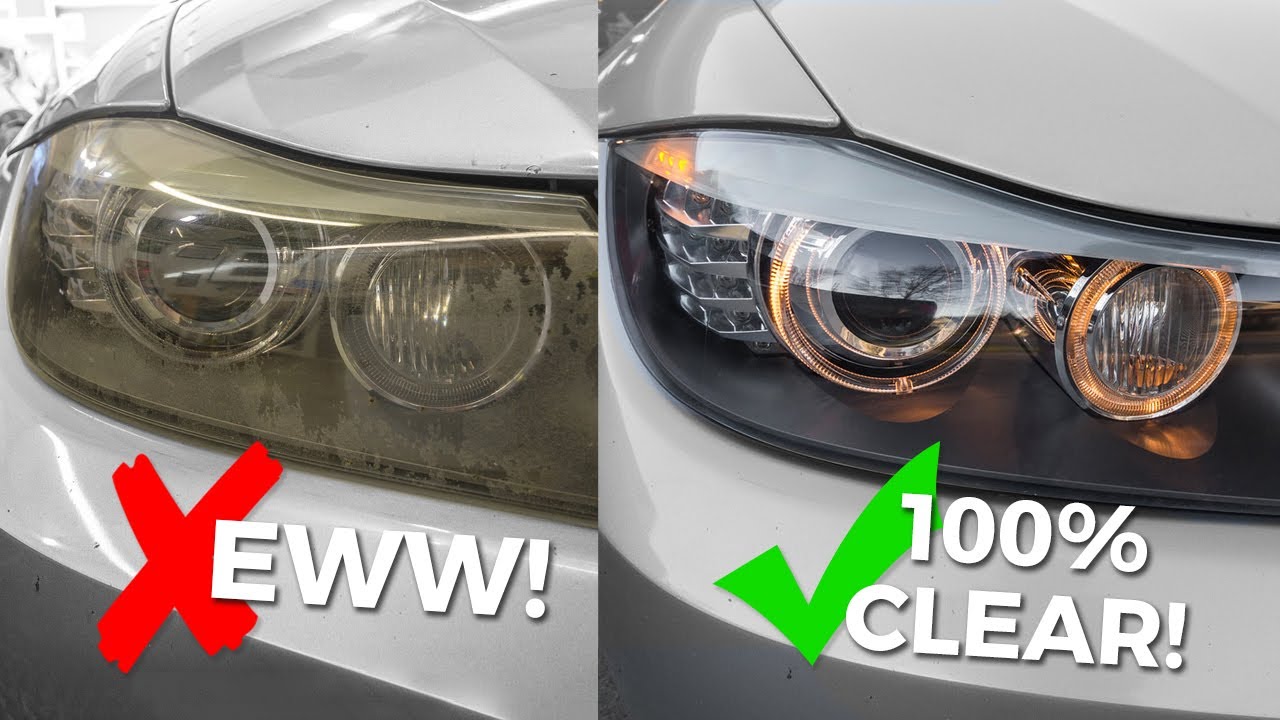
Yes, removing the yellow haze significantly increases the amount of light that escapes the housing. This leads to a brighter, more focused beam pattern that improves your safety during nighttime driving.
Conclusion
Mastering the process of how to clean foggy headlights at home is a rewarding way to improve your vehicle's performance and appearance. By removing the layer of oxidation that blocks your path, you ensure a safer commute for yourself and others on the road. Remember that consistent maintenance and the application of a UV sealant are the secrets to keeping those lenses crystal clear for the long haul. Take charge of your car's care today, grab your supplies, and enjoy the improved clarity on your next drive. If you found this guide helpful, feel free to share your own restoration results or leave a comment with any additional questions you might have.