
A dead car battery always hits at the worst moment – middle of nowhere, freezing rain, or just as you’re running late. Portable jump starters get you moving again without waiting for a tow, but one wrong move can turn a quick fix into a dangerous spark show. These compact power packs deliver hundreds of amps in seconds, so treating them like a phone charger is a fast way to damage your car, your jump starter, or yourself.
Portable jump starters are safe when used correctly, but the margin for error is thin. Most models include built-in safeguards like reverse-polarity protection and over-current shutoffs, yet nearly 30% of roadside incidents involving jump starters trace back to simple user mistakes – wrong clamp order, corroded terminals, or ignoring wait times. Follow the right steps, and you’ll restart your engine in under five minutes; skip them, and you risk battery acid leaks, fried electronics, or even a small explosion.
Key Takeaways
- Check before you connect. Inspect the jump starter, cables, and battery terminals for damage or corrosion – never use a unit with frayed wires or bulging casing.
- Clamp order matters. Always attach the red clamp to the positive battery terminal first, then the black clamp to an unpainted metal ground away from the battery.
- Wait 30-60 seconds after connecting before attempting to start the engine – this lets the jump starter stabilize voltage and prevents voltage spikes.
- Limit cranking to 3-5 seconds per attempt; if the engine doesn’t start after 2-3 tries, stop and troubleshoot – continuing can overheat the starter or drain the battery further.
- Store jump starters in a padded bag inside the cabin, not the trunk, to avoid temperature swings that degrade lithium-ion cells.
- Never use in rain unless the jump starter is rated IP65 or higher – water and high current are a dangerous mix.
Portable Jump Starter Safety Checklist for Every Emergency
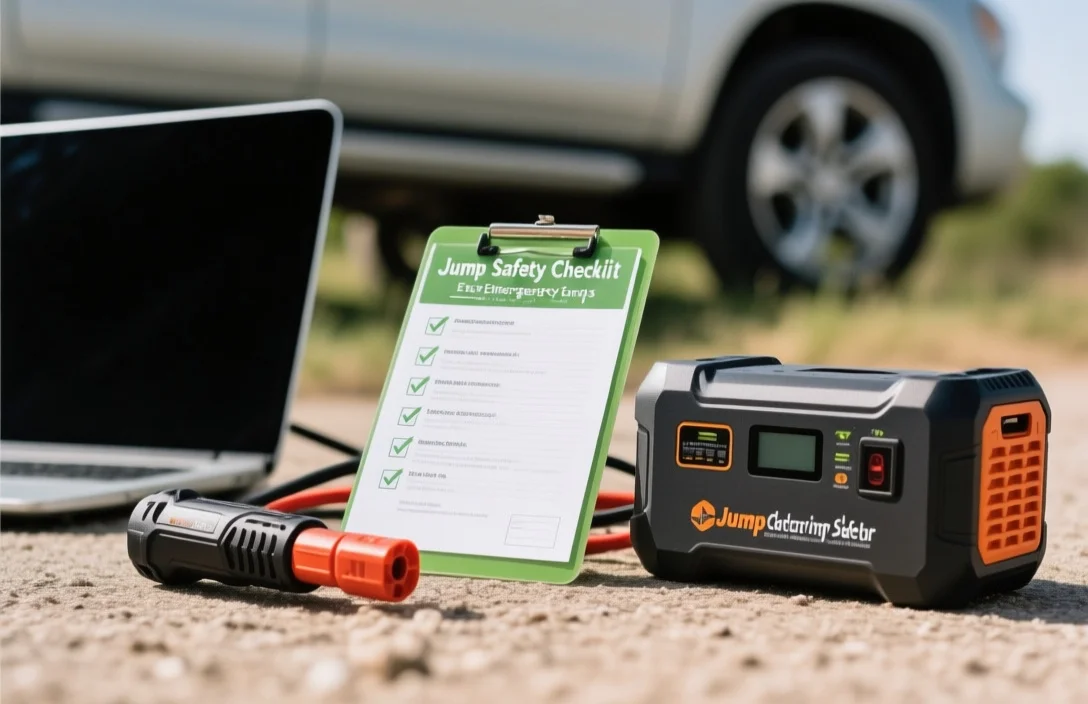
Keep this checklist in your glove box or saved on your phone. Run through it every time you reach for your jump starter – no exceptions.
- Park safely. Turn off the engine, engage the parking brake, and shift to Park (automatic) or Neutral (manual). Remove the keys from the ignition.
- Gear up. Put on safety glasses and nitrile gloves. Battery acid and sparks don’t care about your schedule.
- Inspect the jump starter. Check for cracks, bulges, or exposed wires. If the casing looks damaged or the clamps are loose, don’t use it – replace it.
- Check the battery. Look for cracks, leaks, or a swollen case. If the battery is frozen (common in sub-zero temps), do not jump-start – call a tow truck.
- Confirm charge. Most jump starters have a battery indicator. If it’s below 50%, recharge it before use – low charge means weak amps and failed starts.
- Locate the terminals. Identify the positive (+) and negative (-) posts on the dead battery. Clean any corrosion with a wire brush or baking soda paste if needed.
- Position the jump starter. Place it on a stable, dry surface away from moving engine parts and fuel lines. Never balance it on the battery or fender.
- Connect clamps in order. Red to positive (+) first, then black to an unpainted metal ground (engine block, chassis) at least 12 inches from the battery.
- Power on the jump starter. Turn it on and wait 30-60 seconds before attempting to start the engine.
- Start the engine. Crank for 3-5 seconds. If it doesn’t start, wait 30 seconds and try once more. After 2-3 failed attempts, stop and check connections or call for help.
- Disconnect in reverse order. Remove the black clamp first, then the red clamp. Never let clamps touch each other while connected to the battery.
- Drive or idle. Let the engine run for at least 15-20 minutes to recharge the battery fully, or take a 10-minute drive at highway speeds.
Inspect Your Jump Starter and Vehicle Battery Condition
A quick visual check takes 60 seconds and prevents 90% of jump-start failures. Start with the jump starter itself. Lithium-ion models should feel firm, not swollen or squishy – bulging indicates internal damage and a fire risk. Check the clamps for bent teeth, frayed cables, or loose connections; if the insulation is cracked or wires are exposed, replace the unit. Most jump starters last 3-5 years, but rough handling or extreme temperatures can cut that short.
Next, inspect the car battery. Look for cracks in the casing, white powdery corrosion on the terminals, or a rotten-egg smell – all signs of a failing battery that might not hold a charge. If the battery is frozen (common below 20°F), the case will bulge or feel rock-hard; attempting to jump-start a frozen battery can cause it to crack or explode. In cold climates, keep a battery blanket or insulation wrap in your trunk to prevent freezing.
Corrosion on the terminals is the most common culprit for failed jumps. A wire brush and a mix of baking soda and water (1 tablespoon per cup) will clean it off in minutes. After scrubbing, rinse with clean water and dry the terminals thoroughly – moisture increases resistance and can cause arcing. If the terminals are loose or the battery hold-down is missing, tighten or replace them before connecting the jump starter.
Proper Clamp Placement and Connection Order to Prevent Sparks
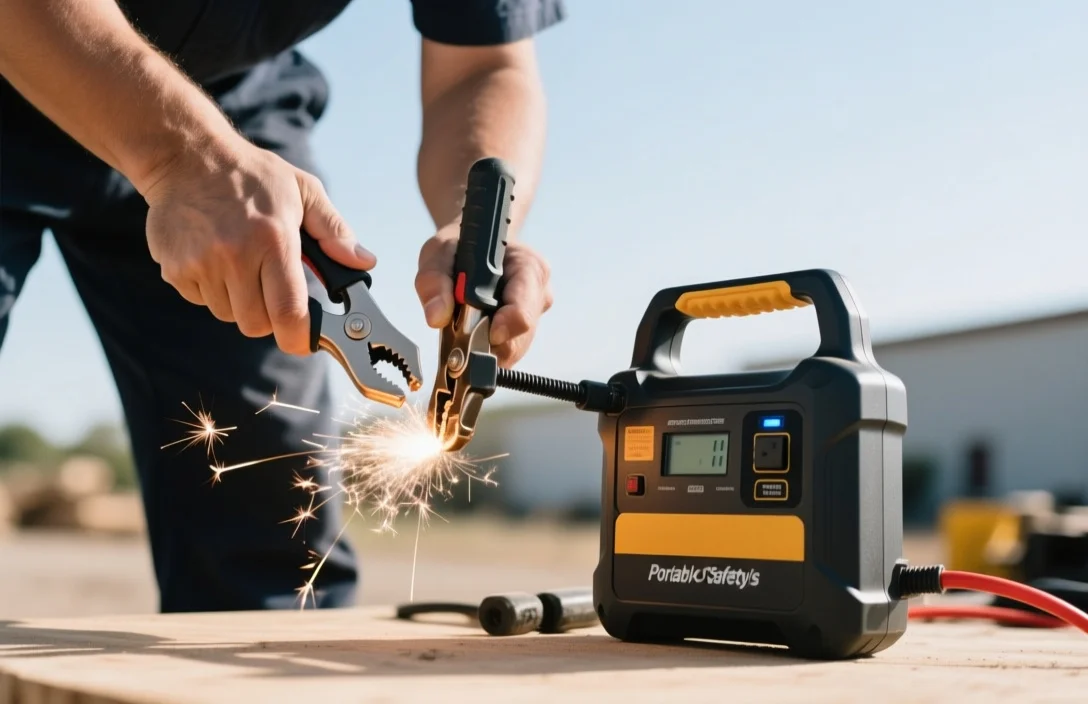
Sparks aren’t just startling – they can ignite hydrogen gas venting from the battery, leading to an explosion. The right clamp order and placement eliminate this risk. Always connect the red clamp to the positive (+) terminal first. This establishes a reference point for the circuit and prevents accidental shorting if the black clamp touches metal while you’re attaching the red. The positive terminal is usually marked with a red cover or a plus sign, but if you’re unsure, check the battery label or your car’s manual.
The black clamp should never connect directly to the negative (-) battery terminal. Instead, attach it to an unpainted metal surface on the engine block or chassis – think a bolt, bracket, or the strut tower. This ground point should be at least 12 inches away from the battery and any moving parts. Connecting to the negative terminal creates a spark near the battery, where hydrogen gas collects; grounding to the engine block moves the spark away from the gas source. If you’re working in tight quarters, some jump starters include a remote ground cable – use it.
Once both clamps are connected, double-check that they’re secure and not touching each other or any metal surfaces. Loose clamps cause arcing and can melt the clamp teeth or damage the jump starter’s internal circuitry. Most modern jump starters have reverse-polarity protection, which shuts off the unit if you mix up the clamps, but don’t rely on it – getting the order right the first time is faster and safer.
Safe Wait Times and Retry Limits for Engine Starting
Jump starters deliver a massive current surge, but they’re not infinite power sources. Cranking the engine for too long drains the jump starter’s battery and can overheat its internal components. After connecting the clamps, wait 30-60 seconds before attempting to start the engine. This pause lets the jump starter stabilize voltage and prevents voltage spikes that can fry your car’s electronics. Some high-end models include a “pre-charge” mode – use it if available.
When you’re ready to start, crank the engine for no more than 3-5 seconds. If it doesn’t start, wait 30 seconds before trying again. This break gives the jump starter time to recover and prevents overheating. After 2-3 failed attempts, stop and troubleshoot. Check the clamp connections, inspect the battery for damage, and ensure the jump starter is fully charged. If everything looks good but the engine still won’t turn over, the problem might be a bad starter, alternator, or fuel pump – call a tow truck.
Never “pump the gas” while cranking. Modern fuel-injected engines don’t need it, and flooding the engine with fuel can make the problem worse. If the engine starts but dies immediately, wait 2-3 minutes and try again – this usually means the battery is too weak to sustain the engine, and the jump starter needs more time to deliver a full charge.
Operating Portable Jump Starters in Rain or Extreme Cold
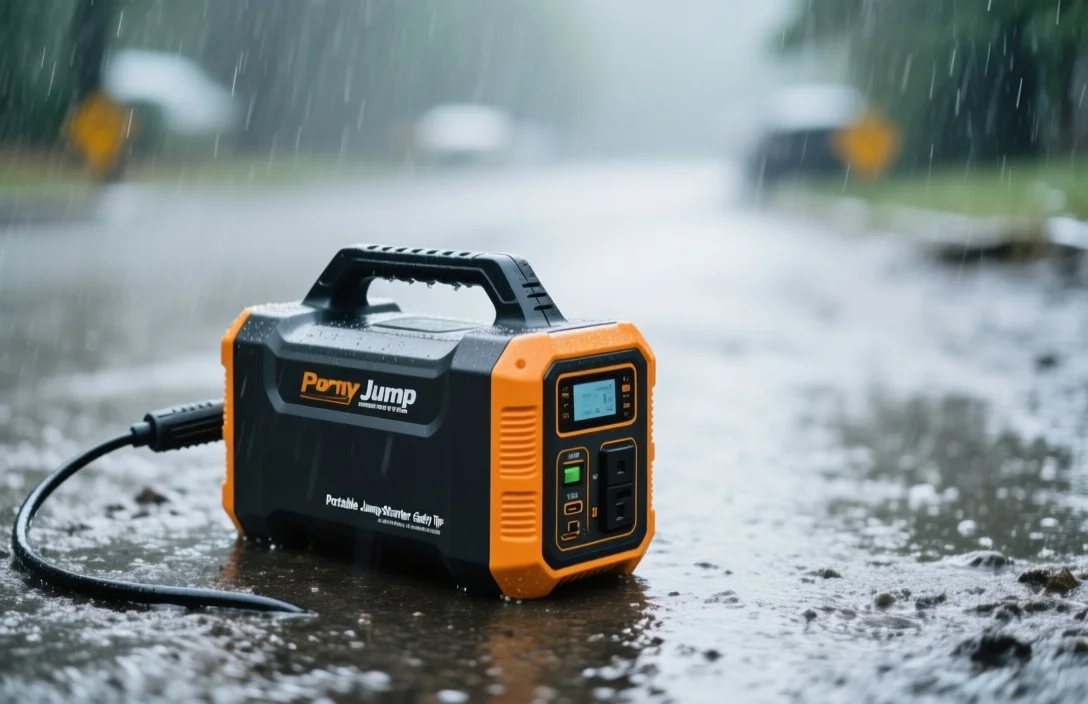
Rain and jump starters don’t mix. Water conducts electricity, and even a small puddle can create a short circuit that damages the jump starter or your car’s electrical system. If you’re caught in the rain, move to a dry spot or wait for the weather to clear before attempting a jump. Some high-end jump starters are rated IP65 or higher, meaning they’re water-resistant, but even these should never be submerged or exposed to heavy rain. If you must jump-start in wet conditions, use a waterproof tarp to shield the jump starter and battery terminals.
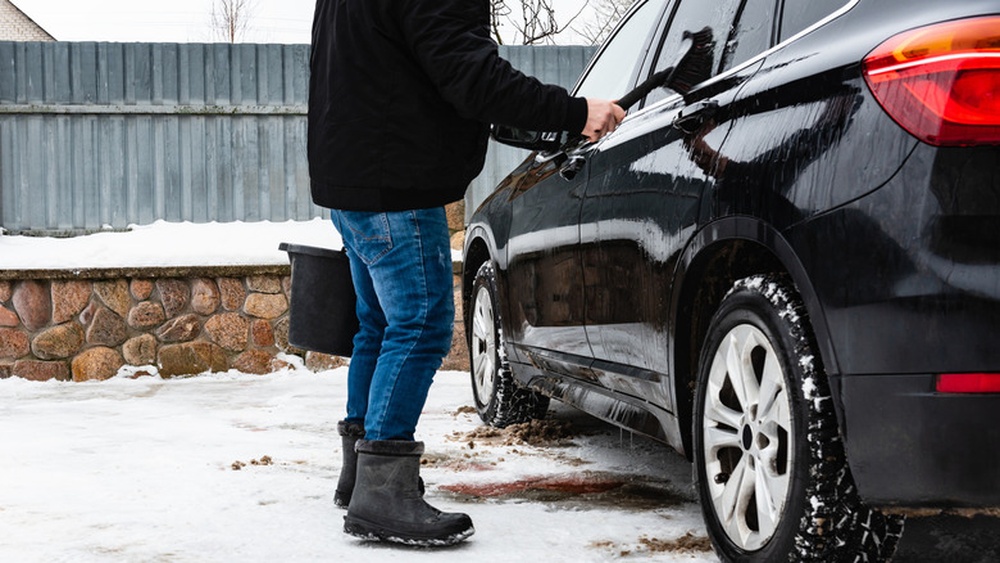
Cold weather is another challenge. Lithium-ion jump starters lose capacity in freezing temps – some models deliver only 50% of their rated amps at 0°F. Store your jump starter inside the cabin, not the trunk, to keep it warm. If it’s been sitting in a cold car for hours, let it warm up for 10-15 minutes before use. Cold also thickens engine oil, making it harder to turn over; if your car is struggling to start in sub-zero temps, try turning on the headlights for 30 seconds before cranking – this warms the battery slightly and can help.
Frozen batteries are a non-starter. If the battery case feels hard or bulging, or if the electrolyte inside is slushy, do not attempt to jump-start. A frozen battery can crack or explode under load. Instead, move the car to a warm garage and let the battery thaw for several hours before attempting a jump. If you’re stranded in cold weather, call for help – jump-starting a frozen battery is a gamble you shouldn’t take.
Battery Safety Features Built Into Modern Jump Starters
Most portable jump starters include multiple safety features, but they’re not foolproof. Reverse-polarity protection is standard – it shuts off the unit if you mix up the clamps, preventing sparks and damage. Over-current protection kicks in if the jump starter detects a short circuit or excessive draw, cutting power to prevent overheating. Some models also include over-voltage protection, which prevents voltage spikes from frying your car’s electronics.
Short-circuit protection is another common feature. If the clamps touch each other while connected to the battery, the jump starter will shut off automatically. This prevents arcing and potential fires. Many jump starters also include a “pre-charge” mode, which delivers a low, steady current to the battery before the full surge – this reduces stress on the battery and increases the chances of a successful start.
Lithium-ion jump starters often include thermal protection. If the internal battery gets too hot, the unit will shut off to prevent damage or fire. This is especially important in hot climates or if the jump starter is left in a hot car. Some models also include a low-voltage cutoff, which prevents the jump starter from draining completely – this extends the unit’s lifespan and ensures it’s ready when you need it.
Storing Portable Jump Stararters Safely Inside Your Vehicle
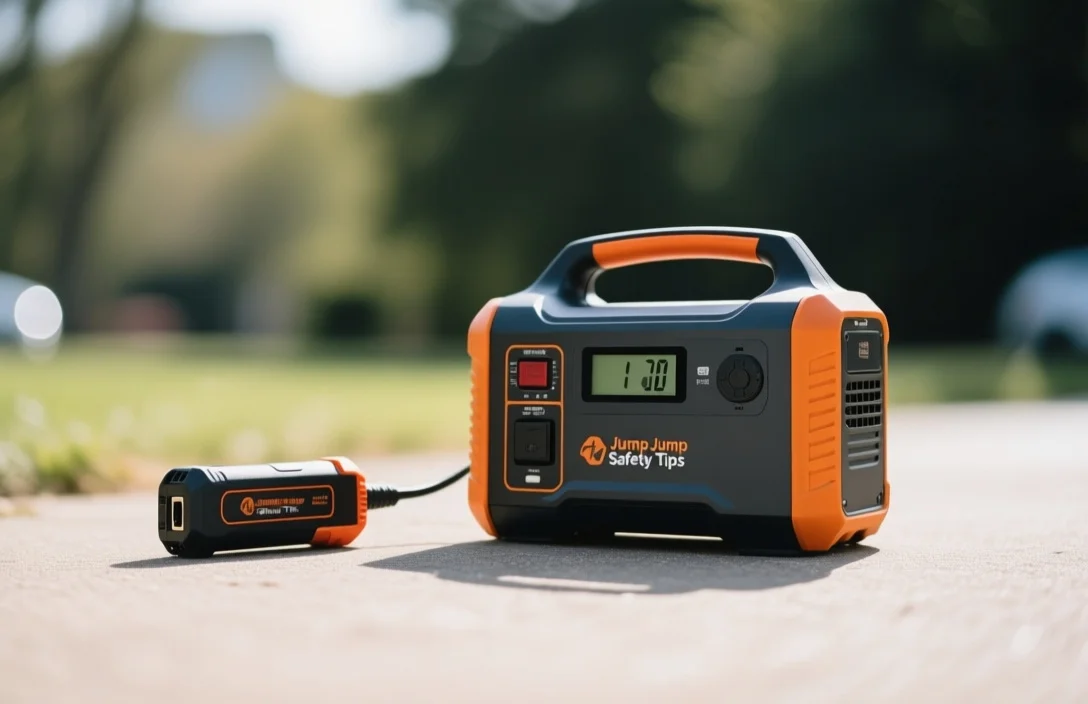
Where you store your jump starter affects its lifespan and safety. Lithium-ion batteries degrade faster in extreme temperatures, so keep the unit inside the cabin, not the trunk. A padded bag or case protects it from bumps and prevents the clamps from shorting against metal surfaces. Avoid storing it near heat sources like the dashboard or rear window – lithium-ion batteries can swell or catch fire if exposed to high temps for long periods.
Check the jump starter���s charge every 3-6 months. Most models lose 1-3% of their charge per month, so even if you haven’t used it, it might be dead when you need it. Some jump starters include a “maintenance mode” that keeps the battery topped off without overcharging – use it if available. If your model doesn’t have this feature, recharge it every 3 months to keep it ready.
Never store the jump starter with the clamps connected to each other or to metal surfaces. This can create a short circuit that drains the battery or causes a fire. If you’re storing it for an extended period, disconnect the clamps and wrap them in electrical tape to prevent accidental contact. Keep the jump starter away from children and pets – the clamps can deliver a painful shock if mishandled.
FAQ
Can I use a portable jump starter on a completely dead battery?
Yes, but success depends on the battery’s condition. Most jump starters can revive a battery with 0-2 volts, but if the battery is damaged, frozen, or leaking, it won’t hold a charge. If the engine doesn’t start after 2-3 attempts, the battery may need replacement.
How long should I drive after jump-starting my car?
Drive for at least 15-20 minutes to recharge the battery fully. Highway speeds (55+ mph) charge the battery faster than idling. If you only idle, the alternator may not generate enough current to replenish the battery.
Is it safe to jump-start a hybrid or electric vehicle?
Most hybrids (like the Toyota Prius) have a 12-volt auxiliary battery that can be jump-started like a conventional car. Fully electric vehicles (EVs) usually don’t have a 12-volt battery – check your owner’s manual before attempting a jump. Never connect a jump starter to an EV’s high-voltage battery pack.
What’s the difference between a jump starter and jumper cables?
Jump starters are standalone power packs that don’t require a second vehicle. Jumper cables need a running car to supply power. Jump starters are safer (no risk of reverse polarity from another driver) and more convenient (no waiting for help).
Can I leave my jump starter plugged in all the time?
No. Most jump starters don’t have a true “float” mode, so leaving them plugged in can overcharge the battery and shorten its lifespan. Recharge it every 3-6 months, or use a model with a maintenance mode that keeps the battery topped off without overcharging.