
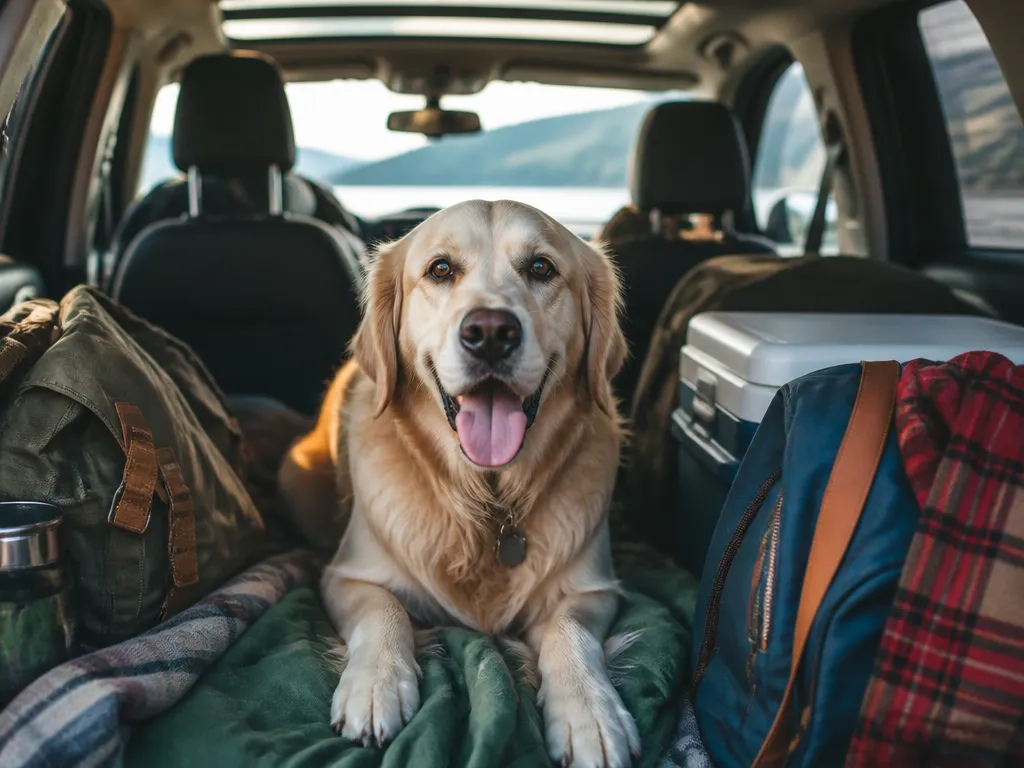
My dog loves road trips, but the first time he rode unrestrained he got carsick, then tried to scoot forward every time I slowed down. If you are searching “how to travel with dogs in car” because you want safety and less mess, this guide covers the restraint choices that actually work, plus what to prep before you leave.
Plan ahead for food and water timing, heat control, and break check-ins. You will also get fixes for vomiting, anxiety, and barking.
Feed 4-6 hours before departure if vomiting is an issue, offer water in small amounts every 2-3 hours, and stop often for leash control and fresh water.
How To Travel With Dogs In Car
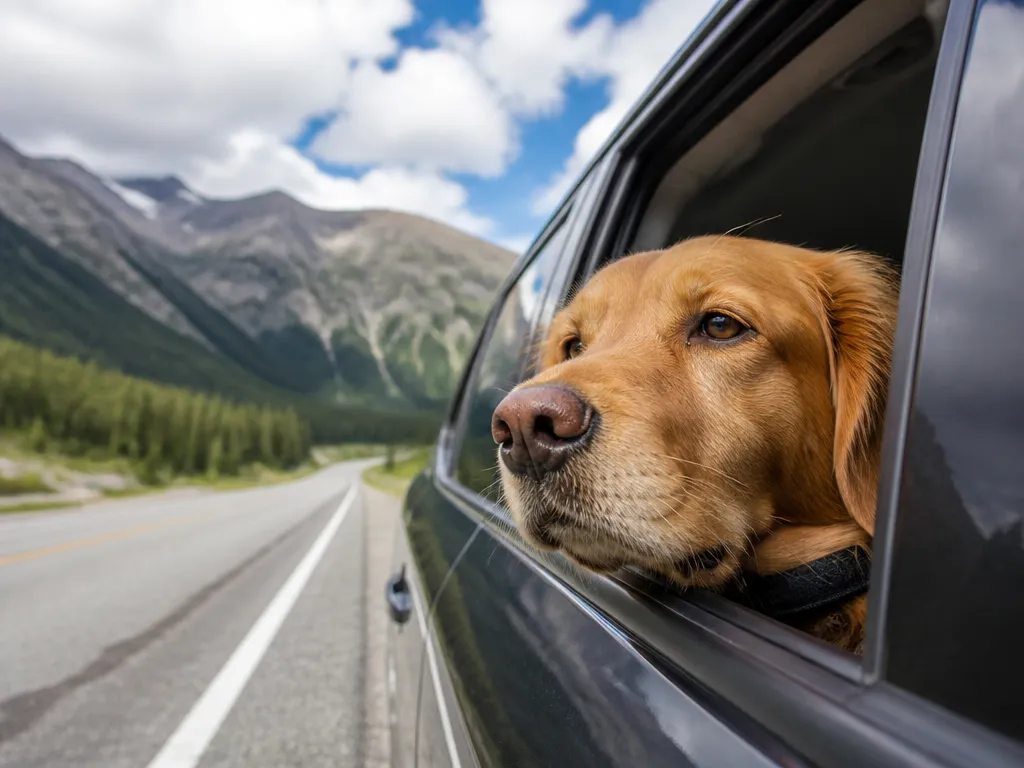
Road-trip safety starts with a strict restraint rule: the dog must stay secured so it cannot roam into the driver’s space or launch forward in a crash. Restraints are also about reducing injury risk from sudden stops, turns, and startled reactions, especially at highway speeds.
| Risk you’re preventing | What to do |
|---|---|
| Forward launch in a crash or hard stop | Use a crash-tested harness-to-belt system, a crash-tested crate, or a barrier |
| Airbag injury | Keep the dog out of the front-seat airbag zone and prevent forward reach |
| Projectile hazards from loose items | Stow everything that can move, then re-check restraint tightness |
Quick pro tip: Do a “parking-lot test” before driving off. Buckle or secure everything, then make a few gentle brake checks and a slow turn, watching how the dog and setup move.
Choose The Right Restraint Setup
A proper restraint setup keeps your dog from becoming a projectile during hard braking and keeps the driver focused. The right choice depends on your dog’s size, temperament, and whether you can maintain a consistent riding routine. Seat belt harnesses work best for smaller, calmer dogs, crates are best for predictable behavior, and cargo barriers work best when a larger dog needs space without loose movement.
| Restraint type | Best for | Key advantages | Main limits | What “correct” feels like |
|---|---|---|---|---|
| Seat belt harness (with LATCH/anchor belt system) | Small dogs, steady riders | Controls position, easy stops for quick breaks | Can be too restrictive for large dogs or anxious fidgeters | No more than about 1 to 2 inches of slack, dog stays seated/standing without reaching forward into the seatback |
| Hard or soft crate (secured) | Dogs that can be trained to stay put | Reduces roaming, improves routine, limits barking escalation | Requires acclimation time, wrong size creates unsafe shifting | Crate cannot rock more than a small amount when you push firmly by hand at the base |
| Cargo barrier / trunk setup (secured to vehicle) | Large dogs, SUVs/wagons where rear space is usable | Prevents front seat access and reduces loose movement | Not a substitute for a controlled seating area in all vehicles | Barrier is solid at the mounting points, dog can’t slip around edges or paw through gaps |
Seat Belt Harness: The Small-dog Option (Done Right)
A seat belt harness should attach to a vehicle anchor system or a restraint belt meant for vehicles, not a collar. The harness should sit on the dog’s chest and ribcage, and the dog should not be able to twist the straps off with repeated shifting. After buckling, pull up on the harness and try to move the leash point forward; if anything is loose, it is a setup problem.
For example, a 15 to 30 lb dog that lunges at passing scenery will usually end up with slack unless the harness is tight and the dog’s posture stays consistent. Correct installation feels snug, and the dog can breathe normally without the chest being compressed. The common failure is routing the belt through the wrong path or attaching to a collar, which can increase neck injury risk in a crash.
Crate Setups: Predictable Behavior Beats “Hope”
Crates work best when your dog already knows the routine, can lie down comfortably, and can stand without hitting the ceiling. Secure the crate so it cannot tip forward, sideways, or bounce during braking.
In practice, you want the crate to stay fixed when you apply firm hand pressure at the base and sides.
For example, a soft crate in a moving vehicle can shift if the anchor points are in the wrong locations or if the crate size is too large. Common mistakes include oversized crates (big movement space), loose seatbelt-like straps that stretch slightly, and placing a crate where airbags could compromise clearance. A crate should also be positioned so the dog cannot reach the seatbacks and cause the crate to wedge during a turn.
Cargo Barriers And Trunk Restraint: The Large-dog Solution
Cargo barriers are the best choice when a larger dog must stay in the rear area and you want to stop access to the front seats. The barrier needs secure vehicle mounting and minimal gaps that let paws or snouts slip through. A padded floor mat helps comfort, but it does not replace secure anchoring.
In practice, the right barrier setup is one where the dog can shift to adjust, but cannot slide across the cargo area enough to hit the barrier at speed. For wagons and SUVs, keep cargo items from becoming projectiles, because loose luggage plus a loose dog is a double hazard. The biggest mistake is assuming the dog area is “already safe” because it is behind the seats.
Correct Installation Checks: Tightness, Movement Limits, Secure Mounting
Insider tip: Slack usually comes from three places: the strap route is wrong, the harness is sized too loosely, or the anchor points are not used as intended. Any setup that you can grab and “shake” by hand is a setup you should fix before the road trip starts.
Pre-trip Readiness Checklist
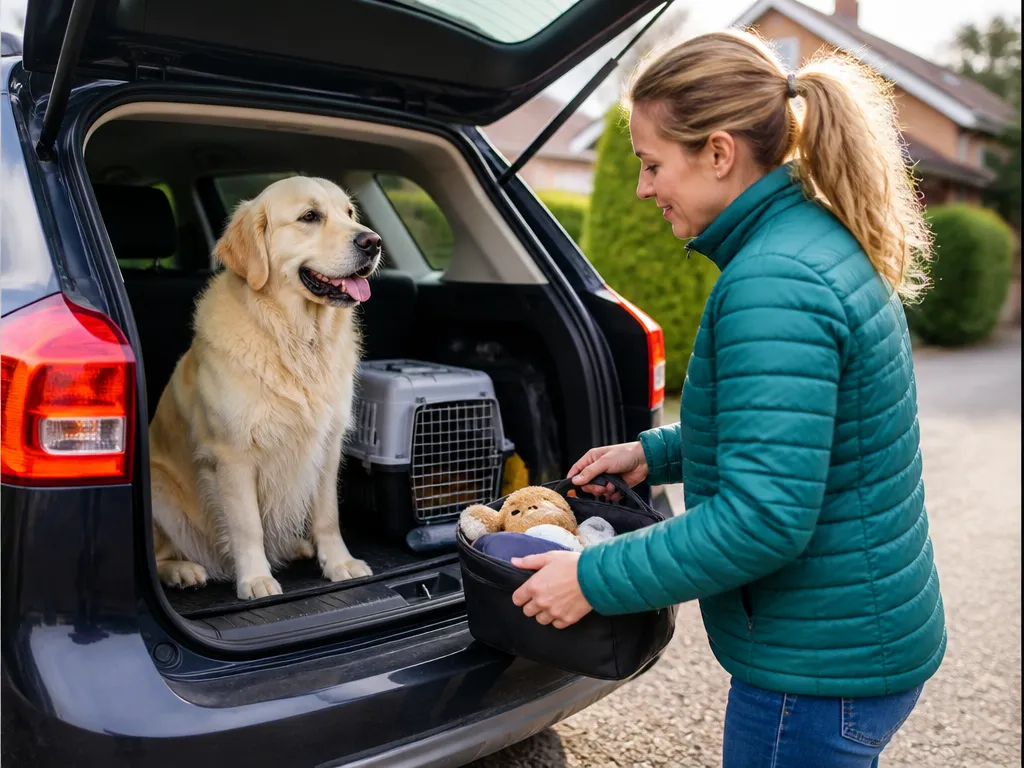
Schedule a quick vet check a few weeks before departure to sort out vaccinations, travel clearance, and any anxiety or motion sickness options. Pack medical basics and ID items the night before so you are not scrambling when you are loading the car.
For many road trips, the biggest failure is timing, water overload, and missing records. Keep the plan simple: meds ready, ID verified, proof accessible, and breaks scheduled.
Quick pre-departure check (last 5 minutes): collar tag present and tight, microchip confirmed in your account, medical folder in the car, water and bowls within reach, leash and waste bags packed, emergency contact saved in your phone.
| Category | What to bring | Where to store it |
|---|---|---|
| Health | Vaccination proof, recent records, meds, vet and emergency contacts | Grab bag within reach |
| ID | Microchip verified, collar tag with phone and contact info | On the dog plus a spare tag if you use one |
| Stops | Leash, collapsible bowls, water, waste bags, towels/wipes | Door pocket or trunk tote you can access fast |
Condition Dogs For The Ride
Build acceptance by training in short, calm sessions that end on a good note. Start with harness or crate setup at home, then progress to brief rides before increasing time. Keep everything tied to rewards so the dog learns the car is a good place to be.
Progressive Practice Plan (From Minute One)
Use a simple ladder: more time comes only after the dog stays relaxed during the current step. Most issues come from moving up too fast, so slow the pace when the dog shows hard signs like freezing, shaking, or frantic vocalizing.
For example, if your dog panics during door closing, pause at “door open, reward calm,” then repeat until the door closing no longer triggers a stress spike.
Desensitize Harness Or Crate Using Rewards
Train the dog to treat the equipment as a cue for good things. Put the harness on for seconds first, give a high-value treat, then take it off before the dog gets upset. With a crate, reward the dog for approaching, then for stepping inside, then for staying inside briefly.
“Reward the moment your dog chooses calm behavior. Waiting until the dog is quiet for a full minute is how you accidentally reward panicking, because panic creates the timing.”
| Training moment | What you want to see | Reward timing |
|---|---|---|
| Harness/crate setup | Loose body, soft eyes, normal breathing | Within 1 to 2 seconds of calm |
| Engine start | No frantic barking or lunging | Immediately after the start, then every calm 10 to 15 seconds |
| Stop at a light | Dog stays settled in position | Reward once, then pause so the dog keeps choosing calm |
When The Dog Panics Mid-training
Stop increasing demands the instant panic shows up. Reduce the intensity of the last step and go back one rung, then rebuild with shorter sessions and faster rewards.
In practice, panics during harnessing often improve when you separate “harness on” from “car ride.” For example, put the harness on at home for 10 seconds, reward, remove it, and repeat later, then try adding only 1 to 2 minutes in the parked car.
Car Prep For Comfort And Safety
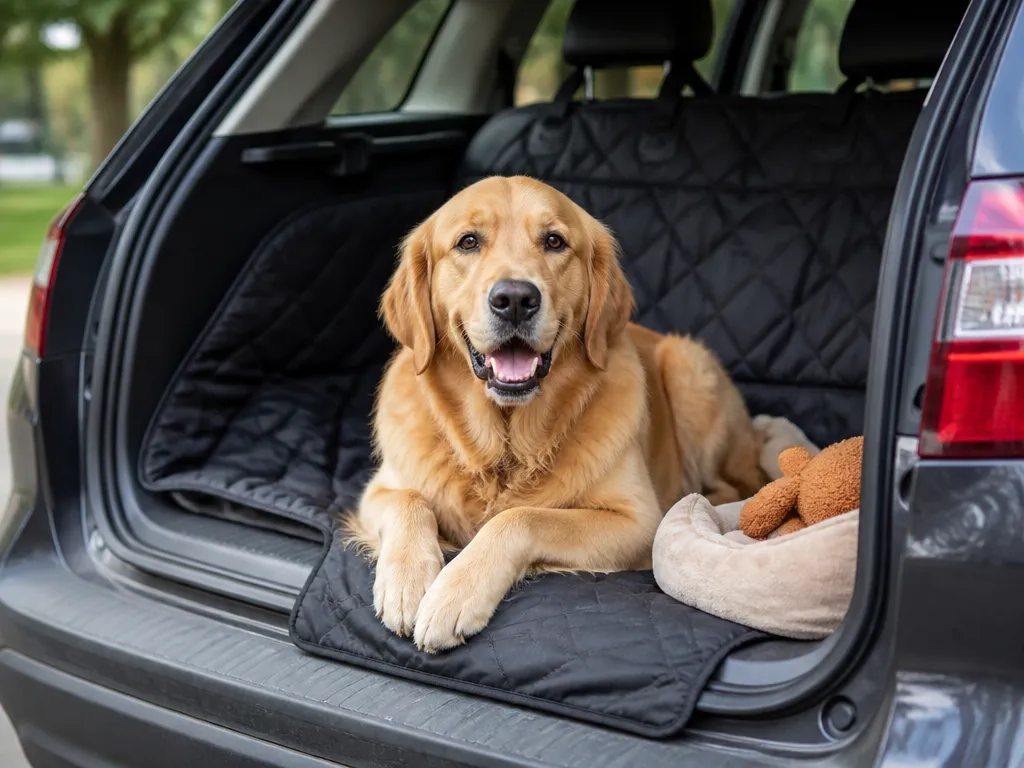
Proper ventilation and restraint setup keep a dog safe from heat stress and sudden impacts while reducing motion sickness and stress. Seat placement, airflow direction, and how you secure loose items matter as much as the restraint type.
Ventilation And Temperature You Can Control
Crank the cabin to a comfortable baseline before you load the dog, then fine-tune once they are in. Aim for steady airflow, not a blast that blows directly across the dog’s face or on the crate door.
Stagnant air is the enemy. Run A/C or heat as needed to keep the cabin from getting stuffy, and crack windows only if the dog is secured and you can prevent drafts from making them overheat or get anxious.
Insider tip: if you can feel hot air sweeping the cabin near your dog’s position, your dog will feel it too. Re-aim vents before you start driving.
Where The Dog Sits So They Cannot Reach Hazards
Position the crate or harness attachment so the dog cannot reach door latches, power window switches, seat belts, or the rearview mirror area. In sedans and wagons, keep the dog as far from the dashboard and center console as practical.
For vehicles with rear seats (most sedans, many small SUVs), the back seat is usually the calmest and safest place to secure the dog. For SUVs and minivans, placing a crate behind the front seats reduces head-turning toward traffic and helps keep restraints aligned.
| Setup type | Best placement | Primary trade-off |
|---|---|---|
| Crate | Rear seat floor, box anchored or strapped | Less movement, more space needed |
| Seat-belt harness | Rear seat with a short tether path to the belt anchor | Dog still shifts, must prevent slack |
| Barrier (rear-deck or cab separation) | Secures a zone for loose-roaming dog | Needs correct sizing and strong anchoring |
Reduce Slipping And Secure Everything Else
Non-slip matters because a dog bracing during braking can slide even if they are restrained. Use a non-slip mat under the crate or harnessed dog’s bedding, and place it on a level surface so the mat does not bunch.
Secure the dog, then secure the humans’ stuff. Seatback pockets, coolers, and loose gear can become projectiles in a hard stop, and they also block safe movement around doors during pit stops.
Window and airflow considerations come down to balance. Use window openings sparingly so the dog stays comfortable, and keep direct drafts off their face while still getting enough airflow to prevent stale cabin air.
Feeding And Water Timing Plan
Offer your dog a final meal about 4 to 6 hours before departure so food has time to move through the stomach before the car’s motion starts. Provide water closer to departure, then switch to small, controlled sips during stops to reduce vomiting and mess.
For dogs that vomit even when the timing is right, avoid “trial-and-error while driving.” Change one variable at a time on the next trip, because switching meal type, timing, and water amount all at once makes it impossible to know what helped.
| Dog tendency | Last meal timing | Water plan | Best stop behavior |
|---|---|---|---|
| Normal tummy | 4-6 hours before | Small drink 30-60 min before | Offer at stops, small sips |
| Vomits with motion | 5-6 hours before (half meal) | Minimal pre-departure, small sips at stops | Wait 5-10 minutes between offers |
| Gulps water | 4-6 hours before | Short pre-departure window | Use a spill pad and offer smaller amounts |
Quick checklist before you leave: collapsible bowl, absorbent pads or towels, and a plan for the first stop within 60 to 90 minutes for carsick-prone dogs.
Handle Barking And Motion Anxiety
Most barking during car travel is anxiety plus a few predictable triggers, like seeing the same parking-lot sights through the windows or feeling sudden vehicle movement. You control what the dog experiences first, then you reward calm behavior so the trip stays predictable.
Avoid these common mistakes: letting the dog face the window fully during high-traffic parts, opening the door while the dog is frantic, repeating calming phrases in a booming voice, and switching restraints mid-trip. Every one of those turns barking or lunging into a reliable way to change the situation, which makes the behavior harder to break.
| Situation | Most helpful adjustment | What to avoid |
|---|---|---|
| Dog barks at cars or people | Partial shade, reduce head movement with a solid barrier, add white noise | Letting the dog watch freely and scolding at the driver’s window |
| Dog whines after restraint goes on | Short “settle, reward, start” routine, chew or lick time before rolling | Lengthy negotiations, tugging the harness to force stillness |
| Dog escalates during turns | Place the dog so they feel stable, keep speed smooth, stop before max stress | Sharp acceleration or repeated stop-and-start driving |
Insider mechanic tip: if the dog is restrained correctly and still panics, treat the cabin like a training environment, not a living room. Calm behavior grows when the dog predicts the same start cues, same settlement spot, and the same payoff for quiet.
Prevent Vomiting And Carsickness
Carsickness in dogs starts before they vomit, so catching the early signs is your best move. Drooling, lip-licking, pacing, and whining during the first few miles usually mean their stomach is already reacting to motion.
When Vomiting Starts, Act Immediately
For example, if drooling and lip-licking turn into retching, pull focus away from excitement and make the drive steady. If it is safe and legal where you are, take the next safe exit and stop to let your dog settle, then offer a small amount of water only after they can swallow normally.
Stop cleaning mid-crisis. If the dog just vomited, wait a few minutes before you wipe anything down, because stress makes them more likely to retch again. After they calm down, remove any soiled material right away and use odor control that is made for pet messes, since lingering scents can keep them anxious on future legs.
Vet medication timing is about safety, not convenience. When motion sickness happens despite good restraint and reduced stimulation, talk to your vet before the next trip. Do not improvise with human anti-nausea meds or leftover prescriptions, since dose and side effects vary widely by dog size and health.
Stop Protocol, Arrival Care, And Checklist
Plan every stop to keep your dog secured and your own attention focused. During breaks, leash control matters more than comfort, because an open door plus an excited dog is how leash pops and vehicle sprints happen.
On-the-road Stop Rules
Stop rules are simple and strict: leash on, doors controlled, then quick safety checks. Treat every rest area as a “new environment” where your dog can get spooked by traffic noise, other pets, or strangers.
Quick checks prevent repeat problems before they get worse. Do a 10 to 20 second scan: paws for cuts, body posture for stiffness, and breathing for overexertion.
How Often To Stop And What To Do At The Stop
Stop frequency depends on dog tolerance, not your schedule. As a practical rule, plan a break every time you would normally rest yourself, then shorten the interval if your dog shows restlessness, panting, or repeated attempts to change positions.
Water and waste at stops should be consistent and controlled. Offer a small water amount during every stop, then wait a few minutes and give a bathroom opportunity on leash.
| Stop timing | What to do | What to watch |
|---|---|---|
| Every stop (5 to 15 min) | Walk on leash, offer a small water drink | Excessive panting, lip smacking, pacing |
| Longer breaks (15 to 30 min) | Bathroom, calm play or sniffing, re-check harness fit | Skin irritation under straps, whining or jumpiness |
“Offer water in small amounts during each stop. Flooding the system can worsen GI upset, especially after a few hours of motion.”
Waste management keeps the area clean and reduces stress for your dog. Bring sealed bags for solids and a towel for muddy paws, since wet paws and car seats create odor issues fast.
Arrival Inspection And Post-trip Cooldown
Arrive, then inspect before you let the dog fully roam. Check for overheating, skin irritation from the harness or barrier contact points, and stress signs like trembling, flattened ears, excessive lip licking, or refusal to settle.
After that, run a cooldown routine that matches what your dog can handle. Keep the dog calm in a shaded or climate-stable area, offer fresh water, then allow a short leash walk only if the dog is steady on its feet.
Post-trip recovery should end with a comfortable rest spot. Move the dog to a quiet space with familiar bedding, keep lights and noise lower, and watch water intake and urination over the next several hours.
Printable Checklist (Copy And Print)
Use this checklist at the start of the day, then again for each stop: confirm the restraint, leash, water, temperature, and your dog’s condition. Keep it on your center console or in your glove box so it stays with you when you park.
Quick safety callout: If your dog shows collapse, severe breathing trouble, or heat-stress behavior, treat it as urgent and contact local veterinary help right away. Vehicle temperatures and stress can worsen quickly even on “short” arrivals.
Quick Summary
The guide emphasizes practical preparation: use a parking-lot test to check the setup, secure loose cargo, seat the dog after adjustments are complete, and keep the dog away from the front-seat airbag zone. Match the restraint to the dog’s size and temperament, and monitor the fit, movement, and mounting points throughout the trip.
The rest of the guide outlines timing and practical steps: feed 4-6 hours before departure if vomiting is an issue, offer water in small amounts every 2-3 hours, and stop often to check leash control and cabin temps. Ensure the dog cannot reach the center console, pedals, or steering wheel, and adjust the plan for motion sickness, anxiety, heat, and bathroom needs.
| Restraint type | Best for | Key advantage |
|---|---|---|
| Seat belt harness | Small dogs, steady riders | Controls position, easy stops for quick breaks |
| Crate | Dogs that can be trained to stay put | Reduces roaming, improves routine, limits barking escalation |
| Cargo barrier | Large dogs needing space | Keeps dog from front seats while allowing space |
Frequently Asked Questions
What’s The Safest Way To Secure My Dog In The Car During Road Trips?
Use a dog travel harness paired with a seat belt leash, or a secured crate that can’t slide or tip. Avoid letting your dog ride on your lap, since an impact can throw them forward and also distract you at the wheel.
Should I Let My Dog Ride In The Front Seat Or Back Seat?
For most setups, you’ll be safer keeping your dog in the back seat or in a properly restrained cargo area. The front seat is riskier because of airbags, which can be dangerous to a small animal even in minor crashes.
How Do I Stop My Dog From Getting Car Sick When Traveling?
Try short practice drives first, then increase time gradually, and keep rides cool and well ventilated. If your dog gets motion sick, many owners use a vet-recommended anti-nausea plan and avoid feeding a large meal within a few hours of departure.
How Often Should I Stop To Let My Dog Stretch And Go To The Bathroom?
Plan on stopping about every 2 to 3 hours for water and a bathroom break, then adjust for your dog’s size and age. You’ll also want a break for leash time so they can move without overheating or getting restless.
What Should I Pack For Traveling With A Dog In The Car?
Bring fresh water, a collapsible bowl, waste bags, and a towel or dog blanket for cleanup. It also helps to pack familiar bedding, a leash, and a few chew-safe items to reduce stress and keep them settled.
Can I Leave My Dog In The Car For A Quick Stop While Traveling?
No, you shouldn’t leave a dog unattended in a parked car, even for a short time, because temperatures can rise quickly. If you need to step away, look for a dog-friendly pickup area or use a kennel or pet-friendly service instead.