
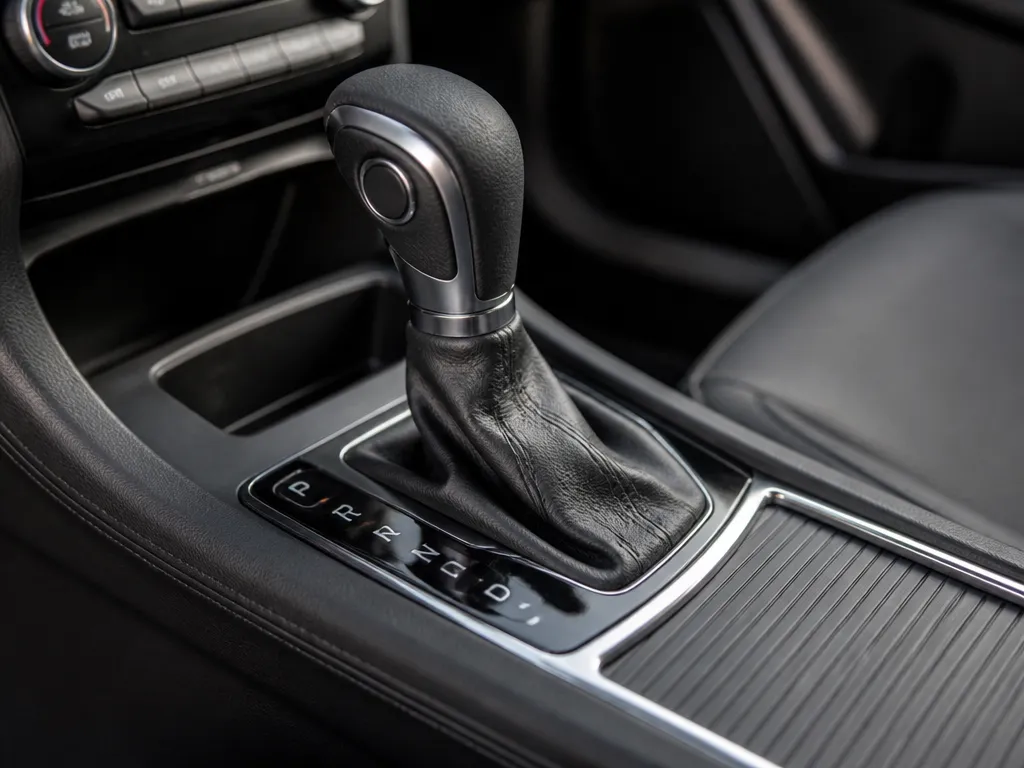
You grab the gear lever every day, so it shows everything, sticky fingerprints, spilled soda, dusty boots, and that gritty ring around the console. If your shift knob feels tacky or your leather knob looks dull, you need a clean that matches the material. Here’s a step-by-step way to clean plastic, leather, vinyl, rubber boots, and console trim safely.
Clean by prep, dry remove, spot clean, wipe down, and dry so you don’t soak seams or push grime into the shift mechanism. Use microfiber, soft brush, cotton swabs, and a vacuum with a brush, then match cleaner to surface. Target 1-2 minutes dwell on spots, wipe immediately, and air-dry fully before driving.
Gear shift cleaning is simple: start with a dry wipe, then vacuum dust from creases. For sticky residue, dampen a microfiber with mild interior cleaner or diluted APC, hold 1-2 minutes, and wipe. For leather/vinyl, use a cleaner made for interiors, then condition only after the surface is fully dry.
How To Clean Gear Shift Safely
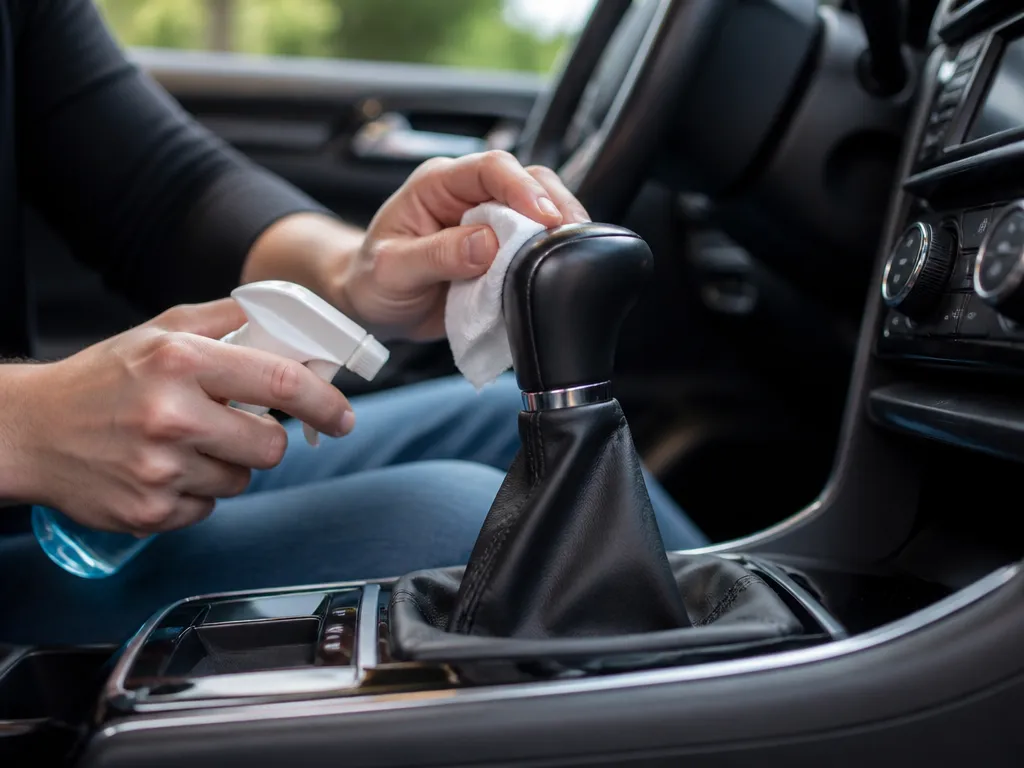
Sticky grime, fingerprints, and spills clean up best when you treat the shift knob and boot like finishes, not kitchen surfaces. Protect the plastic, vinyl, rubber gaiter, and leather by using the mildest cleaner that works and keeping liquids off the shift mechanism.
Goal And Material-safe Approach
The goal is to remove grime without swelling, discoloring, or stripping coatings. Plastic knobs and console trim handle damp cleaning better than soaking, while leather and vinyl can get shiny or dried out if you go heavy with aggressive degreasers.
Use this mindset: wipe first, then spot-clean, then dry. If a spot is stubborn, you increase agitation with a soft brush or microfiber, not cleaner strength.
| Surface | What to do | What to avoid |
|---|---|---|
| Plastic knob/trim | Damp microfiber, light pressure, dry promptly | Harsh solvents and soaking liquids |
| Leather | Leather-safe cleaner, barely-damp cloth, buff dry | Degreasers, heavy water, strong alcohols |
| Vinyl | Gentle cleaner on cloth, wipe dry | Bleach, lacquer thinner, steam |
| Rubber shift boot (gaiter) | Moisture-safe cleaner, rinse-free wiping, air dry | Soaking that creeps under trim |
Quick Do/don’t Snapshot Before You Start
Quick rules keep the job non-destructive.
For example, a sticky knob from spilled soda or hand sanitizer often needs a few passes with a mild cleaner on a damp cloth, then a final wipe with a barely damp water cloth. If you blast liquid into the boot seam, you can loosen old grime and carry it deeper where it is harder to dry.
Prep Steps And Hidden-spot Testing
Prep keeps you from turning a simple cleaning into a finish repair. Clear the driver seat area so nothing drips back onto the console, then have microfiber cloths, a soft detailing brush, and a separate dry towel ready.
Test cleaners in a hidden spot before committing to the whole knob or console trim. Look for inside edges, the underside of the knob (where it meets the lever), or a rearward console section that sits out of daily view.
Insider mechanic tip: If the surface feels tacky after wiping, stop and reassess the cleaner choice. Tack usually means residue or conditioner buildup that will attract more dirt.
Tools And Cleaners To Use
Tools And Cleaners To Use: Have a compact kit ready before you touch the gear shift, including microfiber towels, a soft brush, cotton swabs, and a vacuum brush, plus the cleaners listed below. Microfiber towels pick up dust and fingerprints without scratching; a soft brush loosens grime in seams and grooves; cotton swabs reach tight gaps around the knob and gaiter, while the vacuum brush pulls loose debris from the console. Keep cleaners in labeled bottles and use them carefully around the gear shift to protect the mechanism and electronics.
| Item | Amount/Specification | Notes |
|---|---|---|
| Microfiber towels | 2 – 4 towels, 12×12 in (30×30 cm) or larger | Lint-free and nonabrasive; use dry for dust, damp for smudges. |
| Soft brush | 1 brush with gentle bristles | Use to lift grime from seams, crevices, and the gaiter edge. |
| Cotton swabs | 20 – 40 swabs | Great for tight gaps around the shift knob and boot. |
| Vacuum brush attachment | 1 attachment | Low-suction setting to pull debris from the console without forcing debris into the mechanism. |
| Mild interior cleaner | 1 bottle (spray or wipe-on) | Safe on plastic and rubber; spray onto cloth, not directly on surfaces. |
| Diluted APC or dish soap | 1 bottle; mix 4:1 to 10:1 water | For heavy grime; test on a hidden area first; avoid leather unless specified. |
| Leather/vinyl cleaner | 1 bottle | Use on leather or vinyl surfaces; follow with conditioner if desired. |
| Isopropyl alcohol (70%) | 1 bottle | Use for sticky residue on non-porous surfaces; never spray directly on the shift mechanism or leather. |
| Leather/vinyl conditioner | 1 bottle (optional) | Reconditions surfaces after cleaning; avoid excess on plastic. |
| Dry towels | 2 – 3 towels | Use to dry surfaces after cleaning and to blot moisture away. |
Prep And Dry-remove Debris
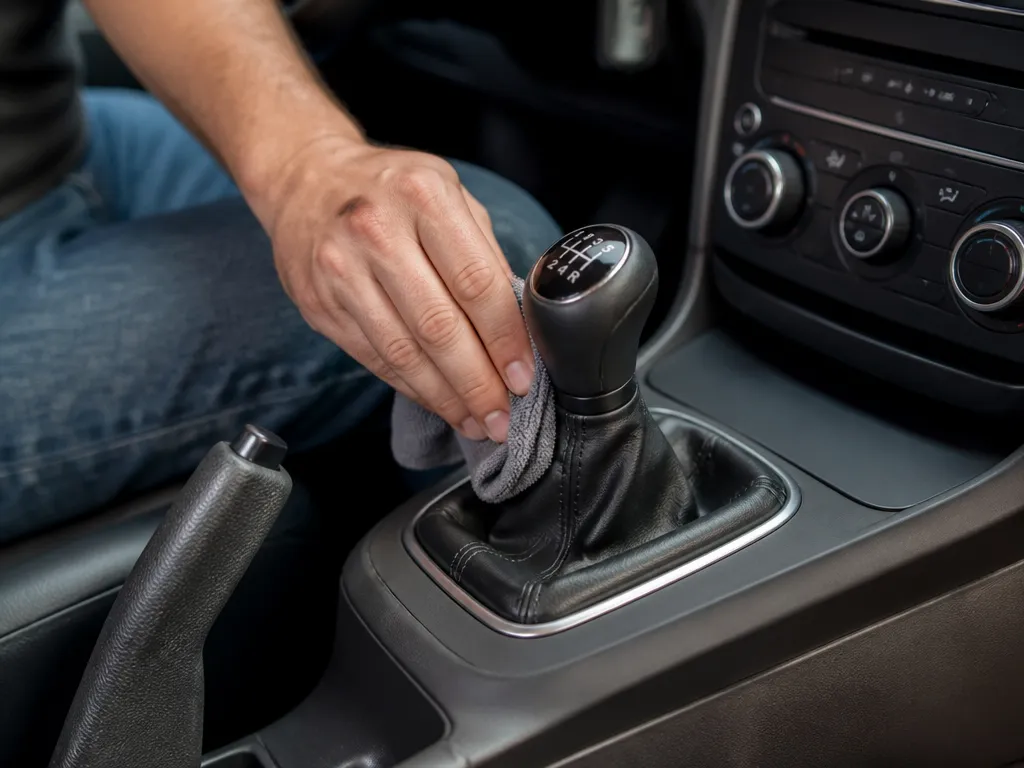
Remove dry grit first so it does not smear into seams and around the shifter base. Vacuuming and dry-brushing loosen dust, crumbs, and loose finish flakes before any cleaner touches the plastics, leather, vinyl, or rubber boot.
Vacuum Technique For Console Seams And The Shifter Base
Use the crevice nozzle at a shallow angle, so it pulls debris out of gaps without sucking up foam inserts or dislodging trim clips. Focus on the seam where the shifter boot meets the console and the perimeter ring around the shifter base.
For stubborn dust “packets,” tap the console lightly with your knuckles while vacuuming. This shakes loose particles so they travel to the nozzle instead of spreading into the mechanism area.
Dry Brushing And Cotton Swabs For Crevices
After vacuuming, use a soft detailing brush to lift residue from textured plastic, console grain, and the stitching edges on leather or leatherette. Follow with cotton swabs to pull what the brush misses in corners and around embossed trim.
For sticky spots caused by spilled soda, sweet drinks, or fingerprint buildup, stop dry work the moment the grime starts to smear. Smearing means you have enough residue spread that you should switch to spot-cleaning in the next section, using minimal moisture and controlled application.
Shop tip: Keep a second clean swab or brush section ready, so you do not reintroduce loosened gunk back into the seam.
Remove Loose Particles Before Any Wet Cleaning
Loose debris is the enemy of clean results. If you wipe first, grit mixes with cleaners or water and leaves a dull haze on plastic, a stiff feeling on vinyl, and a darkened line around the boot.
Use the “tap-and-check” method: tap the console seam with a knuckle, vacuum again, then wipe only after the area stays visibly clear.
| Surface type | Dry prep approach | What to avoid before wet cleaning |
|---|---|---|
| Plastic/console trim | Vacuum seams, soft brush textured areas | Dragging debris with a damp cloth |
| Leather/vinyl | Low-suction vacuum, cotton swabs at stitching edges | Massaging grit into pores or seams |
| Rubber boot/shift gaiter | Vacuum perimeter folds, dry brush ridges | Wetting folds before debris is gone |
Leave the shifter mechanism area alone beyond the visible base and boot seam. If debris is falling from deeper inside, keep vacuuming and dry-brushing from the outside until it stops.
Spot-clean Grime And Stains
Sticky residue and fingerprints usually lift best with a gentle cleaner first, then you repeat with slightly stronger products only where needed. Greasy film needs a degreasing interior cleaner, and wet spills should be blotted immediately so they do not sink into seams.
For a quick reality check, touch the cleaned area with a fingertip after it dries for a few minutes. Smooth surfaces should feel clean, not tacky, and transfer should be minimal on a dry white microfiber corner.
| Residue type | Cleaner approach | Best action method |
|---|---|---|
| Sticky spots, fingerprints | Gentle interior cleaner or mild soap | Apply to towel, dab, repeat |
| Greasy film | APC diluted or mild degreaser | Spray on towel, wipe often |
| Spills (soda/coffee/water) | Mild cleaner, water-only wipe | Blot first, then targeted wipe |
| Grime in corners | Cleaner on cotton swabs | Touch and lift |
| Metal scuffs/light oxidation | Non-abrasive metal cleaner or polish | Gentle polish, wipe dry |
On BMW, Audi, Ford, Honda, and Toyota shifters, the weak spot is usually the seam where the knob meets the boot or where the trim meets the console. Keep liquids off that seam and you will prevent the “clean it once, then it looks worse later” problem.
Wipe-down And Avoid Residue
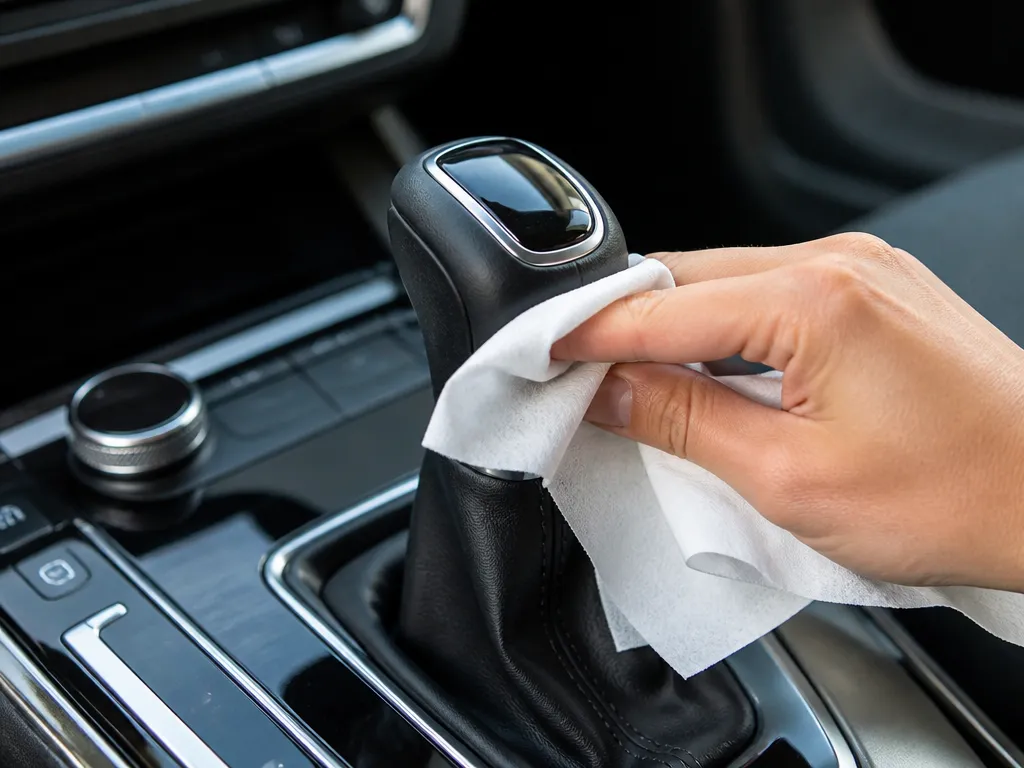
Sticky or streaky gear shifters usually come from leftover cleaner, overspray, or too much liquid trapped in seams. The cure is a controlled wipe-down routine: clean first, then a lightly damp pass, then a dry microfiber finish.
Wipe Order That Prevents Tacky Feel
Follow this order so you remove grime first and then chase down any cleaner chemistry before it dries on the surface.
For plastic, vinyl, and console trim, this order prevents the “slick” coating that some all-purpose cleaners leave behind. For leather or rubber boots, the same order matters, but you must keep moisture minimal to avoid darkening or stiffness.
For example, a rubber shift gaiter often traps residue in the folds. After cleaning, do one damp wipe on the seams, then dry immediately, and repeat once if the material still feels grabby.
Removing Cleaner Residue Without Overwetting
Residue usually appears as tacky fingertips, greasy shine, or a faint film that attracts dust. Use smaller cloth sections and fewer passes, since over-saturating can push cleaner deeper into stitches, seams, or vent openings around the shifter.
Insider tip from the bay: if the surface stays “slick” after drying, you did not remove chemistry, you spread it. Do one more damp wipe with a different clean cloth, then dry again.
| Surface type | Best residue-removal method | Common mistake to avoid |
|---|---|---|
| Plastic/painted trim | One damp wipe with water, then dry microfiber | Spraying directly so liquid runs under trim |
| Vinyl | Light damp wipe, quick dry buff | Letting cleaner dry on the grain |
| Leather | Damp cloth wipe, then dry; minimal moisture | Flooding near stitching |
| Rubber boot/shift gaiter | Damp wipe focused on folds, then dry | Overwetting and leaving water trapped |
Rinsing Concept: When To Rinse Vs. No-rinse Options
Rinsing is appropriate when the surface tolerates plain water and you can control run-off. For most gear-shift plastics and console trims, a single damp wipe removes cleaner safely without pooling.
No-rinse options are smarter when liquid can migrate into switch housings, seams, or wiring. In practice, use “less is more,” then verify by drying and checking for sheen or tackiness under a bright light.
For example, if the shifter has a boot that sits over a base with gaps, keep the damp wipe tighter around the visible area. If you see moisture migrating toward the base, stop, dry immediately, and switch to dry microfiber for the next pass.
Drying Time And Reassembly Tips
Drying is what keeps cleaned surfaces from re-attracting dirt and prevents moisture from creeping into seams around the shifter. Plan on air-drying until the surface feels completely dry and cool to the touch, then wait a little extra before you cycle the shifter.
Work with airflow instead of speed. Keep the windows cracked so the cabin can vent, and aim a gentle fan at the center console area.
How Long To Wait Before Shifting Or Reinstalling
Expect drying to take 20 to 60 minutes for wipe-only cleaning, and 1 to 3 hours if you used a water-based cleaner, got into seams, or had sticky residue that needed extra dwell time. Humidity, cabin temperature, and how soaked the microfiber became all change the timeline.
For a practical check, press a clean dry microfiber against the surface for 5 seconds. If fibers pick up moisture, you are still wet enough to smear residue, and you should wait longer.
| What you cleaned | Drying indicator | Safe reassembly timing |
|---|---|---|
| Console trim and shifter surround (light wipe) | Cool, dry to touch, no damp feel at edges | About 20 to 45 minutes |
| Rubber boot or gaiter with a damp wipe | Seam areas feel dry, not slick | About 45 minutes to 2 hours |
| Sticky residue removal (extra dwell, more cleaner) | Microfiber test shows zero moisture transfer | About 2 to 3 hours |
Delay moving the shifter and reinstalling any parts until the area is dry, not just “mostly dry.” Moisture at the edges can migrate under the knob or trim during movement, leaving streaks that look like cleaner residue later.
Tip: After cleaning, leave the shifter in Park for the first drying cycle. Cycling it while wet spreads liquid along the boot folds and can drag residue into the surrounding trim gaps.
Optional conditioning belongs only after full dry. Apply a leather or vinyl conditioner in a thin, even coat, let it soak per label instructions, and wipe the excess so you do not create a tacky surface that attracts dust.
Material-specific Shift Cleaning
Gear shift materials are different, and the wrong cleaner can leave permanent shine, haze, or discoloration. Clean in the smallest area first, then move outward once you know it reacts well.
For example, if your knob feels tacky or looks slightly darker after prior cleaning, it is usually leftover conditioner or an all-purpose cleaner that dried on the surface. A damp microfiber wipe with plain water, then drying, often clears the haze before you recondition with the correct product.
| Surface | Best approach | Skip this |
|---|---|---|
| Glossy plastic/metal trim | Mild cleaner on microfiber, wipe and dry | Abrasive pads, direct spraying into seams |
| Matte plastic | Gentle cleaner, lightly damp wipe, dry fast | Shine/protectant products, waxy interior sprays |
| Leather/vinyl knob | Material cleaner on cloth, condition after | Degreasers, unknown solvents, soaking |
| Rubber/plastic boot | Barely damp wipe, no soaking, dry | Flooding, heavy APC, pressure spraying |
| Painted/chrome accents | Gentle cleaner, wipe, buff dry | Bleach/strong solvents, single-towel rubbing |
Insider tip: If a spot looks worse after cleaning, stop and switch to plain water on a cloth first. Dried residue is harder to fix with stronger chemicals, and matte surfaces in particular will lock in shine if you keep attacking them.
Troubleshooting Sticky Odor Residue
Residue that sticks around after cleaning is common on gear shift surfaces. Re-clean the area with a controlled spot-clean using a mild, surface-compatible cleaner and finish with a final dry wipe to remove any remaining film. Let everything dry completely before using the shifter again.
Residue Remains
Symptom: Residue remains visible after cleaning. Cause: Excess cleaner or improper wipe leaves a film on the surface. Fix: Perform a controlled spot-clean with a small amount of mild cleaner on a microfiber, then wipe dry until the film is gone. Allow the area to air-dry completely before use.
Discoloration Happens
Symptom: Patchy or uneven color after cleaning. Cause: Cleaner or conditioner interacts with dye or sealant, or heat exposure sets a stain. Fix: Stop and test a small inconspicuous area with your chosen product; if discoloration occurs, switch to a gentler, surface-safe cleaner or conditioner and rewipe gently; if the color change persists, avoid further treatment and consider professional refinishing.
Unpleasant Odor
Symptom: Lingering chemical or musty smell after cleaning. Cause: Spill residue trapped in seams or grime absorbed into the upholstery material. Fix: Identify the source by inspecting under the gaiter and around the base, then repeat a light wipe with a neutral interior-safe cleaner and, if needed, an odor-neutralizing product designed for cars. Ensure thorough drying and good ventilation; for organic spills, use an enzyme-based cleaner meant for interiors and avoid strong solvents near wiring.
Tackiness After Cleaning
Symptom: Surface feels sticky to the touch after drying. Cause: Residue from cleaners or conditioners that did not fully evaporate. Fix: Re-wipe with a clean damp microfiber to remove residual film, then dry with a separate towel; avoid waxy or glossy interior products on the shift area. If stickiness remains, run the blower for a few minutes to aid drying and air movement.
When To Stop And Consult A Pro
Symptom: Liquids get into seams or electronics, or the shifter feels loose or uncoordinated after cleaning. Cause: Cleaning liquid infiltrates seals or the conditioning steps compromise the mechanism. Fix: Stop cleaning immediately, do not spray more liquid, and consult the vehicle manual for interior care guidelines. If you notice moisture near connectors or persistent odors, schedule a professional inspection to prevent damage.
Quick Summary
To clean a gear shift safely, treat the shift knob and boot like interior finishes, not kitchen surfaces. The process starts with prep and dry removal, then moves into spot cleaning and a final wipe down. For stuck-on messes, use short dwell times, about 1 to 2 minutes on spots, then wipe immediately.
Continue by matching the cleaner to the material and controlling liquid flow. Leather and vinyl use a leather-safe or interior cleaner, followed by conditioning only after the surface is fully dry, while rubber boots should never be soaked. Drying time varies with the amount of moisture and the cabin conditions, so wait until the area is completely dry before driving.
| Surface | What to do | What to avoid |
|---|---|---|
| Plastic knob/trim | Dampen a microfiber, light pressure, dry promptly; short dwell on spots | Harsh solvents, soaking liquids |
| Leather | Use a leather-safe interior cleaner on barely-damp cloth, buff dry | Degreasers, heavy water, strong alcohols |
| Vinyl | Gentle cleaner on cloth, wipe dry | Bleach, lacquer thinner, steam |
| Rubber shift boot (gaiter) | Moisture-safe cleaner, rinse-free wiping, air dry | Soaking, flooding the boot seam or shift opening |
Frequently Asked Questions
What Is The Safest Way To Clean A Gear Shift Without Damaging The Shift Boot Or Trim?
Use a clean microfiber cloth and a lightly damp all-purpose cleaner on the cloth, not soaking the area. Dry everything fully before driving.
Can I Use Rubbing Alcohol To Clean My Gear Shift Handle?
You can use isopropyl alcohol on non-textured surfaces in small amounts, but test a hidden spot first to avoid discoloration. Don’t flood it, and stop if the finish turns tacky or dull.
How Long Does It Take For A Gear Shift To Dry After Cleaning?
Wipe-only cleaning may dry in 20 to 60 minutes, while moisture near seams or wiring can require 1 to 3 hours. Wait until it’s completely dry before shifting through all gears.
How Do I Clean Buildup In The Shift Knob And Around The Shifter Base?
Start by removing loose grime with a soft brush (like a detailing brush), then wipe with a cloth dampened with cleaner. For cracks and edges, use cotton swabs.
Is It Okay To Spray Cleaner Directly On The Gear Shift?
Avoid spraying directly because it can spread beyond the intended area. Use a cloth or precision applicator for better control.
What Common Mistake Causes A Gear Shift To Feel Sticky After Cleaning?
The most common mistake is using a cleaner or solvent that leaves a residue, which attracts dirt and makes the knob or surrounding area tacky. Wipe off thoroughly and dry fully.