
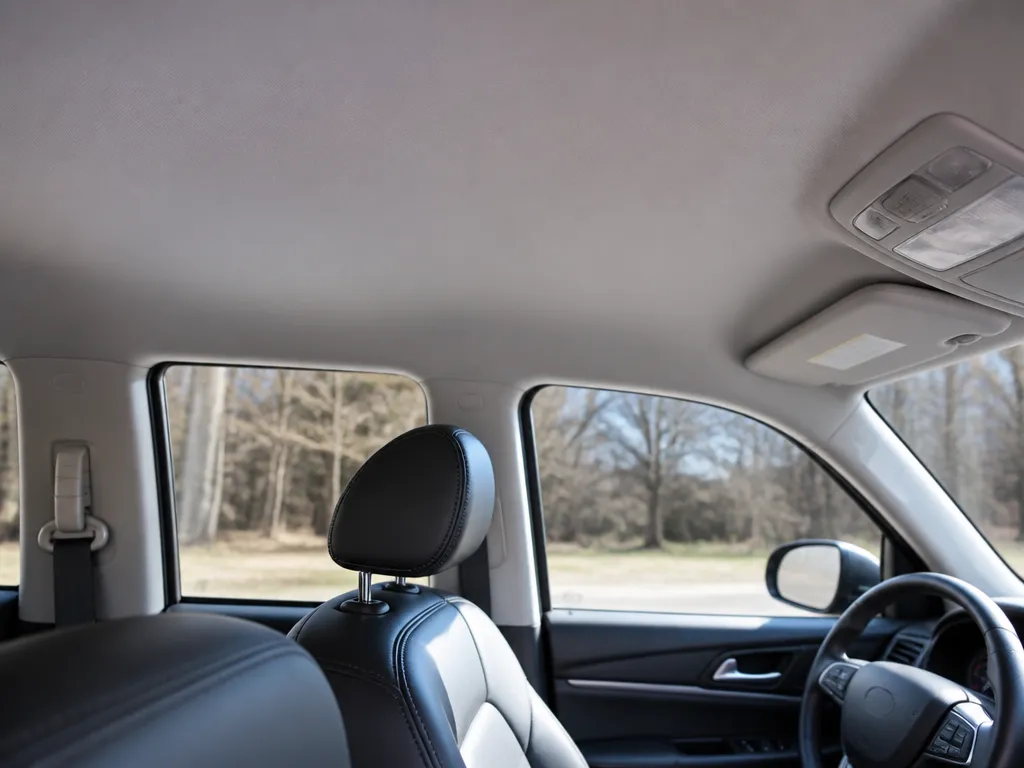
Your headliner is sagging again, and it’s right where it always starts, around the center, near the doors, or around the sunroof opening. If the fabric looks loose and the foam backing is peeling, the fix can be a simple re-glue or a full headliner redo, depending on what failed and how far it‘s gone.
Sagging headliners usually come from failed adhesive or delaminated foam backing, and the repair path depends on where it’s loose. Expect to use headliner-specific spray adhesive, clean off old residue, and reattach the fabric under temporary clamps or weights for a proper cure time.
Sagging headliner repair means locating the failed area, then re-gluing the fabric to solid foam using headliner adhesive. For a localized sag, remove the needed trim, peel back the loose section, clean old glue, spray adhesive, press the fabric flat, and hold for about 20-30 minutes plus full cure per the can.
How To Fix Sagging Headliner
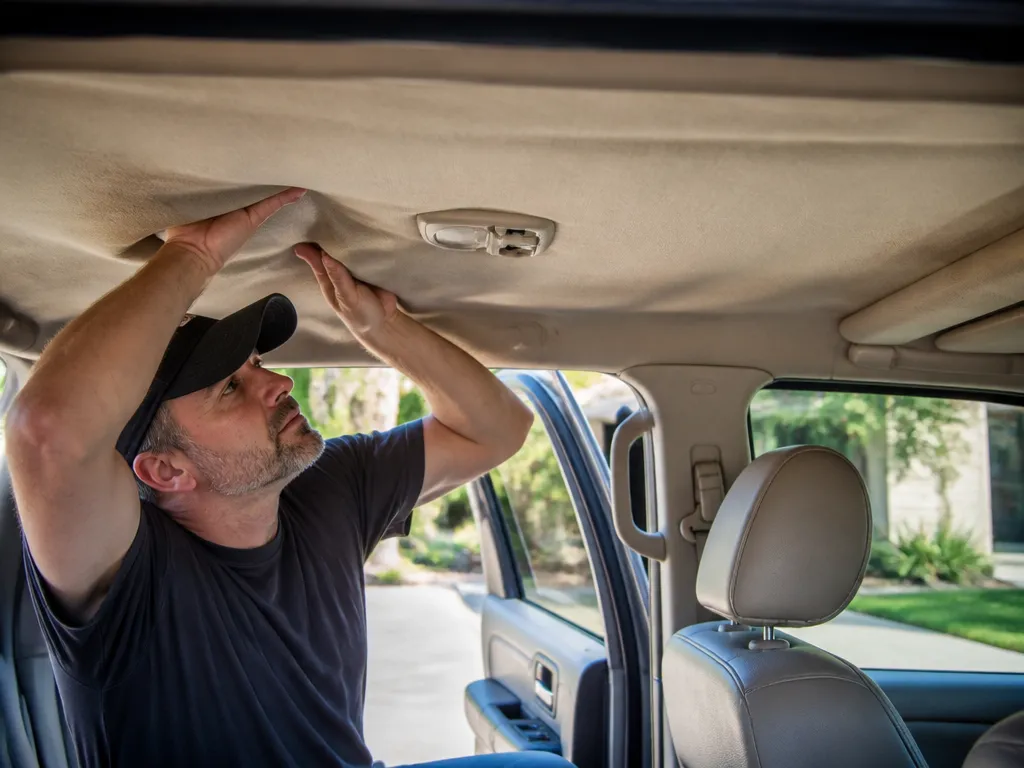
Headliners sag because the fabric bond has failed or the foam backing has lost its grip, then gravity pulls the material loose. The right repair method depends on whether the separation is small and localized or widespread across the panel. The fastest correct path is a quick triage, then glue-only, partial drop, or full replacement based on what you find.
Quick Triage: Localized Sag Vs Full Delamination
Localized sag usually appears near sun load areas (center roof, above doors, rearward sections) or around a specific opening like a sunroof trim. Pull the fabric gently by hand to feel if it still holds tension or if the backing slides freely. Localized issues often mean the adhesive let go in a patch while the foam still grips the panel.
Full delamination looks like broad bubbling, multiple loose zones, and fabric that feels “dead” across most of the roof liner.
In practice, you can test firmness by pressing up with your palm in several spots; if many areas depress and stay loose, you are past a simple re-glue. For many GM and Ford models with large flat roof sections, once the center area releases, the edges usually follow.
| What you see | Likely cause | Best repair path | Difficulty |
|---|---|---|---|
| Single small loose patch, edges still tight | Headliner adhesive failure (spot area) | Glue-only re-bond | DIY-friendly |
| Multiple loose zones, one section droops (often near doors) | Adhesive failure plus partially separated foam | Partial disassembly and re-glue | Moderate |
| Widespread wrinkles, bubbling across most of panel | Foam backing delamination or widespread bond failure | Full headliner drop or replacement | High |
| Fabric sags while clips/trim are visibly loose or missing | Broken retainers, failed tack strips, or improper re-seating | Reseat and replace clips, then re-glue if needed | Moderate |
Choose Repair Path: Glue-only, Partial Disassembly, Or Full Headliner Drop
Glue-only is the move when you can access the underside of the liner locally and the fabric stays mostly taut. Glue-only works best when the foam backing still has structure, and the fabric is not visibly tearing or separating along seams.
Partial disassembly is the right call when you need controlled access along an edge, such as the front header, above the doors, or around the B-pillar area. Partial drop gives you a flat work surface so you can press bond areas evenly without trapping wrinkles near trim.
Full headliner drop or replacement is the smartest route when you find foam that flakes, multiple areas that lift, or tension that cannot be restored without redoing most of the panel. Full work costs more in labor and time, but it usually prevents the “new sag beside the last repair” problem.
Safety and when to stop: Overhead consoles, front overhead airbags, and curtain airbag deployment zones are part of the restraint system. If your sag is near an overhead console, roof rail, or curtain-airbag area, stop and get a pro if you are unsure which fasteners and covers are restraint-related. Pulling at the wrong trim can damage airbag components or wiring.
What Success Looks Like After The Repair
Success is a liner that returns to its original contour, with no persistent wrinkles or bubbles after the adhesive cures. Edges should sit tight under the trim channels and around the sunroof opening (if equipped), with the fabric tension even across the repaired zone.
Success also includes proper curing behavior. The repaired area should not sag back after you reassemble everything and the cabin is warmed, and you should avoid handling the liner for at least the adhesive’s full cure window stated on the can. For stubborn sagging that returns quickly, the most common causes are wrong adhesive type, insufficient dwell time before pressing, or foam backing that has lost its bond strength.
Insider tip: Many headliner adhesives bond best when the surface is clean and dry, and they need consistent pressure during the first minutes. If you rush the cure, the fabric can “float” and creep back into a saggy shape.
Diagnose Why It’s Sagging
The sag location helps predict which attachment point or material is failing. Pinpoint the biggest low spot and compare it with the rest of the roof before pulling trim apart.
Cause Checklist By Where It Sags
Start your diagnosis at the biggest low spot and compare it to the rest of the roof. Headliners often fail in predictable zones because attachment points, seams, and sunroof cutouts see the most heat and vibration.
Use an inspection light and gently press upward with clean hands. A failed bond feels like the fabric moves or waves independently, while collapsed foam feels soft, uneven, or crumbly when lightly touched.
Quick tell: If only the fabric face drops but the board stays fairly solid, the adhesive separation is the main issue. If the whole panel looks uneven or the foam loses shape, you are dealing with foam backing failure, which usually means re-glue alone will not hold long.
| What you see | Most likely cause | What to expect after re-glue |
|---|---|---|
| Fabric detaches, board stays rigid | Failed headliner adhesive bond | Good chance of long fix if foam is intact |
| Foam backing tears or feels spongy/crumbly | Separated foam backing | Higher chance of re-sagging unless foam is corrected |
| Loose edges, gaps near trim anchors | Broken clips or retainers | Re-glue alone will fail until fasteners hold |
Moisture And Odor Clues (Stop Diy If It’s Soaked)
Water is the silent killer of headliners because it defeats the adhesive and feeds mold in the foam and board. Look for staining at seams, discoloration around the overhead console, or a musty smell that gets worse when the cabin warms up.
Sunroof-specific Culprits
Sunroof openings create a tighter bond line and more potential leak paths. If sagging is centered around the glass frame, suspect drain blockage, seal failure, or adhesive breakdown from repeated water and heat cycles.
After you identify the zone, match it to the failure type: bond failure, foam separation, or broken retainers. That diagnosis drives the right repair approach later, and it prevents wasting time re-gluing something that has to be mechanically re-anchored first.
Airbag-safe Trim Removal Plan
Disconnecting the battery is the safest first move before you touch any overhead wiring near headliner airbags. Leave the car undisturbed for the wait time listed in your specific service manual, since curtain-airbag systems need time to discharge.
Locate Curtain Airbag Zones Before You Remove Anything
Curtain airbag coverage usually runs along the roof rail down the side, with seams or stitched boundaries near the side curtain area. Overhead restraints and some overhead consoles sit above the front seats and can share wiring paths with reading lights, microphones, and sunroof switches.
Before you pull trim, identify the “hot spots” on your vehicle by inspection. Look for side curtain airbag labels, long roof-rail fabric seams, and any plastic trim that clips into the roof structure.
Before Unplugging Anything: Battery Disconnect And Waiting Time Basics
Remove the negative battery cable first, then set it aside so it cannot spring back. Wait the exact time your service manual specifies for the SRS system to discharge, since skipping this step can cause an airbag to deploy.
Do not rely on “generic wait times.” Different manufacturers and even different modules can change the required wait, so pull the correct interval for your VIN or model year.
Connector Handling For Lights, Microphones, And Switches
Headliner connectors often include reading lights, dome lights, roof speakers or microphones (in some GM, Ford, Hyundai, and Honda setups), and sunroof switch assemblies. Treat every overhead connector like it is for an airbag-adjacent module, even if it looks unrelated.
Stop-and-seek Guidance
Stop the job and get professional help if you find damaged airbag wiring, a connector with bent or pushed pins, or any torn curtain airbag fabric. Airbag repair is not a DIY “patch and re-glue” situation.
Seek help if you are unsure whether a component you are removing is part of the airbag assembly or if you suspect the overhead restraint module needs reattachment to factory specs.
Pro tip: If the headliner needs to be lowered past a roof-rail seam that you cannot identify with confidence, stop and have the trim removal strategy verified for your model year.
Avoid Interference During Removal
Do not yank harnesses, since you can stretch terminals or disturb routing that keeps wiring clear of curtain-airbag deployment paths. Do not pinch curtain airbag material between the headliner and trim clips, and do not force the sunroof switch housing to seat while a harness is trapped underneath.
Do not reuse damaged clips, retainers, or broken plastic fasteners. Replacing them is usually cheaper than chasing rattles and it helps keep trim pressure off the airbag zone.
| What goes wrong | Why it matters | What to do |
|---|---|---|
| Harness snagbed under trim edge | Wiring tension changes and can interfere with airbag deployment | Re-route the harness exactly as it was, then reinstall trim without forcing |
| Airbag seam area pinched | Fabric compression can affect deployment behavior | Stop removal, reposition headliner and trim, replace any compromised clips |
| Broken retainer reused | Loose trim causes sagging hotspots and can create abrasion | Use new retainers/clips and ensure even pressure along the roof |
Headliner Tools And Materials List
Headliner repairs depend on using the right adhesive chemistry and having enough temporary clamping to hold fabric tension while the glue cures. Expect to pair a headliner-specific spray or foam-compatible contact adhesive with painter’s tape, wedges, and clips or clamps so the liner stays flat and wrinkle-free.
| Item | Amount/Specification | Notes |
|---|---|---|
| Headliner adhesive (spray) | 1 can (typical), plus an extra can if the headliner area is large | Use a product labeled compatible with headliner fabric and foam-backed materials. |
| Headliner adhesive (foam-compatible foam tape style) | As required for seams and edges (small strip or spray pattern) | Choose options marketed for foam-backed upholstery. Avoid general-purpose upholstery glue. |
| Avoid: solvent-heavy contact cement | Do not use | Wrong chemistry can soak, dissolve, or permanently darken foam and backing. |
| Avoid: hot glue | Do not use | Heat cycle and flex can release it, leaving sagging again. |
| Retainers/clips/fasteners | 1 kit or as-needed (commonly 10 to 30 pieces depending on vehicle) | Replace clips that are brittle, broken, or deformed. Reuse hardware that snaps on clean and holds tight. |
| Cleaning solvent for old adhesive | Small amount, plus microfiber towels | Test on a hidden spot first. Use light pressure and short contact time, since soaking foam weakens it. |
| Isopropyl alcohol (IPA) or adhesive cleaner | Enough for wipe-down and final prep | Use only after checking the adhesive instructions for compatibility. |
| Microfiber towels | 6 to 12 | Use for wipe prep and to prevent glue transfer to visible fabric. |
| Painter’s tape | 1 to 2 rolls | Helps hold fabric edges and keeps you from smearing adhesive where you do not want it. |
| Foam wedges | 2 to 6 | Wedges help maintain even contact pressure while glue sets. |
| Clamps or spring clips | 2 to 8 pieces | Use for corners and long spans. Pad contact points so you do not dent trim. |
| Weights | Small flat weights, wrapped | Weights work well for sunroof openings or center spans, as long as they stay wrapped and controlled. |
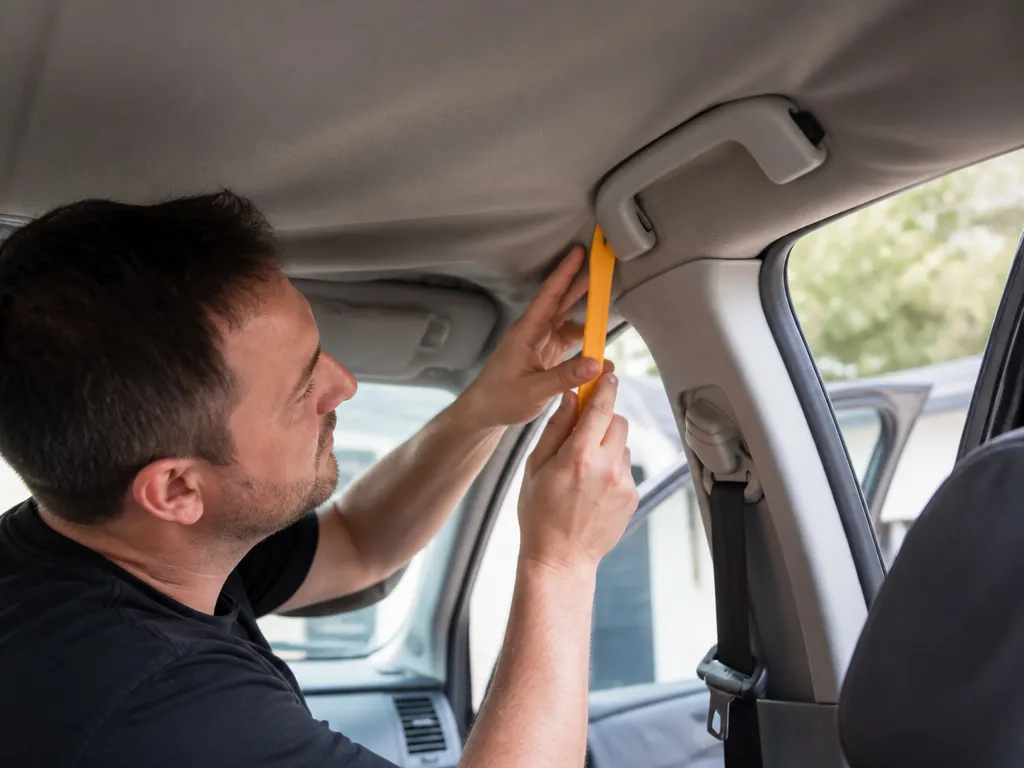
| Trim tools | 2 to 3 plastic picks/pry tools | Reduces the chance of clip damage and helps avoid scratching headliner trim pieces. |
| Optional: new foam backing | Only if the original foam is torn or collapsing | Replace backing when it is delaminating. Re-gluing failing foam will sag again. |
| Optional: trim clips and weather stripping (sunroof areas) | As needed | Sunroof cassette edges often need new clips or softened seals to stop future rattles and leaks. |
Remove Headliner Trim Safely
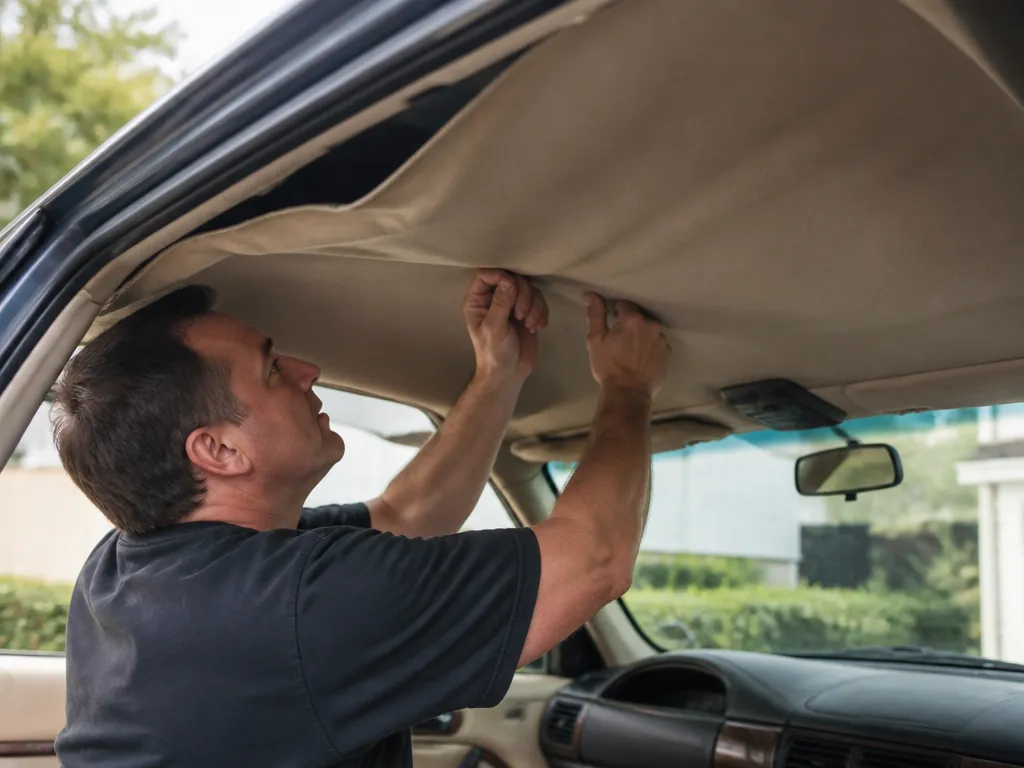
Most sagging headliner repairs fail because trim and lights get removed in the wrong order, causing broken clips or damaged connectors. A careful disassembly plan lets you access the sagging foam area while keeping airbags and wiring intact.
Where To Stop For Safety
Stop disassembly if you see curtain-airbag modules, inflator housings, or wiring labeled for SRS (airbag). If the sagging area is directly over an airbag cover, it is often smarter to have a shop remove the related trim to prevent accidental tearing or misrouting of harnesses.
Expert tip: Mark every connector with painter’s tape before unplugging. Headliner wiring harnesses can look similar side-to-side, and one swapped plug can waste hours during reassembly.
| Vehicle area | Trim you usually remove for access | Common mistake to avoid |
|---|---|---|
| Front overhead | Visors, dome/reading light trim, front A-pillar edge covers | Pulling lamp housings with the wires still attached |
| Center sag near roof | One side of roof edge and enough clips to lift the fabric flat | Twisting the headliner while it is still clipped along the opposite side |
| Door-to-roof droop | Rearward pillar trim and roof edge clips closest to the droop | Forcing retainer clips back into the headliner channel |
| Sunroof models | Sunroof perimeter trim near the sagging seam | Disturbing drain rails or pulling the headliner past the track |
Re-glue Fabric And Re-tension
Old glue and loose fabric will keep the headliner from bonding, even if you use the best adhesive. Clean the foam backing carefully, verify the backing is still solid, then apply the correct glue on the roof and the backing where the product instructions say. Tension the fabric evenly as you position it, so wrinkles never get a chance to “set” before cure.
Safety note: Keep adhesive fumes under control with ventilation, and keep clear of any airbag-related overhead wiring paths or modules. If your vehicle has a curtain airbag in the roof, stop and have a pro handle any area near the airbag deployment path to avoid interfering with critical components.
Pro tip: If the fabric keeps “walking” after you press it, your tack time is off or the foam backing is too weak. Fixing that early prevents a full redo later.
| Situation | What you should see | Best next move |
|---|---|---|
| Bond failed but foam is intact | Foam holds shape, adhesive flakes off cleanly | Clean, re-glue on the correct surfaces, tension and clamp evenly |
| Backing is disintegrating | Powdery crumb, torn foam, adhesive soaks in inconsistently | Plan on fabric replacement or professional recover |
| Wrinkles appear while curing | Ripples where pressure was uneven or glue slid | Reposition within the kit’s workable window, then re-clamp |
After you finish gluing and tensioning the main panel, keep your hands off the center area while clamps are in place. Small adjustments done too late are the most common reason the headliner looks flat the first day and sags again after the next heat cycle.
Cure Time And Wrinkle Prevention
Headliner adhesive only holds once it has cured to the condition the product specifies, so time and airflow matter as much as the glue choice. Follow the can’s open time and cure time, then adjust for temperature and humidity since cool, damp conditions make adhesives stay tacky longer. Plan on a longer wait if your garage is below about 60°F (15°C) or if the interior is still humid.
| Adhesive state | What you feel | Action |
|---|---|---|
| Touch-dry | Dry to the touch, but may still feel rubbery | Wait, do not remove tape or reinstall trim |
| Setting | Grip increases, fabric resists small presses | Keep tape in place, avoid moving panel |
| Fully cured (per label) | Firm bond, no transfer, no visible fabric creep | Remove tape/clamps and reinstall trim |
Post-repair Inspection That Catches Early Failure
After cure, lift and inspect at the corners and seam lines first, since those are the failure points that show up fastest. Gently press down along edge returns, overhead support areas, and near any sunroof cassette openings, and watch for any peel-back starting.
For center sag spots, inspect both directions: press the middle downward to see if the fabric springs back without rippling, then run your fingers across the centerline to confirm the fabric is smooth with no waves. For repeated sag near doors or climate-control vent areas, check whether the fabric is still uniformly tensioned across the panel, not just where tape was applied.
Insider tip: If you see wrinkles that “hold their shape” after cure, the fabric was moved too early or tension was uneven during set. Fixing it later usually means re-gluing that section, so catching it in the first inspection saves time.
Fix Sag Return And Repeat Failures
Sag Returns Quickly
Symptom → Sag reappears days after cure. Cause → Wrong adhesive type, incomplete cure, or foam backing failure. Fix → Use the correct foam backed headliner adhesive and ensure a full cure at a stable temperature and humidity; verify foam integrity and replace backing if crumbly before re-gluing.
Bubbles And Wrinkles
Symptom → Bubbles or wrinkles appear during or after cure. Cause → Excess adhesive thickness, poor surface prep, or uneven tension. Fix → Prep surface thoroughly, apply a thin even coat, clamp or weight the fabric while curing, and recheck tension to minimize air pockets.
Edges Lift
Symptom → Edges lift near trim lines or clips. Cause → Missing clips, surface contamination, or insufficient edge tension. Fix → Replace or reinstall edge clips, clean perimeter with isopropyl and allow dry, then re-tension with clamps while adhesive cures.
Sunroof-area Sag
Symptom → Sag around sunroof area. Cause → Sunroof drains or seals leaking, or water intrusion saturating foam. Fix → Repair drains and seals first, dry area completely, then re-glue with care around sunroof edge and replace any water-damaged foam if necessary.
Decision Rubric: Repair Vs Replacement
Symptom → Widespread delamination or foam disintegration signals replacement. Cause → Backing is compromised beyond patch repair or there is mold risk. Fix → If more than a small patch area shows delamination or foam is crumbly, plan partial or full replacement; heavy considerations include overhead airbags and electronics, time, and cost, which often favors replacement over repeated re-gluing.
Quick Summary
| Area affected | Likely cause | Best repair path |
|---|---|---|
| Center roof | Adhesive failure | Glue-only reattachment |
| Edges near doors | Adhesive failure with partial foam separation | Partial disassembly and re-glue |
| Widespread panel | Foam delamination or multiple loose zones | Full headliner drop or replacement |
Frequently Asked Questions
What Is The Most Effective Way To Fix Sagging Headliner Without Removing The Headliner?
The most effective DIY method is using a headliner spray adhesive or fabric adhesive designed for automotive headliners. Apply a light, even coat to both the fabric and backing, then let it tack for about 30 seconds before pressing the fabric back into place.
How Long Does A Diy Sagging Headliner Repair Typically Take?
Plan for about 2 to 4 hours for the reattachment of a typical headliner patch. Allow a full 24 hours cure time before normal driving.
Can Sagging Headliner Be A Sign Of Moisture Intrusion Or Roof Leaks?
Yes, moisture is a common culprit; inspect around the windshield seal, sunroof drains, and door seals and fix any leaks before reattaching the fabric. Dry the area thoroughly to prevent quick re sagging.
When Should I Replace The Headliner Fabric Instead Of Repairing It?
If the foam backing is deteriorated, the fabric is torn, or sagging covers more than half the area, replacement is the better long term option.
What Are The Biggest Mistakes To Avoid When Fixing Sagging Headliner?
Avoid oversaturating the foam with adhesive, which can cause bleed through or rebound; don’t work around airbags or roof electronics; and give the material time to cure before driving.