
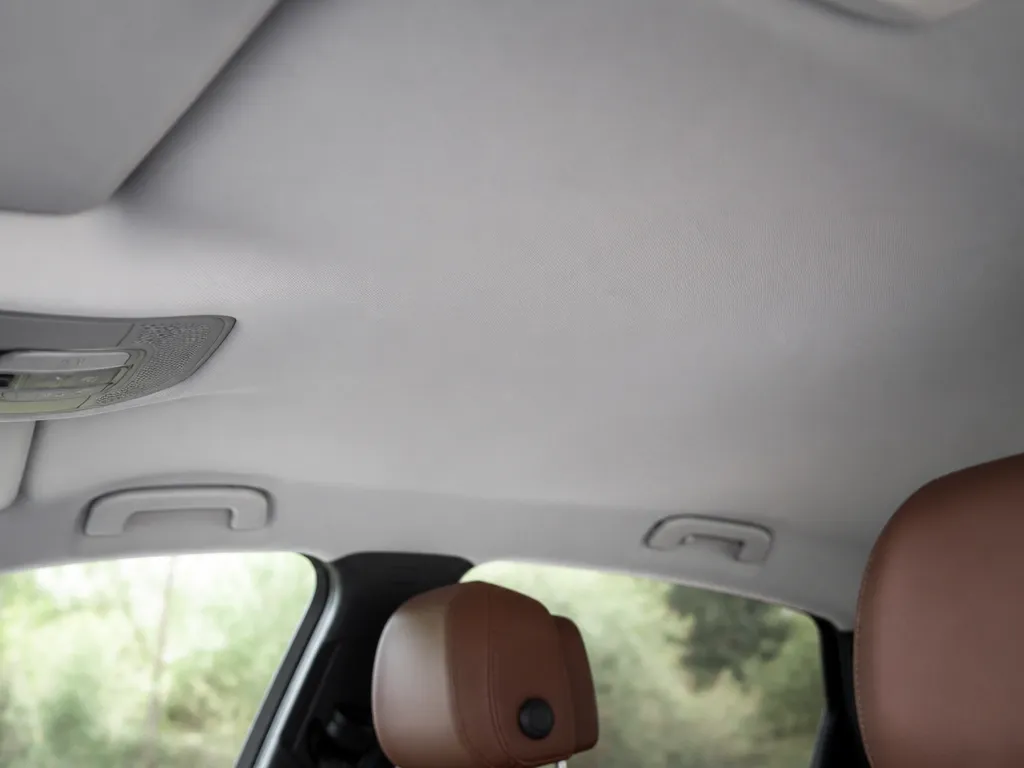
The first time you spot a brown water ring or a greasy thumbprint on the headliner, it feels like a simple wipe job. Then you realize headliners can sag, stain colors can bleed, and the foam backing can loosen if you over-wet it. You need a clean method that respects fabric, suede-like, and vinyl headliner materials, plus a plan for common stains.
Start with dry vacuuming, then use pH-neutral upholstery cleaner on a barely damp microfiber (no soaked headliner). Expect 10 to 30 minutes of air-dry for a lightly dampened surface with fans; thicker or wetter areas may require longer. Avoid heat guns, steam, and harsh solvents. If stains are deep or the liner is already separating, stop and use a professional before it turns into a replacement job.
Car headliner cleaning starts with vacuuming loose dirt, then testing cleaner on a hidden spot. Mix pH-neutral upholstery cleaner with water, dampen a microfiber (wring it out), and dab stains gently, working outward. Let it air-dry with a fan until the surface is fully dry; never use heat. If the headliner starts separating, stop.
How To Clean Car Headliner
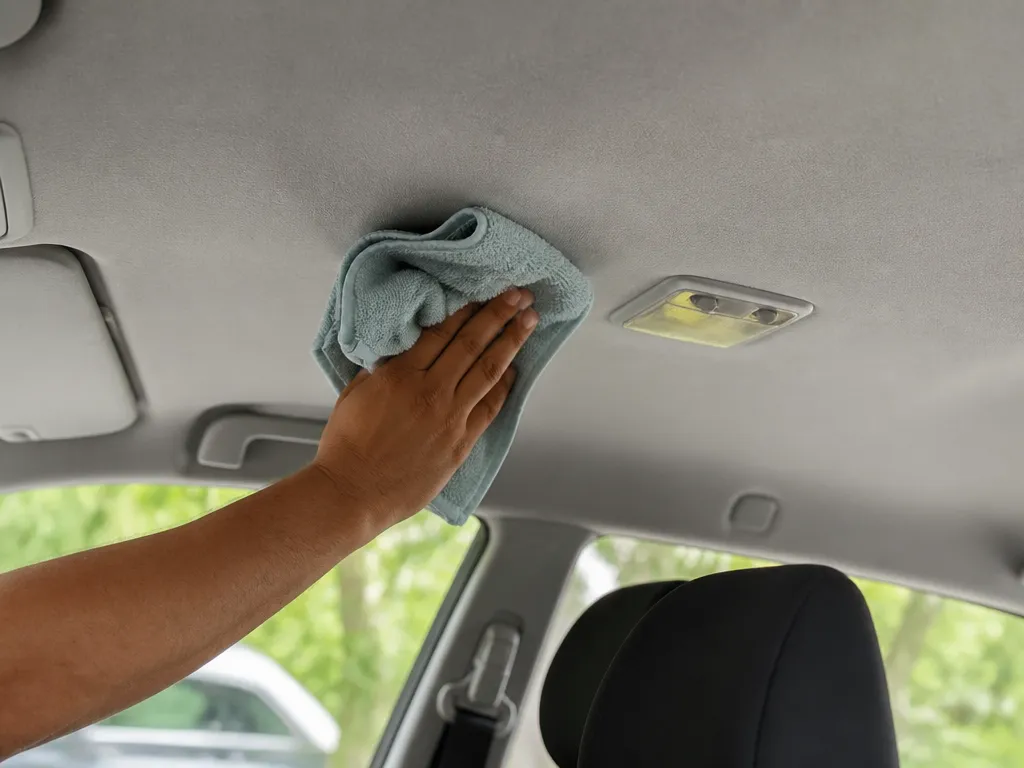
Start with a low-wet method, because most headliners lose adhesion or bleed color when you soak the fabric or the foam backing. The safest DIY approach is gentle vacuuming first, then controlled “damp cloth” cleaning with pH-friendly upholstery products.
Headliner material drives everything: what looks “like clean cloth” to you may be foam-backed fabric that can delaminate if it gets too wet. Before you pick any cleaner, identify whether the surface is fabric, suede-like, vinyl, or a vinyl-backed cloth, since each reacts differently to water, alcohol, and agitation.
Material Types And Why The Method Changes
Fabric headliners are usually foam-backed textiles, stain removal is possible, but overwetting loosens the glue and can create sagging or bubbling. Suede-like surfaces are more dye-sensitive and can mat quickly, so friction and heavy liquid application are your enemy.
Vinyl or vinyl-backed headliners tolerate light damp cleaning better than porous fabric, but harsh solvents can still discolor or strip coatings.
For example, an automotive interior cleaner that is safe on fabric can still leave shiny patches on a vinyl surface if you rub too hard.
Goal: Remove Stains Without Over-wetting
The win is clean-looking fabric, not soaking it. Your target is to lift soil and stain onto a microfiber pad while keeping the headliner surface nearly dry, then letting air flow finish the job.
Pro tip: Work small sections (about the size of a dinner plate). If the cloth pad you’re using turns saturated, stop and replace it, then dry-buff with a second clean microfiber.
| Supply | What to buy | Why it helps |
|---|---|---|
| Microfiber towels/pads | 3 to 6 clean, lint-free | Controls moisture and prevents redepositing soil |
| Brush | Very soft interior detail brush | Loosens grime without grinding it in |
| Cleaner | Upholstery/interior cleaner labeled for automotive fabric | Reduces risk vs. household detergents |
| Vacuum | Handheld with brush or upholstery attachment | Removes dust before it turns to paste |
Prep And Safe Diy Baseline
Prep the cabin so you don’t create new stains while cleaning. Park in the shade, cool the interior, and cover seats and electronics with clean plastic if you’re working near the overhead console.
Gather these before you start, then do one spot test in an area that’s usually hidden by a sunshade or dome light. Use a diluted cleaner in a spray bottle, never pour product onto the headliner.
Common mistakes to avoid: soaking the foam backing, using acetone or strong degreasers, scrubbing aggressively, or blasting heat with a dryer. If the headliner starts to loosen at seams or edges, pause immediately and switch to dry blotting only, or have a shop handle the repair.
Headliner Material Types &Amp;amp;amp; Compatibility
Headliner materials react differently to water, solvents, and adhesives, and that is why the “same cleaner” idea often turns a small stain into bubbling or peeling. Fabric and suede-style liners can wick moisture and turn rings permanent, while vinyl and coated liners can streak or smear if the wrong chemistry is used.
Fabric Headliners (Cloth): Water Sensitivity And Common Failure Modes
Fabric headliners are usually a knit or woven cloth bonded to foam backing. Water and cleaning agitation can pull dye and oils through the weave, so the stain lifts, then spreads into a larger, lighter “shadow.” The backing foam also can lose its bond if it gets over-wet.
In practice, the biggest DIY mistake is chasing a stain with repeated wet passes.
For example, a coffee or soda spill that gets soaked will often dry with a tide mark even after the liquid is gone. If the headliner is already loose or the adhesive is failing, any extra moisture can speed up delamination.
Suede Or Velour-look: Why Scrubbing Mats Fibers
Suede-style and velour-look headliners are made to hide dirt, then they show wear when you grind the nap down. Aggressive scrubbing flattens fibers, creating shiny patches and a two-tone look that even a good cleaner cannot fully reverse. Moisture can also reactivate oils and cause uneven drying, especially along seams and speaker cutouts.
Velour-style liners look similar across many makes, including Honda Civics and Toyota Camrys of certain years, but the texture is where the risk lives. If you clean one section more aggressively than another, you end up with a “traffic lane” of flattened nap that stands out under cabin lights.
Vinyl Or Coated Headliners: Cleaner Choice And Streak Risk
Vinyl and coated headliners are more forgiving with moisture, but they punish the wrong chemistry. Many general-purpose cleaners leave surfactant residue, and that shows up as streaks or a hazy shine when the surface dries. Solvents can cloud the coating or remove the protective layer, especially on older interiors.
In practice, vinyl/coated headliners tend to respond best to a cleaner that rinses clean or leaves minimal residue. If you use a cleaner that you cannot “nearly remove” during wiping, you will usually see lines around the edges of the treated area.
Adhesive-backed Layers: Delamination Warning Signs
Many headliners are a fabric or foam sandwich held together by spray adhesives. When that bond weakens, cleaning can separate layers even if the surface looks clean, and the problem may not appear until after the headliner dries and shrinks slightly. A softened edge around trim, sagging in the middle, and lifted seams are your warning signs to stop aggressive cleaning.
Warning: If you see bubbling, peeling, or the fabric lifting at seams, switch to minimal, surface-only cleaning. Persistent moisture pressure during stain removal can turn a small separation into a full rewrap job.
| Observed sign | What it usually means | DIY risk level |
|---|---|---|
| Edges lifting near lights or handles | Adhesive bond weakening | High |
| Random waves or sagging after any wet cleaning | Foam saturation or bond failure | High |
| Seam separation expanding with wiping pressure | Layer delamination underway | Very High |
For most passenger cars, the safe move is to treat cleaners as “surface chemistry,” not “soak-and-agitate” chemistry. If the backing is coming loose, every extra drop is time and heat that can make the repair bigger.
Tools, Cleaners, And Substitutes List
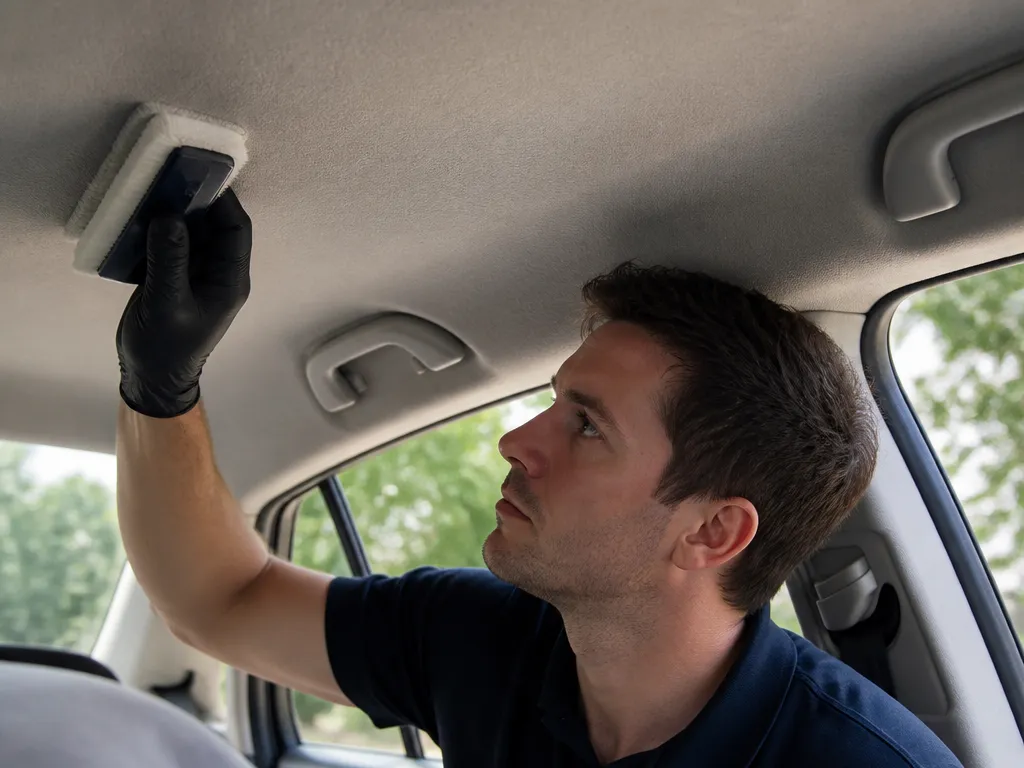
A headliner cleaning job is mainly about controlling moisture and agitation, so your tool choice matters as much as the cleaner. Start with soft-bristle brushes, clean microfiber towels, and a spray bottle that you can mist lightly instead of soaking the fabric.
| Item | Amount/Specification | Notes |
|---|---|---|
| Microfiber towels | 6 to 10, split into 2 “wet” and 4 to 8 “dry” | Use color-safe towels to reduce transfer staining. |
| Soft brush | 1 nylon or boar-bristle brush, plus 1 small detailing brush | Gentle pressure prevents matting and sheen spots. |
| Spray bottles | 2 (one for cleaner, one for distilled water rinse) | Fine mist sprayers reduce over-wetting. |
| Extractor or wet vac (optional) | 1 unit, if available | Use low suction and keep the wand moving. |
| Gloves and PPE | 1 pair nitrile gloves, 1 box of disposable gloves, and eye protection | Gloves keep dyes and oils off your hands, eye protection guards splashes. |
| Distilled water | 1 to 2 gallons total | Distilled water helps prevent mineral spots during rinsing. |
| Water-based upholstery cleaner | 1 bottle, follow label dilution if listed | Pick a cleaner rated for automotive upholstery or headliners. |
| Mild upholstery spot cleaner | 1 small bottle for targeted stains | Useful for localized scuffs, coffee rings, and light grime. |
| pH-neutral soap (substitute option) | 1 small bottle or concentrate | Works for light, water-soluble soil when mixed very weakly. |
Substitutes that work in a pinch are distilled water, a very mild pH-neutral soap solution, and a basic spot carpet cleaner that is labeled safe for upholstery fabrics. Spot carpet cleaners can work, but you must test in an inconspicuous area first because some formulas leave a darker outline on foam-backed materials.
Avoid: harsh solvents, ammonia bleach, strong degreasers, and any “heavy duty” cleaner meant for engine parts. Heat guns and hair dryers can also damage the headliner backing and set stains deeper.
For example, if you are dealing with water-soluble grime from hanging passengers or HVAC dust, a weak pH-neutral soap mix and careful misting usually beats aggressive detergents. If the stain looks oily, you still avoid strong solvents and instead use a mild upholstery cleaner on a towel, with repeated light passes.
Prep Steps Before First Wipe
Cool, shaded conditions are what keep most headliner fabrics from browning, shrinking, or getting tidelines. Set the cabin to a comfortable temperature, then move the car out of direct sun and avoid running high heat HVAC during cleaning.
For most cars, the best hidden locations are behind a sun visor, at the rear edge near the C-pillar trim, or on the roof rail covers where the headliner meets plastic. If those spots exist, they show dye bleed and adhesive looseness without the risk of ruining a visible panel.
| Patch-test result | What it means | Next move |
|---|---|---|
| Color transfers onto white towel | The dye is unstable with that product | Switch to a gentler cleaner and re-test |
| Texture turns rough or fluffed | Fabric is getting attacked or over-wet | Use less liquid and smaller amounts |
| Visible darker “ring” after it dries | Wetting is causing a tide mark | Reduce solution, increase blotting, and improve drying |
Odor control prep: Start with ventilation (cracked windows + cabin fan on low), then limit cleaner dwell time. Don’t chase the smell by adding more product, because extra fluid usually worsens lingering odors and can push contaminants deeper into the backing.
Ventilation should continue during drying, then wrap up with the cabin fan off once the headliner is fully dry to avoid blowing odors back into the fabric. For heavy smells (smoke, strong cleaners, mildew), plan for extended air time with the doors cracked overnight, since headliner backing holds scent longer than seat foam.
Timing is part of prep too. Set a stop point before you start, then reassess after each small area test so you do not end up with uneven drying across the entire roof.
General Headliner Cleaning Method
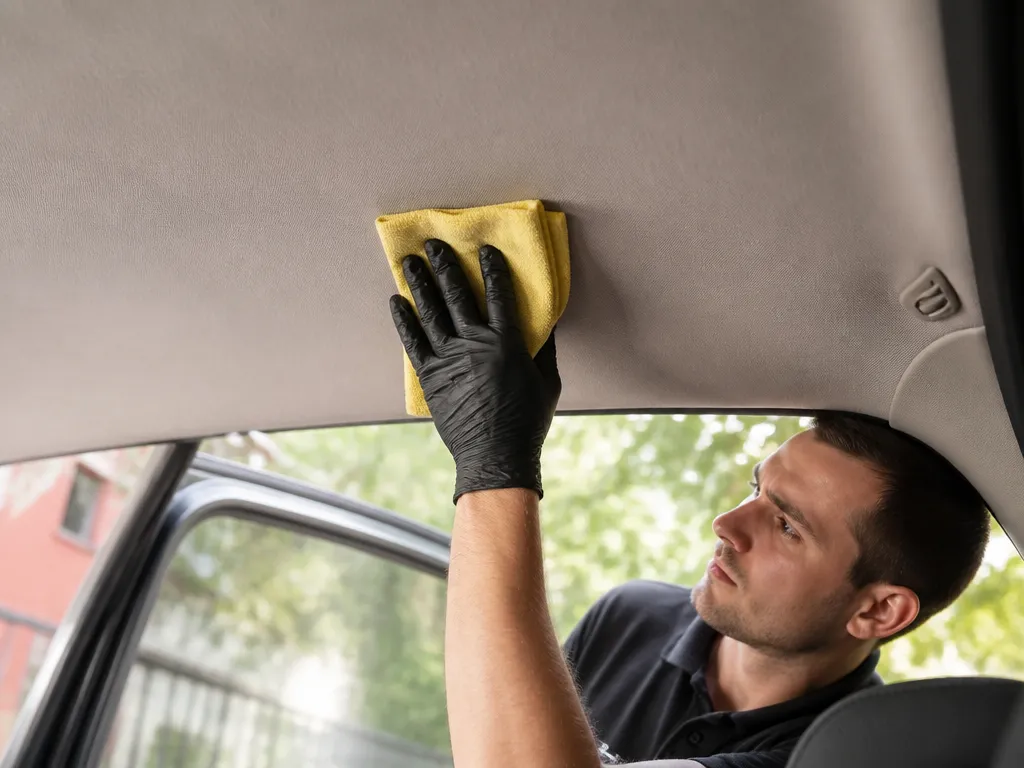
Headliner cleaning succeeds when you remove loose soil first, then apply cleaner in controlled, minimal moisture passes. Over-wetting is what drives stains into fabric backing and causes sagging, bubbling, or rings. Follow the sequence below to keep the surface even and prevent tide marks.
For example, if you’re cleaning the driver-side area where sun glare lines up with the windshield, treat the zone from the headliner seam outward, not just the darkest spot. That approach keeps the drying pattern consistent and reduces “clean circle” patches.
Insider tip: If you see a darker halo forming at the edge of your towel, you are applying too much liquid there. Feather with a damp (not wet) towel and blot dry right away.
| What you notice | Likely cause | Fix before it sets |
|---|---|---|
| Darker ring around the cleaned area | Excess liquid or residue migration | Blot dry, feather with a damp towel edge, then re-blot |
| Stiff, tacky feel | Too-strong cleaner or detergent left behind | Light plain-water blot once, then air-dry |
| Still-dirty spot after drying | Stain is not lifted by general cleaner | Stop and move to stain-specific treatment next |
Stain-specific Treatments For Common Spills
Ink stains spread fast, so the winning move is blotting with minimal moisture before any cleaner touches the fibers. Oil and grease look simple, but strong degreasers can bleed color and weaken the headliner backing, turning a spot into a saggy patch. Beverage, mud, and smoke each need a different “start point” or you end up with rings, residue, or odor you cannot scrub out.
Ink (Pen, Marker) And Dye Transfer
Ink needs a low-moisture approach. Start by blotting with a clean white microfiber, moving to a fresh area often, then stop once the transfer slows.
Solvents are risky on headliners because the dye in both the ink and the fabric can move. Use a solvent only if it is labeled safe for upholstery or spot-cleaning, and test it on a hidden seam first. When ink is fresh, repeat blotting instead of soaking.
Oil Or Grease
Oil stains often smear because headliner fabric and foam-backed materials hold grease like a sponge. Degreasers can stain or loosen the backing, especially if they are foaming or contain strong alcohols.
Use the smallest amount of cleaner possible, and treat in short cycles. In practice, applying degreaser to the cloth first gives you more control than pouring it onto the headliner.
| Stain type | Cleaner approach | Risk to watch |
|---|---|---|
| Fresh grease | Low-moisture upholstery cleaner, cloth-dab method | Color transfer and backing softening |
| Old oily film | Gentle degreaser only after hidden test | Adhesive release, sagging area |
Pro tip: If the stain lightens but the surrounding area gets tacky or darker, stop and reassess. Tackiness is a sign you are attacking the adhesive side.
Beverage Spills (Coffee, Soda, Juice, Sports Drinks)
Beverage spills leave rings because water and sugars migrate as they dry. Humidity control is your best “chemical” here, so aim to extract moisture without saturating the fabric.
For soda or sweet drinks, residue can attract dirt after cleaning. Blot immediately, then use a barely damp cloth and clean water to pull residue, finishing with a dry blot to remove as much moisture as possible.
Mud Or Dirt
Mud is easiest when it is dry first. Let the mud harden, then brush off loose particles with a soft detailing brush before any liquid hits the headliner.
Gentle agitation works better than pressure. Lightly dampen a cloth, dab to release remaining grit, then wipe with a clean damp cloth to prevent residue from locking in place.
Smoke Residue (Smoking Or Wildfire Smoke)
Smoke creates a greasy film mixed with odor compounds, so pure “spot cleaner” approaches often leave a dull spot. Odor lift needs a fabric-safe approach, but the risk is that aggressive wet cleaning can damage the fibers and backing.
Start with dry surface work, then use very controlled moisture. If the headliner feels stiff, looks glossy in a patch, or you see fabric fuzzing, stop and consider a professional odor treatment.
Drying Guidance And Damage Prevention
Headliners dry best when they stay lightly damp and get steady airflow across the entire panel. A lightly dampened surface typically dries in 10 to 30 minutes with fans, while thicker fabric, greater moisture, or high humidity can require several hours. Rushing the process with heat can shrink the backing or soften glue bonds, leading to sagging or bubbles.
Air-dry Times And Airflow Setup
Plan for longer drying than you think you need when the backing has received more than a light dampening, since moisture trapped in the foam backing can take longer to exit.
In practice, you want the outer fabric to feel dry to the touch while the deeper padding finishes drying underneath.
| Condition you notice | Likely meaning | What to do |
|---|---|---|
| Fabric looks evenly matte, no shine | Surface and most backing are drying normally | Keep airflow going; avoid heat |
| Spot stays darker and slightly cool | Moisture still trapped in padding | Increase airflow, extend time |
| Texture ripples or forms a “bubble” pocket | Backing glue is getting disturbed or foam is staying wet unevenly | Stop aggressive drying, let it dry fully, reassess |
| Fabric feels tight, warped, or “drawn” | Heat or over-wetting caused shrinkage or bond failure | Plan for pro inspection if it worsens |
Heat Avoidance And What Goes Wrong
Hair dryers, heat guns, and space heaters are risky because heat can locally soften the adhesive and shrink the fabric backing. The result is often delayed failure, where the headliner looks fine at first, then loosens into sagging or forms bubbles days later. Even low heat can create a hot spot, especially if you hold the nozzle close to the ceiling.
Quick call to a pro: If the headliner is already sagging, the foam is degraded, or you see bubbling expand after 24 hours of gentle airflow, a trim shop can re-bond or replace the liner to restore a clean, uniform ceiling.
Troubleshoot Sagging, Fading, Odors
Headliner issues usually fall into three buckets: the liner backing is failing (sagging), the surface is getting damaged by heat or chemistry (fading or shiny patches), or contamination is trapped in foam and fabric (persistent odors). Cleaning can help the fabric and surface, but sagging often needs a re-glue or full replacement to restore a solid, tight headliner.
Sagging Or Loose Liner
Symptom: Fabric hangs, edges lift, or the liner separates from the backing.
Cause: Adhesive or foam backing has weakened, often from age, heat, or moisture.
Fix: Stop wet cleaning and have a trim professional re-bond or replace the liner.
For example, many GM, Ford, and Toyota models with large panoramic roofs can see localized sagging after long sun heat cycles because the roof skin heats the panel and ages the adhesive faster.
Warped Headliner Or Stubborn Wrinkles
Symptom: Wrinkles, waves, or a distorted panel remain after drying.
Cause: Over-wetting, heat, shrinkage, or collapsed foam has changed the liner’s shape.
Fix: Allow complete air-drying; if the shape remains distorted, use professional reupholstery.
In practice, cleaning helps stains and grime, but it does not “re-tension” foam that has already collapsed. That is why warped liners often end in reupholstery.
Color Fading, Dull Spots, Or Shiny Patches
Symptom: The surface looks lighter, duller, or shinier in cleaned or sun-exposed areas.
Cause: Dye transfer, chemical damage, residue, or flattened fibers from scrubbing.
Fix: Stop scrubbing; remove only loose residue with a gentle method, then consider professional refinishing or reupholstery.
Shiny patches often show up first in areas wiped repeatedly during spill cleanup. Once the finish is altered, the best improvement usually comes from a refinishing or reupholstery job rather than more DIY scrubbing.
Persistent Odors (Smoke, Mildew, Spills)
Symptom: Smoke, mildew, or spill odors remain after the surface is dry.
Cause: Contamination or moisture has reached the foam backing or surrounding materials.
Fix: Repair leaks, dry the area thoroughly, and use professional odor treatment when the smell persists.
For instance, if you clean a roof liner after a sunroof leak and the smell is still strong after a couple days, the moisture has likely soaked deeper than the fabric. In that case, the correct first step is repairing and drying the leak path thoroughly, then addressing the interior materials.
When To Contact A Professional
Stop DIY and call for help when you see bubbling, peeling, lifted seams, widespread sagging, degraded foam, persistent mildew odors, or a finish that changes during cleaning.
Professional headliner work typically costs more than a cleaner and brush, but it pays off when appearance, safety, and correct adhesive placement matter. If your liner is already coming down, spending on small DIY spot fixes is often money down the drain compared to a proper reupholster job.
| Problem | DIY-possible | Common “Stop” sign |
|---|---|---|
| Sagging | Small loose sections, intact fabric | Foam is failing or sag returns quickly |
| Warping/wrinkles | Minor creasing after gentle cleaning | Stretched fabric or warped panel shape persists |
| Fading/shiny patches | Light grime only | Patchiness appears after cleaning, finish looks altered |
| Odors | Fresh spills, light grime, good drying | Mildew-like smell after leak repair or lingering smoke smell |
Quick Summary
Dry vacuuming first removes loose dirt so it does not turn into paste when you clean. Use a pH-neutral upholstery cleaner with a microfiber that is barely damp, never soaked into the headliner fabric or its foam backing. Patch-test products, work in small sections, and allow the surface to air-dry with fans. Avoid heat guns, steam, and harsh solvents.
Vacuum before any cleaner, then dab small sections, about the size of a dinner plate, working outward with microfiber pads that you swap if they get saturated. If you notice the headliner separating at seams or edges, stop and use a professional, because foam delamination is a point of no return.
| Stage | What to do | Key limits |
|---|---|---|
| Prep | Park in the shade, cool the interior, cover seats and electronics, and do a hidden spot test. | Test color transfer and stiffness, then proceed. |
| Clean | Vacuum, then use pH-neutral upholstery cleaner on a barely damp microfiber and dab gently. | Do not soak the headliner or foam backing, and avoid harsh solvents. |
| Dry | Air-dry 10 to 30 minutes with a fan when only lightly damp; allow longer when needed. | No heat, steam, or heat guns. |
Frequently Asked Questions
How Do I Clean A Car Headliner Without Soaking It?
Use a slightly damp microfiber, not a dripping wet cloth, and work in small sections. Avoid pouring cleaner directly on the fabric, because getting the foam backing wet can cause sagging or staining as it dries.
What’s The Safest Cleaner To Use On A Car Headliner Fabric?
Start with gentle upholstery cleaner or a mild soap and water mix on a test spot first. If your headliner is vinyl-coated or fragile, avoid heavy solvents and strong degreasers, since they can cause discoloration or texture changes.
Can I Use A Steam Cleaner To Clean My Car Headliner?
You should avoid steam cleaning unless you are using a method specifically recommended for headliners. Heat and moisture can loosen the backing and lead to permanent drooping, especially if the fabric is older.
How Do I Remove Stains On A Car Headliner Without Leaving Water Marks?
Blot the stain first, then use a light dabbing motion and keep the area evenly damp, not just the center. After cleaning, use a fan to circulate air and let it fully dry, since partial drying is a common cause of visible rings.
How Much Does It Cost To Have A Mechanic Or Detailer Clean A Car Headliner?
Pricing varies a lot by city, cabin size, and stain severity, and I did not find reliable current price data here. As a rough expectation, it is often more expensive than standard interior detailing because headliners are delicate and time-consuming to clean safely.
What’s The Most Common Mistake When Cleaning A Car Headliner?
The biggest mistake is over-wetting the headliner, which can soak the foam and cause sagging or a permanent stained pattern. Another common error is using harsh cleaners, which can bleach or stiffen the fabric and make the damage spread.