
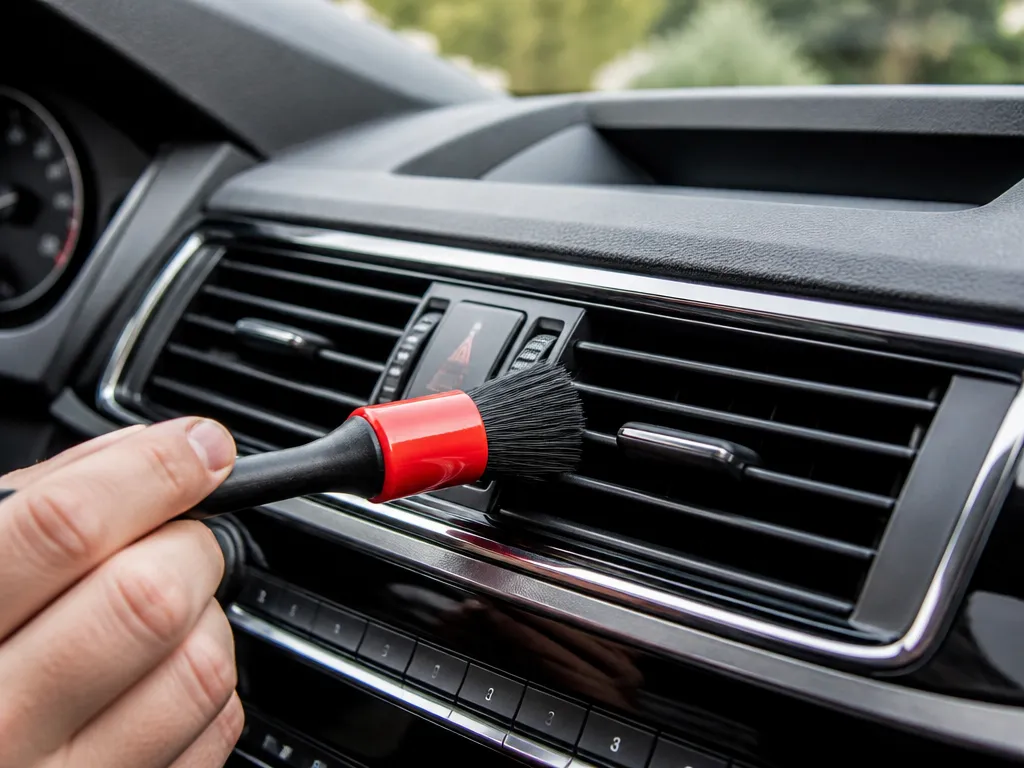
That gritty film on your dashboard vents can build up fast, and the musty smell that shows up after you run the HVAC is usually trapped dust and moisture inside the vent openings. If you searched “how to clean car vents naturally,” you want results without harsh chemicals or overspray into the cabin. You will need the right tools, a safe dilution, and a method that pulls grime out instead of blowing it around.
Clean vents naturally by using a vacuum at-contact plus a soft brush and microfiber, then wipe with a vinegar-water mix (1:1) applied to cloth or a swab (not sprayed). For odors, use baking soda on removable parts, and always dry fully to prevent moisture issues.
Car vents naturally: Vacuum loose dust at the vent opening, then wipe louvers and slats with a microfiber lightly dampened with a 1:1 white vinegar-water mix. Use cotton swabs for corners. Dry right after. For lingering smells, clean or replace the cabin filter, and deodorize removable grilles with baking soda.
How To Clean Car Vents Naturally Essentials
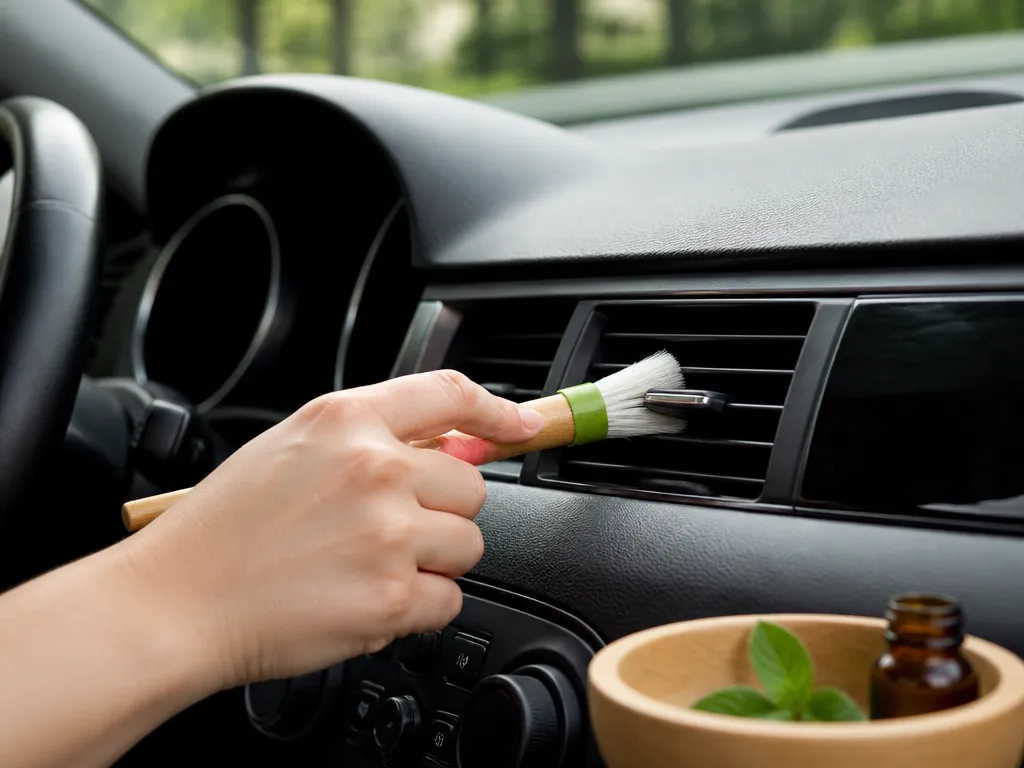
Car vents collect three problems fast: fine dust that drives allergy-like irritation, grime that traps odors, and moisture that can turn smells musty. Natural cleaning works because it uses gentle surfactants and mild acids that lift residue without attacking the soft vinyl, painted vanes, or heater-core area inside the HVAC housing.
What You’ll Tackle Inside The Vent
Start with the obvious stuff, dust and loose debris, because it blows back into the cabin when you run the fan too early. Then handle the sticky layer, which is often skin oils plus airborne particles that leave a tacky film. Finish with odor sources, since smells usually come from organic residue and damp dust sitting on the vent face and nearby duct walls.
Vent cleaning can also expose HVAC issues if the odor is extreme or persistent. For example, a strong musty smell that returns quickly can point to water intrusion or a failing cabin air filter, which you’ll address separately to avoid re-soiling.
Why “Natural” Is Safer For Plastics And Hvac Components
Most vent housings and vanes use textured plastic and painted finishes, plus foam seals that can absorb strong cleaners. Mild ingredients like diluted dish soap, baking soda pastes, and white vinegar in controlled amounts are less likely to haze plastics or leave oily residue that attracts more dust. Avoid soaking the vent area, because liquid can travel into the HVAC box and create a new odor source.
Key rule: keep any cleaner damp on a cloth or brush, never dripping from the tool.
| Natural option | Best for | Where it’s safe to use | Where it’s risky |
|---|---|---|---|
| Diluted dish soap (few drops in water) | Oily grime and handprints | Vent faces and plastic slats (cloth-on, not drippy) | Deep into ducts where liquid can run |
| White vinegar (highly diluted) | Light odor control and residue lift | Vent surfaces you can wipe immediately | Unsealed foam areas if liquid pools |
| Baking soda (paste) | Stubborn residue on vent edges | Small spots on plastic faces | Any area where abrasive grit can stay behind |
Mechanic tip: after cleaning, run the HVAC on low with the recirculation off (where equipped) for 5 to 10 minutes to dry the vent face. If the smell spikes when the fan runs, you likely introduced moisture into the vent area.
Tools And Prep That Prevent A Mess
Gather a flashlight, microfiber towels, cotton swabs, a soft detailing brush, and a small vacuum attachment. Use painter’s tape to protect surrounding trims if you’re working near vent bezels on Ford, GM, Honda, Toyota, and Subaru interiors where the vent frames are tight and easily scuffed.
Prepare the cabin before you start scrubbing so you don’t blow dust around. Wear a simple dust mask, keep the fan off until you’ve removed loose debris, and cover adjacent seats or carpets if you’re prone to shedding lint from towels.
Natural Supplies For Vent Cleaning
Natural vent cleaning works because you control three things: dust pickup, gentle degreasing, and odor removal without soaking HVAC parts. The right tools prevent grit from getting deeper into the vent vanes, and the right liquid strength keeps cleaner from dripping into the HVAC air path.
Tools And Dust-capture Helpers (No Harsh Chemicals Needed)
Start with tools that let you reach tight slats without spreading debris across the cabin. A soft-bristle detailing brush, a microfiber cloth, and vacuum attachments are the core setup for most cars with horizontal and vertical louvers.
For better control, keep a second, clean microfiber ready for the “final pass.” Vent grilles pick up dust easily, so one rag that you keep dunking in cleaner turns into a smear tool.
Mild, Kitchen-safe Cleaners And Mix Ratios
Moisture is the main risk when cleaning vents, especially near blower and blend doors where condensate can be pulled into the system. Use only small amounts and aim for damp, not wet, then dry immediately with a microfiber.
| Supply | Best use | Mix ratio | How to apply safely |
|---|---|---|---|
| Distilled water | General wipe for dust film | Use straight | Dampen a microfiber, never pour into vents |
| White vinegar | Light odor and grime film | 1:1 with distilled water | Spray onto cloth, wipe louvers, then dry |
| Baking soda | Odor neutralizing paste | 3 tbsp baking soda + 1 tbsp water | Spot-paste on surfaces, wipe off after it dries |
| Mild dish soap | Greasy fingerprints on vent trim | 1 tsp per 2 cups warm distilled water | Use a lightly damp cloth, then rinse wipe with water |
In practice, start with distilled water first and only move up to vinegar or soapy water when you see a residue layer. For vents in hot, humid climates, vinegar helps with musty smells because it cuts residue that traps odor particles, but you still want to keep it controlled.
Safety callout: Keep liquids off the HVAC electronics and avoid soaking the vent throat. Spray cleaner onto cloth, swab tight areas, and dry immediately so you do not drive moisture into the airflow path.
Vent Types: Horizontal Vs Vertical
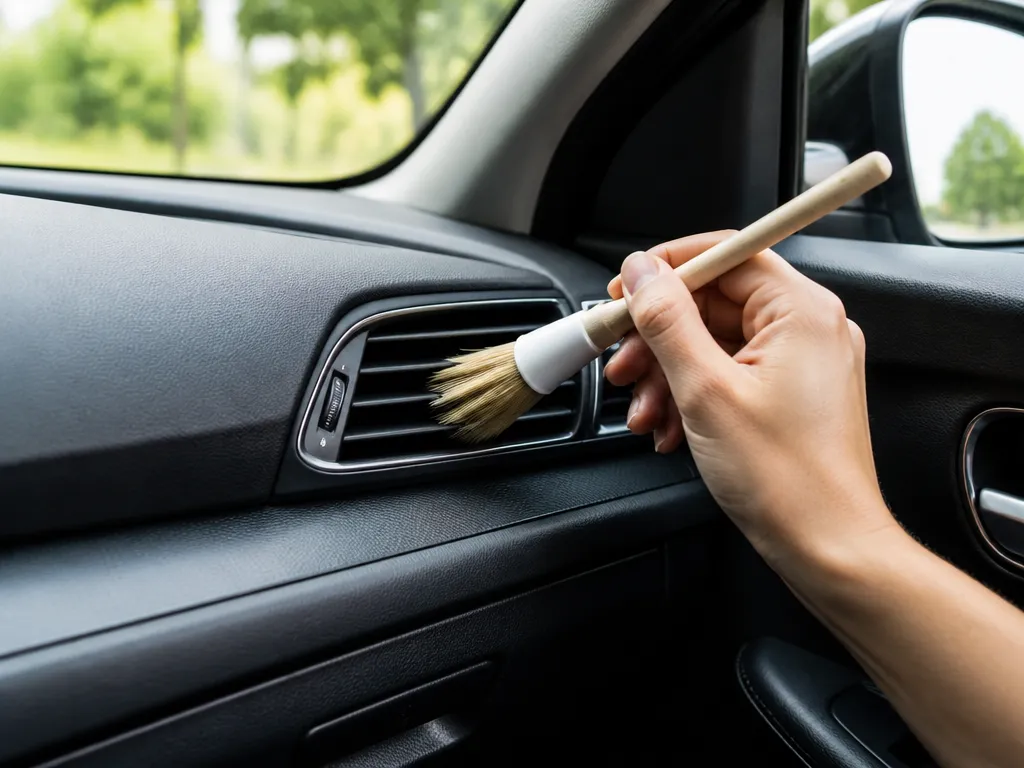
Horizontal louvers push air through angled vanes that catch dust along the leading edges. Vertical slats let grime collect in the grooves between each vane and often need gentler angle adjustments to avoid bending. Knowing which layout you have determines how you loosen debris and how you keep cleaner from dripping into the HVAC area.
Center Vents Vs. Defroster Vents
Center vents usually have accessible louvers, and the dust is mostly dry residue plus occasional hair fibers. Defroster vents sit close to the windshield HVAC path, so debris can block airflow and fog faster, and the plastic around them can be more brittle with age.
Center vents respond well to “lift and vacuum” cleaning because dust sits on the surface of the vanes and at the opening. Defroster vents need a lighter touch because you are cleaning near the air path where moisture condensation and residue build up can leave a musty odor.
Approach Each Slat Orientation Safely
Horizontal louvers bend easier than people think, especially on older Toyota Camry and Honda Civic vents where the vane ends are thin. Use short, controlled motions, and keep your tool on the face of the vane instead of prying at the pivots.
Vertical slats are more forgiving about direction, but they trap grime in the channels, so you need to clean between them, not just the front edges. Keep the slats aligned while cleaning, then return them to their normal position before you stop.
Pro tip: If a vent won’t move smoothly, stop forcing it. Forced movement can crack the vane end caps or pop the linkage, and that repair can turn into a full vent assembly replacement.
| Vent layout | Common buildup | Natural-cleaning approach (safe) |
|---|---|---|
| Horizontal louvers (center) | Dust on leading edges, lint on the bottom lip | Work one vane line at a time, wipe from the air opening inward, avoid pushing liquid toward the HVAC behind it |
| Horizontal louvers (defrost) | Fine grit plus odor residue at the outlet | Dry-brush or vacuum first, then only lightly dampen the contact area of your tool |
| Vertical slats | Grime in grooves between vanes | Clean between slats with gentle side-to-side contact, then wipe the front surfaces last |
| Vertical slats (defrost) | Lint and dust near windshield airflow path | Keep cleaners off the slat pivots and use minimal moisture |
Vacuum-at-contact Dust Removal
Dust leaves vent slats easiest when the vacuum picks it up the moment it is loosened. Use light brushing that pushes debris toward the suction tip, so particles do not float across the cabin. A clean vent is more about contact timing than about scrubbing hard.
Set your vacuum to a strong, steady suction and bring the nozzle right up to the vent openings. Use a crevice tool for gaps and a soft brush attachment for slats, since hard tools can bend vanes or leave scratches on louvers. Keep the hose end close enough that the dust moves straight into the airflow path.
Brushing direction matters because vent vanes guide airflow in a specific pattern. For horizontal or angled louvers, brush from the inlet side toward the cabin-facing opening while the vacuum tip sits slightly ahead of your brush. For vertical slats, brush top-to-bottom, keeping the suction within about a finger width of where the bristles contact.
For corners and tight intersections where dust packs in, swap to a swab approach. Use a cotton swab or foam-tipped applicator with only light dry pressure, and bring the vacuum nozzle to the swab’s working tip so debris is trapped instantly.
Pro tip: Pressing too hard just shoves dust deeper. Let the vacuum win by keeping contact close to the dust release point.
| Vent condition | Tool choice | Brush or swab direction |
|---|---|---|
| Light surface dust on slats | Vacuum crevice + soft brush | Toward the cabin-facing opening, short strokes |
| Packed grime at the ends | Vacuum crevice + dry swab | Work along the end seam, then vacuum immediately |
| Visible debris clusters | Vacuum crevice first, then brush | Pick up lumps, then sweep in the airflow direction |
Many cars with fine vent dust buildup, including Toyota Camry, Honda Civic, and Ford F-150 trims, clean up faster when you do multiple short passes instead of one aggressive sweep. Spend extra time along the perimeter edges where air changes direction, since that is where dust settles and stays.
Natural Liquid Application Methods
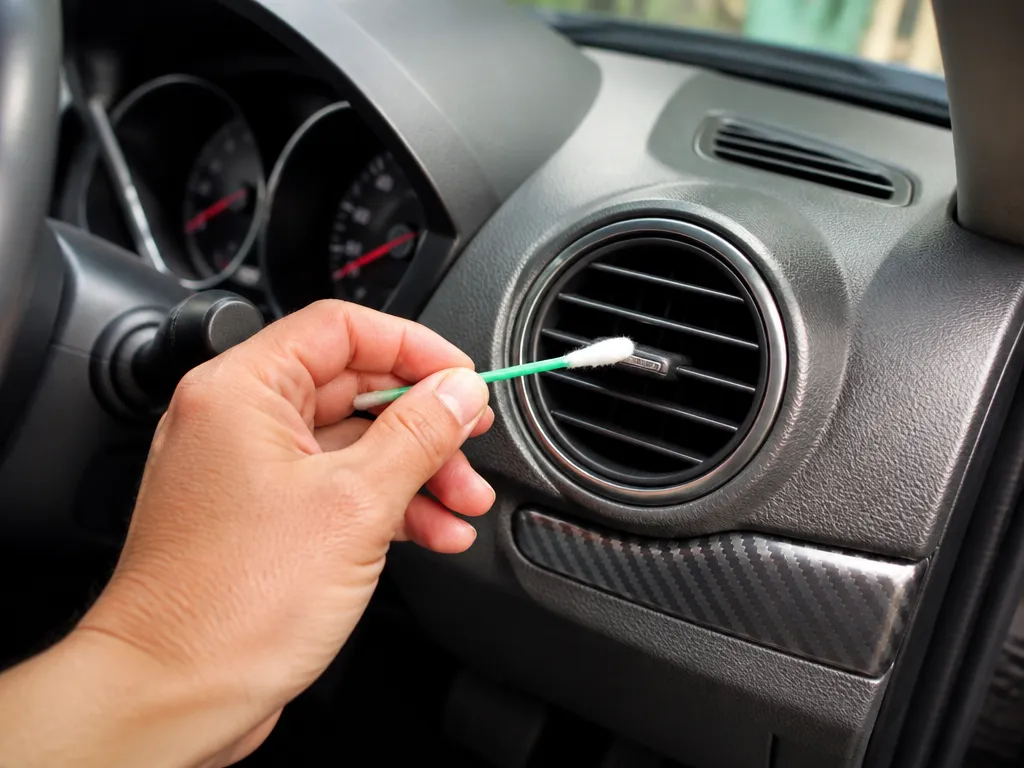
Mixers and wipes beat soaking for vent cleaning because the goal is to lift grime without flooding HVAC passages. Apply liquid to a cloth or swab, then pull dirt out of each slat with controlled pressure.
Vinegar Solution (For Dust Tackiness And Light Odors)
Use a simple dilution: 1 part distilled white vinegar to 1 part distilled water (example: 1/2 cup vinegar + 1/2 cup water). Distilled water is worth it because it reduces mineral residue that can show up as spots when the vent dries.
Prepare the mixture in a spray bottle, but spray into the cloth first. Spraying directly into the vent risks dripping onto blend doors, blower components, or wiring behind the dash.
Mild Soap And Water Wipe (For Visible Grime And Oily Film)
Mild dish soap works better than straight vinegar when the vent has oily film from fingerprints, cooking aerosols, or interior plastics. Use just a few drops per 16 oz (about 500 ml) of water to avoid leaving suds behind.
Use this method when vents look dirty or feel tacky, then switch to the vinegar mix later only if odor persists. Soap helps lift the film, vinegar helps with lingering smells.
Safety callout: Avoid soaking the vent openings. Keep liquids off the center stack electronics area and do not let drips run toward the blower intake or wiring behind the dash.
Natural Odor Neutralizers: Vinegar And Baking Soda
White vinegar cuts musty smells that cling to vent surfaces, but it needs a dry follow-up so you do not leave moisture behind. Baking soda then helps with stubborn odors by absorbing lingering compounds without soaking your HVAC parts.
For example, if your vents smell damp when the A/C kicks on, a vinegar wipe removes odor on the visible surfaces. Drying matters because leftover moisture can create a second musty smell when the system cycles.
Baking Soda For Indirect Deodorizing
Baking soda works when the smell source is trapped in porous debris in and around the vent openings. Use it indirectly so you do not scatter powder through the HVAC.
| Odor symptom | Most likely surface contributor | Natural option |
|---|---|---|
| Damp, musty smell | Condensation film on vent trim and louvers | Vinegar wipe + aggressive drying |
| Stale smell that lingers after wiping | Odor trapped in dust | Baking soda indirect deodorizing |
Professional heads-up: If the odor is sharp or chemical like mildew plus “wet carpet,” the real source can be the evaporator drain line or cabin air filter area. A natural deodorizer helps only after the underlying moisture problem is addressed.
Cabin Air Filter Condition And Odor Control
Cabin air filters trap pollen, dust, and organic debris that can smell when the blower pushes air. Check and replace the cabin air filter if it is dark, clogged, or looks damp, because a clean filter reduces re-soiling of vent surfaces.
For example, many Toyota Camry, Honda Accord, and Ford Escape owners notice odors return quickly after vent wiping because the cabin filter still holds the smell source. Replace the filter around the next scheduled interval if it is due, or sooner if you see moisture staining or heavy debris.
Vent Safety And Moisture Precautions
Moisture is the fastest way to create new problems inside your HVAC box, including mineral spotting, mildew, and sticky vent vanes. Clean vents with controlled, barely-damp tools and keep liquid away from seams and HVAC openings.
Before you start, remove loose debris and protect sensitive surfaces. Cover the radio, screen edges, and any open electrical connections with a dry microfiber or plastic bag, then keep your cleaning method “drip-free” at every step.
Avoiding Solvents And Direct Liquid Sprays
Solvents can haze or craze plastic and can also leave residues that attract new dust. Stick to water-based, mild options like a diluted soap solution on a cloth, or an interior-safe cleaner applied to the tool, not the vents.
Direct spraying into vent openings is where people get burned, because the spray finds seams and travels into the HVAC housing. Use an atomizer bottle only to moisten a cloth, cotton swab, or detail brush, and aim the product at your tool, not at the louvers.
| Product type | Common issue | Safer approach |
|---|---|---|
| Household solvents, strong degreasers | Plastic damage, lingering odor, residue | Avoid near vents and dash plastics |
| Aerosol sprays | Over-spray into HVAC box | Moisten a cloth or swab, then wipe |
| Water only (lightly damp) | Low risk if wiped promptly | Use barely-damp microfiber, dry-wipe after |
Insider tip: If you ever see droplets collecting at the base of the vent or running along the bezel, stop and switch to dry wiping until everything is fully dry.
For tight vent slats, rely on dry tools first: a soft detailing brush, compressed air held at a safe distance, and cotton swabs. When you do need moisture, use the smallest amount possible, then finish with a dry microfiber to prevent any trapped dampness from breeding odor.
For vehicles with sensitive cabin electronics near the dash on models like many Ford, Honda, and Toyota trims, extra caution pays off. If your vent area gets wet beyond the vent face, let the cabin air run on fresh or low recirculation for a while to dry the airflow path before continuing.
Quick Vent Cleaning Summary
Visibly clean vents look even in color with dust removed from the slats, louvers, and surrounding dash grille edges. Odors should fade because the grime trapped in the vent and filter area is gone, not just masked. A properly refreshed cabin airflow also feels less “musty” when the HVAC first turns on.
What “Clean” Looks Like, And What You Cannot See
Clean vents usually have no gray buildup on the vanes, no sticky residue along the plastic ribs, and no dust rings where airflow exits the grille. For many cars, the biggest smell source sits beyond the vents themselves, in the HVAC intake area and cabin filter housing, so the vent face can look fine while the odor persists.
In practice, you want two things: clear airflow through the louvers and a dry, residue-free surface. If the vanes feel tacky after cleaning, you used too much moisture or detergent, and that can trap new dust quickly. If the vents look clean but the air still smells, the next move is addressing the cabin filter and HVAC intake, since air bypasses the grille only partly.
Recommended Maintenance Cadence (Refresh Vs. Deep Clean)
Use a “refresh” on a schedule tied to conditions, and reserve a “deep clean” for when buildup is obvious or odors keep returning. If you park under trees, in dusty lots, or you run the fan on high speed often, shorten the refresh interval because dust settles faster than it can clear out.
Rule of thumb: Refresh the vent when it looks dusty or feels “film-coated,” deep clean when odors linger after airflow stops, or when you see buildup in the louvers. Most common pickup and SUV dashboards (Ford F-150, Toyota RAV4, Honda CR-V, Chevrolet Silverado) respond well to the same cadence because the vent design is similar, even though access varies by trim.
Insider tip: After any natural cleaning, run the fan on low to medium for 10 to 15 minutes to dry the surfaces. If you smell vinegar strongly after wiping, give it more time to air out before using recirculation.
Quick Summary
After you clean the vent faces, dry everything fully right away, since leftover moisture can create new musty odors. For lingering smells, check the cabin air filter and clean or replace it if needed, because extreme odors can point to water intrusion or a failing filter. Use baking soda on removable parts like grilles for deodorizing, and tackle corners with cotton swabs. Protect trims with painter’s tape, keep the fan off while you remove debris, then run HVAC on low for 5 to 10 minutes to help the vent face dry fully.
| Step | Natural method from the article |
|---|---|
| Remove loose dust | Vacuum at-contact at the vent opening |
| Lift grime off louvers | Soft detailing brush or toothbrush with microfiber |
| Wipe residue | 1:1 white vinegar and water on a cloth or cotton swab |
| Deodorize removable parts | Baking soda on grilles, then clean as needed |
| Prevent re-smell | Dry thoroughly, then run HVAC low for 5 to 10 minutes |
Frequently Asked Questions
What Natural Cleaner Can I Use To Clean Car Air Vents Without Damaging The Dashboard?
Use a mild mix of warm water and a few drops of dish soap, then lightly dampen a microfiber cloth or soft brush. Avoid soaking the vent area, and never pour liquid directly into the vent slots.
How Do I Naturally Clean Car Vents Without Spreading Dust Into The Cabin?
Start by turning the fan off, then use compressed air or a soft brush to loosen debris. Place a vacuum nozzle close to the vent and vacuum as you brush so dust goes straight into the filter, not into the cabin air.
How Long Does It Take To Naturally Clean Car Vents, And What’s The Quickest Method?
Most cars take 15 to 30 minutes for a basic clean. The quickest approach is a soft detailing brush for the slats, then a vacuum right at the vent, and finish with a barely damp microfiber wipe.
Is Vinegar Safe For Cleaning Car Vents Naturally, And What’s The Right Dilution?
If you choose vinegar, use white vinegar diluted 1:1 with water and apply it to a cloth, not directly into the vents. Test a small hidden spot first, because some plastics and finishes can spot or haze if you over-wet them.
What’s The Biggest Mistake People Make When Cleaning Car Vents Naturally?
The biggest mistake is spraying cleaner directly into the vents, which can push grime deeper and leave residue. Keep liquids controlled, use light pressure, and dry with a clean microfiber if anything looks damp.
Can I Naturally Deodorize Car Vents, Or Do I Need To Clean The Cabin Filter?
Natural deodorizing like baking soda is limited because vents need physical cleaning first. If odors keep coming back, it’s often the cabin air filter that needs attention, since cleaning the vents alone may not fix the source of the smell.