
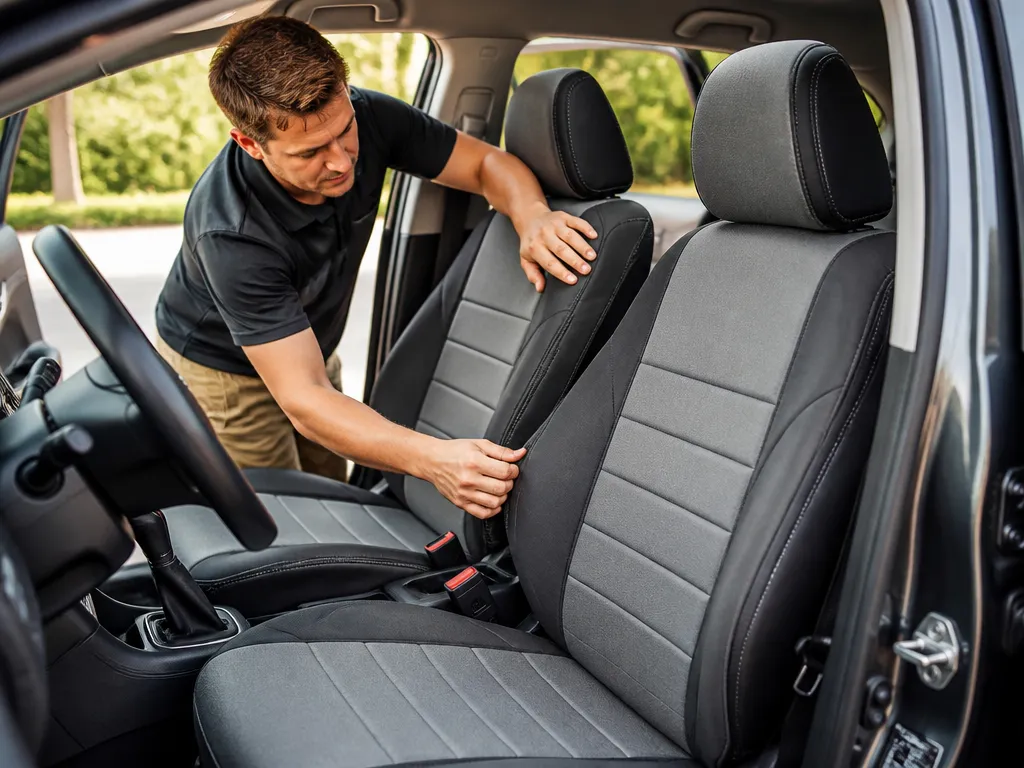
Your “how to install seat covers” search usually hits right after the covers arrive and you realize the fit is everything. A single strap in the wrong spot can leave wrinkles, block power seat travel, or interfere with heated seat elements. In this guide, you’ll get a step-by-step install for both front and rear seats, plus compatibility checks for universal vs custom-fit.
Seat covers install in about 1 to 3.5 hours depending on type and seat style, with the biggest time-sink being careful alignment. You’ll learn which fasteners to use and where, how to route straps without pulling airbag wiring, and how to stretch and tuck neoprene or fabric so it looks tight. You’ll also get quick troubleshooting for sagging and looseness.
Seat covers installation starts with fit checks: confirm airbag cutouts, seatbelt pass-throughs, and heated-seat compatibility, then dry-fit the cover on the correct seat type. Remove headrests if needed, hook straps to anchor points, and pull fabric tight from the center outward. Expect 45 to 105 minutes per front seat, then recheck seatbelt and airbag areas.
How To Install Seat Covers: Front Seats
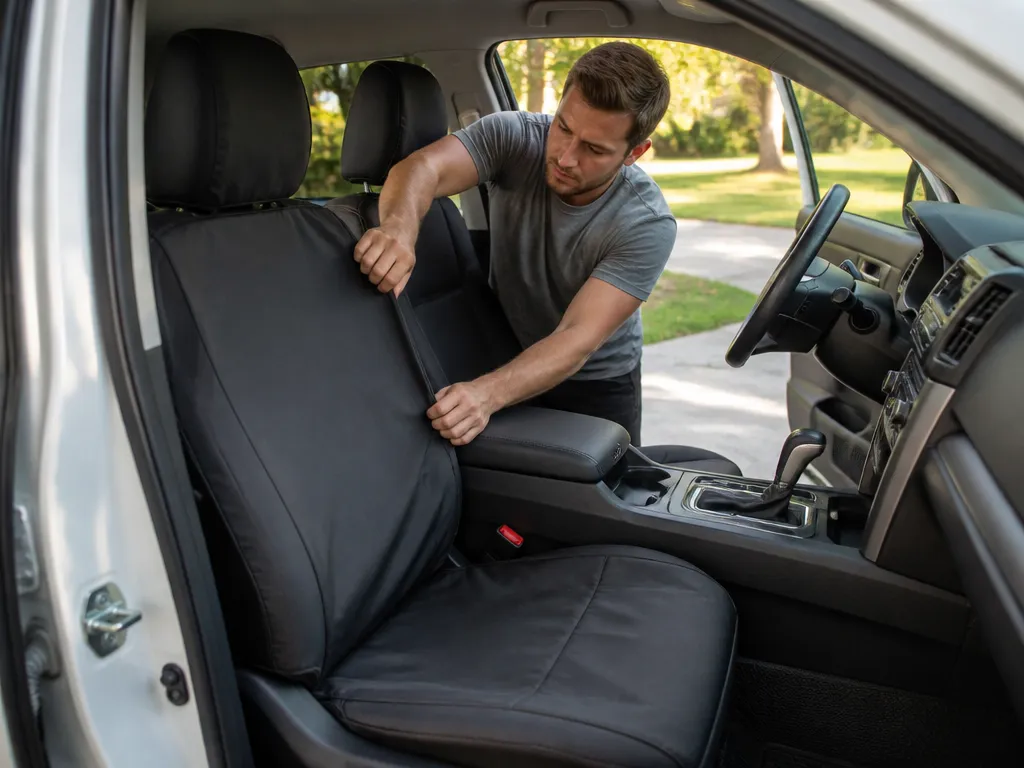
Universal-fit front seat covers install by sliding a tailored shell over the seat and then securing straps, hooks, and elastic around the base and sides. The key to a clean fit is pre-checking airbag seam areas, removing obstructions, and tensioning the cover without pulling fabric into airbag-ready seams.
Before you start, gather the basics: a microfiber towel, trim-safe plastic pry tool, small ratchet or screwdriver set (to remove any factory clips), and scissors or a seam ripper for minor trimming if your kit allows it. Keep a vacuum handy for crumbs around the seat tracks, since trapped debris makes the cover sit crooked. If your vehicle has heated seats, verify the cover kit is compatible with heat before you close everything up.
Assess Seat Type And Airbag Placement
Check whether your seats are bucket seats or a split bench layout (some front benches in older models). Bucket seats usually need separate driver and passenger covers, while split benches often use one cover that ties into both sections.
Locate the airbag seams by looking for factory-stitched lines and any seat-mounted labels. Universal covers should allow the airbag to deploy through specific seam areas, so plan to avoid tightening straps directly over those seams or covering them with extra padding.
Prepare The Seat And Clear Access
Remove headrests first. Pull them up high, press the release tabs if present, and set headrests aside so the cover doesn’t fight you around the guide posts.
Clear any obstructions around the seat, including plastic trim panels, armrest shrouds, and side handles that prevent the cover from laying flat. Wipe the seat fabric or leather with a lightly damp microfiber towel, because sweat oils and dust make straps slip during tensioning.
Shop tip: Test-fit the cover “dry” for 30 seconds before removing more trim. Dry fit shows you where the cover pulls too tight and where straps should land.
Seat Removal For Full Access (When It Helps)
Seat removal is optional for most universal kits, but it helps when the seat has tight side gaps, power rails, or limited room to reach under the front edge. If you do remove the seat, use seat rails as your reference point so reinstall alignment stays correct.
Seat removal takes longer and increases risk, so only do it if you have space to work and you are comfortable reconnecting any seat power plugs. For vehicles with electrical seat components (heated seats, power controls), follow the safety procedure in your factory manual and avoid working with wiring exposed.
Position, Align, And Install The Universal Cover
Place the cover on the seat with the manufacturer’s seam markings aligned to the seat’s natural seams and any airbag openings. Universal kits often label “front,” “bottom,” and “driver side,” so orient those marks before you start tightening.
Align the headrest portion last for best results, since headrests can shift the cover slightly when you stretch it. If the cover has a separate back panel, make sure it follows the seat’s contour without wrinkling at the lower corners.
Final fit check should focus on three places: the side bolsters, the lower perimeter, and the airbag seam zones. Push your fingers into the seam area to feel for overlap or bunching, since universal covers can bridge slightly over deployment-ready stitching.
Adjustments usually mean loosening one strap, repositioning a corner, and retensioning after the wrinkles move out. A seat cover that looks smooth on the first pass can still be wrong if the bottom edge is folded or if the side straps are off-center.
| Fit check point | What to look for | Common fix |
|---|---|---|
| Side bolsters | Wrinkles or “fold lines” | Loosen one strap, pull cover from top corner, retuck |
| Lower perimeter | Loose flap near seat tracks | Tuck deeper, then secure the under-seat anchors |
| Airbag seam zones | Cover fabric bridging a marked seam | Re-align cover markings, avoid overtightening straps |
Time Estimate For Front-seat Installation
A typical universal front-seat install takes about 1.5 to 3.5 hours total for both seats. The range depends on how much trimming, side-panel removal, and headrest handling your kit requires.
For experienced DIYers using a neoprene universal kit with straightforward anchors, plan closer to 1.5 to 2.5 hours. For vehicles with power seat controls, tight clearance, or stubborn factory clips, plan closer to 3 to 4 hours.
Airbag Safety For Seat Covers
Seat covers that block airbag deployment can cause incorrect cushioning or prevent the bag from opening correctly. Airbags inflate with enough force to tear through tight fabric or dislodge covers that cover the seams where the airbag comes out.
Start by checking the cover design for the airbag-cutout or “airbag compatibility” wording. If the cover is universal and you cannot confirm it matches your seat’s deployment seams, skip the install and pick a model made specifically for your seat type.
Airbag-safe Design Features To Look For
Factory seat airbags exit through labeled seams in the cover, usually where the original upholstery “splits.” The safest covers use pre-cut panels, tear-away stitching, or dedicated openings so the airbag can open without interference.
For example, many front bucket seats use a side airbag in the outer bolster. A universal neoprene cover that straps around the entire bolster often shifts the seam location and can cover the “break line,” which is exactly where you do not want extra material.
Warning: Airbags Deploy During Improper Installation
Improperly installed covers can trigger airbag warning lights or, worse, create a situation where the bag inflates onto the cover. Treat side-airbag seats and curtain-airbag vehicles with respect, because once deployment happens, the seat cover and often the entire seat trim are damaged.
Mechanic tip: If your seat has side airbags, do not “make it fit” by pulling the cover tighter or adding extra clips near the airbag seam. Tightening the cover is great for fit, bad for deployment.
| Seat feature | Install-safe behavior | Red flag |
|---|---|---|
| Side seat-mounted airbag | Cover has matching side seam openings | Bolster covered with continuous material |
| Side curtain airbag | Keep cover away from headliner and pillar retention paths | Snaps or straps that interfere with trim seams |
| Seat belt routing | Keep belt path clear at all times | Cover pushes belt through wrong channel |
Heated-seat Compatibility And Electrical Considerations
Heated seats rely on elements embedded in the seat foam or attached to the upholstery layer. A cover that adds extra thickness can reduce heat output, but the bigger risk is crushing wiring or interfering with connectors when you stretch or tuck.
In practice, many heated-seat issues show up right after installation as a controller warning or no heat in one area. When that happens, stop using the seat and have the connectors and fuse/relays checked, because repeated cycling can worsen a loose connection.
When To Defer To Professionals
Defer to a shop or the vehicle dealer when you cannot confidently align the cover with the airbag seam locations, when the seats include integrated wiring for heat or power adjustments, or when you see an airbag warning after installation. Vehicles with side airbags that share the same seat trim pathways as power seat motors (common on many Toyota Camry and RAV4 trims, Honda Accord and CR-V trims, and similar models) are where DIY mistakes get expensive.
Defer even sooner if your seat has memory/power hardware, seat position sensors, or any factory “airbag” label on the upholstery. A professional install typically takes the guesswork out of seam alignment and connector handling, and that is cheaper than diagnosing an airbag system after the warning light comes on.
Choosing Universal Vs Custom-fit
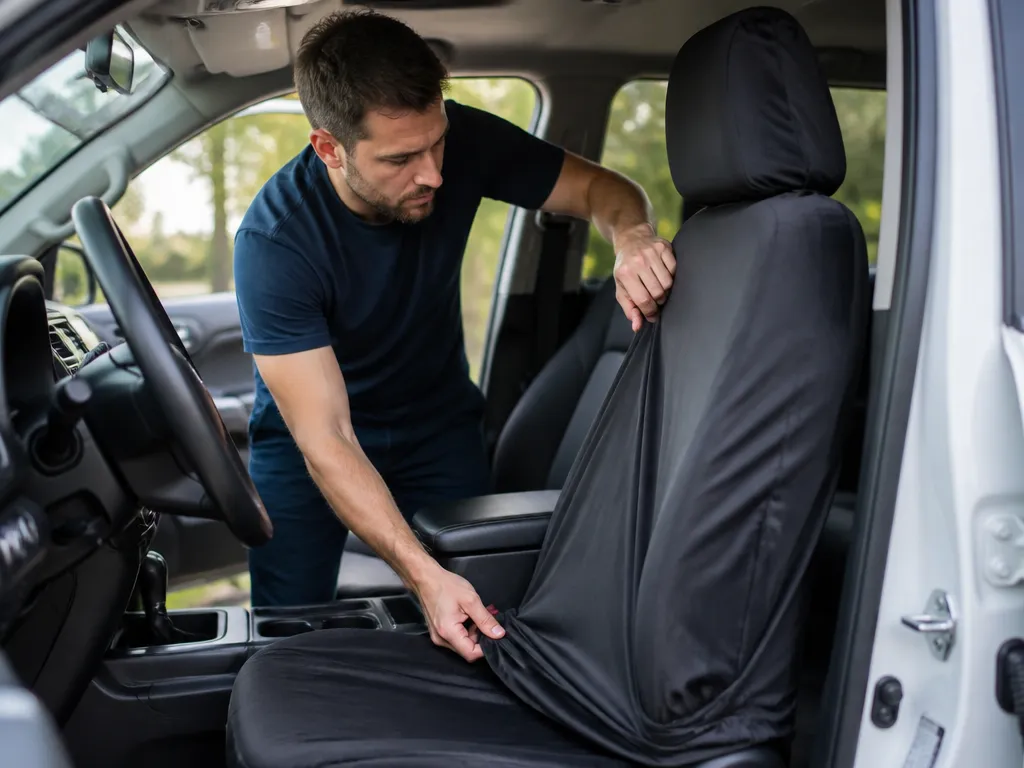
Universal-fit seat covers use broader patterns and rely on straps, elastic, and side hooks to take up slack, so fit is usually “close enough” rather than perfect. Custom-fit covers are cut for your seat shape and stitching points, which usually gives tighter lines and more consistent compatibility with armrests, headrests, and split-fold rear benches.
How Fit Differs Between The Two
Universal-fit covers have extra material in common zones, especially around the sides and lower edges. That extra fabric is what lets them fit multiple vehicles, but it can create bunching if your seat is unusually shaped or has wide bolsters.
Custom-fit covers use a tighter pattern match, so openings land where they should and seams sit closer to the factory look.
In practice, custom-fit covers also tend to track better with seat movement, which matters on power seats and seats with heavy bolster shaping.
| Feature | Universal-fit | Custom-fit |
|---|---|---|
| Edge alignment | Varies by seat shape | Usually precise |
| Ease of installation | Fewer steps, more adjusting | Straighter “route” for seams and openings |
| Appearance | More visible looseness in some areas | Factory-like look is common |
| Airbag compatibility setup | Depends heavily on the exact design | Often better matched to seat cut lines |
When Universal-fit Works Well
Universal-fit covers work best when your seats are standard shape and you do not mind spending extra time taking up slack along the sides and bottom. Universal neoprene or faux-leather styles are common picks for quick protection from spills, pet hair, and everyday wear.
Universal-fit covers often feel “tight” on the first install, then loosen slightly after a few days as the material settles. Plan for one quick re-check of the straps and lower anchors after the first install cycle.
When Custom-fit Is Necessary
Custom-fit is the safer choice when your seats have distinctive geometry, like pronounced side bolsters, integrated headrest shapes, or unusual armrest contours. Custom-fit also helps when you want clean seam alignment on leather-look covers, because bunching shows more on smoother materials.
Custom-fit is typically the better move for rear seating that splits and folds, since the cover must wrap multiple angles without interfering with the fold points or creating hard wrinkles.
For example, split-fold rear benches in compact SUVs and minivans often need cover openings to land accurately at the seam lines to keep the seat usable.
Cost, Time, And Warranty Considerations
Universal-fit covers usually cost less and are faster to start, but the “real” time can go up due to repeated tightening and re-seating. Custom-fit covers usually cost more upfront and may take longer the first time, yet they often install with fewer adjustments because the cut matches the seat.
Warranty terms vary by brand and material, so the key practical point is fit-related expectations: universal products may include language that allows minor wrinkling or slack because the cover is meant to serve many vehicles. Custom-fit warranties are more likely to expect a specific fit pattern, so keep the model/year confirmation paperwork and your receipt if you ever need a claim.
| Category | What to expect |
|---|---|
| Typical install time (first-time) | Universal: often quicker to begin, longer to fine-tune. Custom-fit: usually steadier alignment, fewer re-adjustments. |
| Adjustment effort | Universal: relies on straps, elastic, and tucking. Custom-fit: relies on correct alignment of pre-cut sections. |
| Warranty friction | Universal products may tolerate small cosmetic differences. Custom-fit claims often hinge on correct vehicle matching. |
Vehicle-specific Notes To Watch For
Bucket vs bench style changes the equation because buckets have separate side bolsters and headrest shapes, while benches require the cover to handle multiple seating positions and often a center seam. Universal covers can still work, but they are more prone to wrinkles around the center section on wide bench seats.
Vehicle-specific trim patterns also matter: some seats have pronounced contour channels, integrated armrest covers, or factory covers that affect how the new material lays down. For split-fold rear seats, match the cover’s design to the actual fold sections and release points so the cover does not bind when the seatback tilts or when the bench folds.
Before you buy, confirm the cover’s fitment list matches your exact year, make, model, and seat type (bucket, bench, and whether the rear is split). Then check that the cover’s seam layout aligns with your seat’s intended openings and strap points, because that alignment is what determines whether the cover sits correctly once installed.
Universal-fit can be a smart buy for daily drivers, but custom-fit is what you choose when you care about appearance, fewer wrinkles, and a repeatable fit across seat movements.
Rear Seat Installation Guide
Rear-seat installs start with matching the cover to your seat layout, since bench and split-fold configurations route seams and attachment points differently. Correctly aligned cutouts prevent excess fabric at the bottom corners, which is where covers start to loosen and bunch.
Identify Rear-seat Configuration: Bench Vs Split
Most rear rows fall into two patterns: a full bench or a split bench with seatbacks that fold separately (often for passing through cargo). Universal covers usually include generic straps or hook-and-loop anchors, but split-fold seats need cover sections that can move without tearing or binding.
Vehicle examples that frequently use split-fold layouts include Ford F-150 SuperCab rear rows, many Honda CR-V trims, and Jeep Cherokee models with 60/40 folding. Those arrangements make it especially important to confirm whether your cover has separate back panels and independent access openings for latch areas.
Split-fold Rear Seats: Cover Integration
Split-fold covers should line up with the seatback seam between left and right sections. When the seatbacks fold down, the cover needs clearance at the hinge side, so do a test fold before tightening all straps.
Expert tip: If your cover has a “power cord” type opening, pull it through and leave slack for the fold motion. Tight slack that looks fine at upright can rip at the first fold.
For center armrest or removable center seats, route the cover so it does not block latch release tabs. Forcing the cover into latch mechanisms causes permanent bunching, and you will feel it every time you fold the seat.
Rear-seat Anchoring And Securing Straps
Rear anchors are usually a combination of bottom hooks, side panels, and strap loops that grab under the cushion. Start with the bottom perimeter first, then move to seatback straps, because the bottom position sets where the seatback cover sits.
Step-by-step Rear-seat Install (Common Patterns)
Typical rear-seat labor time is 45 to 90 minutes for a bench and 60 to 120 minutes for a split-fold row, depending on how many straps and openings your kit includes. Repositioning notes: tighten in stages, stop and re-seat the cover after the first strap set, and only then do the final snug pull.
| Rear setup | Most common challenge | Best fix |
|---|---|---|
| Bench | Bottom corners bunching under the cushion | Loosen one side strap, pull the corner seam flat, then re-tighten evenly |
| Split-fold (60/40) | Hinge-side tension when folding down | Loosen seatback straps, add slack at the hinge, confirm both sides fold freely |
After everything is secured, press along the edges by hand to confirm the cover is seated and stable. If you feel a tight spot forming after the seat is folded, loosen that strap location and redo that section rather than forcing it, because forced installs turn into early wear.
Tools, Time, And Fit Tips
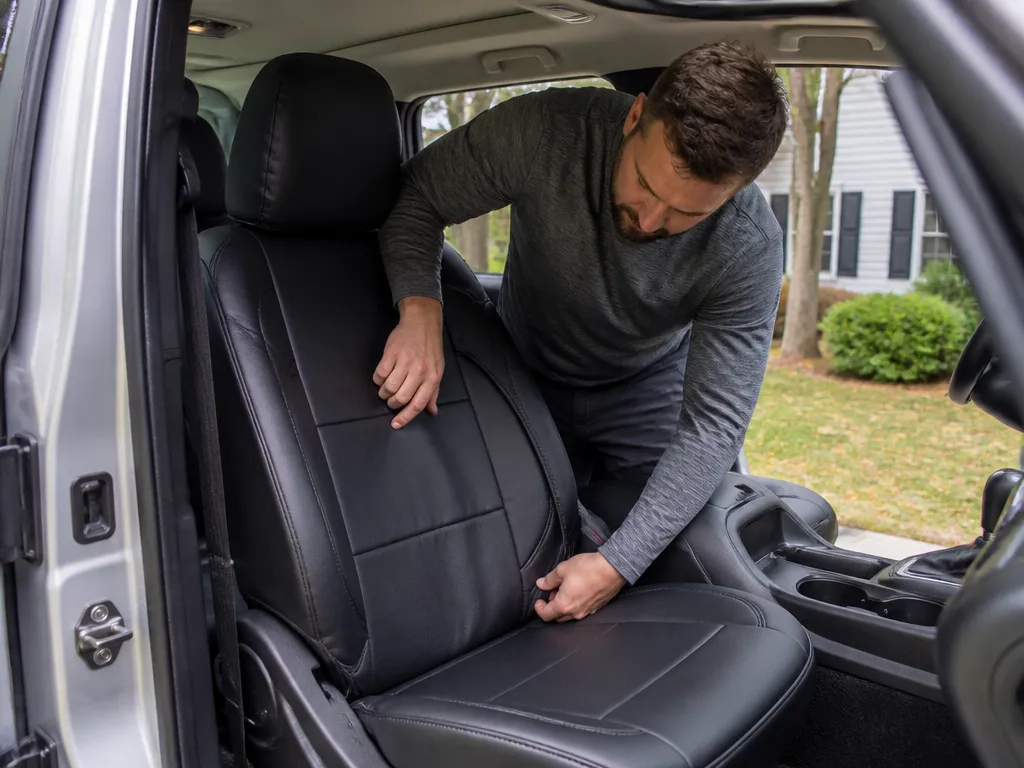
Plan on about 2 to 3 hours per front pair for a typical universal or semi-custom cover set, assuming average stubborn factory fabric and a careful fit. Expect 30 to 90 minutes for a bench or split-rear install, plus extra time if you’re working around built-in headrests or power seat tracks.
| Item | Amount/Specification | Notes |
|---|---|---|
| Trim tool set | 1 set | Helps pry hog rings or clips without tearing OEM trim. |
| Plastic pry bars | 2 to 3 | Protects seat plastics near rails and map pockets. |
| Needle-nose pliers | 1 pair | Useful for pulling straps into tight gaps under seats. |
| Screwdriver set | Flat and Phillips | For any rail-adapter hardware included with the cover kit. |
| Hog-ring pliers (if kit uses rings) | 1 tool | Common on aftermarket cloth or neoprene sets that mimic upholstery. |
| Small scissors or razor | 1 tool | Only for trimming excess material at provided cut lines. |
| Gloves + lint-free cloth | 1 pack | Reduces slips and keeps the cover material clean for better stretch. |
| Flashlight | 1 | Lets you confirm every strap and connector sits behind the correct seam. |
Time Estimates That Match Real-world Installs
Front seat install time depends on how the kit attaches to the foam, rails, and airbags. A typical manual seat with adjustable headrests is faster, while power-seat tracks and side airbag covers usually add complexity.
In practice, you’ll spend extra time doing test fits before final tensioning. Over-stretching early can leave wrinkles that are harder to remove after the cover starts “setting” into place.
Stretching, Tucking, And Securing So It Stays Smooth
Stretch covers in stages, starting with the backrest panels and working toward the seat base, pulling just enough to remove slack without turning seams into “puckers.” Tuck the excess into the factory seam line, then re-check alignment at the headrest posts before tightening straps fully.
Securing points should follow the kit’s strap map and factory openings. Tighten one strap at a time, then sit back in the seat position to confirm the cover does not bind on rails, seat heaters (if present), or any side airbag seam areas.
Pro tip: Manage wrinkles by working “from the center outward.” Focus pulls at high-wrinkle areas (side bolsters and front corners), then smooth outward with a gloved hand to distribute tension evenly.
Care And Maintenance For Fit Longevity
Clean the seat surface before installation with a mild upholstery cleaner and a lint-free wipe, since dust prevents the cover from stretching evenly. After install, avoid harsh heat guns or steam near seams, because some neoprene and dyed covers relax and shift.
Sun protection is what keeps your fit looking tight. Use sunshades on long parked days, and wipe the cover with a damp cloth periodically, then let it fully dry to prevent grit from acting like sandpaper when you adjust the seats.
Quick Summary
Seat covers installation is all about fit and alignment, because a strap in the wrong spot can create wrinkles, interfere with power seat travel, or block areas that matter for heated seats. The article estimates seat cover installs in about 1 to 3.5 hours overall, with 45 to 105 minutes per front seat, and says the biggest time sink is careful alignment. Before stretching anything, you should confirm airbag cutouts and seatbelt pass-throughs, check heated-seat compatibility, and do a quick dry-fit for the correct seat type.
For front seats, the process is to slide the tailored shell over the seat and then secure straps, hooks, and elastic around the base and sides, while avoiding tightening directly over airbag seam areas. Remove headrests if needed, clear obstructions, and wipe the seat lightly with a microfiber towel so straps do not slip during tensioning. The guide suggests 30 seconds of test-fitting before removing more trim, and notes you can use seat rails as a reference if you remove the seat for better access. Finish by rechecking seatbelt and airbag areas, since airbag compatibility is the most important takeaway.
| Step | What to do | Time guidance |
|---|---|---|
| Pre-check | Confirm airbag cutouts/seams, seatbelt pass-throughs, and heated-seat compatibility; dry-fit on the correct seat type | 30 seconds dry-fit |
| Install | Pull fabric tight from the center outward, hook straps to anchor points, and tuck edges with the right trim-safe tools | 45 to 105 minutes per front seat |
| Recheck | Verify seatbelt and airbag areas before final tightening | Quick final inspection |
Frequently Asked Questions
How Long Does It Take To Install Seat Covers On A Car?
Most installs take about 1 to 3.5 hours depending on how many seats you‘re covering and whether you have power seats, split-fold backs, or headrests that require extra routing. If the kit needs foam stuffing or detailed tuck straps, plan closer to 3.5 hours.
Do I Need To Remove The Seats To Install Seat Covers?
Usually, you can install many seat covers with the seats in the car, but some kits are much easier if you remove the rear seat bottom or pull the front seats forward. If your seat has power adjustments, avoid disconnecting anything unless your instructions specifically tell you to do so.
How Do I Install Seat Covers Without Damaging Airbags Or Seat Sensors?
Keep covers away from airbag deployment seams and follow the kit’s guidance for “airbag-safe” stitching or cutouts. If your vehicle uses side airbags or seat-mounted sensors, never route straps or stuffing across impact areas.
Should I Use A Heat Gun Or Steam To Tighten Seat Covers?
For stretch or fitted materials, a low-heat approach can help the cover seat evenly, but you should avoid overheating plastics, adhesives, or synthetic panels. If your kit instructions do not mention heat, stick to pulling, tucking, and using provided hooks or straps.
What’s The Most Common Mistake When Installing Seat Covers?
The biggest mistake is misaligning the seams early, which then forces you to fight wrinkles later. Start by centering the cover on the seat, then anchor corners, headrest points, and bottom edges in order before fully tightening.
Why Do My Seat Covers Keep Slipping After Installation?
Most slip issues come from using the wrong attachment points or not fully tightening the elastic straps or hooks. Re-check that the cover is not twisted, then make sure the bottom has solid grip around the seat edges, especially around the seat belt path and any fold points.