
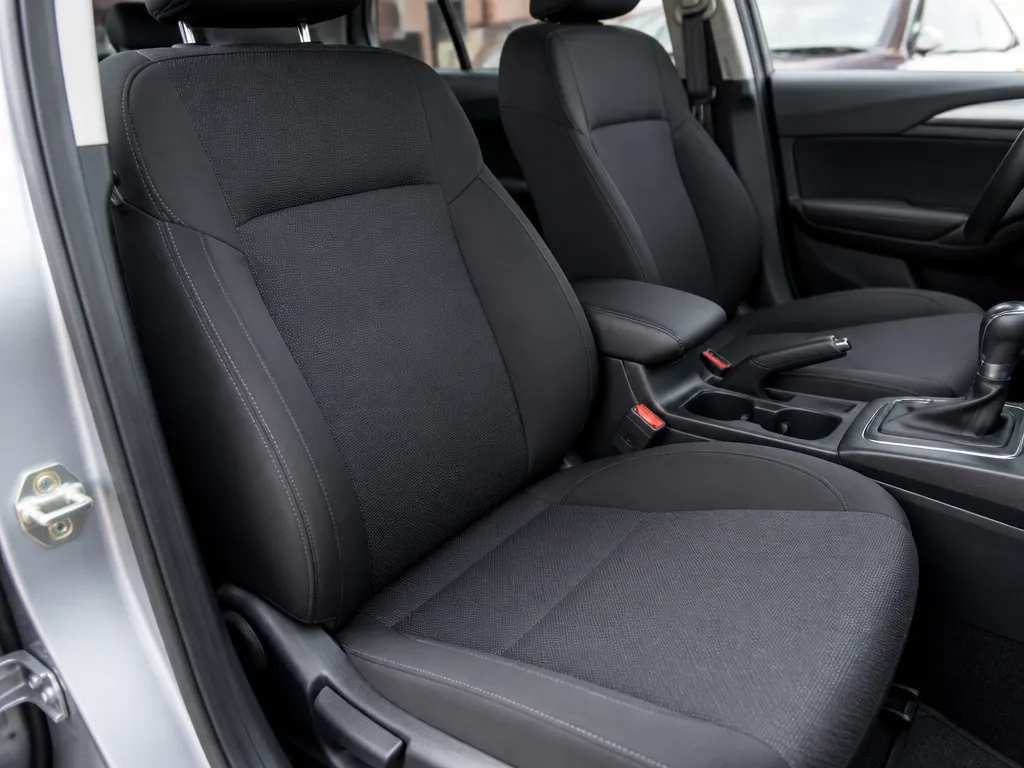
You just sat down and felt it, a wad of chewing gum stuck to the car seat cushion, right where your kid or passenger kicked back. If you scrape at it dry, it turns into smears and stains. Get a safe, step-by-step method for fabric, leather, vinyl, and even plastic trim, so the upholstery survives.
Start by chilling the gum for 2 to 5 minutes with ice in a bag, then lift the hard chunks with a plastic scraper or old credit card. Clean the leftover tackiness using material-safe steps, like mild soap water for fabric and leather cleaner/conditioner for leather, and finish with thorough drying.
How To Remove Chewing Gum From Car Seat
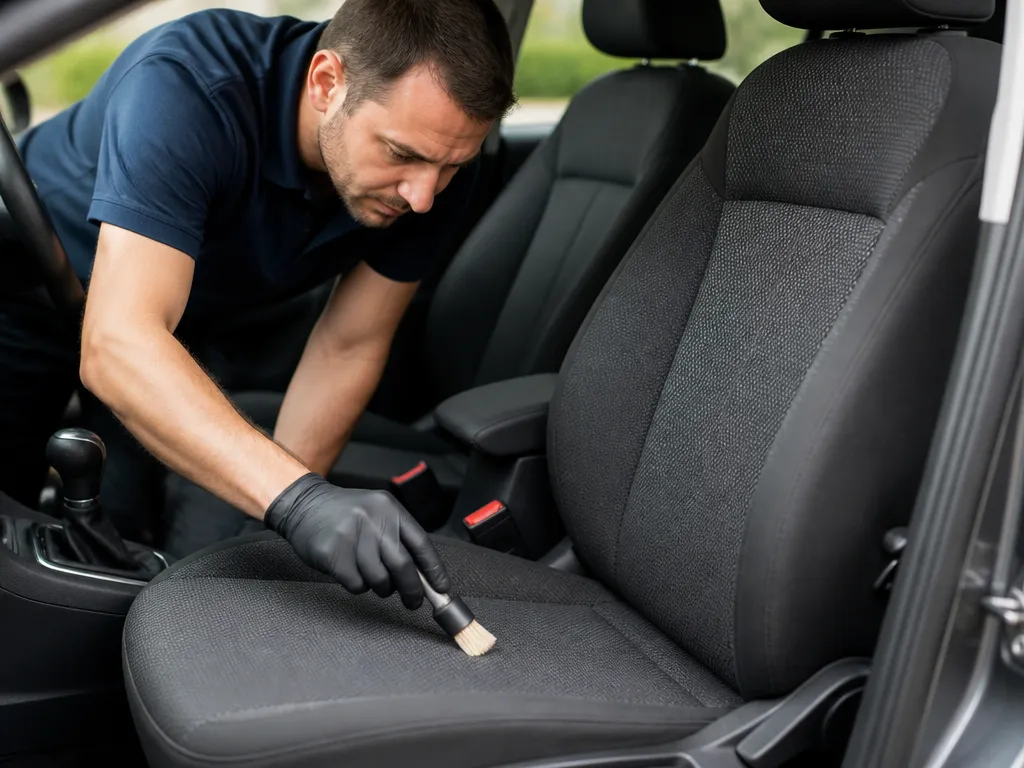
Goal is to remove gum without tearing the upholstery. Start with cold, hardening the gum using ice, then lift it away with a plastic scraper, and finish with a light cleaning to remove residue and odor. Test any cleaner or solvent in a hidden spot before applying to the visible area.
| Surface Type | Best Approach | Tools | Precautions | Estimated Time |
|---|---|---|---|---|
| Fabric upholstery | Ice to harden, then gently lift with plastic edge, finish with blotting | Ice pack, plastic scraper or card, microfiber | Avoid heat, test cleaner in hidden area | 5-15 minutes removal, 5-10 minutes cleaning |
| Leather or vinyl | Ice or cold pack, lift with blunt tool, wipe with leather-safe cleaner | Ice, blunt plastic tool, microfiber, leather cleaner | Do not saturate, test cleaner first | 5-15 minutes plus conditioning |
| Plastic trim | Ice, gentle lift with card | Ice, plastic card | Avoid solvents, avoid abrasive scrubbing | 5-10 minutes |
Fabric upholstery is the most forgiving, but still easy to tear if you hurry. Cold is safest. Freeze the gum until it becomes a firm, liftable mass, then use a plastic edge to lift the gum without tearing fibers. Once removed, dab with a clean, damp cloth to pick up loosened residue and allow to air dry.
Leather and vinyl surfaces respond poorly to water or solvents. Use a cold pack to harden the gum, then gently lift with a blunt plastic tool. Wipe the area with a microfiber cloth dampened with a leather-safe cleaner and finish with a conditioner if leather is involved to prevent drying.
Heat and solvents carry risk on upholstery; avoid heat sources such as hair dryers, hot water, or solvent-based sprays that can melt fibers or fade color. Strong solvents like acetone or lacquer thinner can damage dyes and finishes, so skip them on upholstery unless you know the exact material and dye fastness.
Cleanup and deodorizing after removal should restore look and odor. Vacuum the area to remove fine particles, then spot-clean with a mild upholstery cleaner. If odor lingers, freshen with a fabric-safe deodorizer or a quick pass of air to dissipate the smell.
Tools And Products To Use
Chewing gum comes off easiest when you have a way to harden it (ice) and a way to lift it without digging into the upholstery (plastic scraper plus microfiber). Keep cleaners mild and surface-specific so you remove residue and odor without bleaching or loosening the backing.
| Item | Amount/Specification | Notes |
|---|---|---|
| Ice pack | 1 small pack | Wrap in a thin plastic bag or paper towel so meltwater does not spread. |
| Plastic scraper | 1 scraper (old gift card type is fine) | Use plastic, not metal, to avoid snags and gouges. |
| Microfiber cloths | 2 to 4 towels | Microfiber lifts softened residue without shredding like some paper towels. |
| Stiff detail brush | 1 small brush (nylon bristles) | Helps work cleaner into fabric pile after gum is removed. |
| Spray bottle with distilled water | 1 bottle | Reduces spotting risk versus tap water on some fabrics. |
| Seat-safe upholstery cleaner | 1 product (foam type works well) | Pick one labeled for the seat material you have. |
| Leather cleaner and conditioner | As needed | Use leather-specific products after adhesive residue is gone. |
| Vinyl cleaner or mild soap mix | As needed | Vinyl handles gentle cleaners better than strong solvents. |
| Optional: 70% isopropyl alcohol | Small amount on cloth | Use only on resilient trim and test first, since some dyes can lift. |
Cleaner Choices By Seat Material
Cloth fabric / upholstery: Use a dedicated upholstery spot cleaner or a mild detergent diluted with water. Apply cleaner to the cloth first, then dab and gently brush residue. Keep the area lightly damp, so you do not soak the padding.
Leather: Use a leather cleaner that is designed for automotive seats, then follow with conditioner after the sticky film is removed. Avoid harsh alcohols and acetone on leather, because they can dry or discolor the finish.
Vinyl / imitation leather: Use a vinyl or all-purpose interior cleaner that is safe for plastics, then wipe with a damp microfiber to remove any chemical film. Consider 70% isopropyl alcohol only after a hidden-area test, because vinyl can haze if the finish is sensitive.
Plastic trim / hard surfaces: Mild soap and water is the safest start, and 70% isopropyl alcohol can help on remaining tackiness. Avoid strong thinners and acetone, since many dashboards and trim pieces haze or craze.
Trade-off to remember: stronger solvents can break down gum faster, but they also attack dyes, finishes, and seat coatings. Mild, surface-correct cleaners usually win because you can repeat gentle cleaning without damaging the material.
Hardening Gum With Ice
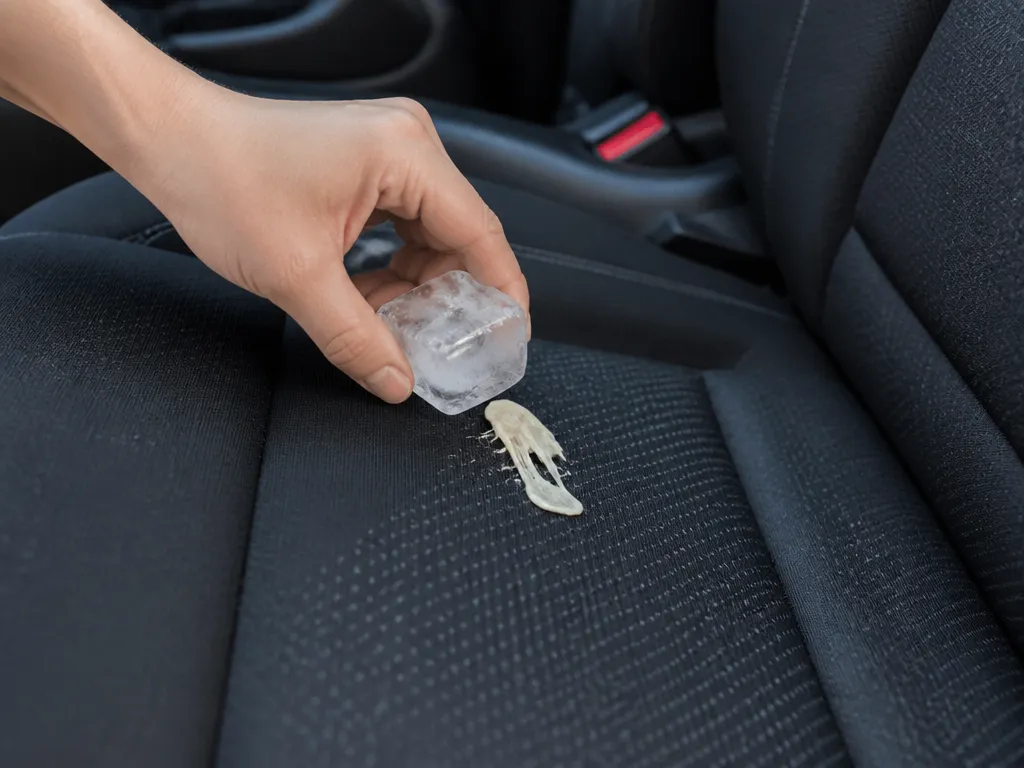
Ice hardens chewing gum so it loses its tack and breaks away from upholstery fibers instead of smearing deeper into the seat. Fabric and foam hold onto sticky residue longer than leather or vinyl, so timing matters and you may need repeat chills.
In practice, fabric seats (cloth upholstery on many sedans and crossovers) often need more cycles because the gum can stretch into the weave. Leather and vinyl tend to release faster, but residue can still cling, so expect a second cleanup step after the bulk comes off.
Pro tip: Don’t flood the area with water. Moisture turns softened gum into a sticky paste that is harder to remove and can leave a stain line on foam-backed upholstery.
After each scrape, use a dry cloth or a soft brush to pick up loosened bits before the gum warms back up. If you see smeared streaks forming, re-chill immediately rather than rubbing harder.
Lift Gum Without Damaging Fabric
Good gum removal comes down to controlling the scrape, not soaking the seat until everything turns greasy. Work with the grain of the upholstery, use light pressure first, then step up only if the gum is lifting. The goal is to lift chunks and residue off the surface fibers, so they do not get pulled out or ground deeper.
Scrape direction controls damage. Push the tool in short strokes that skim the gum rather than digging into the fabric, and pull up as needed so the gum forms small, removable ridges.
Handle Embedded Gum In Seams Safely
Chewing gum loves seams and piping because it traps itself in the stitching channel. Work these areas with smaller tool edges and slower strokes, so you do not pry seams apart or pull thread loops loose. Avoid aggressive scraping on textured covers, because the gum can sit under raised fibers and look “removed” while it is actually still embedded.
For stubborn spots that will not lift, continue to chill and scrape rather than warming the surface. Cooling keeps the gum firm, while repeated short passes let you pick it up without dragging fibers.
Pro tip: For seam work, hold the seat fabric taut with your free hand (light tension only). A slack seam lets the blade catch and pull thread.
| Upholstery type | Best mechanical approach | Avoid |
|---|---|---|
| Fabric | Plastic edge scraping + frequent blotting | Metal scrapers that catch the weave |
| Leather or vinyl | Plastic edge scraping + light damp microfiber | Scrubbing pads that scratch the finish |
| Plastic trim near the seat | Skim scrape with plastic edge, keep solvents off trim | Solvents that haze or dull surfaces |
Fabric Seat Cleaning Steps
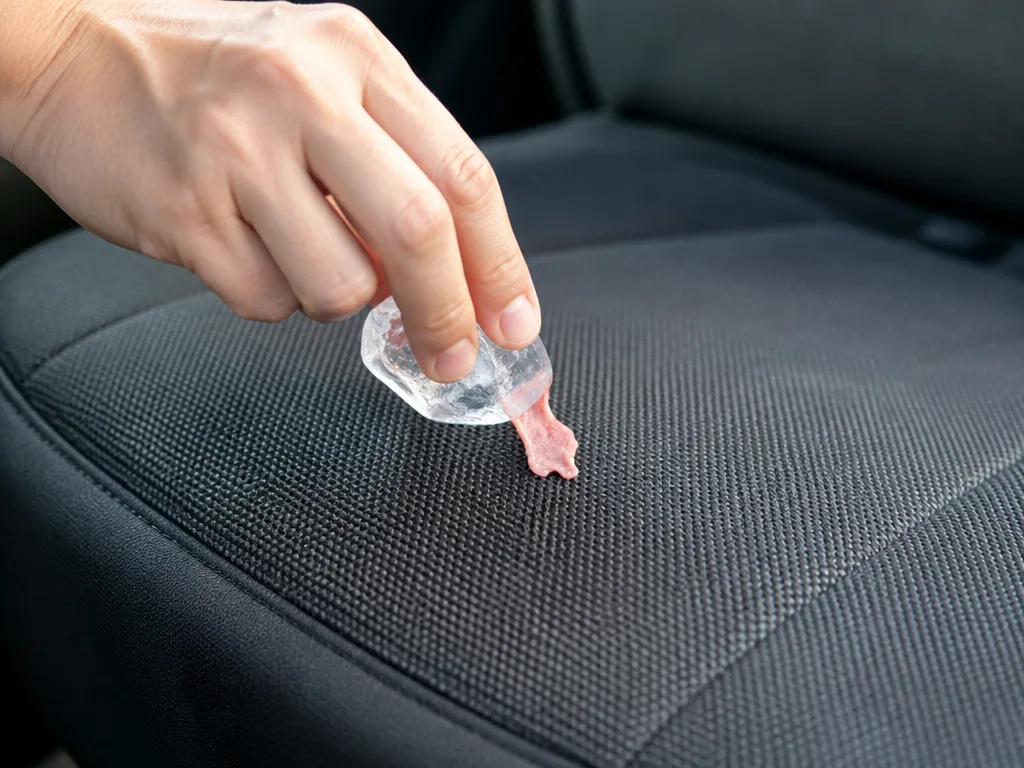
Most of the stickiness comes out once you soften the gum, lift the residue, and then treat the cloth with a gentle rinse. After the gum is gone, the remaining problem is usually sugary residue that attracts dirt, so mild soap and controlled blotting are key.
Important: Avoid acetone, lacquer thinner, or “heavy-duty” tar removers on cloth. Those can dissolve dye binders or leave a shiny patch that looks worse than the original spot.
If you can still feel stickiness after the area is fully dry, the residue is likely sugar-based and deeper in the weave, not gum you missed on top. Another round of mild soap and plain-water rinse usually fixes it.
Leather And Vinyl Seat Care
Leather and vinyl gum removal needs controlled temperature and mild cleaners, because soak or strong solvents can soften dyes and lift finishes. Cold hardening makes gum easier to lift, while gentle soap solutions remove the slick residue left behind.
Condition After Cleaning
Leather needs conditioning after residue removal because wiping and soap can strip natural oils. Apply a small amount of quality leather conditioner to a clean microfiber, spread thinly, and buff after it has had 10 to 20 minutes to absorb.
Vinyl typically does not require conditioner the same way leather does, but a light protectant helps it stay uniform and reduces tackiness. Test any conditioner or protectant in a hidden spot first, since some dyes on older seats can darken or smear.
Trade-off to remember: Rubbing harder clears gum faster, but it also grinds residue deeper into the grain or finish. Controlled temperature and gentle wiping win, especially on leather surfaces and older OEM dye layers.
Stickiness, Odor, And Residue Cleanup
After the bulk of the gum is removed, the biggest complaint is leftover tackiness and a faint sweet smell that lingers in the seat fabric. The right cleanup is slow and controlled: lift residue by re-chilling and scraping, then rinse with a damp cloth so you do not re-saturate the foam underneath.
For example, a lot of Honda and Toyota cloth seat bottoms absorb gum sugar residue into the weave, even when you remove the chewed mass cleanly. In that case, the first 10 minutes of blotting and controlled rinse make a bigger difference than any “strong” product you might try.
Pro tip: Always test any cleaner in a hidden seam or under-seat edge first. Re-chilling prevents residue from spreading, so keep the gum firm and follow with immediate scraping and blotting.
| Seat type | Best residue approach | Odor control |
|---|---|---|
| Cloth/upholstery | Blot, re-chill to lift, spot-clean lightly, rinse with damp cloth | Vent air, then baking soda (dry area only) |
| Leather/vinyl | Blot, mild cleaner on cloth, rinse wipe, dry thoroughly | Ventilation, then leather conditioner after drying |
| Plastic trim | Scrape, then wipe with mild soap and water | Vent only |
Do Not Use And Safety Notes?
Hidden-spot testing is essential before any cleaner touches the seat. Apply a tiny dab of cleaner or solvent to an unseen area and watch for color transfer, fiber swelling, or finish dulling over 15 minutes to 1 hour, then recheck again after a full 24 hours.
Ventilation and PPE are mandatory anytime interior cleaners are involved. Open doors or run a portable fan, and wear gloves to protect skin and avoid inhaling fumes. Use only a small amount at a time to limit saturation and reduce risk of dye bleed or finish damage.
If you must use a solvent-style action, only choose manufacturer-approved upholstery cleaners and follow the label directions to the letter. Apply with a textile-safe applicator, test again in a hidden spot, and avoid extending dwell time or applying heat near the fabric, leather, or trim.
| Interior Type | Safe Approach | Why |
|---|---|---|
| Fabric/Upholstery | Water-based cleaner or fabric-safe solvent under test | Minimizes dye bleed and fiber damage |
| Leather/Vinyl | Leather-safe cleaner; avoid ammonia-based products | Preserves finish and suppleness |
| Plastic Trim | Mild soap and water; avoid strong solvents | Prevents staining and cracking |
Tip from a master tech: If in doubt, pause and consult a professional to avoid permanent damage.
Final reminder: If any chemical intervention is needed, re-check colorfastness after each step and stop immediately if you see discoloration or fiber distortion. After successful removal, vacuum the area and recondition leather if applicable to restore the surface.
Quick Summary
Freezing is the key method to remove chewing gum from a car seat without turning it into smears. Hold ice in a sealed bag on the gum for 2 to 5 minutes, then lift the hardened chunks using a plastic scraper or an old credit card. If you still see tackiness, repeat the chill. The goal is to lift, not smear, and to avoid digging into fibers. Before any cleaner, test it in a hidden spot, and avoid heat because it can melt fibers or fade color.
After the gum comes off, clean residue based on the surface type. Fabric upholstery is handled with mild soap and blotting, then vacuuming and air drying, and leather or vinyl needs a material-specific cleaner wiped on with a microfiber cloth, followed by leather conditioning if leather is involved. Avoid soaking cushions, apply cleaner to the cloth first, and blot to prevent deep moisture. Strong solvents like acetone or lacquer thinner are risky for dyes and finishes. The most important takeaway is cold, then gentle lifting, then surface-safe cleanup.
| Seat surface | Gum removal step | Residue cleanup | Key caution |
|---|---|---|---|
| Fabric | Ice in sealed bag for 2 to 5 minutes, lift with plastic edge | Mild soap and blotting, vacuum after dry | Avoid heat, keep cushions from getting soaked |
| Leather or vinyl | Ice, lift with blunt plastic tool | Leather/vinyl-safe cleaner on microfiber, leather can need conditioning | Do not saturate, avoid water or solvent-heavy products |
| Plastic trim | Ice, gentle lift with card | Wipe clean, use caution with chemicals | Avoid solvents and abrasive scrubbing |
Frequently Asked Questions
What Is The Safest Way To Remove Chewing Gum From A Car Seat Without Damaging The Fabric?
Start by freezing the gum with an ice pack (wrapped in a bag) for 2 to 5 minutes, then gently lift and scrape with a plastic card. Avoid heat guns or hair dryers on upholstery, since heat can spread the gum and set it deeper.
How Do I Get Chewing Gum Out Of Car Seat Upholstery If It Is Already Melted Or Sticky?
Let it re-harden with ice first, then work in small sections with a plastic scraper. For residue, use a small amount of alcohol-based cleaner on a hidden spot first, then blot, repeat, and rinse the area with a damp cloth.
Can I Use Peanut Butter Or Wd-40 To Remove Chewing Gum From A Car Seat?
It is risky, because these products can leave an oil or residue film that is harder to remove than the gum. If you try an alternative, use it only in a hidden test area, and stop if the material darkens or stays greasy after blotting.
How Long Does It Take To Remove Chewing Gum From A Car Seat?
For fresh gum, most DIY jobs take 15 to 30 minutes if you can freeze it, remove the bulk, and clean residue. If the gum has been in heat for a while or it is embedded in rough fabric seams, plan for up to an hour.
What Is The Biggest Mistake People Make When Removing Chewing Gum From Car Seats?
The most common mistake is using too much force or heat, which smears the gum and pushes it deeper into fibers. Another frequent issue is soaking the seat, so use light damp cleaning and focus on scraping plus controlled spot cleaning.
Will Removing Chewing Gum From A Car Seat Require Professional Cleaning?
Usually you can handle it at home if the area is cleaned promptly and you do not soak the upholstery. If the seat has stains you cannot lift after residue removal, or the fabric is leather or with a sensitive coating, a professional upholstery cleaner is the safer bet.