
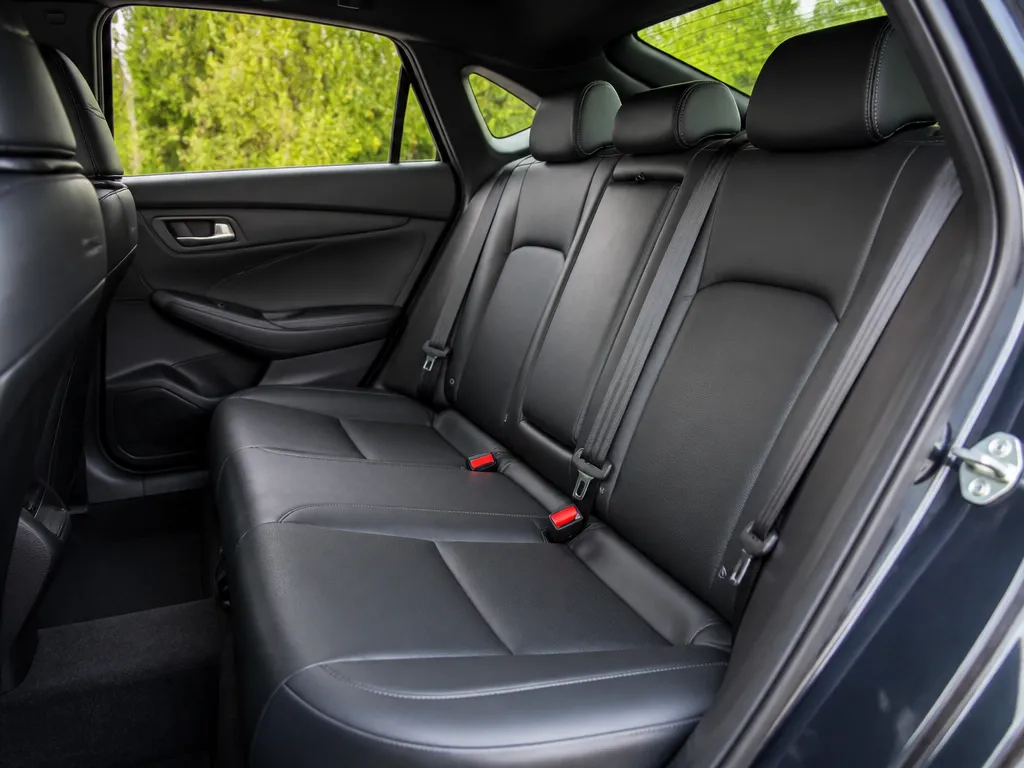
Your dog sheds year-round, and the car is where it sticks. One week after vacuuming, you’re still finding pet hair in the seat seams, carpet, and even the trunk corners. This is the kind of job where the wrong tool just pushes hair deeper, so you need a repeatable method for each surface.
Pet hair removal is mostly about dry lift first, then vacuum with the right attachment, and finish with light damp wiping only where it’s safe. Expect quick cleanups to take about 15 to 30 minutes, while stubborn embedded hair often takes 30 to 60 minutes with a couple of passes.
How To Remove Pet Hair From Car
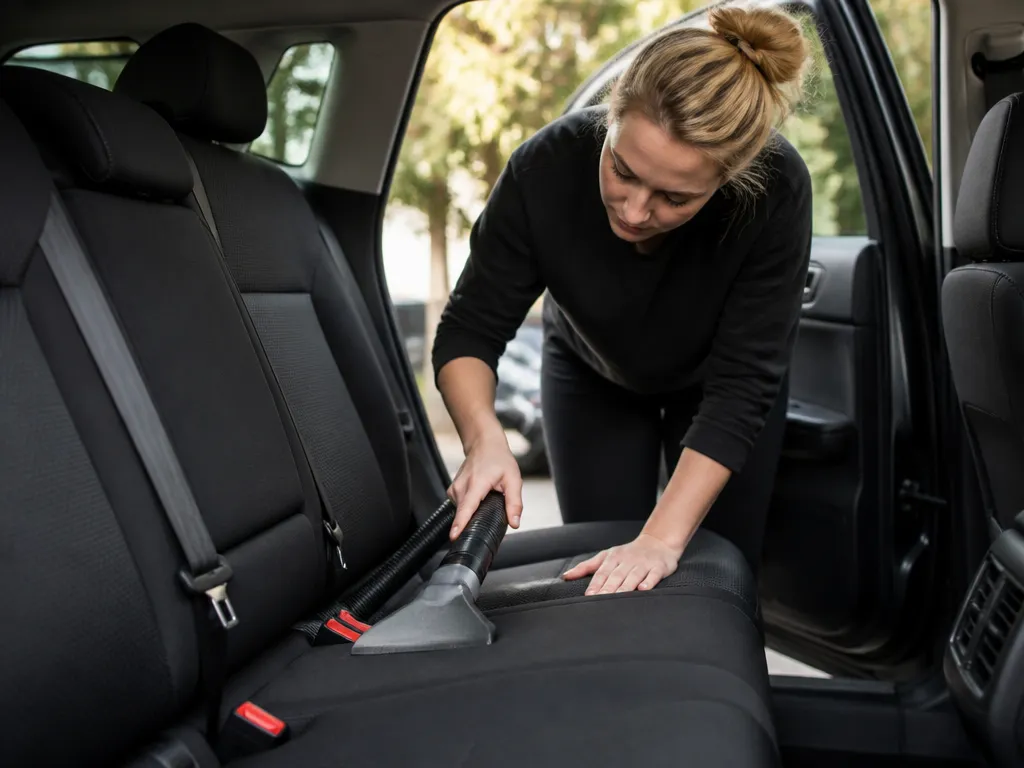
Pet hair removal in a car is a surface-by-surface job, because hair sticks differently to fabric, carpet, rubber mats, and leather or vinyl. A quick pass can clear most loose fur in minutes, while a deeper clean takes longer to pull hair out of seams and pile. The goal is to lift, collect, and prevent hair from ending up back in the airflow and cracks.
What You’ll Achieve In One Session
A solid cleanup removes visible hair, then tackles what you cannot see, hair embedded in carpet pile and stitched upholstery seams. Door panels and seat creases usually hold the most hair after normal vacuuming. Interior plastics can still look “clean” while hair remains in texture grooves.
For most households, the win is dramatic because hair transfer is reduced and the cabin feels usable again the same day. For heavily shed dogs or older upholstery, plan on repeating the process over two shorter sessions rather than one long one.
| Level | What it removes | Typical time (average sedan) | Best for |
|---|---|---|---|
| Quick clean | Loose hair on surfaces, mat top layer, seat tops | 15 to 30 minutes | Daily maintenance or before guests |
| Deep clean | Embedded hair in carpet pile, creases, seat seams | 60 to 120 minutes | Heavy shedding, seasonal buildup |
Quick Vs Deep Clean Time Expectations
Quick clean is mostly about lift and pick up, so you spend more time on agitation tools and less time scrubbing. Deep clean is slower because you are working hair out of texture, then removing it in small sections so it does not spread around.
In practice, plan extra time for cars with cloth seats (Toyota Corolla, Honda Civic, Nissan Sentra trims with cloth upholstery), older carpet mats, or long-haired pets. Expect the rear seats to take longer since hair migrates into tighter contours.
Surface-focused Plan You Can Follow
Mechanic tip: If you vacuum first, you often turn surface hair into a cloud of fine fuzz that resettles into seams and textured plastics. Lift hair first, collect it, then vacuum.
Tools For Pet Hair Removal
Crevice-tool vacuuming gets hair out of seams and seat tracks faster than hand methods alone. Pair it with a rubber glove or squeegee to lift hair from fabric and vinyl so the vacuum can catch it. Keep a damp microfiber towel for the “finish pass” on dashboards, consoles, and headliners.
| Item | Amount/Specification | Notes |
|---|---|---|
| Vacuum with crevice tool | 1 unit, 1.25-2.0 in (32-50 mm) crevice tip | Use steady passes along seat seams, carpet edges, and between console trim. |
| Rubber gloves or rubber squeegee | 1 pair gloves or 1 squeegee | For cloth seats and carpet, dry rub first. For light dust, a slight mist of water can improve hair pickup. |
| Lint rollers | 1-2 rolls | Best for quick wins on headliners, door panels, and textured plastics. Change sheets often to avoid smearing hair. |
| Damp microfiber cloth | 2-4 cloths | Wring it out well. Dampness lifts fine fuzz that vacuum misses without soaking controls or electronics. |
| Microfiber towels | 3-5 towels | Use separate towels for plastics, glass, and interior cleaning so hair does not redeposit. |
| Tape (duct tape or painter’s tape) | 1 roll | Great for trim gaps and stitching. Painter’s tape is safer on delicate finishes, duct tape grips harder. |
| Fabric shaver or de-piller | 1 handheld unit | Use on seat cloth and carpet only when hair is embedded in the pile. Keep blades light on the surface. |
| Steam cleaner (optional) | 1 steamer with a small nozzle | Helps loosen stuck hair on carpets and some fabrics, but avoid saturating electronics and airbags. Test a hidden spot first. |
| Mat cleaner for mats | 1 dedicated brush or mat rake | Use on rubber and carpet mats. A stiff brush beats dragging hair across the floor. |
Tip from the shop floor: a vacuum that is strong at the nozzle and a crevice tool that actually fits the seat tracks matter more than overall horsepower. If your tip is too big to reach seams, you miss the hair pocket.
Cloth Upholstery Removal Steps
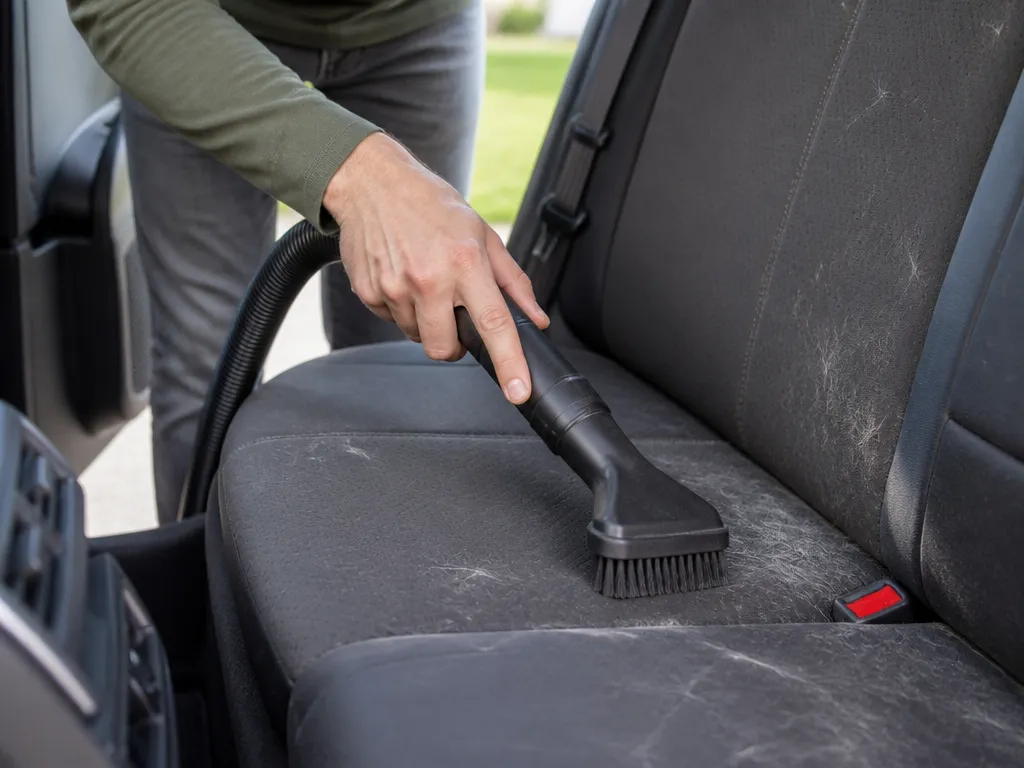
For cloth seat fabric, start dry so you can lift loose hair before you introduce moisture. Work in sections so hair stays visible, and plan on repeating the dry and damp cycle until the pile looks “clean and uniform.”
For example, cloth seats in common trims of sedans and SUVs (like Toyota Camry, Honda Accord, Subaru Outback, and Ford Escape) often trap hair in the seam lines where stitching creases the fabric. After you finish the main panels, spend an extra 3 to 5 minutes per seat edge running the vacuum tip along those stitched seams.
Insider tip: If hair keeps “showing up” after the damp wipe, you usually missed loose hair during the first dry passes. Do another lint roll or glove pass first, then vacuum again, instead of adding more liquid.
Carpeted Floors And Mats
Carpet fibers grab pet hair fast, so removal works best in layers: lift what sits on top, then pull embedded strands. Start with a dry mechanical lift tool, follow with a strong vacuum pass, and finish with targeted moisture only when dry vacuuming stalls. Plan on 20 to 45 minutes for typical front rows and 10 more minutes if the hair is deeply packed.
For most cars, the quickest setup is a vacuum with a brush/crevice combo plus a “hair-lifter” tool.
For example, use the glove-snag method on the pile, then repeat vacuuming before you add steam, since moisture can lock hair into the fibers if you start too early.
Pro tip: For deep fiber hair, the best results come from repeated “lift-vac” sessions, not flooding the carpet. If hair keeps returning after cleaning, check the floor liner edges and seat tracks for trapped shedding that keeps feeding the carpet.
Leather And Vinyl Seats
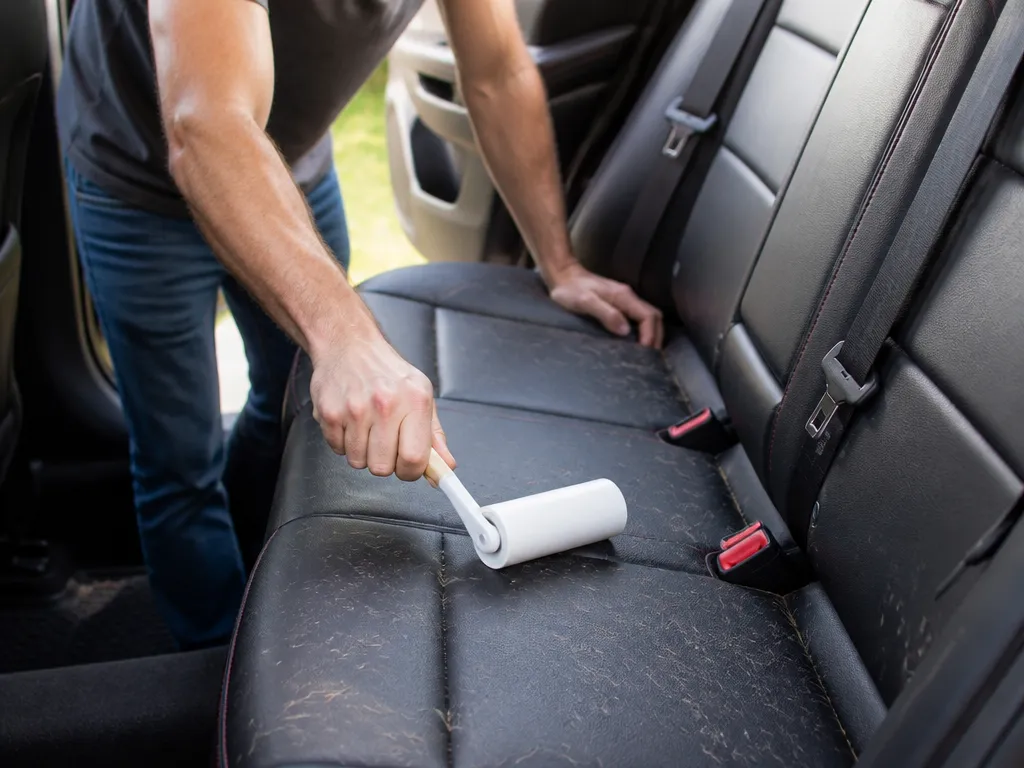
Leather and vinyl trap pet hair in the surface texture and seams, so dry lifting works best before any liquid touches the material. Use gentle tools and avoid soaking, because excess moisture can leave stains and loosen adhesives in trim seams.
Start with dry agitation to pull hair up without smearing it deeper. A soft upholstery brush or a dry microfiber pad lifts hair from grain and stays kind to finishes.
Test any damp method on a hidden spot first. Damp microfiber is usually safe when it is barely wet, but leather finishes and dyed vinyl can vary by brand and age.
For example, wipe one small area near the seat edge, then check 5 to 10 minutes later for color transfer, a shiny patch, or tackiness. If you see any of those, switch to all-dry tools.
Pro tip: Pet hair often hides in stitching. Brush along the seam first, then wipe across the seam line to gather what the brush loosens.
After the surface is clean and dry, apply a leather-safe conditioner if you use one. Conditioner helps restore flexibility and reduces how easily hair sticks to the surface, especially on older leather.
| Material | Best approach | What to avoid |
|---|---|---|
| Leather | Dry brush, then barely damp microfiber; finish with leather-safe conditioner | Soaking, alcohol-heavy cleaners, aggressive scrubbing |
| Vinyl | Dry brush, then light damp wipe; towel dry right away | Harsh solvents, steam cleaning, leaving moisture to air-dry |
For stubborn hair, repeat the dry brush and dry microfiber cycle before adding any moisture. If hair keeps “sticking” after light cleaning, use a slightly tack-free approach by drying the surface first, then conditioning once fully dry.
Trunk And Cargo Areas
Trunk liners and cargo floors trap pet hair in seams, around tie-down points, and along weather stripping where normal sweeping just redistributes it. A tight-seam approach is the difference between “mostly clean” and actually pulling hair out of the fabric and rubber texture.
Vacuum First, Then Work The Seams
Start with a shop vac, wet-dry vac, or a vacuum with a narrow crevice tool so you remove loose hair before you massage anything deeper. Use low-to-medium suction so you do not pull up liner clips or damage thin trunk carpet, then sweep slowly in overlapping passes.
For hair packed into tight channels, use tape or a lint roller with firm pressure. Press it into seams and corners, pull straight back, and repeat until the adhesive stops picking up hair.
Lift Embedded Fibers With A Damp Cloth
After vacuuming and seam-taping, use a slightly damp microfiber cloth to grab hair that is stuck to fibers or tacky dust. Wipe in one direction, fold the cloth often, and keep re-wetting the cloth so you do not smear hair deeper.
Pro tip: If hair turns into a visible “fuzz paste” on the cloth, the area is loaded. Switch cloth sides or use a fresh microfiber to keep pulling, not redistributing.
For rubber weather stripping and textured cargo plastics, use a separate cloth just for those surfaces. Embedded hair there can “transfer back” later if you use the same microfiber on carpet.
Final Debris Check Before You Call It Done
Do a debris check with a flashlight held low to the surface at an angle. Move the beam slowly across the carpet and around the spare tire well, then repeat vacuuming or tape on any hair you can see.
| Area in the trunk | Best tool | Time estimate |
|---|---|---|
| Carpeted cargo floor and liner | Crevice tool vacuum + lint roller | 10 to 15 min |
| Stitch lines, seams, and tie-down points | Tape on a gloved hand | 5 to 10 min |
| Embedded hair on fibers | Damp microfiber wipe | 5 to 10 min |
Finish by vacuuming the floor around the cargo opening (mud drifts out every time you open the hatch). A quick wipe of the surrounding trim prevents the “clean trunk, dirty door seal” look and keeps pet hair from migrating back into the cargo area.
Troubleshooting, Maintenance, Prevention
Preventive routines cut future buildup dramatically. Use seat covers and cargo liners to shield fabric and carpets from hair transfer. Install barrier covers or pet-oriented mats in the areas most traveled by your pet, and wash them regularly. Regular vacuuming, at least weekly, keeps hair from taking hold. For fabric surfaces, apply a automotive fabric protector and reapply per product directions, then remind yourself to re-seat and wash covers after trips with heavy shedding.
| Method | Best Surface | Pros | Cons | Typical Time |
|---|---|---|---|---|
| Dry method | Fabric, carpet | Fast, inexpensive, minimal moisture | Less effective on embedded hair | 5 – 15 min |
| Damp method | Fabric, mats | Better hair lift, fewer passes | Must dry fully | 10 – 20 min |
| Steam | Durable fabrics | Deep lift, residue-free feel | Not for leather vinyl; needs care | 5 – 15 min per spot |
| Protective routines | All interiors | Prevents buildup, extends cleanliness | Ongoing effort | Weekly to monthly |
Pro tip: keep a small lint roller or a pocket-sized roller in the glove box for quick touchups between cleanings.
Quick Summary
Use dry tools like rubber gloves or a lint roller on cloth seats and carpet, then use a crevice tool for seams and an upholstery brush for fabric. For stubborn hair, a lightly dampened microfiber cloth can help lift remaining fibers. Avoid soaking carpet, and use rubber tools on mats while a fabric steamer can loosen stubborn fibers for another pass. Weekly quick vacuuming and seat covers help prevent buildup.
A quick clean for most sedans runs about 15 to 30 minutes, while embedded hair in carpet pile and seams can take 60 to 120 minutes. Work surface by surface and finish with upholstery and seams in small passes.
| Aspect | Recommendation | Typical Time |
|---|---|---|
| Quick clean (top layer) | Dry lift with gloves or lint roller, then vacuum with crevice tool and upholstery brush | 15-30 minutes |
| Deep clean (carpet pile and seams) | Dry lift, then light damp microfiber and vacuum again | 60-120 minutes |
| Maintenance tips | Weekly quick vacuuming and seat covers to prevent buildup | ongoing weekly |
Frequently Asked Questions
What Is The Fastest Way To Remove Pet Hair From Car Seats And Fabric Upholstery?
Start with a dry rubber glove or silicone brush and move your hand over the fabric in one direction for about 30 to 60 seconds to lift hair, then finish with a vacuum using the upholstery attachment. This combo is the quickest way to gather hair before suctioning.
Is A Vacuum With Pet Hair Attachments More Effective Than A Lint Roller For Removing Hair From A Car Interior?
A vacuum with an upholstery nozzle and a crevice tool is usually more effective, because it can pick up embedded hair that a lint roller misses. Use slow, overlapping passes and repeat 3-4 times for stubborn areas.
How Long Does It Typically Take To Remove Pet Hair From A Sedan Interior Using Common Tools?
Most interiors take about 15 to 25 minutes with a vacuum and glove method, depending on how hairy the seats are.
What Is The Safest Way To Remove Pet Hair From Leather Car Seats Without Damaging The Finish?
Use a microfiber cloth slightly damp with water or a mild soap solution and wipe in one direction, then dry with a clean microfiber. Avoid saturating the leather and skip silicone-based cleaners that can leave residues; always test a small area first.
What Are Common Mistakes To Avoid When Removing Pet Hair From A Car?
Common mistakes include using hot air to loosen hair and sticking tape or dryer sheets to surfaces, which leaves residue. Always use dry lift tools before vacuuming, use damp microfiber only where appropriate, and test on an inconspicuous area first.