
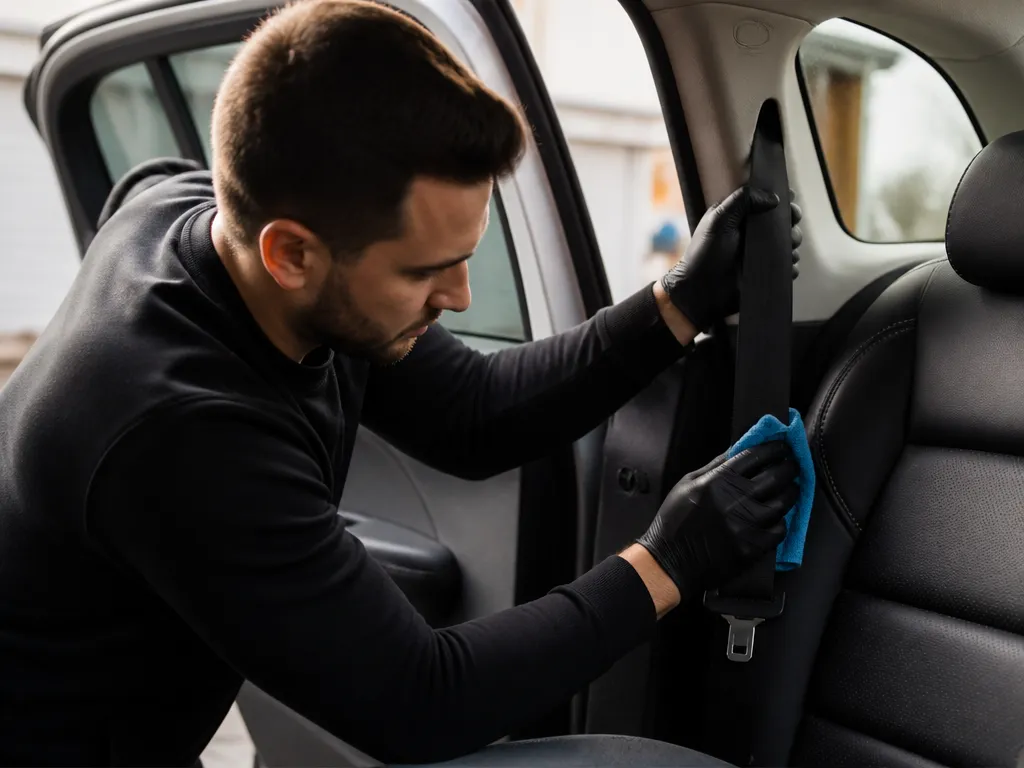
You reach for the seat belt, and suddenly there’s a greasy patch, a sticky drink stain, or that musty smell that never goes away. The belt still retracts, but it feels dirty and you do not want to ruin the webbing. If you searched “how to clean seat belts,” you need a safe process that gets grime off without contaminating the retractor.
Safe cleaning is simple: use mild soap or a pH-balanced interior cleaner, avoid bleach, harsh solvents, and abrasive scrubbers, and keep water away from the retractor. You will get step-by-step cleaning, stain-specific tips, and dry-in-time guidance so the belt retracts smoothly.
Seat belts clean best when you fully extend the strap, dry-brush dust off first, then spot-clean with a mild soap-and-water mix using a soft brush. Wipe with clean water on a microfiber, then air-dry fully with the belt extended (usually 12 to 24 hours) before retracting.
How To Clean Seat Belts Safely
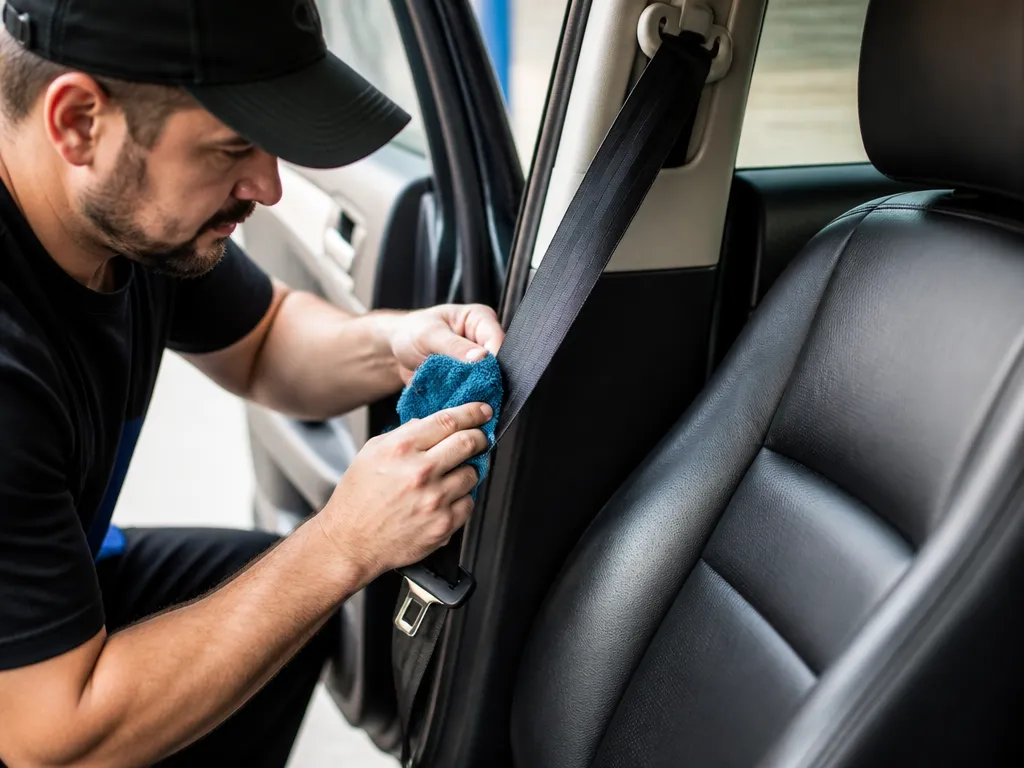
Clean seat belt webbing with mild cleaning methods that remove dirt without soaking the belt system. Keep moisture away from the retractor and hardware, because wetness can interfere with retraction and can speed up corrosion. When a belt is frayed, cuts are visible, or the retractor locks, stop cleaning and get the belt inspected.
What To Avoid (These Chemicals Can Damage Belts)
Bleach, harsh solvents, and abrasive cleaners are off-limits because they can weaken fibers, dull protective coatings, and leave residues that attract more grime. Avoid products like acetone, lacquer thinner, heavy degreasers, and scouring powders.
In practice, use a gentle approach and treat the belt material like upholstery that also has to behave perfectly in a retractor. If your cleaner smells strong or promises “industrial” results, that is your cue to stop.
Moisture Control Around The Retractor
Never soak the belt or submerge the retractor. Keeping water pooled at the pivot, spool, or latch area can cause binding, slow retraction, or repeated odor problems that seem to “come back.”
Keep cleaners and water contained to the webbing. Do not flood the belt while it is installed, and do not allow liquid to run into the retractor’s housing, belt track, or pillar trim.
| Cleaning Action | Safe Boundary | Why It’s Risky |
|---|---|---|
| Spot-clean the webbing | Lightly damp cloth or soft brush | Limits chemical exposure and moisture migration |
| Soak or submerge | Do not do | Water can reach the retractor and hardware |
| Spray cleaner near hardware | Do not spray into retractor | Residue and moisture can impair movement |
When in doubt, fully extend the belt and focus cleaning on the exposed webbing. Any cleaner application should be controlled, not “wet and dripping.”
When To Stop And Call A Pro
Stop cleaning immediately and seek professional help if you see fraying, pulled threads, cuts, glazing, or melted spots on the webbing. Seat belts are safety-critical parts, and damage can reduce strength even if the belt still looks “mostly okay.”
Get the system inspected if the retractor locks during normal operation, you notice uneven belt payout, or you see rust or corrosion at belt hardware. In most cases, a dealer or qualified safety inspection can tell whether the belt needs replacement rather than cleaning.
Supplies For Seat Belt Cleaning
Seat belt webbing responds best to gentle, pH-balanced cleaners and controlled moisture. Gather a mild cleaner, soft agitation tools, clean towels, and enough water to rinse away residues. Avoid anything that leaves fragrance, dye, or solvent films on the belt surface.
What To Use Vs. What To Avoid
Residue is the enemy because it can make webbing feel stiff and can attract dirt again. Use products meant for fabric or upholstery, then rinse thoroughly if you use anything soapy. Keep grease-focused cleaners and strong solvents out of the belt path.
| Use | Avoid |
|---|---|
| Mild pH-balanced upholstery cleaner | Solvents (lacquer thinner, acetone) and degreasers |
| Diluted mild dish soap | Carpet extractors, steam, or soaking the retractor area |
| Water for rinsing | Fabric protectants, conditioners, and heavy fragrances |
| Microfiber towels | Harsh scrub pads that fuzz or roughen the weave |
Odor from food and smoke usually improves with dilution, blotting, and thorough drying. Baking soda is best kept as an odor aid outside the belt, not a belt “treatment,” because excess powder is hard to fully remove from the weave.
For practical work, have extra towels on hand than you think you need. Seat belts in most vehicles, including sedans like a Honda Accord and SUVs like a Toyota Highlander, can hold grime in the weave, so repeated blotting and rinsing prevent sticky residue.
Before you start, confirm you have safe drying space. The belt needs to dry completely so it retracts smoothly and does not bind, which means you should plan for a clean towel, a window of time, and no ongoing moisture.
Cleaning Steps: Prep To Rinse
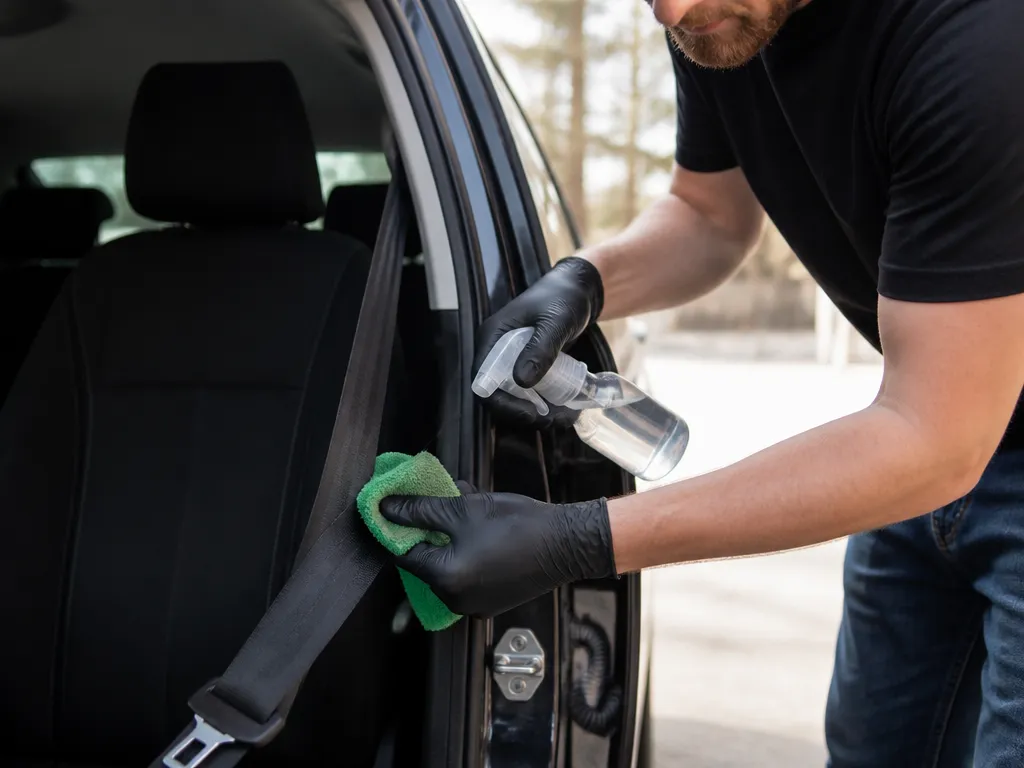
Fully extend the belt to keep it straight and prevent twisting during cleaning. Gently guide the webbing as it retracts to maintain alignment and avoid snagging. Start with a dry dusting and light wipe to remove loose debris before any moisture touches the fabric.
Stain Treatment And Odor Control
Stain treatment on seat belts should use minimal moisture and targeted cleaning. Apply a diluted mild dish soap solution to the stained area with a soft cloth or brush, then blot dry to lift oils without soaking the belt.
For odors, place baking soda in an open container inside the vehicle or air out the belt with good ventilation. Blot and dry the webbing thoroughly, and open doors or windows to circulate air while avoiding direct sun exposure that could weaken fibers.
What to avoid are heavy solvents, harsh scrubbing, or soaking the belt. Never saturate the webbing or allow liquid to pool in the retractor, and skip chlorine bleach or petroleum solvents as they can degrade fibers and weaken the belt.
| Cleaner category | Effect on belt | Notes |
|---|---|---|
| Mild detergent + water | Removes oils and dirt with minimal moisture | Apply with cloth, avoid saturating |
| Baking soda | Odor absorption | Leave 15 – 30 minutes, then vacuum or brush off |
| Isopropyl alcohol (70%) | Grease spot treatment | Test on hidden area; use sparingly |
| Chlorine bleach or petroleum solvents | Potential fiber damage | Not recommended for seat belt webbing |
Tip: After cleaning, ensure the belt dries completely in a well-ventilated area before reassembly or retraction testing. A damp belt can affect retraction performance and cause a squeak.
Drying, Buckle Care, And Final Check
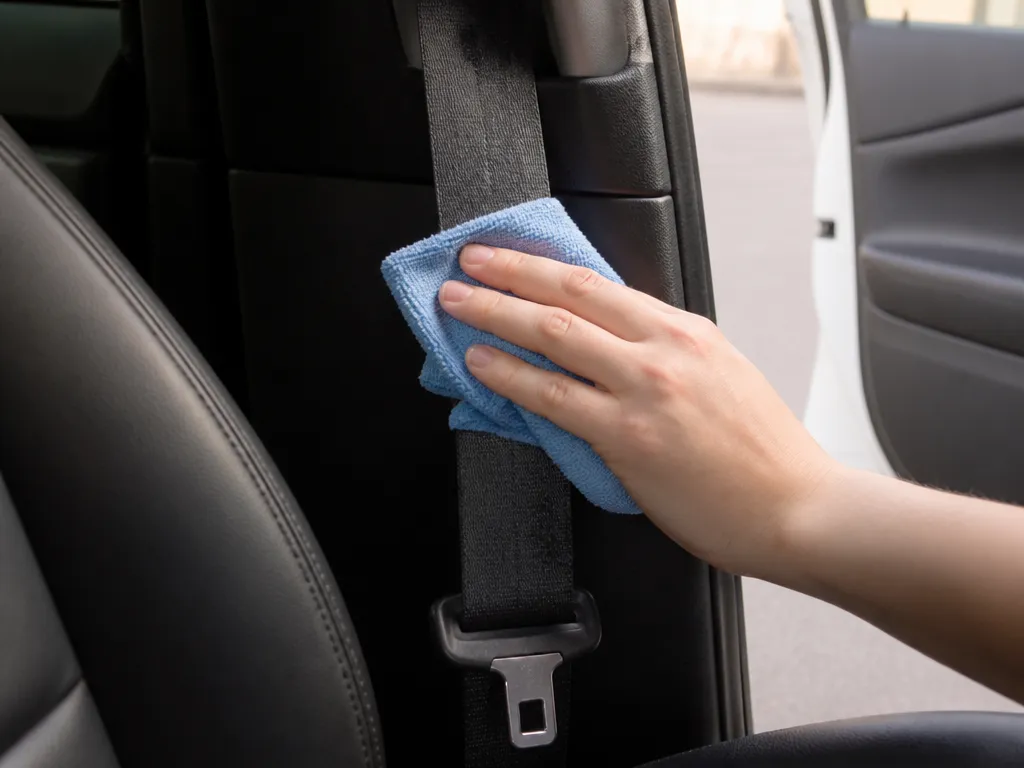
Drying a belt full length out of the retractor prevents moisture from soaking the housing. Extend the webbing fully, hang it or lay it flat in a well ventilated area, and let it air dry completely before retraction. Keep heat sources away to prevent fiber damage.
Buckle Care: Do not saturate the buckle with cleaners; wipe the exterior with a damp microfiber, then dry thoroughly. If moisture gets into the buckle tongue area, tilt to expel it, then use short bursts of compressed air to clear debris and finish drying away from heat.
Final Check: After the belt is dry, test operation by pulling it gently to extend and then allowing it to retract; the retractor should pull smoothly and lock firmly when pulled sharply. Inspect the belt near the retractor and hardware for dampness, wear, or staining, and verify stitching remains intact and there are no soft spots.
| Check | What it Means | What to Do |
|---|---|---|
| Fraying | Edge wear or thinning webbing | Replace belt assembly |
| Moisture near retractor | Possible mold risk | Dry thoroughly and inspect for corrosion or binding |
| Stiff belt | Contamination or binding | Extend and retract slowly; if it remains stiff, replace |
Professional note: If you see any damage or the system hesitates or jams, treat it as a safety issue and replace the belt assembly or have a shop service it immediately.
Quick Summary
The safest approach is to use a mild cleaner and gentle tools, keep moisture away from the retractor, and dry the extended belt completely before retracting it. Inspect for fraying, cuts, melted spots, sticking, or corrosion before returning the belt to service.
| Aspect | Guidance |
|---|---|
| Before cleaning | Fully extend belt, prevent twisting |
| What to use | Mild pH-balanced cleaner or mild dish soap, soft brush |
| Avoid | Bleach, strong solvents, abrasive scrubbers, soaking retractor |
| Drying time | Air-dry fully with belt extended 12 to 24 hours |
| Inspect after | Check for fraying or odor, retractor function |
Frequently Asked Questions
What Is The Safest Way To Clean Seat Belts Without Damaging The Webbing?
The safest method is the one described above: use minimal moisture and gentle tools, avoid soaking or harsh chemicals, and let the belt dry fully before using the vehicle again.
Can I Use Carpet Cleaner Or Stain Remover On Seat Belts?
It is risky. Many cleaners contain solvents or strong detergents that can weaken webbing fibers, so use the gentle cleaning method described above instead.
How Do I Remove Odor From Seat Belts After Cleaning Them?
After washing, blot and let the belt air dry, ideally with airflow and the vehicle windows cracked. If odor remains, repeat the gentle cleaning process rather than using fragrances or chemicals.
How Long Should Seat Belts Dry After Cleaning?
Plan for at least a full day if the belt was damp, and keep it unlatched and extended during drying. You want the webbing completely dry so it does not mildew inside the retractor.
Why Should I Not Scrub Seat Belts With Bleach Or Peroxide?
Bleach and peroxide can degrade fabric strength and alter the belt material over time. For whitening or heavy stain removal, use only the gentle process described above, and stop if the webbing feels rough or stiff.
Do I Need To Clean Seat Belts Differently If They Are Stained With Baby Food Or Pet Mess?
Yes, start by blotting the mess and then follow the same gentle cleaning process, rinsing lightly as needed. Pet accidents and food residue can leave sticky residue, so avoid over-wetting and make sure the belt dries completely.